For 1990-2009 cars only
Removal Procedure
Tools Required
| • | J 28467-360 Engine Support Fixture |
| • | J 24420-C Crankshaft Balancer Puller |
| • | J 34730-250 Fuel Pressure Gauge and Adapter |
| • | J 36018 Belt Tensioner |
| • | J 38122-A Crankshaft Balancer Holder |
- Drain the engine coolant. Refer to Cooling System Draining and Filling in Engine Cooling.
- Drain the Engine Oil. Refer to Engine Oil and Oil Filter Replacement .
- Remove the fuel rail assembly. Refer to Fuel Injection Fuel Rail Assembly Replacement in Engine Controls - 2.4L.
- Remove the air intake duct from the air cleaner. Refer to Air Cleaner Inlet Duct Replacement in Engine Controls - 2.4L.
- Disconnect and remove the ignition coil and the module assembly. Refer to Ignition Control Module Replacement in Engine Controls - 2.4L.
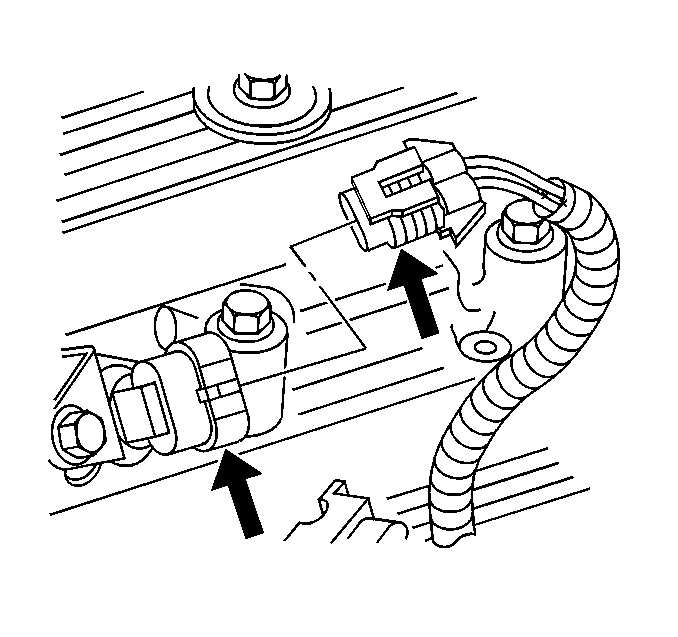
- Disconnect the camshaft position sensor.
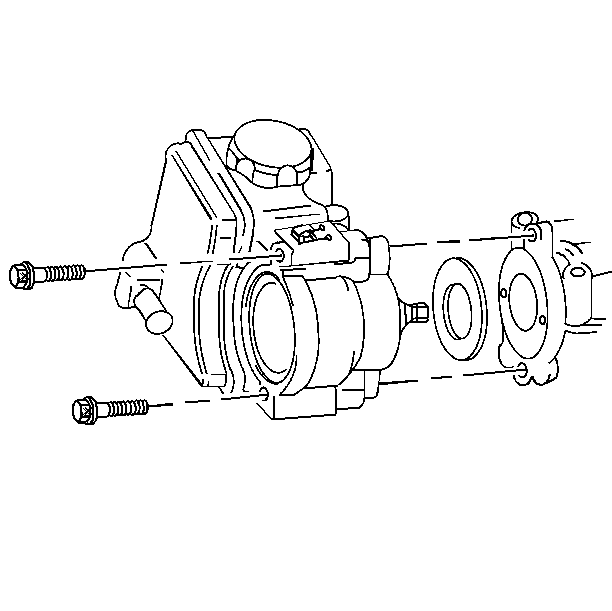
- Remove the power steering pump and set aside with the lines attached. Refer to Power Steering Pump Replacement in Power Steering System.
- Disconnect the oil pressure sending switch.
- Remove the air intake duct bracket. Refer to Air Cleaner Inlet Duct Replacement in Engine Controls - 2.4L.
- Remove the cruise control assembly and set aside. Refer to Cruise Control Module Replacement in Cruise Control.
- Install the engine support fixture. Refer to Engine Support Fixture .
- Remove the engine mount assembly. Refer to Engine Mount Replacement .
- Disconnect the vacuum line at the fuel pressure regulator.
- Raise the engine with the engine support fixture J-hook.
- Remove the engine mount bracket. Refer to Engine Mount Replacement .
- Lower the engine.
- Remove the drive belt. Refer to Drive Belt Replacement .
- Remove the front wheels.
- Remove the right front splash shield. Refer to Wheelhouse Splash Shield Replacement in Body Front End.
- Remove the crankshaft balancer. Refer to Crankshaft Balancer Replacement .
- Lower the vehicle.
- Disconnect the following electrical connectors:
- Remove the generator. Refer to Generator Replacement .
- Remove the accelerator cable bracket.
- Remove the starter. Refer to Starter Motor Replacement in Engine Electrical.
- Remove the exhaust brace bolt in the exhaust manifold.
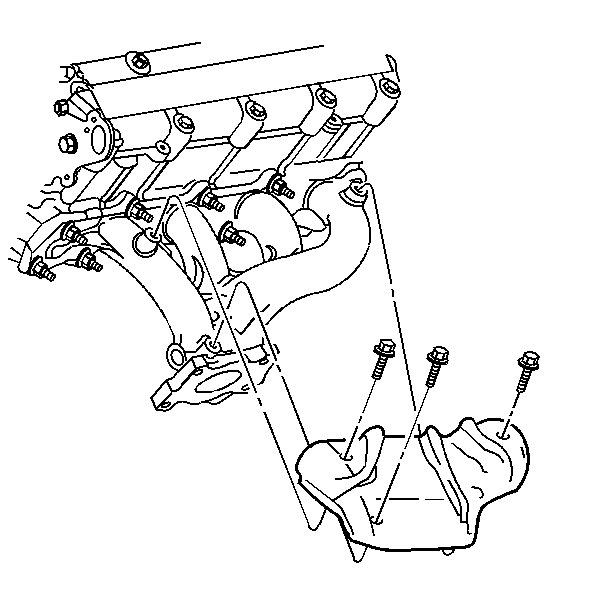
- Remove the exhaust manifold heat shield.
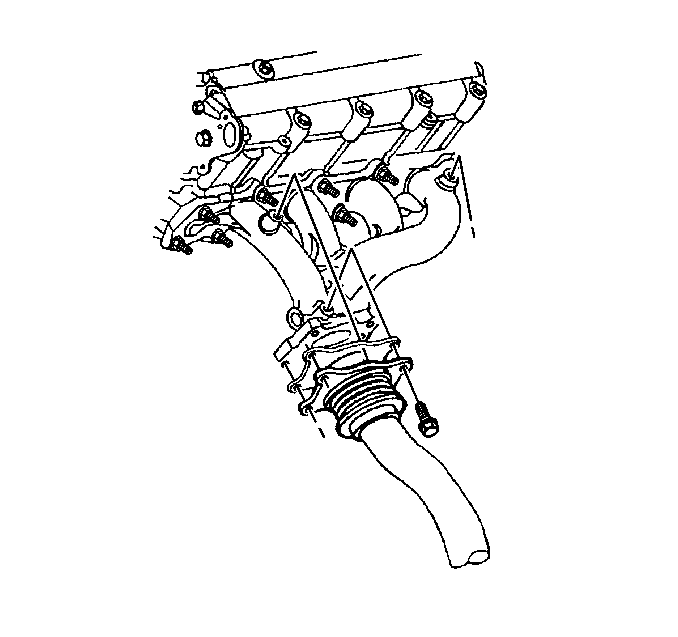
- Disconnect the exhaust pipe from the exhaust manifold.
- Remove the engine intake coolant pipe. Refer to Engine Coolant Inlet Pipe Replacement in Engine Cooling.
- Remove the torque converter bolts. Refer to Transmission Replacement in Automatic Transaxle 4T40 -E/4T45 - E.
- Raise and support the vehicle. Refer to Lifting and Jacking the Vehicle in General Information.
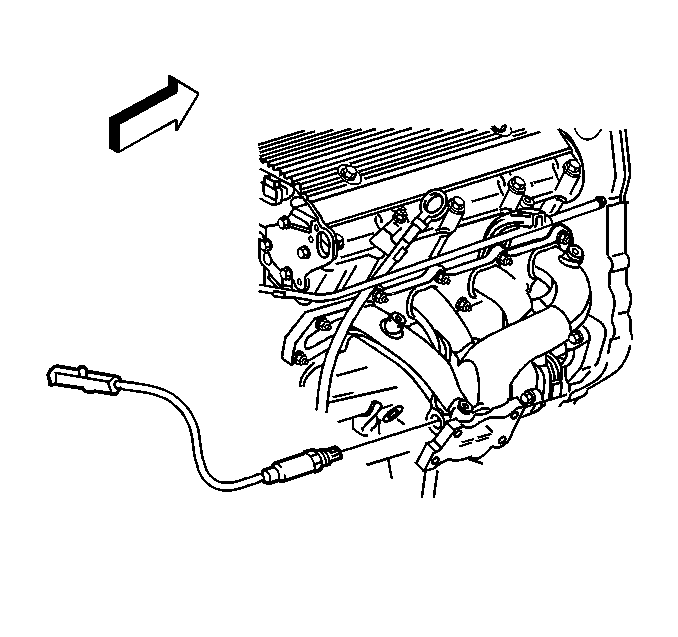
- Remove the oxygen sensor.
- Remove the A/C compressor bolts. Position the compressor out of the way. Refer to Air Conditioning Compressor Replacement in HVAC Systems with A/C - Manual.
- Remove the bolts which secure the oil pan to the bell housing. Refer to Oil Pan Replacement in Engine Mechanical.
- Remove the transmission mount. Refer to Transmission Front Mount Replacement in Automatic Transaxle 4T40 - E/4T45 - E.
- Remove the bolts which secure the transaxle to the engine. Refer to
- Install the engine lifting device. Support the transaxle.
- Raise the engine slightly and separate the engine from the transaxle.
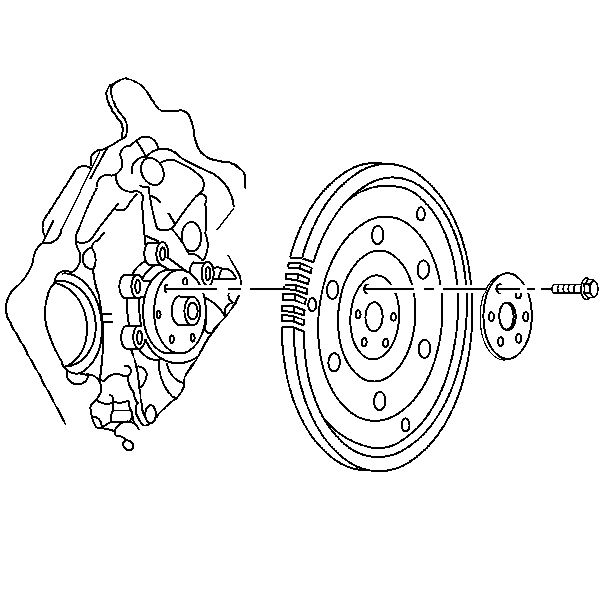
- Remove the flywheel bolts and the flywheel.
- Mount the engine on a suitable engine stand.


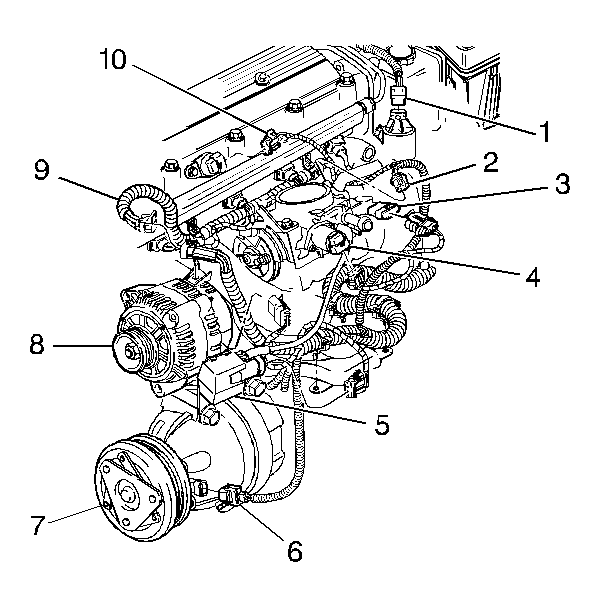
| • | The map sensor |
| • | The IAT sensor |
| • | The evaporator canister |
| • | The EGR sensor |
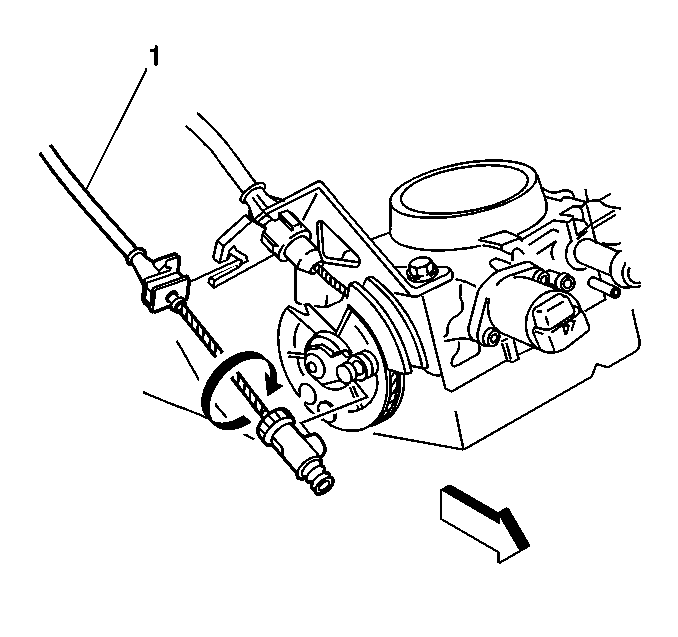
Caution: In order to avoid possible injury or vehicle damage, always replace the accelerator control cable with a NEW cable whenever you remove the engine from the vehicle.
In order to avoid cruise control cable damage, position the cable out of the way while you remove or install the engine. Do not pry or lean against the cruise control cable and do not kink the cable. You must replace a damaged cable.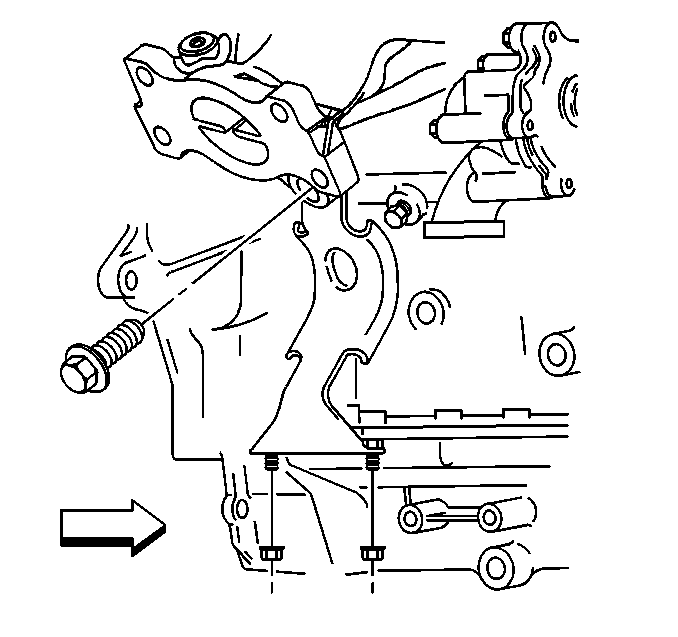
Installation Procedure
Tools Required
| • | J 28467-360 Engine Support Fixture |
| • | J 24420-C Crankshaft Balancer Puller |
| • | J 34730-250 Fuel Pressure Gauge and Adapter |
| • | J 36018 Belt Tensioner |
| • | J 38122-A Crankshaft Balancer Holder |
- Install the flywheel, the retainer and the bolts.
- Tighten the bolts evenly while holding the balancer with the J 38122-A .
- Attach the engine lifting device to the engine.
- Install the engine into the vehicle and align the transaxle to the engine.
- Install the bolts which secure the transaxle to the engine. Refer to Transmission Replacement in Automatic Transaxle 4T40 - E/4T45 - E.
- Install the transaxle mount. Refer to Transmission Front Mount Replacement in Automatic Transaxle 4T40 - E/4T45 - E.
- Install the engine support fixture. Refer to Engine Support Fixture
- Raise and support the vehicle. Refer to Lifting and Jacking the Vehicle in General Information.
- Install the coolant pipe and the thermostat. Refer to Engine Coolant Inlet Pipe Replacement in Engine Cooling.
- Install the transaxle brace. Refer to Transmission Replacement in Automatic Transaxle 4T40 - E/4T45 - E.
- Install the stud and the nut which secure the oil pan to the transaxle housing. Refer to Transmission Replacement in Automatic Transaxle 4T40 - E/4T45 - E.
- Install and connect the oxygen sensor.
- Connect the exhaust pipe.
- Install the exhaust manifold heat shield.
- Install the exhaust manifold brace bolts.
- Lower the vehicle.
- Install the torque converter bolts. Refer to Transmission Replacement in Automatic Transaxle 4T40 - E/4T45 - E.
- Install the starter. Refer to Starter Motor Replacement in Engine Electrical.
- Install the generator. Refer to Generator Replacement in Engine Electrical.
- Install the accelerator cable bracket.
- Install the vacuum hoses at the fuel pressure regulator and at the evaporator module.
- Connect the following electrical connectors:
- Raise and support the vehicle. Refer to Lifting and Jacking the Vehicle in General Information.
- Install the crankshaft balancer. Refer to Crankshaft Balancer Replacement .
- Install the right front splash shield. Refer to Wheelhouse Splash Shield Replacement in Body Front End.
- Install the front wheels.
- Lower the vehicle.
- Install the drive belt. Refer to Drive Belt Replacement .
- Raise the engine with the support fixture J-hook.
- Install the engine mount and the mount bracket. Refer to Engine Mount Replacement .
- Remove the engine support fixture. Refer to Engine Support Fixture .
- Install the cruise control assembly. Refer to Cruise Control Module Replacement in Cruise Control.
- Connect the oil pressure switch.
- Install the power steering pump. Refer to Power Steering Pump Replacement in Power Steering System.
- Connect the camshaft position sensor.
- Install the air intake assembly. Refer to Air Cleaner Inlet Duct Replacement in Engine Controls.
- Install the fuel rail assembly. Refer to Fuel Injection Fuel Rail Assembly Replacement in Engine Controls - 2.4L.
- Install the ignition coil and module. Refer to Ignition Control Module Replacement in Engine Controls - 2.4L.
- Refill the engine oil. Refer to Engine Oil and Oil Filter Replacement .
- Refill the engine cooling system Refer to Cooling System Draining and Filling in Engine Cooling.
- Run the engine to operating temperature and retest all fluid levels.


Caution: In order to avoid possible injury or vehicle damage, always replace the accelerator control cable with a NEW cable whenever you remove the engine from the vehicle.
In order to avoid cruise control cable damage, position the cable out of the way while you remove or install the engine. Do not pry or lean against the cruise control cable and do not kink the cable. You must replace a damaged cable.

| • | The MAP sensor |
| • | The IAT sensor |
| • | The Evaporator canister |
| • | The EGR sensor |


