Removal Procedure
- Disconnect the negative battery cable. Refer to Battery Negative Cable Disconnection and Connection in Engine Electrical.
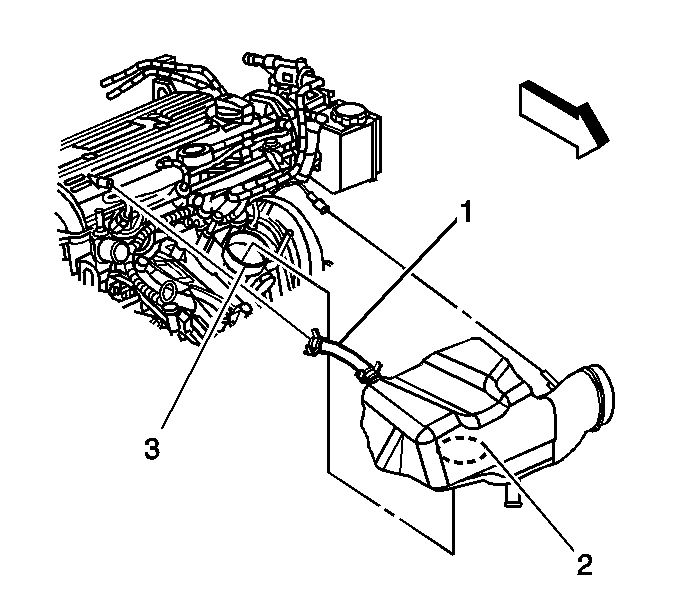
- Remove the air cleaner plenum (2). Refer to Air Cleaner Bracket Replacement in Body Front End.
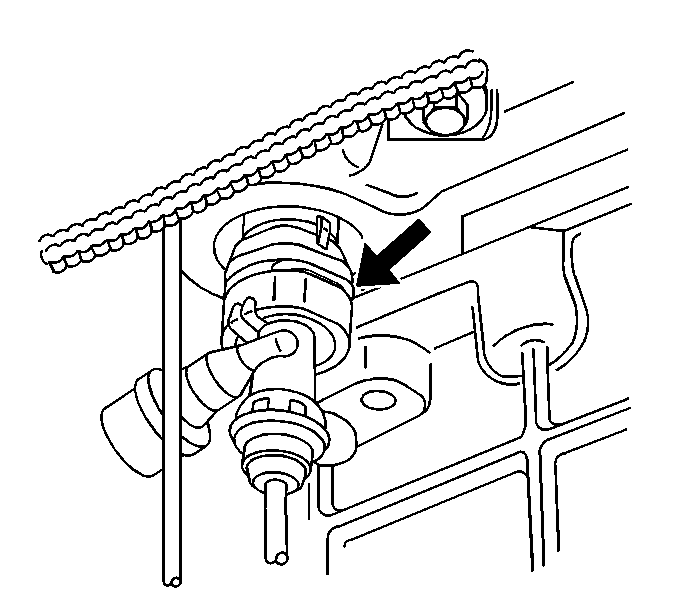
- Disconnect the clutch actuator line from the clutch actuator.
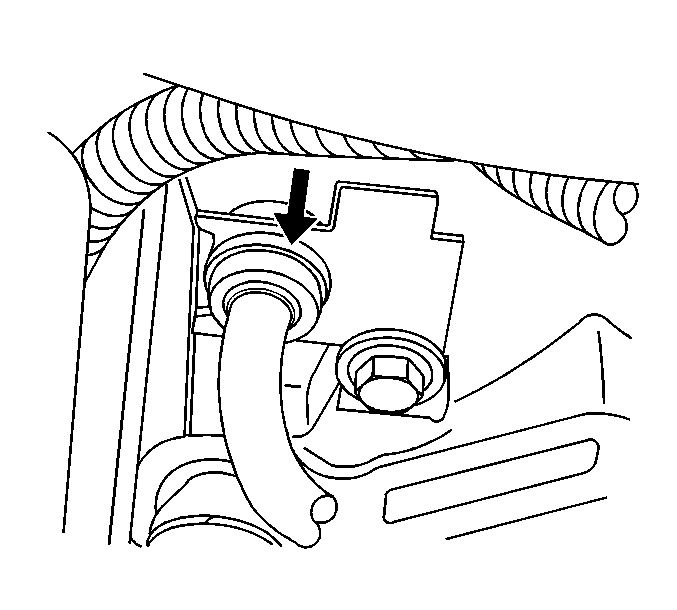
- Remove the clutch actuator line bracket bolt and position the line and bracket out of the way.
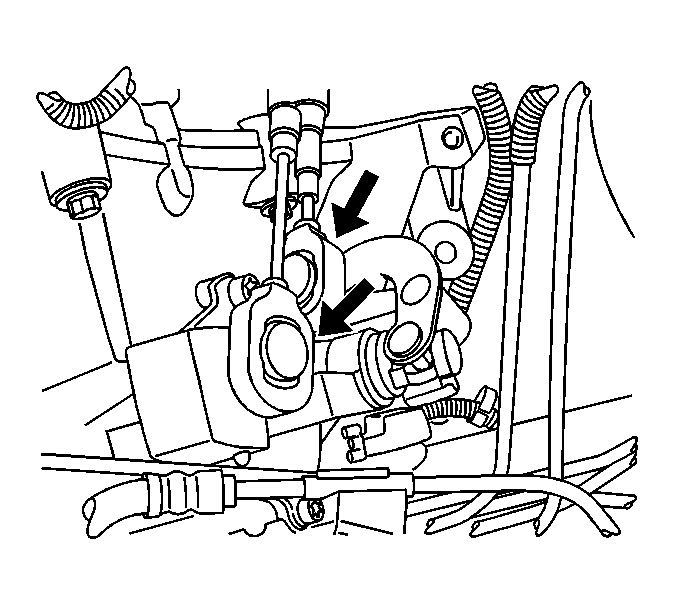
- Disconnect the shifter cables from the transmission shift control levers.
- Remove the cable bracket bolt and the bracket.
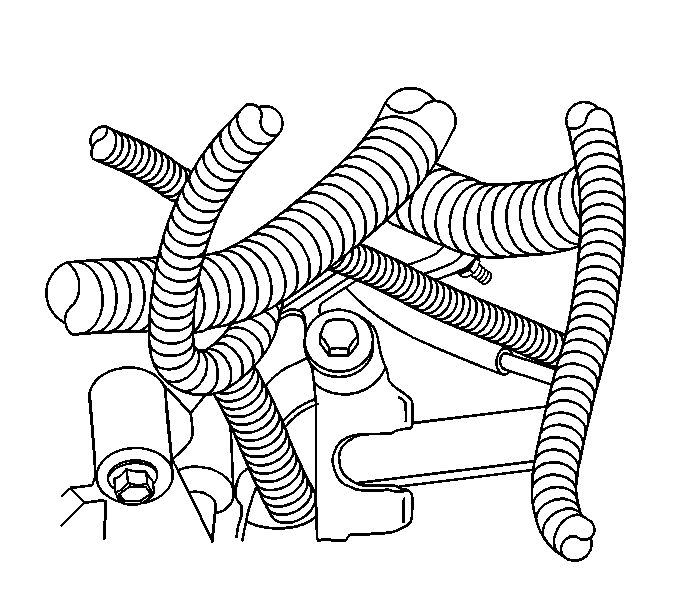
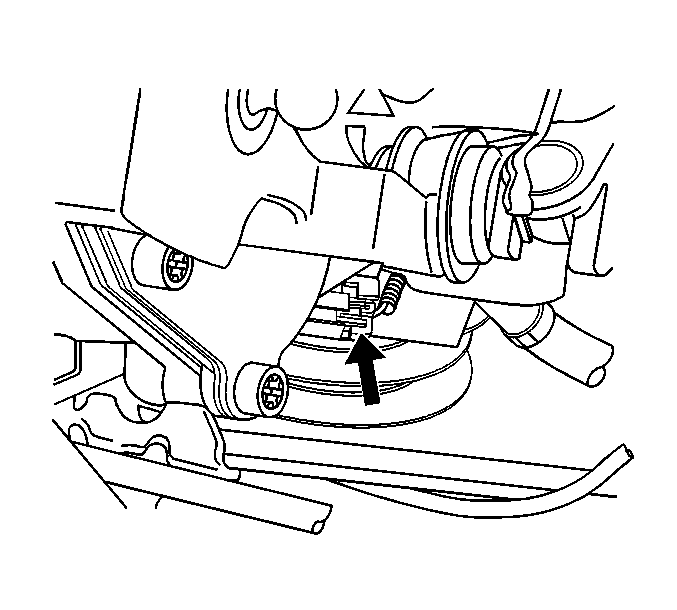
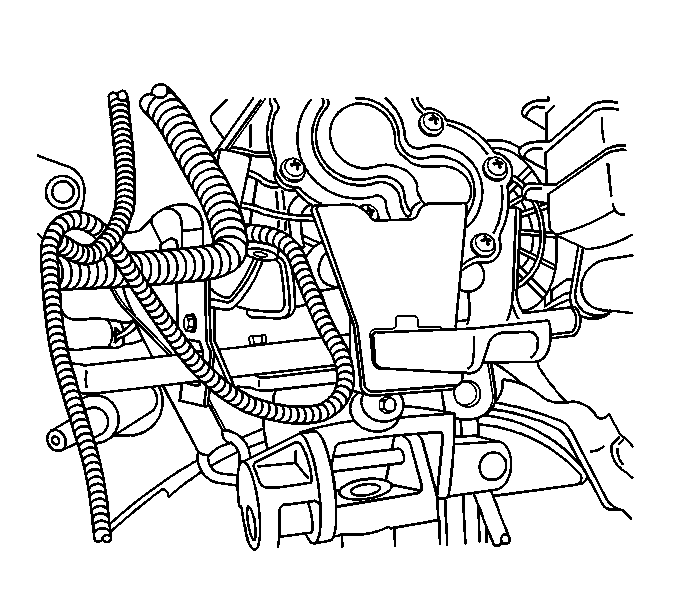
- Disconnect the VSS electrical connector and position the harness out of the way.
- Disconnect the backup lamp switch electrical connector and position the harness out of the way.
- Tie the radiator to the upper hood latch panel.
- Install the engine support fixture. Refer to Engine Support Fixture in Engine Mechanical 2.2 L.
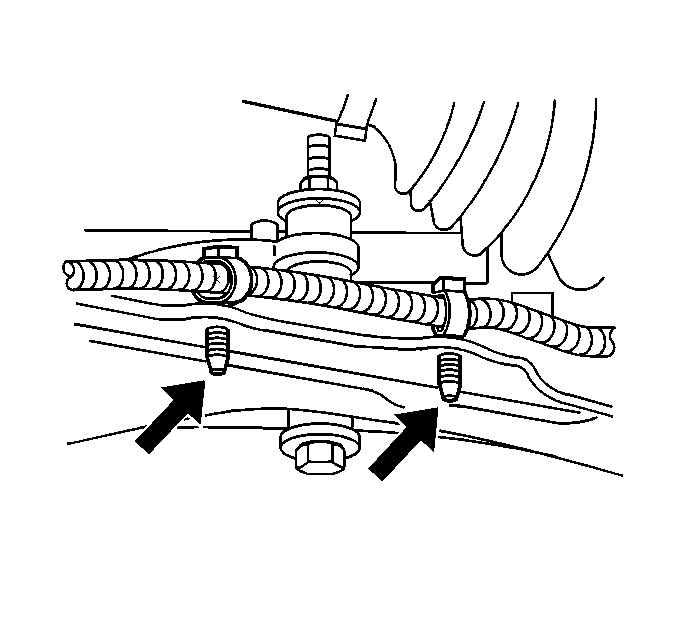
- Remove the 2 remaining upper transaxle mounting bolts.
- Raise and support the vehicle. Refer to Lifting and Jacking the Vehicle in General Information.
- Remove the front wheels and tires. Refer to Tire and Wheel Removal and Installation in Tires and Wheels.
- Remove the left front fender liner. Refer to Front Fender Liner Replacement in Body Front End.
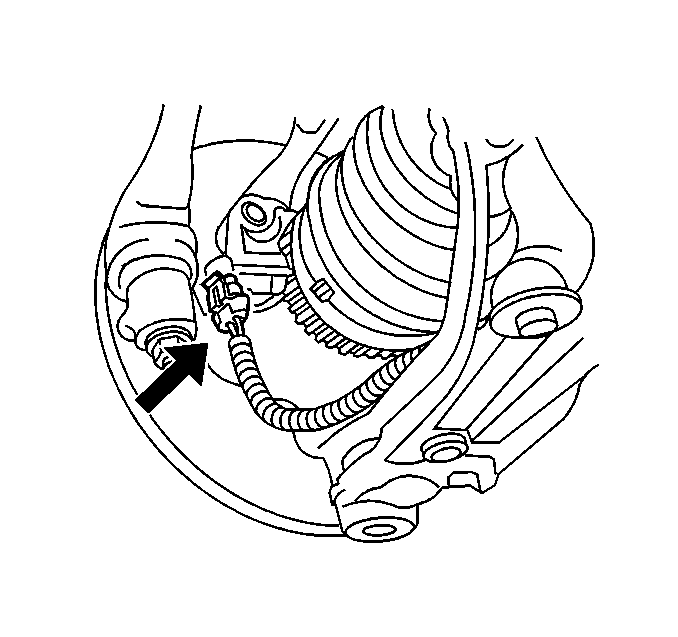
- Disconnect the 2 front wheel speed sensor connectors.
- Unclip the wheel speed sensor wire harness and position the harness out of the way.
- Remove the frame. Refer to Frame Replacement in Frame and underbody.
- Remove the starter. Refer to Starter Motor Replacement in Engine Electrical.
- Remove the transaxle front mount from the transaxle. Refer to Transmission Front Mount Replacement .
- Remove the transaxle rear mount from the transaxle. Refer to Transmission Rear Mount Replacement .
- Remove the wheel driveshafts from the vehicle. Refer to Wheel Drive Shaft Replacement in Wheel Drive Shafts.
- Lower the engine and transaxle assembly with the engine support fixture enough to clear the left side inner body panel.
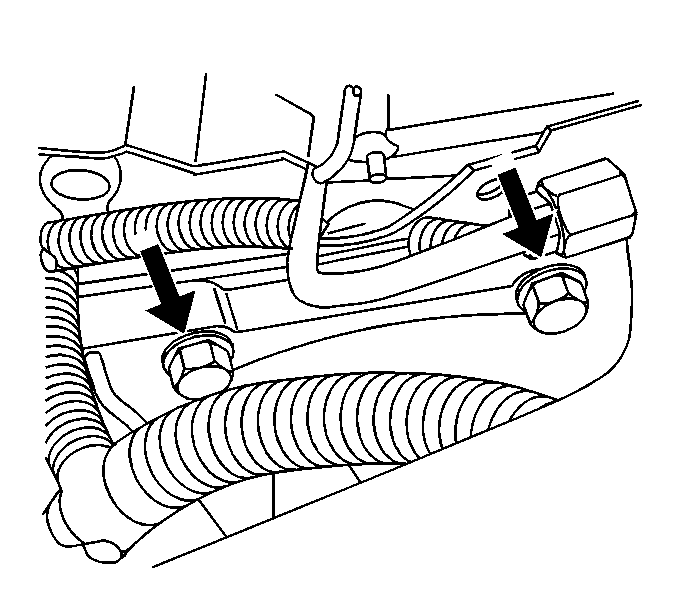
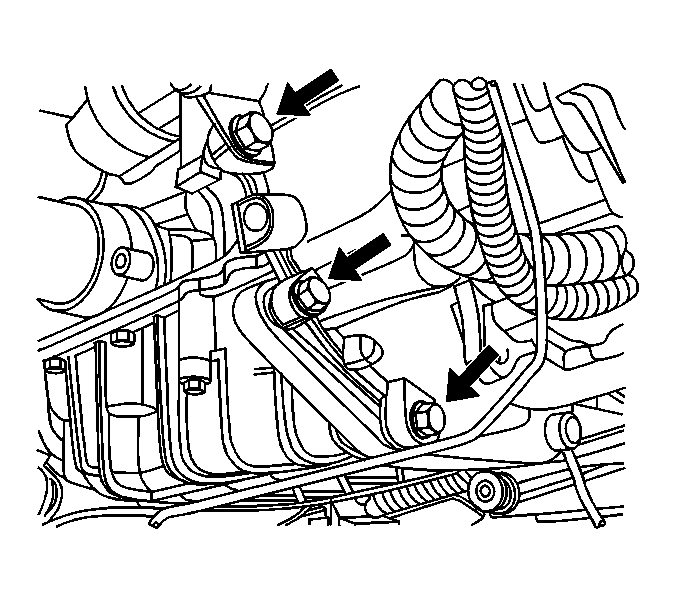
- Remove the lower transaxle mounting bolts at the front of the vehicle.
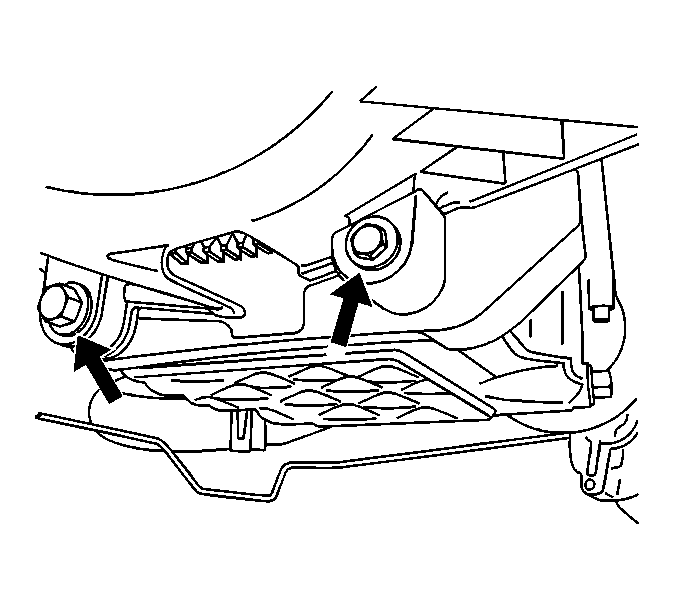
- Remove the lower transaxle mounting bolts.
- Support and remove the transaxle from the vehicle.
Installation Procedure
- Support and raise the transaxle into the vehicle.
- Install the lower transaxle mounting bolts.
- Install the lower transaxle mounting bolts at the front of the vehicle.
- Raise the engine and transaxle assembly with the engine support fixture into position.
- Install the wheel driveshafts to the vehicle. Refer to Wheel Drive Shaft Replacement in Wheel Drive Shafts.
- Install the transaxle front mount to the transaxle. Refer to Transmission Front Mount Replacement .
- Install the transaxle rear mount to the transaxle. Refer to Transmission Rear Mount Replacement .
- Install the starter. Refer to Starter Motor Replacement in Engine Electrical.
- Install the frame. Refer to Frame Replacement in Frame and underbody.
- Route the wheel speed sensor wire harness to the speed sensor.
- Connect the wheel speed sensor electrical connectors.
- Install the left front fender liner. Refer to Front Fender Liner Replacement in Body Front End.
- Install the front wheels and tires. Refer to Tire and Wheel Removal and Installation in Tires and Wheels.
- Lower the vehicle.
- Install the 2 upper transaxle mounting bolts.
- Remove the engine support fixture.
- Connect the backup lamp switch electrical connector.
- Connect the VSS electrical connector.
- Connect the shifter cables to the transmission shift control levers.
- Install the clutch actuator line and bracket bolt.
- Connect the clutch actuator line to the clutch actuator.
- Install the air cleaner mounting bracket. Refer to Air Cleaner Bracket Replacement in Body Front End.
- Install the air cleaner housing and duct assembly.
- Connect the negative battery cable. Refer to Battery Negative Cable Disconnection and Connection in Engine Electrical.


Notice: Use the correct fastener in the correct location. Replacement fasteners must be the correct part number for that application. Fasteners requiring replacement or fasteners requiring the use of thread locking compound or sealant are identified in the service procedure. Do not use paints, lubricants, or corrosion inhibitors on fasteners or fastener joint surfaces unless specified. These coatings affect fastener torque and joint clamping force and may damage the fastener. Use the correct tightening sequence and specifications when installing fasteners in order to avoid damage to parts and systems.
Tighten
Tighten the lower transaxle mounting bolts to engine to 90 N·m
(66 lb ft).

Tighten
Tighten the lower transaxle mounting bolts to engine to 90 N·m
(66 lb ft).


Tighten
Tighten the upper transaxle mounting bolts to engine to 90 N·m
(66 lb ft).


