For 1990-2009 cars only
Removal Procedure
- Disconnect the negative battery cable. Refer to Battery Negative Cable Disconnection and Connection.
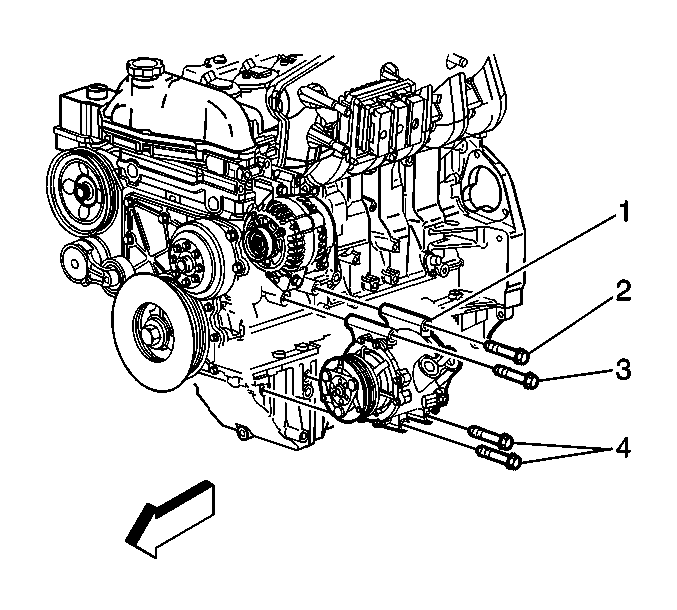
- Remove the A/C compressor bottom bolts (4) and loosen the top bolts (2, 3).
- Remove the oil level indicator and tube. Refer to Oil Level Indicator and Tube Replacement.
- Remove the stabilizer shaft. Refer to Stabilizer Shaft Replacement.
- Remove the front differential and secure to the frame. Refer to Differential Carrier Assembly Replacement.
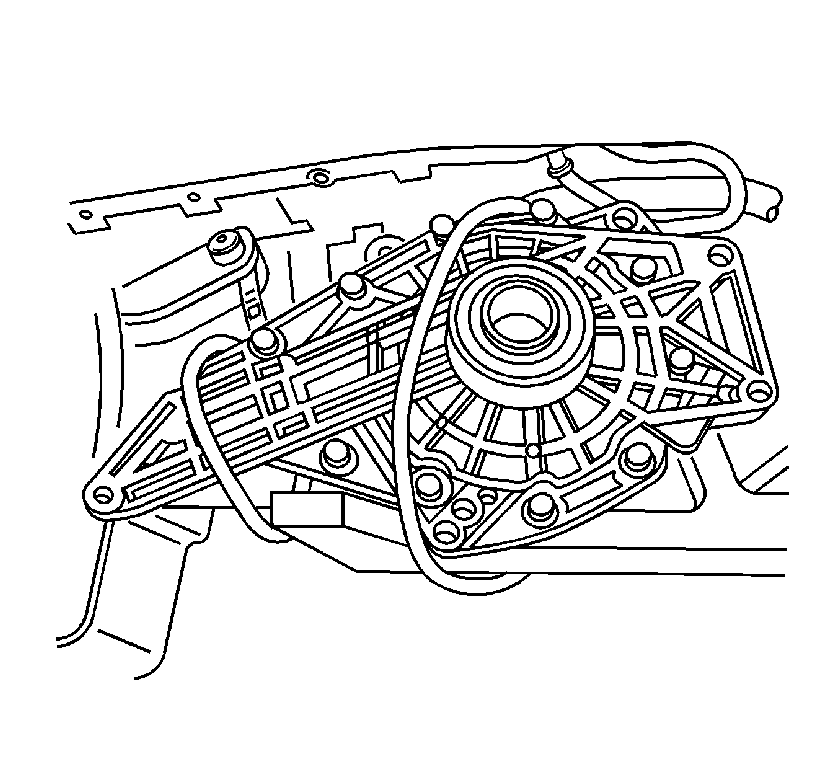
- Remove the front drive axle intermediate shaft bearing assembly. Refer to Front Drive Axle Intermediate Shaft Bearing Assembly Replacement.
- Drain the engine oil. Refer to Engine Oil and Oil Filter Replacement.
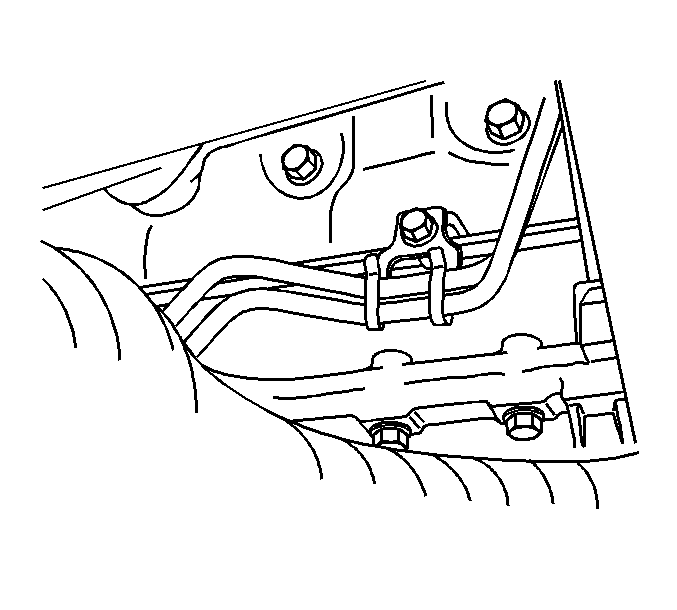
- Unclip the transmission cooler lines from the engine block.
- Remove 4 transmission bell housing bolts that are attached to the oil pan.
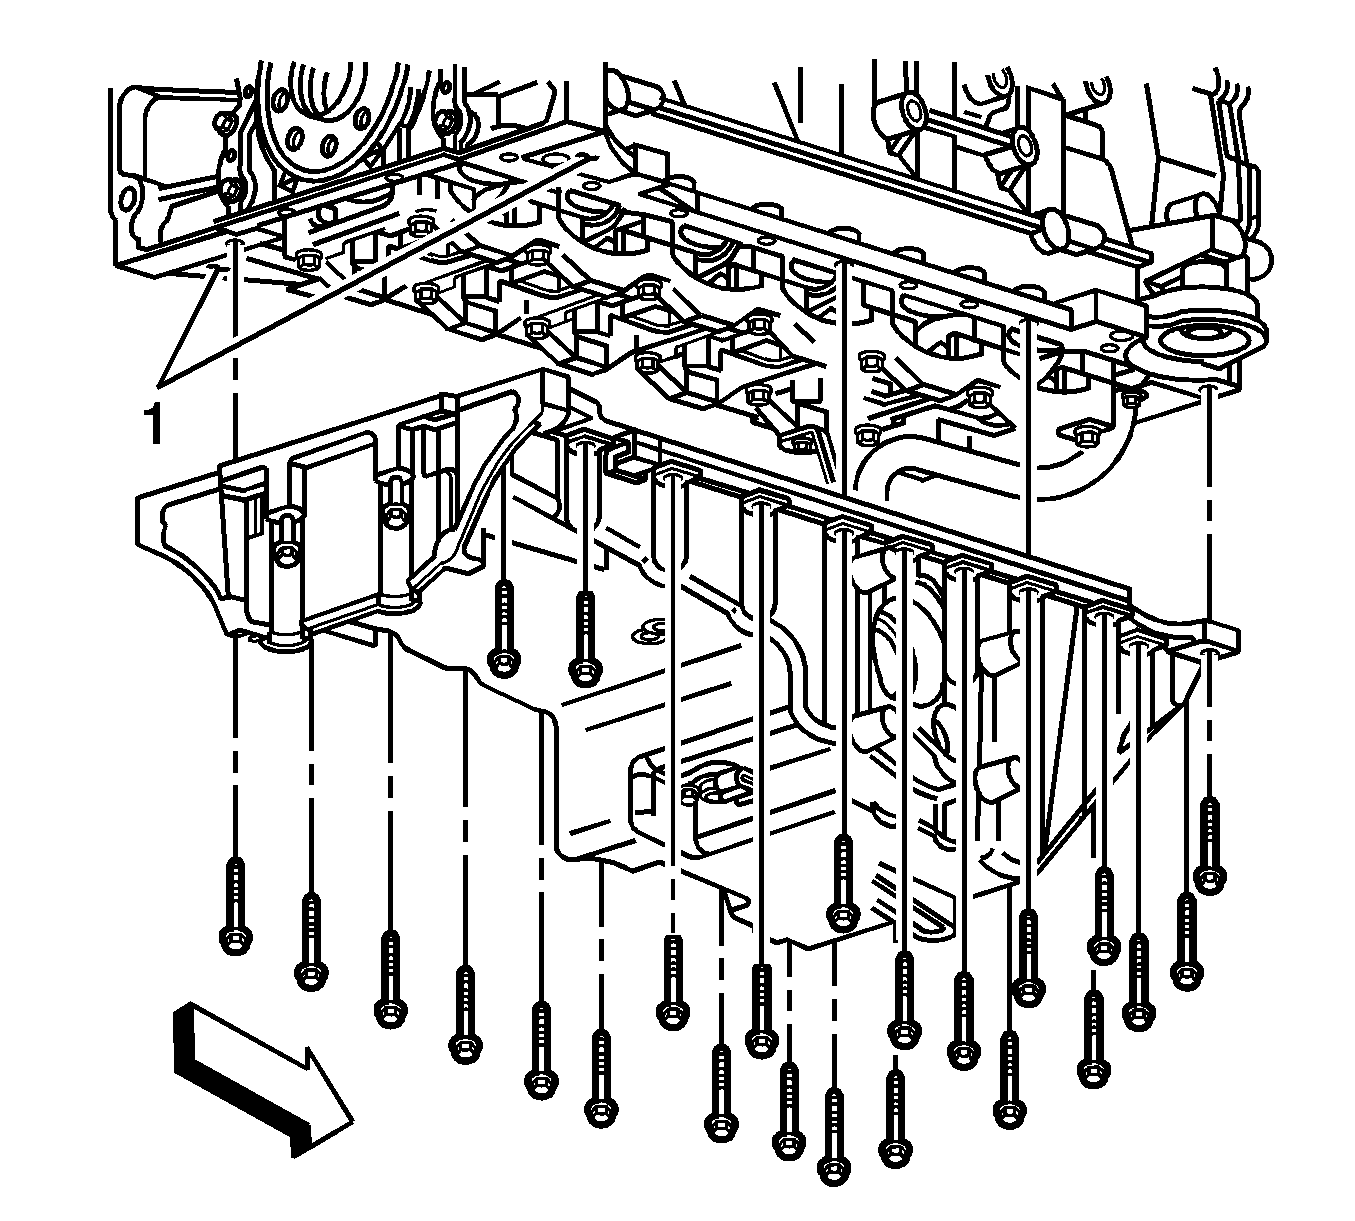
- Remove the remaining oil pan bolts.
- Place 2 oil pan bolts in the jack screws on the oil pan and tighten evenly to release the oil pan from the engine (1).
- Clean and inspect the oil pan.
Installation Procedure
- Apply a 3 mm (0.12 in) bead of sealer to the block, rather than the oil pan. Refer to Adhesives, Fluids, Lubricants, and Sealers.
- Install the oil pan, maneuvering the oil pan to clear the oil pump and screen assembly.
- Install the oil pan bolts.
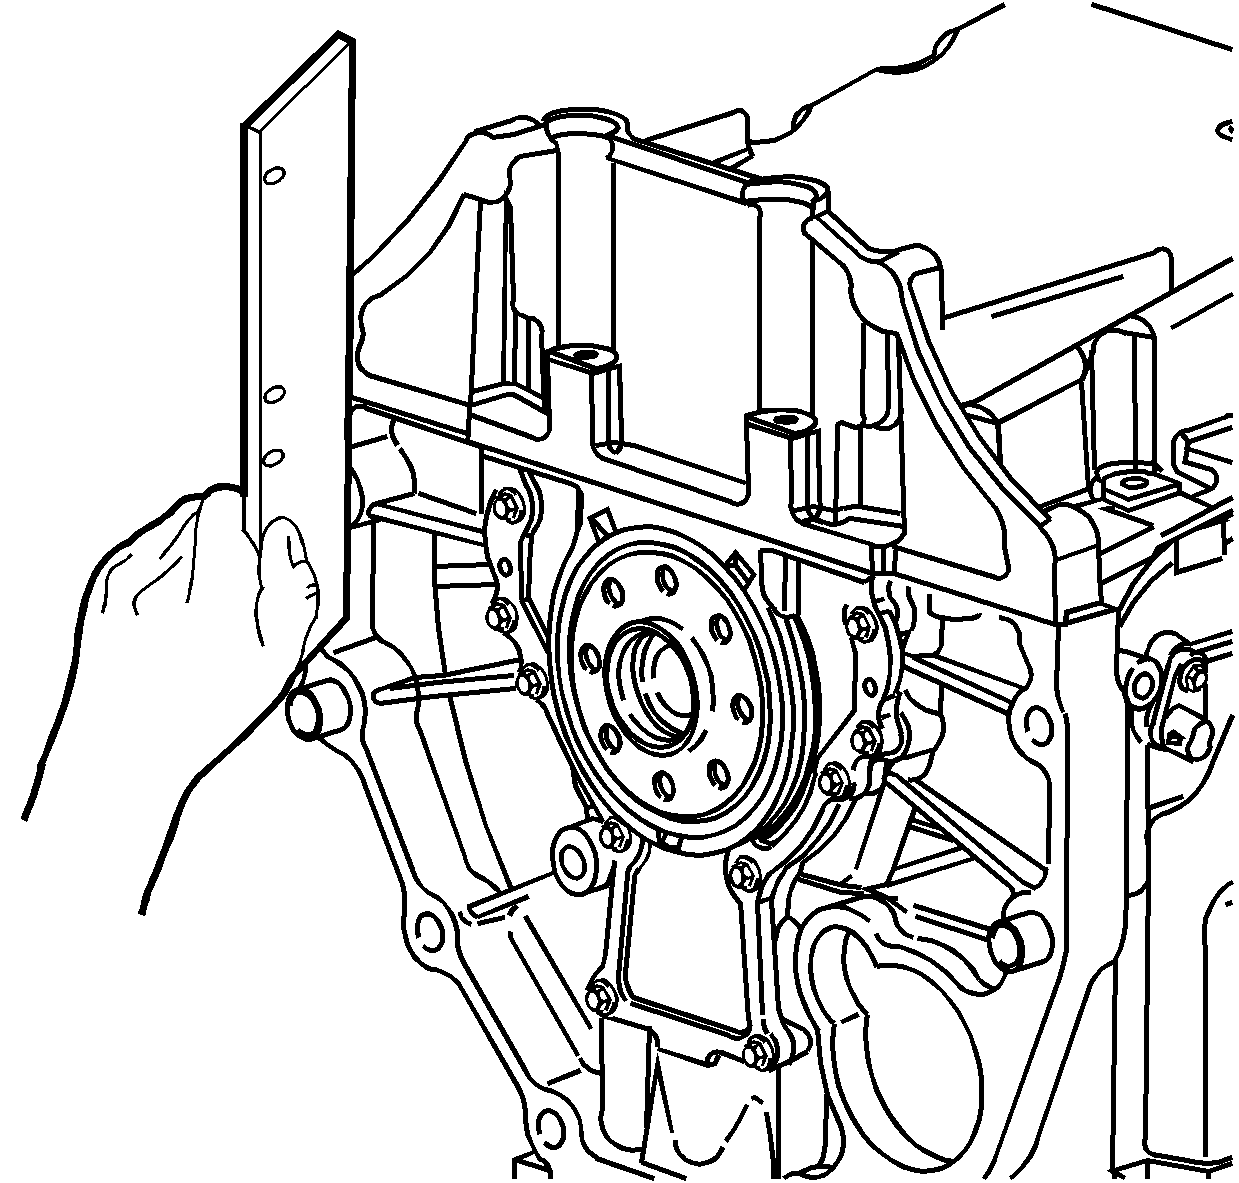
- Inspect the oil pan alignment. Use a straight edge on the back of the block and the oil pan transmission mounting surface.
- Install the 4 transmission bell housing bolts that attach to the oil pan.
- Clip transmission cooler lines to the engine block.
- Install the front drive axle intermediate shaft bearing assembly. Refer to Front Drive Axle Intermediate Shaft Bearing Assembly Replacement.
- Install the oil drain plug and filter. Refer to Engine Oil and Oil Filter Replacement.
- Install the front differential to the engine. Refer to Differential Carrier Assembly Replacement.
- Install the stabilizer shaft. Refer to Stabilizer Shaft Replacement.
- Install the A/C compressor 2 bottom bolts (4).
- Install the oil level indicator and tube. Refer to Oil Level Indicator and Tube Replacement.
- Connect the negative battery cable. Refer to Battery Negative Cable Disconnection and Connection.
- Fill the engine with oil. Refer to Engine Oil and Oil Filter Replacement.
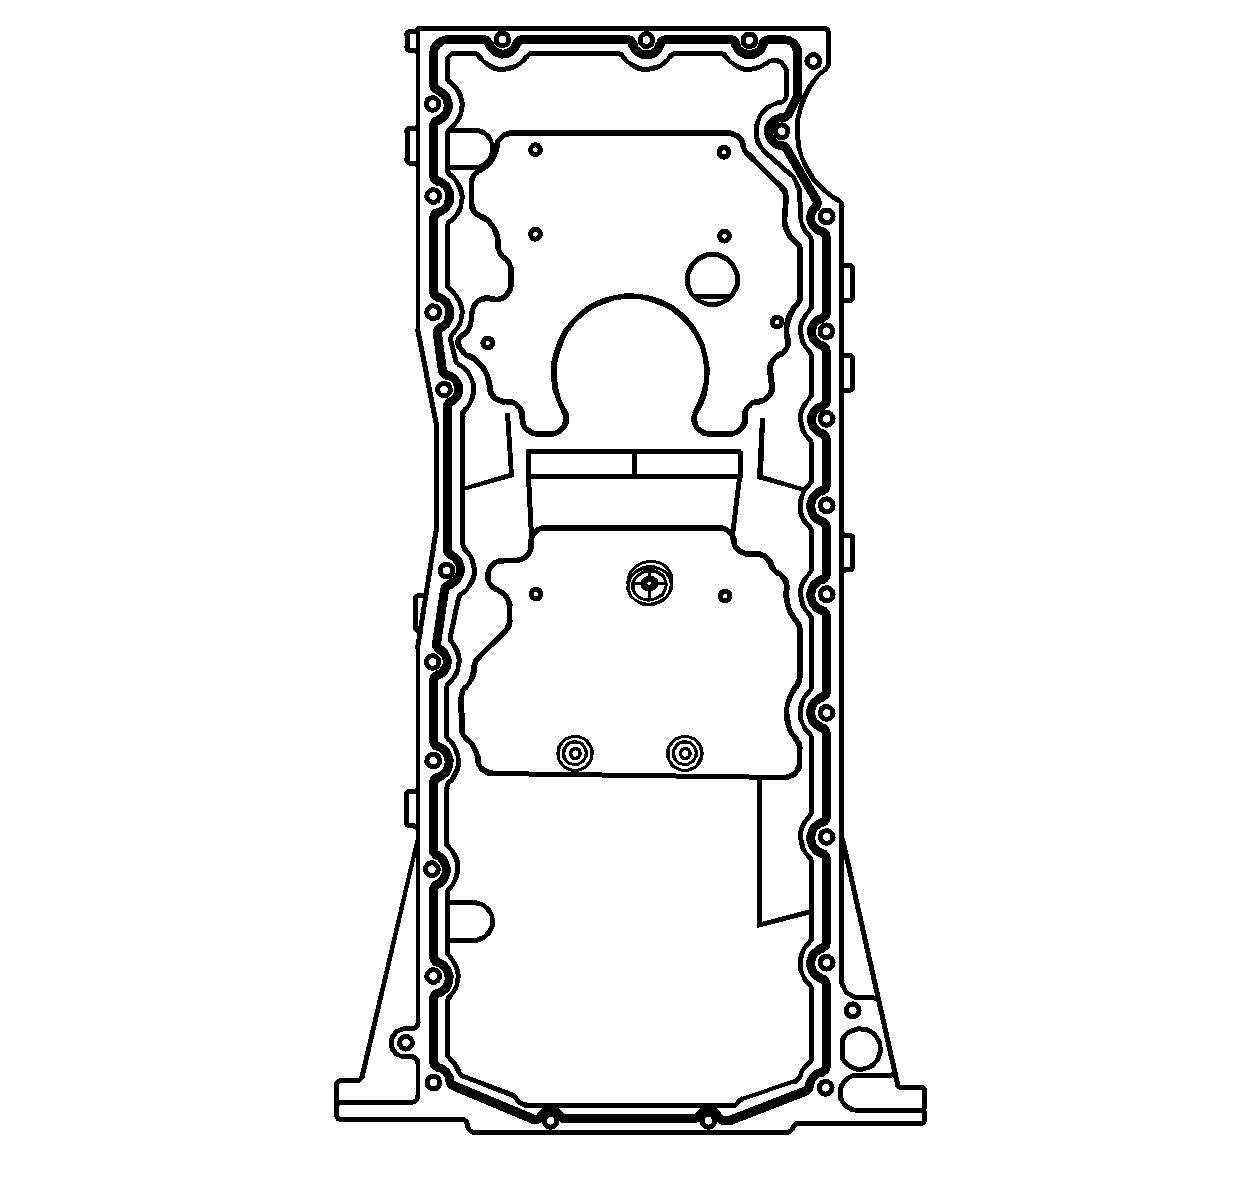
Note: The oil pan must be installed within 10 minutes from when sealer was applied.
Note: When you install the oil pan, it could be shifted front or back a little which could cause a transmission alignment problem. The back of the oil pan needs to be flush with the block.
Caution: Refer to Fastener Caution in the Preface section.
Tighten
| • | Tighten the oil pan side bolts to 25 N·m (18 lb ft). |
| • | Tighten the oil pan end bolts to 10 N·m (89 lb in). |
Tighten
Tighten bolts to 47 N·m (35 lb ft).


Tighten
Tighten all 4 bolts (2, 3, 4) to 50 N·m (37 lb ft).
Note: Inspect the engine for oil leaks in order to ensure all sealing surfaces are sealed.
