For 1990-2009 cars only
Removal Procedure
- Remove the engine cover. Refer to Fuel Injector Sight Shield Replacement .
- Remove the air cleaner outlet duct.
- Reposition the fresh air positive crankcase ventilation (PCV) line from the air cleaner inlet tube.
- Disconnect the Electronic Throttle Control (ETC) electrical connector.
- Disconnect the PCV line from the top of the intake manifold and reposition aside.
- Disconnect the evaporative emissions (EVAP) canister purge line and reposition aside.
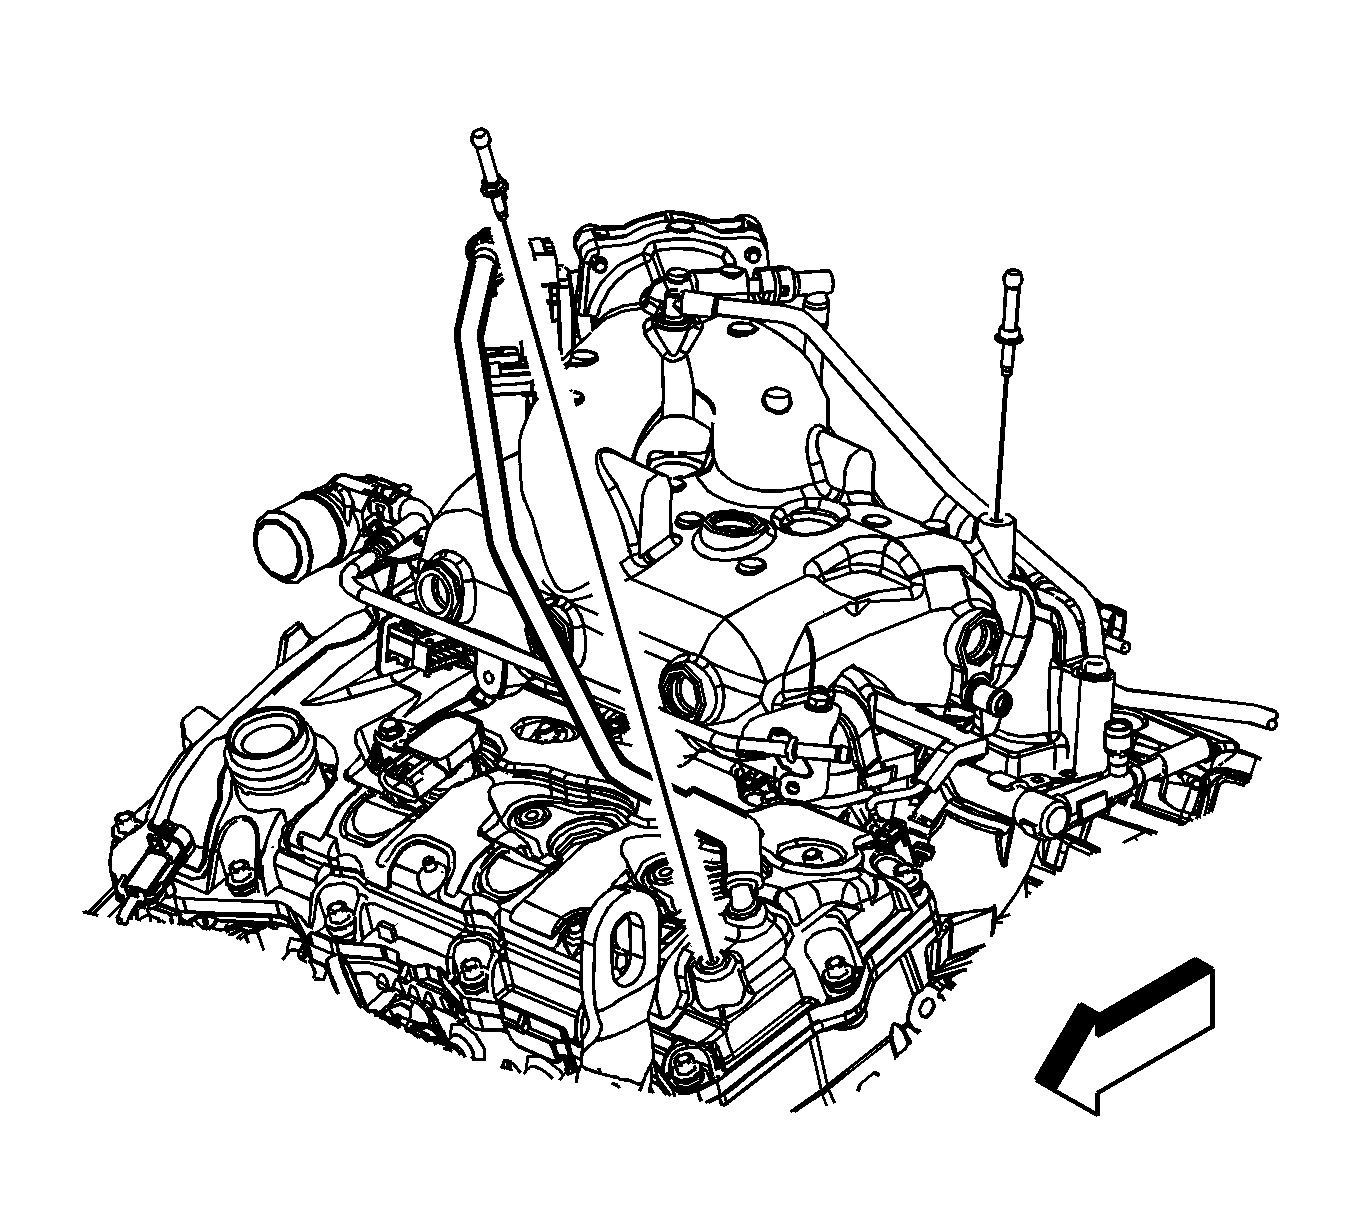
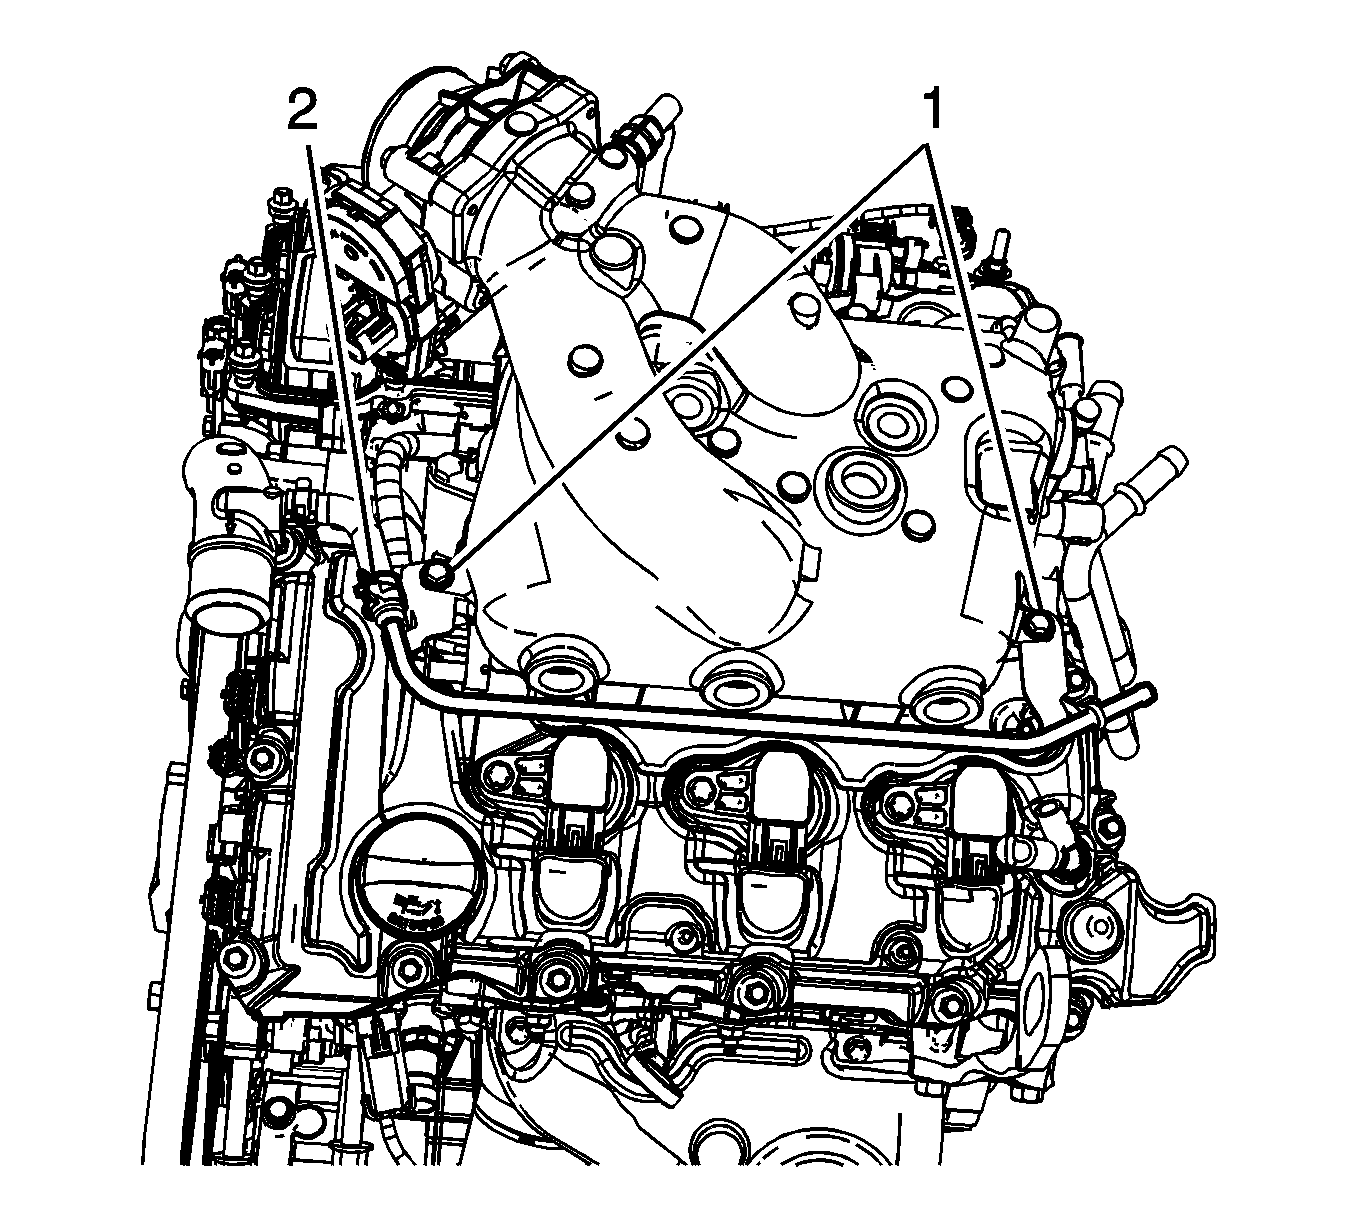
- Remove the bleed pipe bolts (1).
- Remove the bleed pipe hose clamp (2).
- Reposition the bleed pipe.
- Remove the brake booster vacuum hose from the intake manifold.
- Remove the engine harness retaining clips.
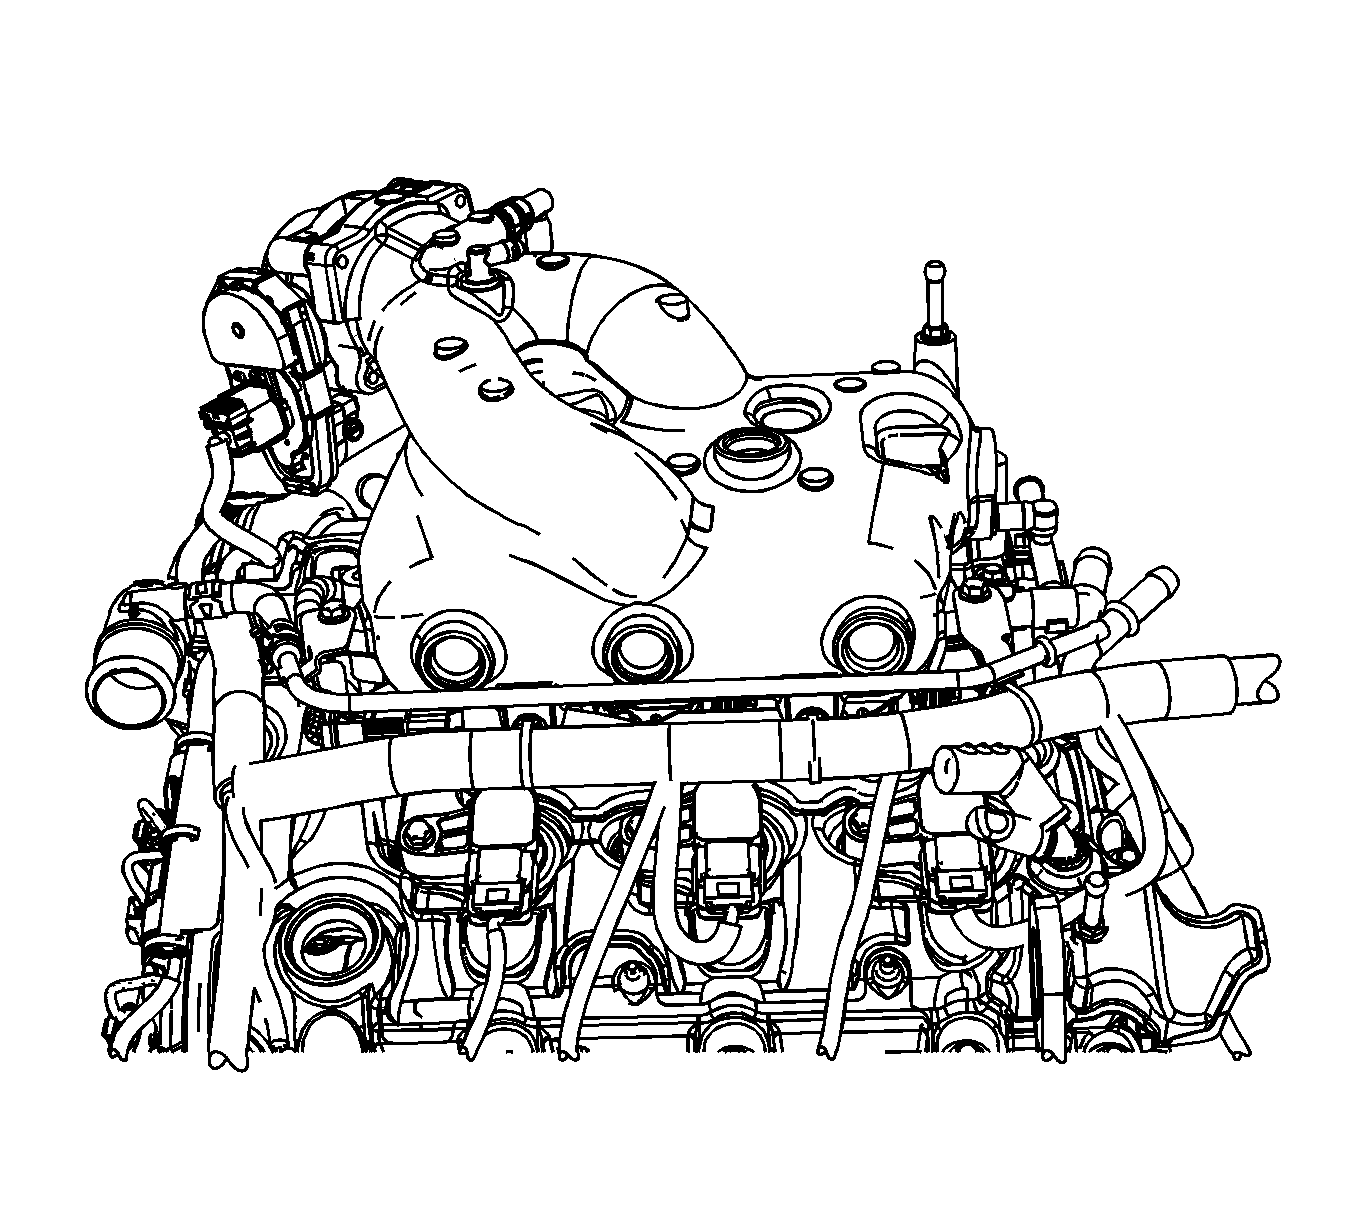
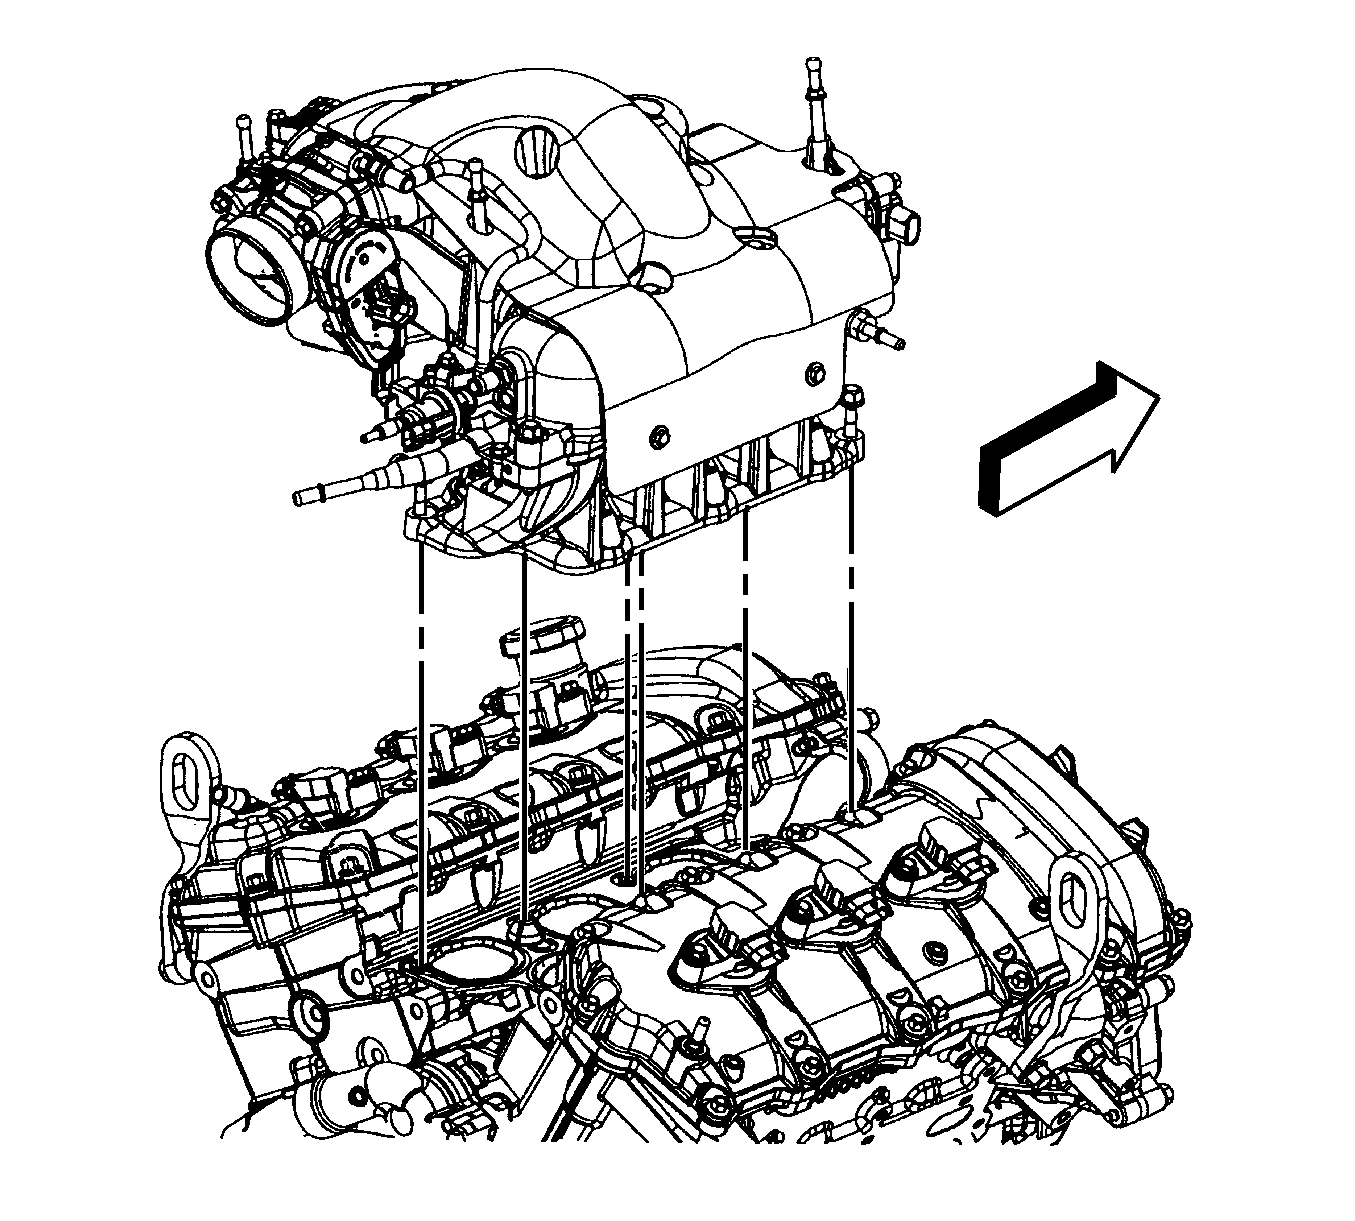
- Remove the upper intake retaining bolts.
- Remove the upper intake manifold and gasket. Discard gasket.
- If replacing the upper intake manifold complete the following steps:
| 14.1. | Remove the evaporative emissions (EVAP) purge solenoid valve. Refer to Evaporative Emission Canister Purge Solenoid Valve Replacement . |
| 14.2. | Remove the throttle body. Refer to Throttle Body Assembly Replacement . |
Installation Procedure
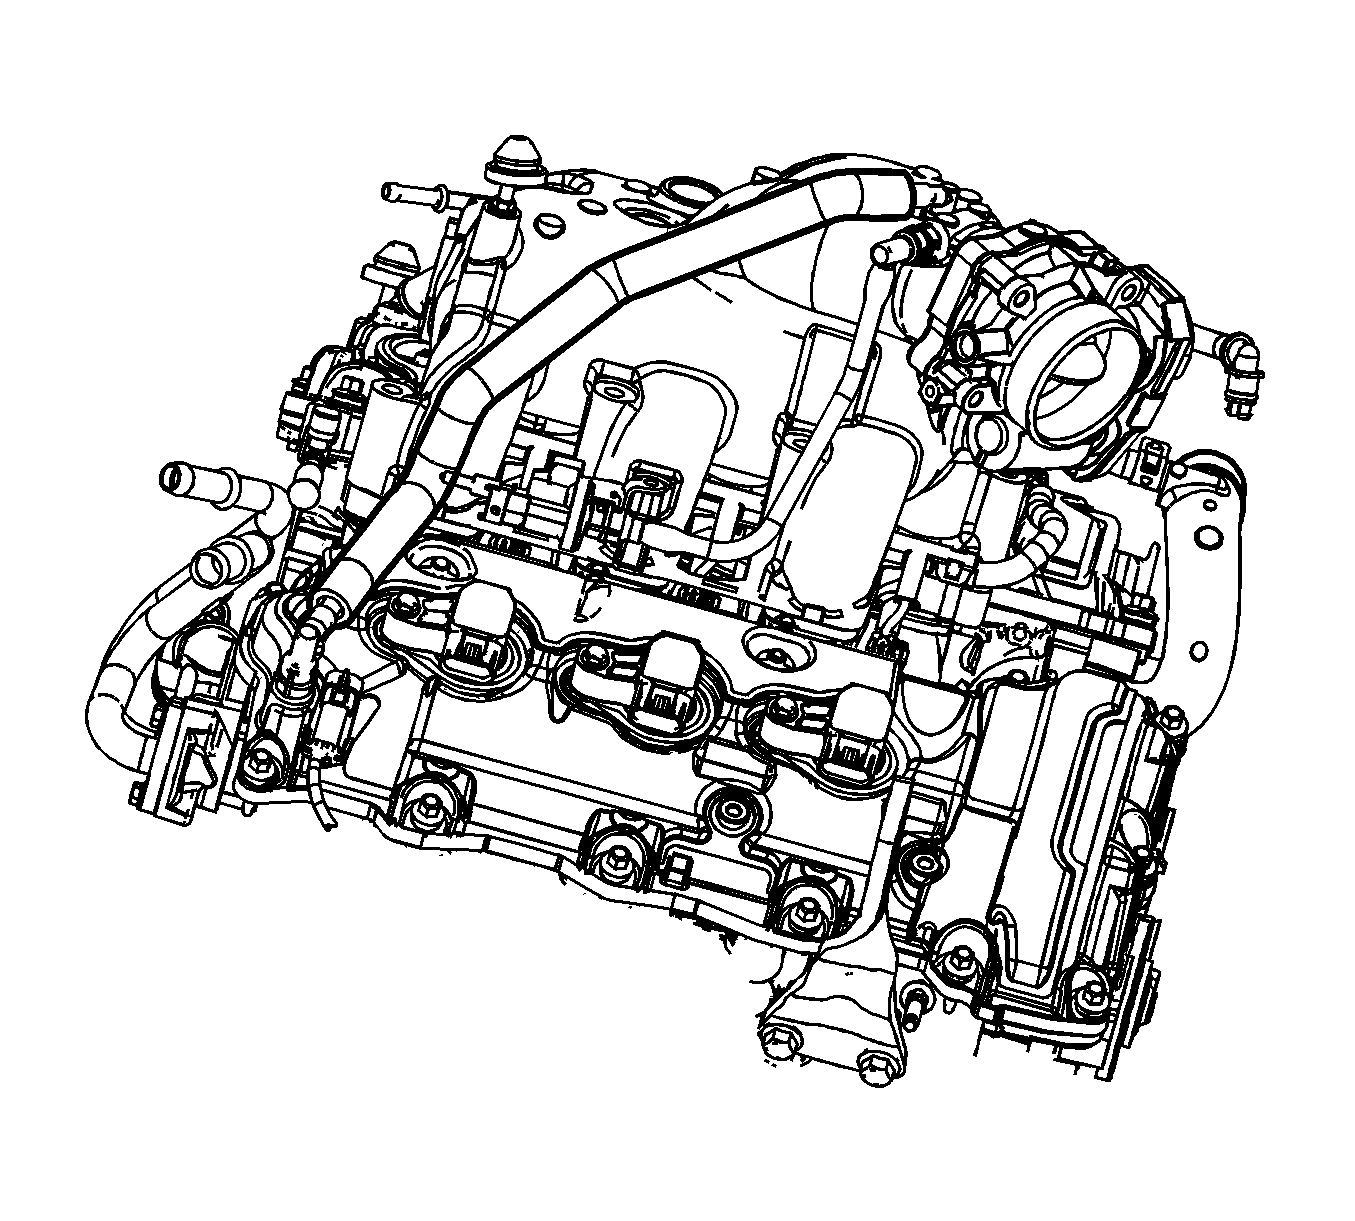
- Install the upper intake manifold gaskets to the lower intake manifold and install the fir tree retainers to retain the upper intake manifold gasket position.
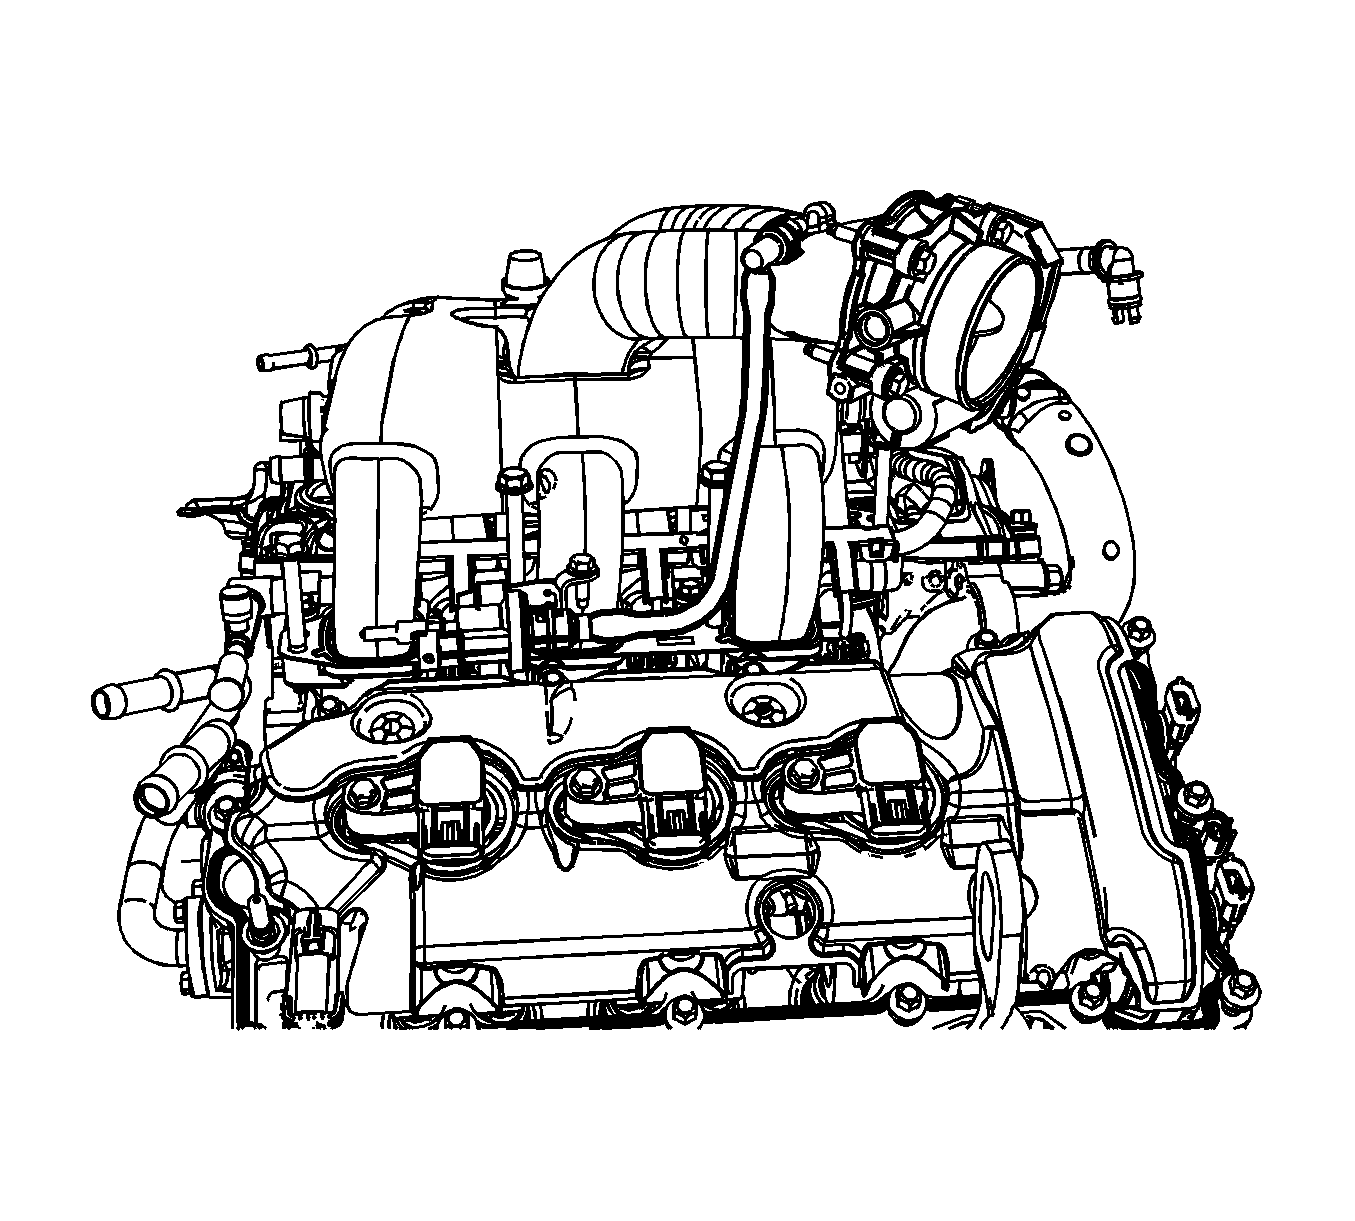
- Install the upper intake manifold.
- Apply threadlock to the bolt threads. Refer to Adhesives, Fluids, Lubricants, and Sealers .
- Install the upper intake manifold bolts.
- If the upper manifold was replaced, complete the following steps:
- Install the engine harness retaining clips.
- Install the brake booster vacuum hose to the intake manifold.
- Install the brake booster vacuum hose to the intake manifold.
- Position the bleed pipe.
- Install the bleed pipe hose clamp (2).
- Install the bleed pipe bolts (1).
- Connect the coolant hose bleed pipe.
- Connect the EVAP canister purge line.
- Connect the PCV line to the top of the intake manifold .
- Connect the ETC electrical connector.
- Install the air cleaner outlet duct.
- Install the fresh air PCV line to the air cleaner inlet duct.
- Install the engine cover. Refer to Fuel Injector Sight Shield Replacement .
Notice: Refer to Fastener Notice in the Preface section.
Tighten
Tighten the bolts to 25 N·m (18 lb ft).
| 5.1. | Install the throttle body. Refer to Throttle Body Assembly Replacement . |
| 5.2. | Install the EVAP purge solenoid valve. Refer to Evaporative Emission Canister Purge Solenoid Valve Replacement . |
Tighten
Tighten the nut to 10 N·m (89 lb in).
