For 1990-2009 cars only
Removal Procedure
- Vent the rear window.
- Open the rear sunshade.
- It is only necessary to lower the headliner. Only do those step in headliner replacement that will lower the headliner enough to gain access to the part. Refer to Headlining Trim Panel Replacement.
- Remove the center and rear vent windows. Refer to Sunroof Window Replacement.
- Remove the rear sunshade. Refer to Sunroof Sunshade Assembly Replacement.
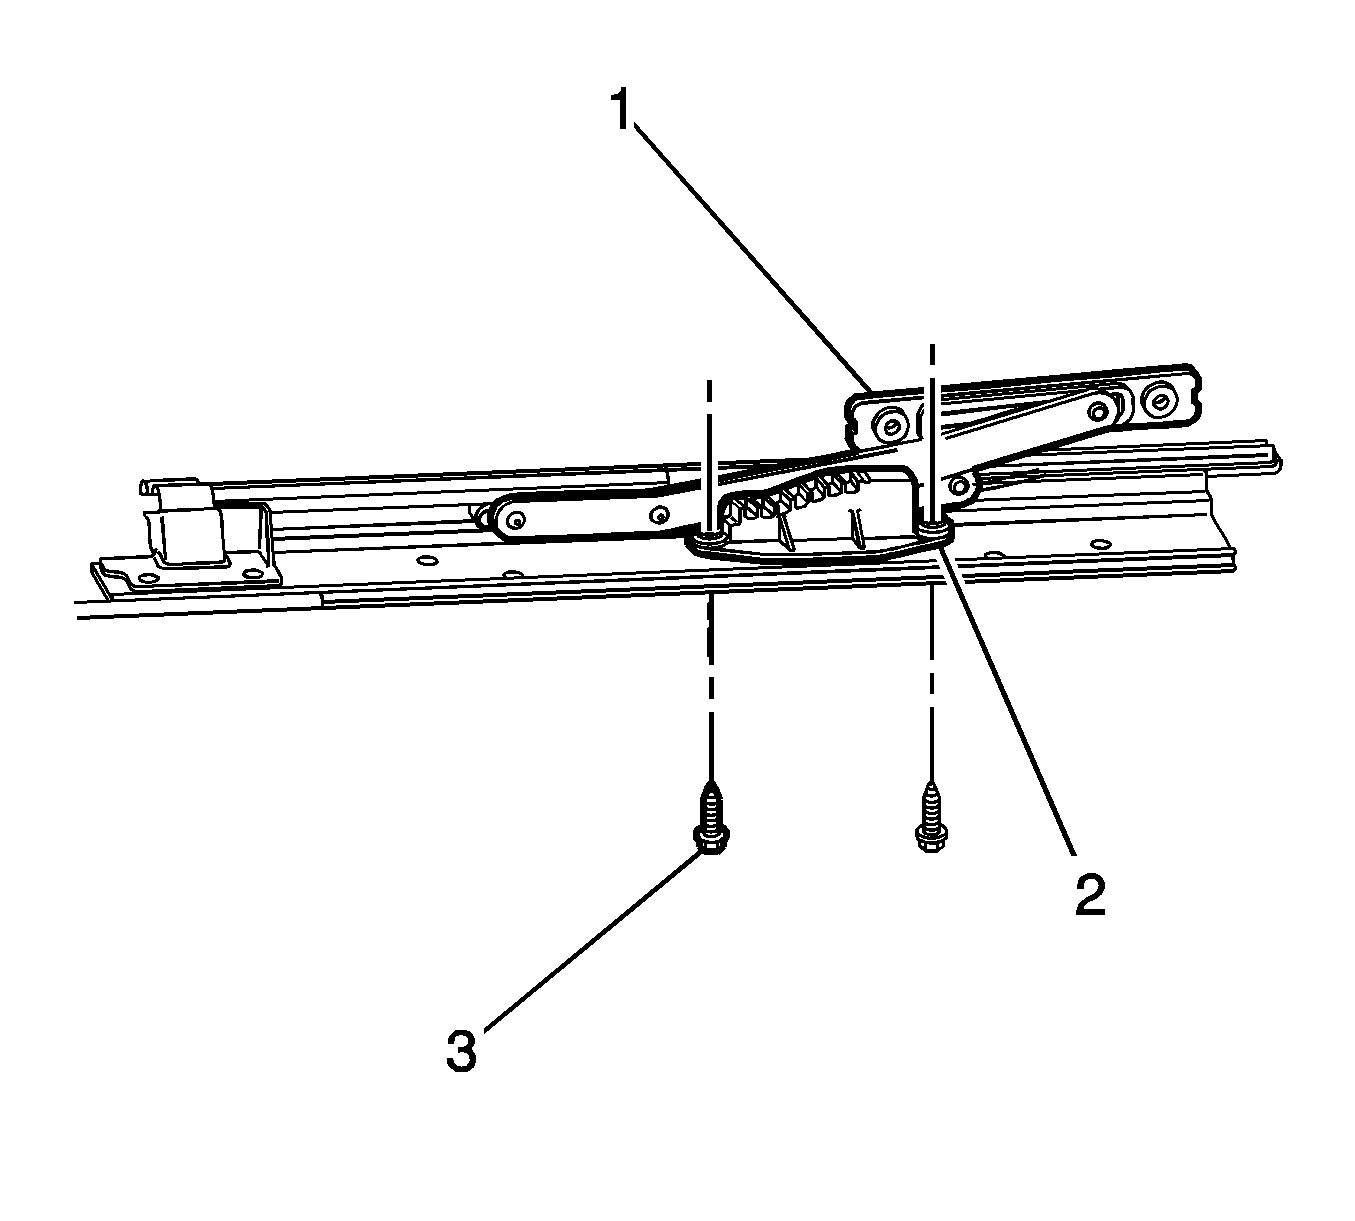
- Loosen all of the rear track assembly screws.
- Carefully pull downward the front edge of the rear track. (3).
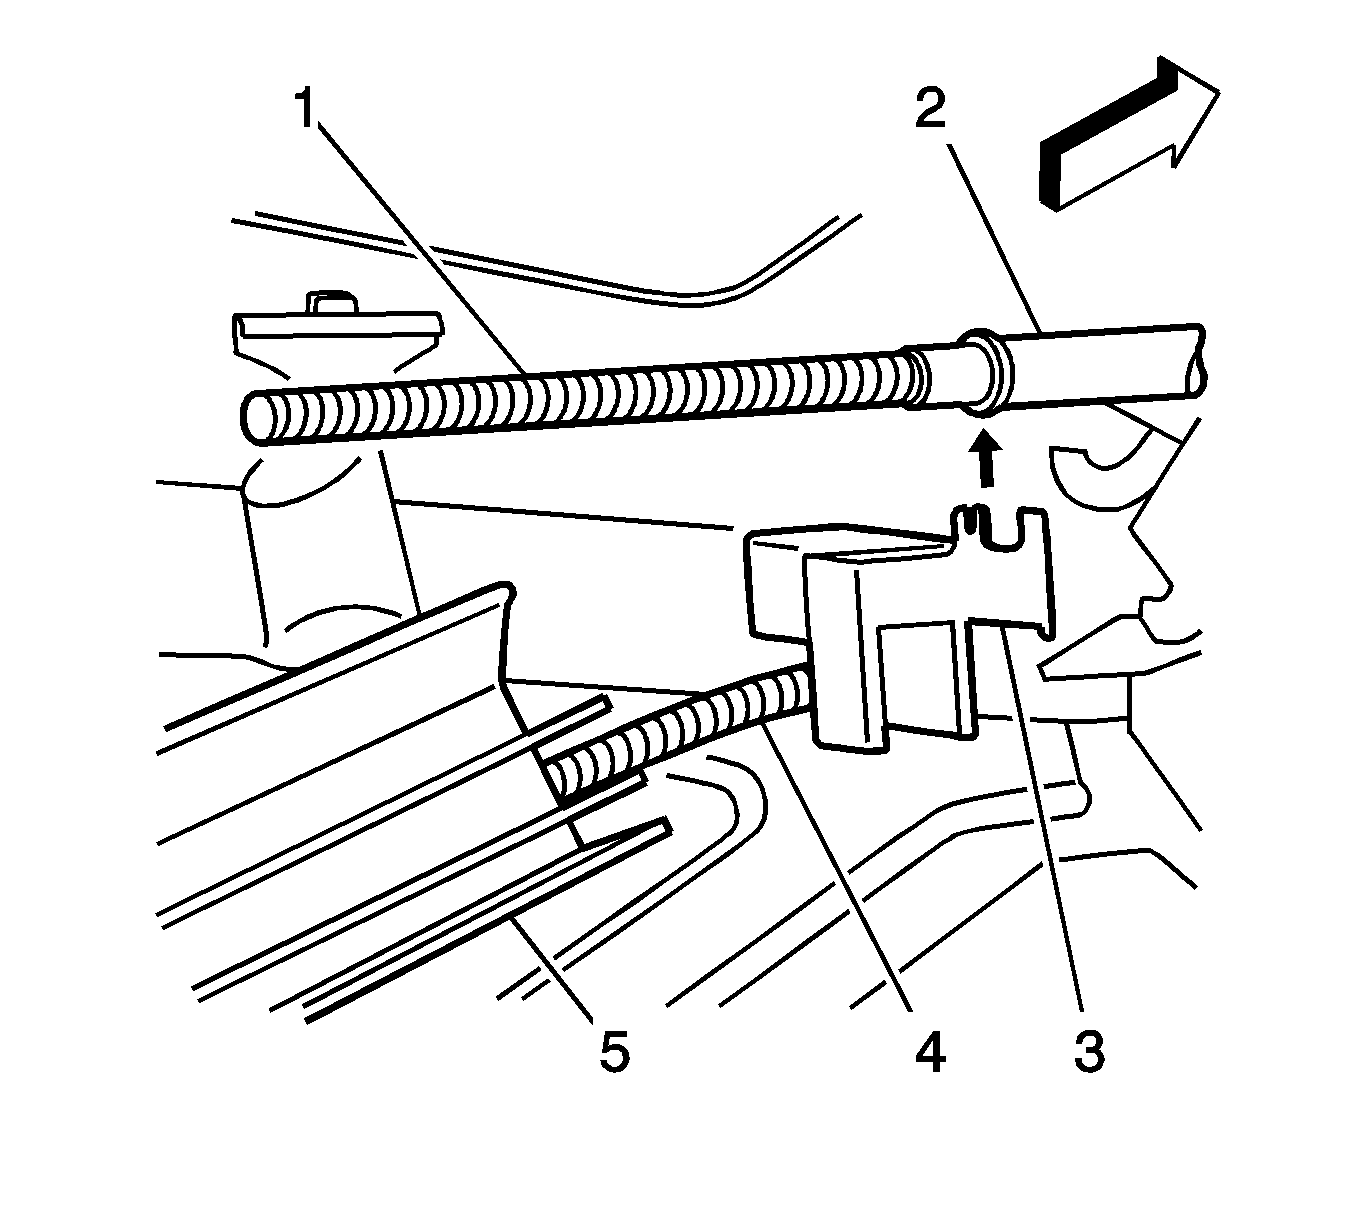
- Release the drive tube retainer from the drive tubes and the track.
- Remove the retainer (3) from the sunroof track (5).


Installation Procedure
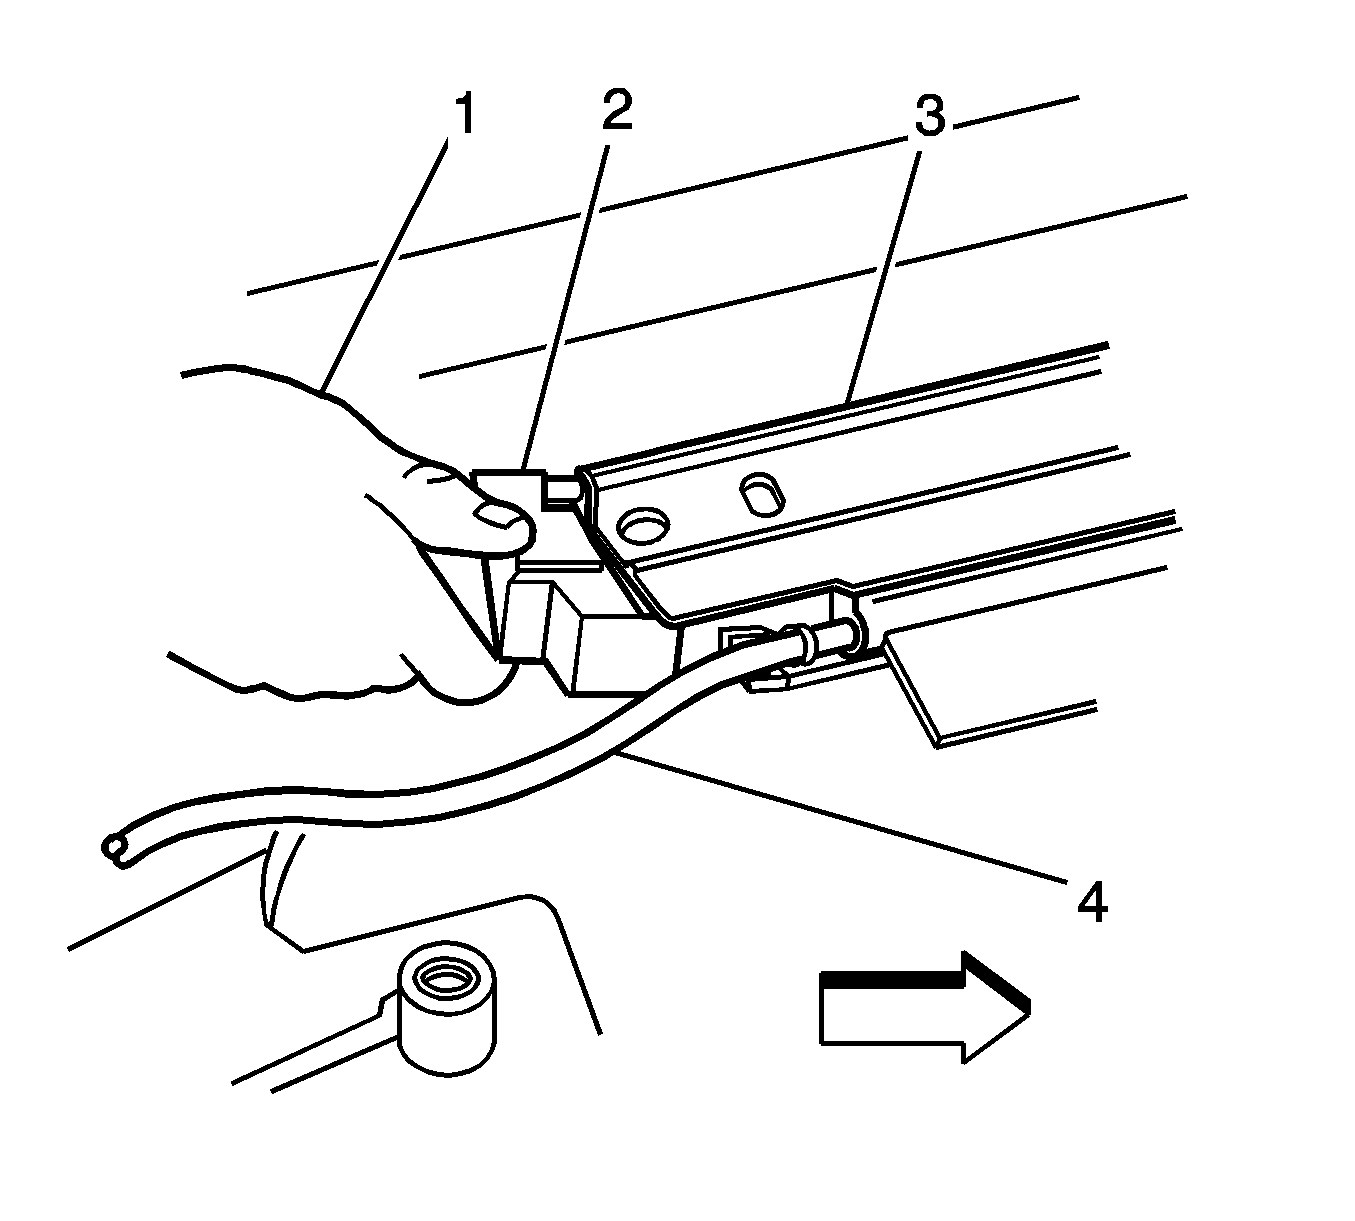
- Position the retainer (2) to the drive tube (4) and the track (3).
- Secure the upper half of the retainer to the lower half of the retainer.
- Measure the tracks side to side to ensure that the tracks are parallel.
- Install the rear track screws.
- Install the rear sunshade assembly. Refer to Sunroof Sunshade Assembly Replacement.
- Install the headliner. Refer to Headlining Trim Panel Replacement.
- Install the center and rear vent windows. Refer to Sunroof Window Replacement.
- Perform the rear vent window sunshade initialization procedure. Refer to Sunroof Rear Sunshade Initialization.

Caution: Refer to Fastener Caution in the Preface section.

Tighten
Tighten the screws to 5 N·m (44 lb in).
