For 1990-2009 cars only
Removal Procedure
- Raise and suitably support the vehicle. Refer to Lifting and Jacking the Vehicle .
- Place a drain pan or suitable container under the vehicle.
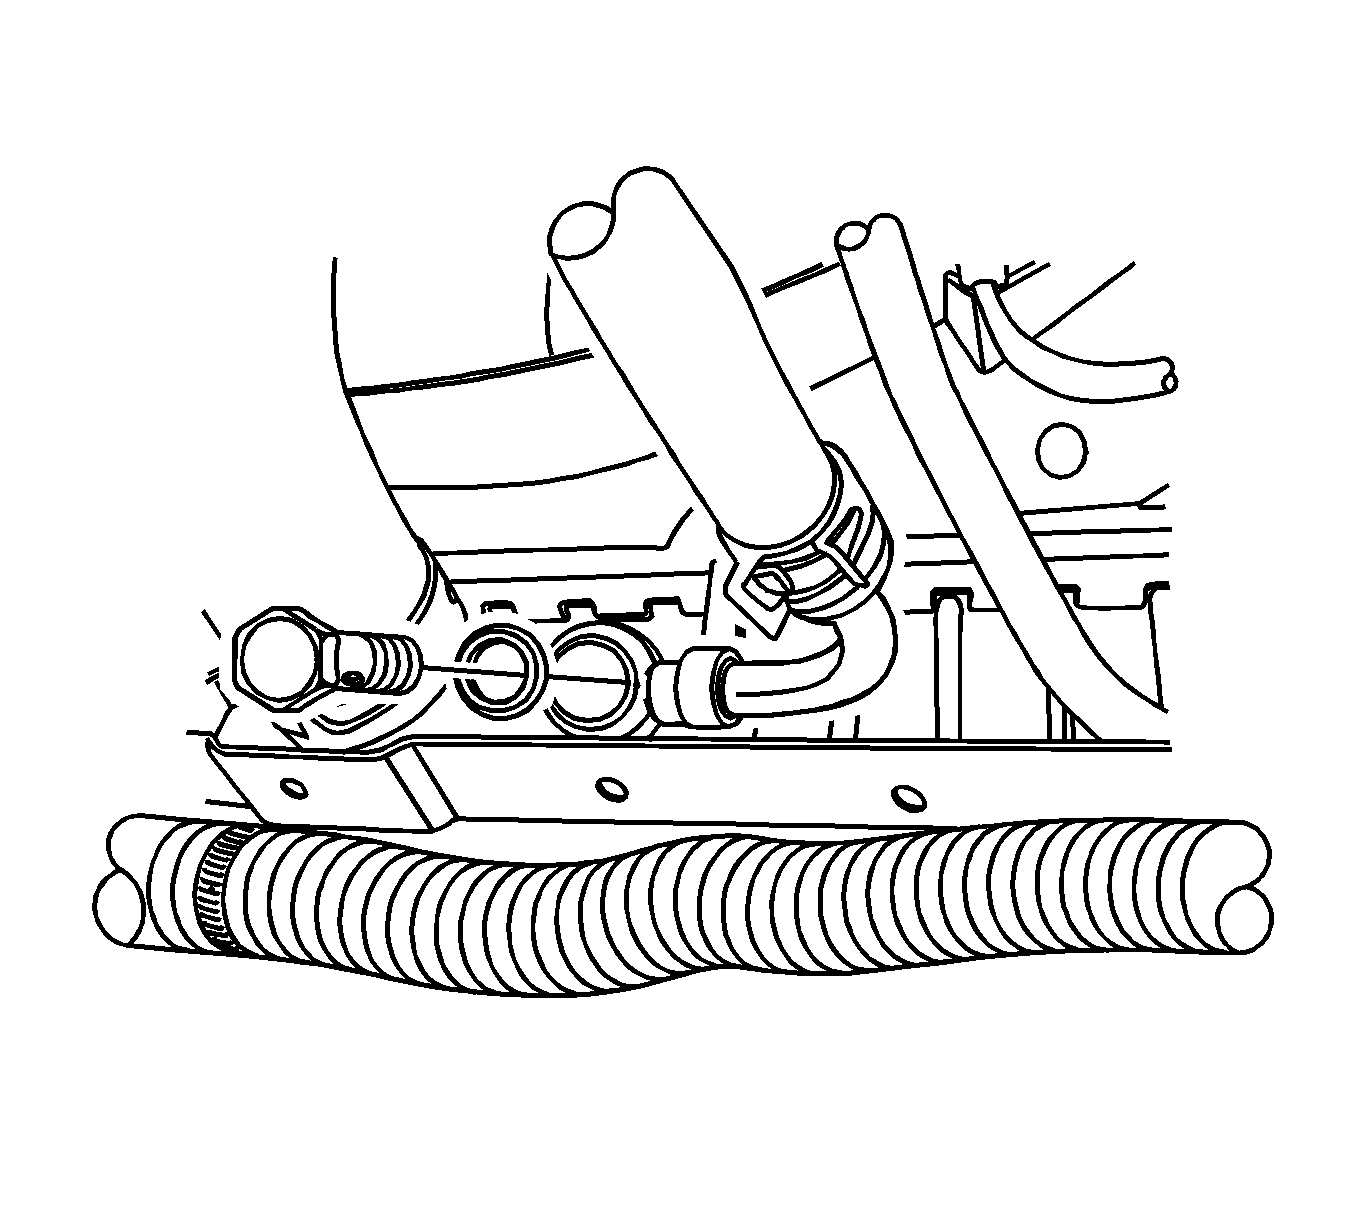
- Remove the inlet pipe union bolt from the radiator.
- Remove the outlet pipe union bolt and the clip bolt from the radiator.
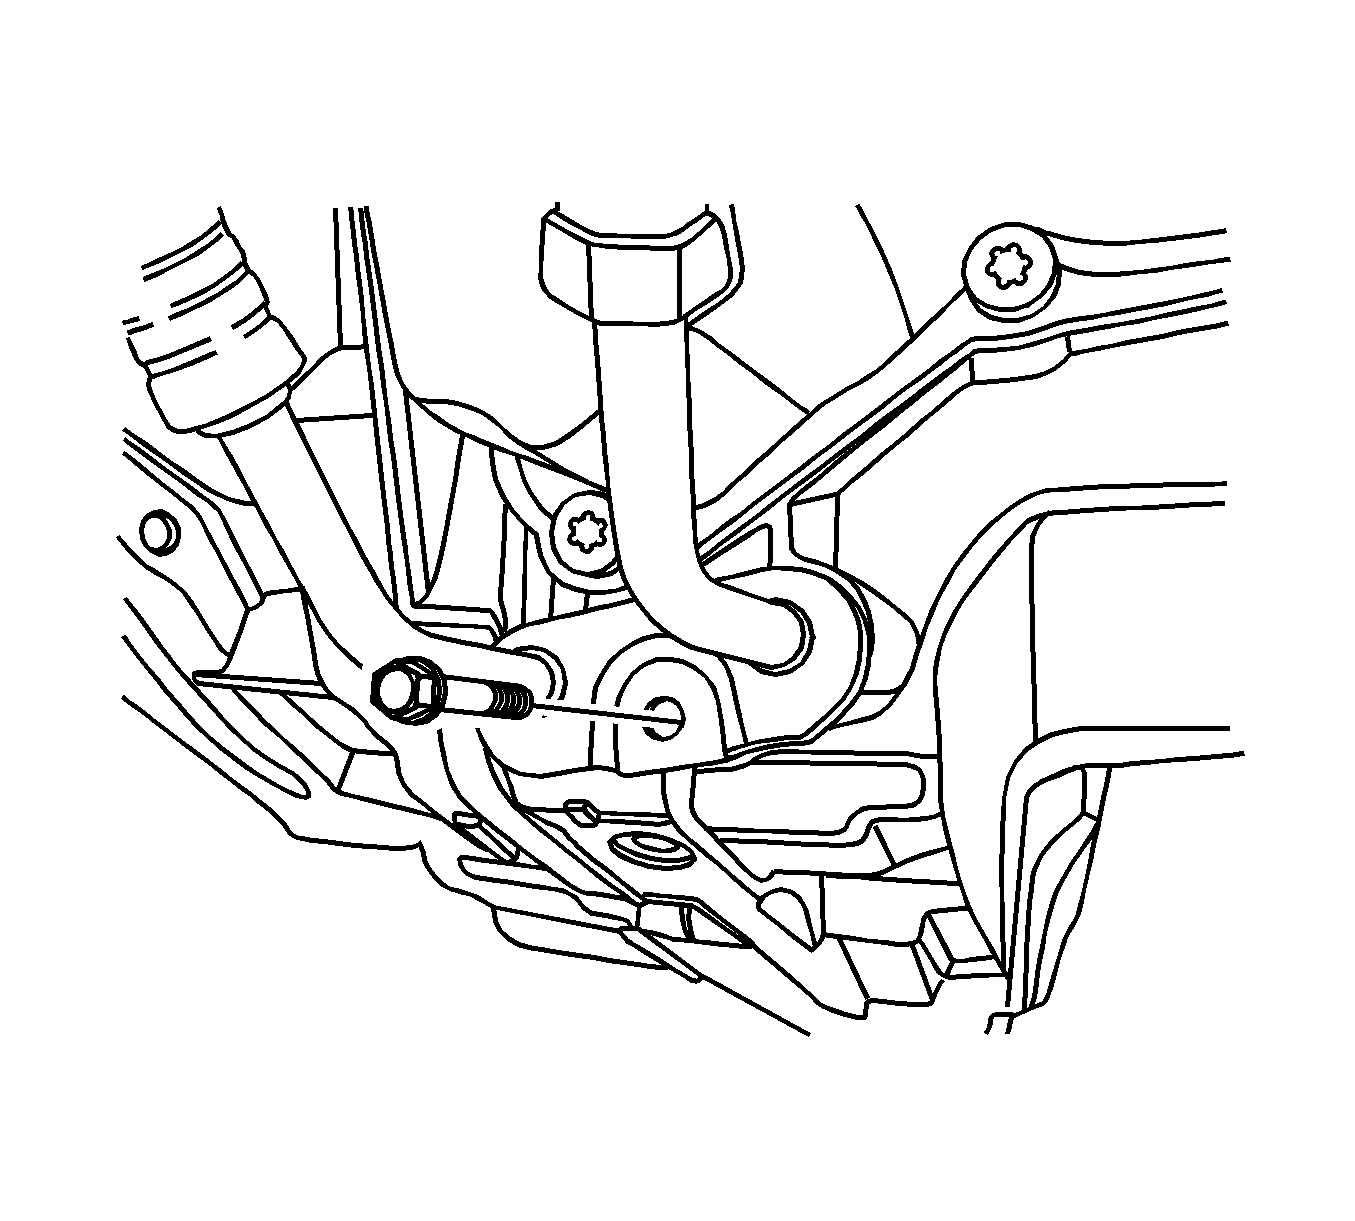
- Remove the oil cooler line assembly bolt from the transaxle.
- Remove the oil cooler line assembly.
- Replace the transaxle oil cooler line seals. Refer to Transmission Fluid Cooler Pipe Seal Replacement .
Installation Procedure
- Install the oil cooler line assembly to the transaxle.
- Install the oil cooler line assembly bolt.
- Install the outlet pipe union bolt and the clip bolt to the radiator.
- Install the inlet pipe union bolt to the radiator.
- Lower the vehicle.
- Add fluid to the transaxle.
- Check the fluid level. Refer to Transmission Fluid Replacement .
Notice: Refer to Fastener Notice in the Preface section.
Tighten
Tighten the oil cooler line assembly bolt to 10 N·m (89 lb in).
Tighten
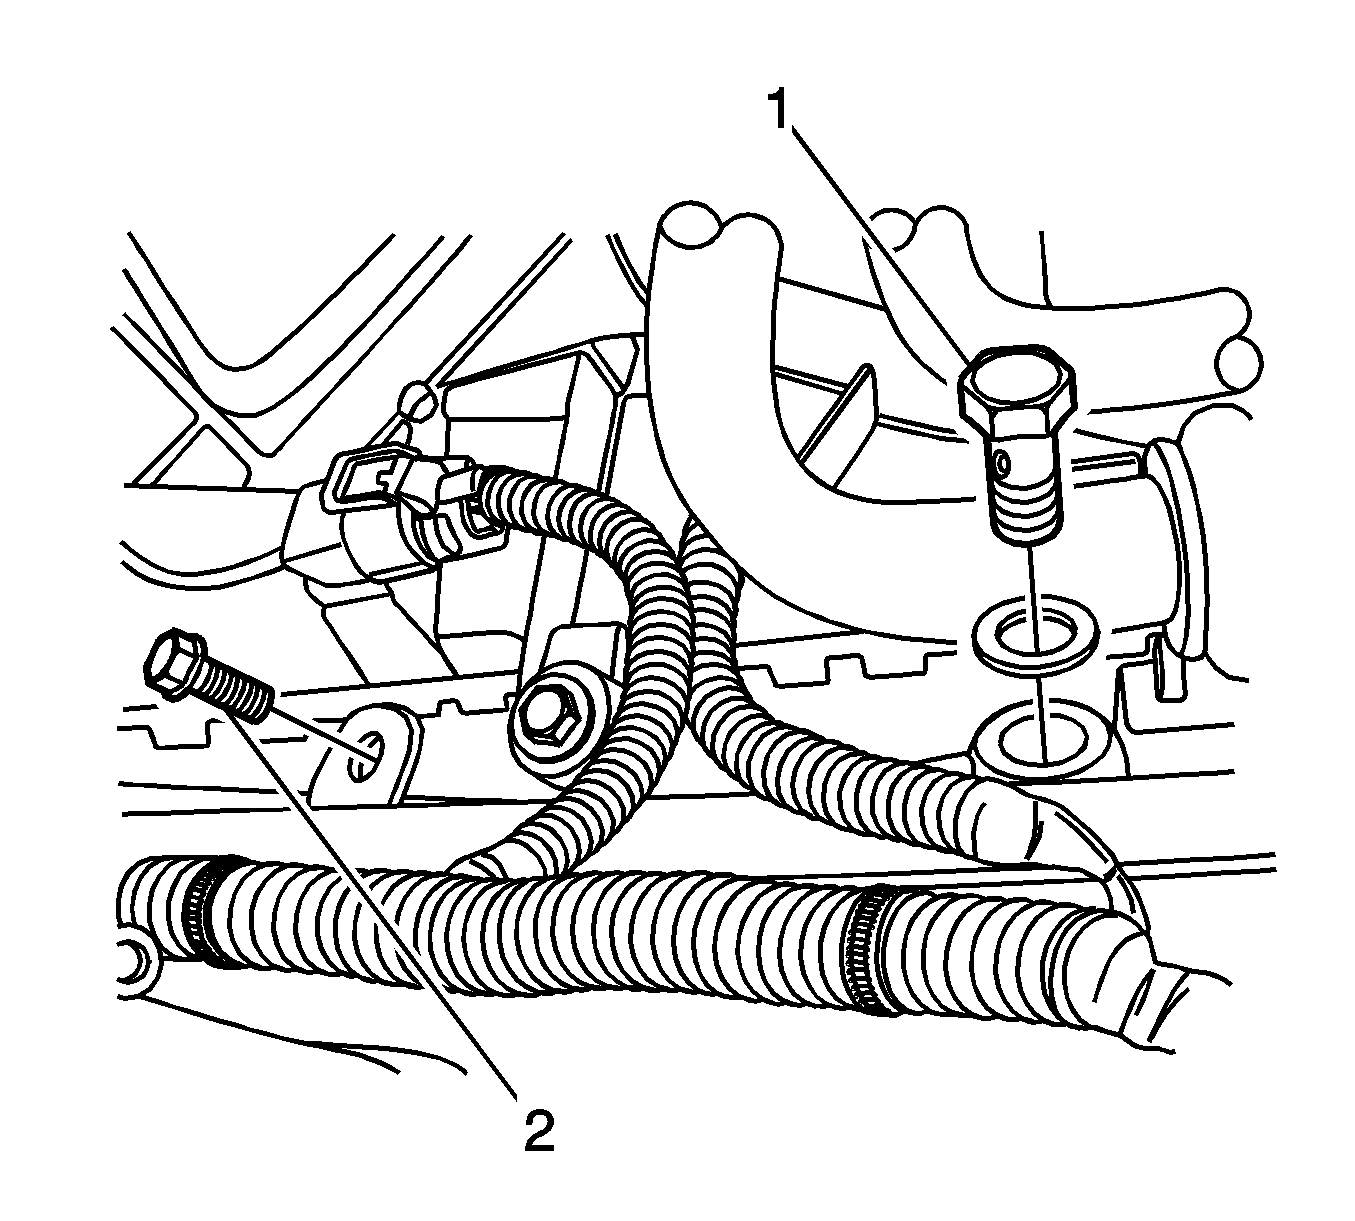
| • | Tighten the outlet pipe union bolt (1) to 33 N·m (24 lb ft). |
| • | Tighten the clip bolt (2) to 9 N·m (80 lb in). |
Tighten
Tighten the inlet pipe union bolt to 33 N·m (24 lb ft).
