Catalytic Converter Replacement Gasoline Engines
Removal Procedure
- Disconnect the negative battery cable.
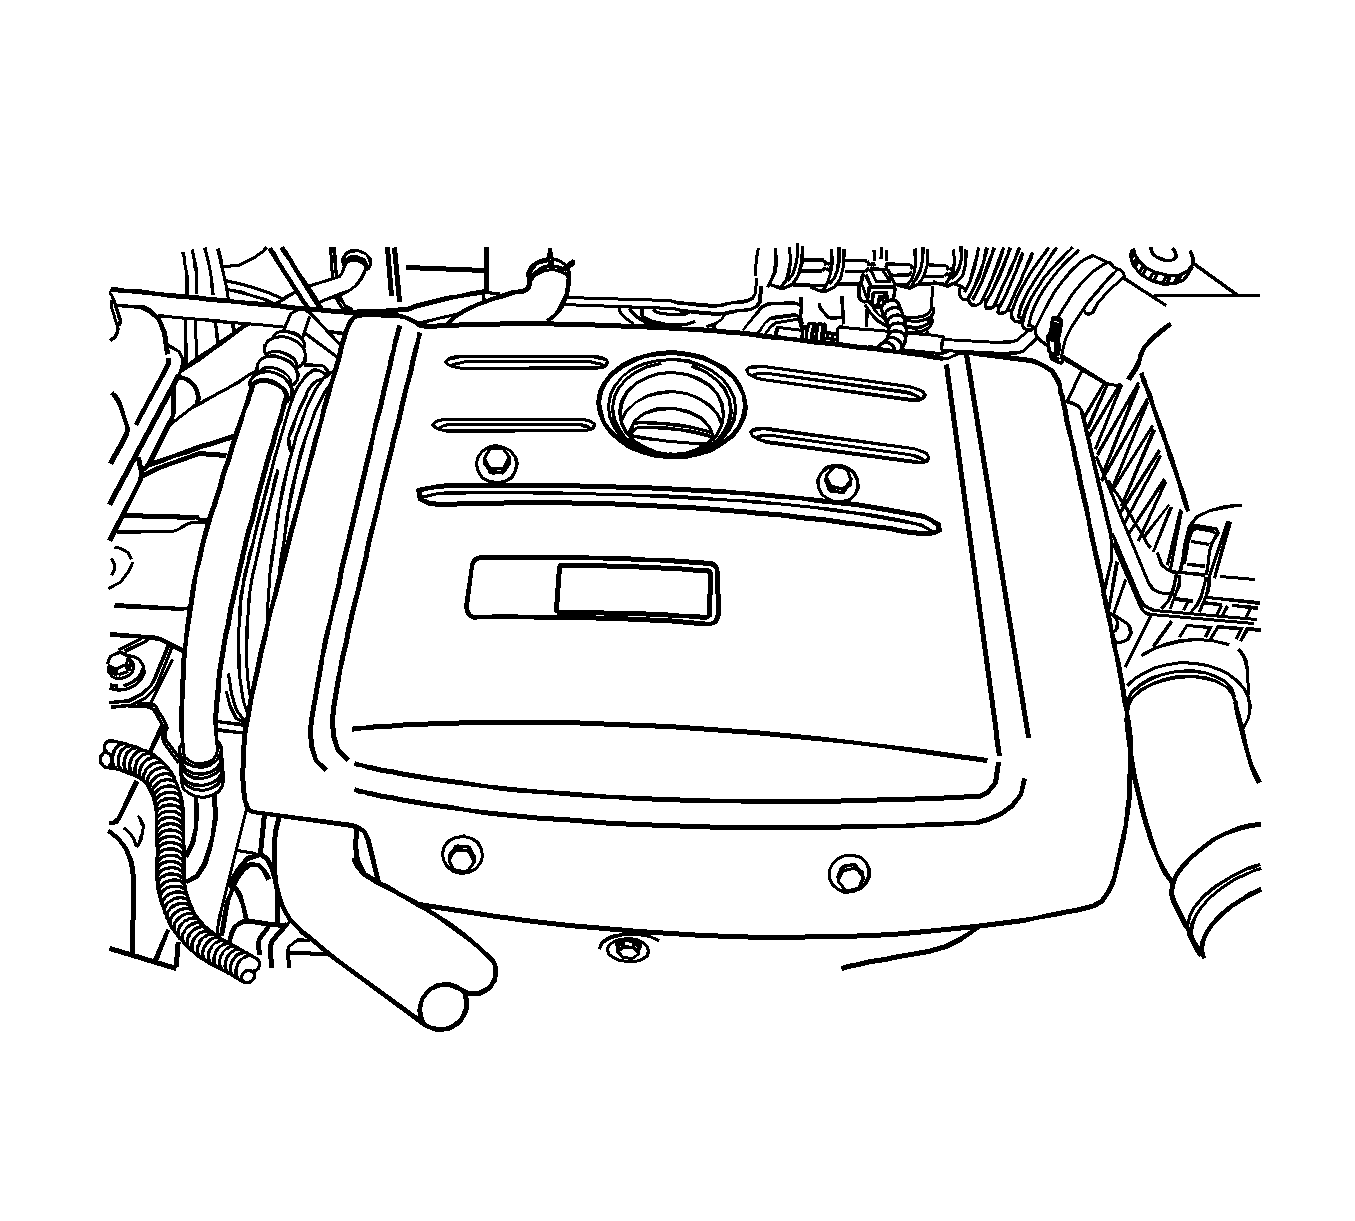
- Remove the spark plug cover.
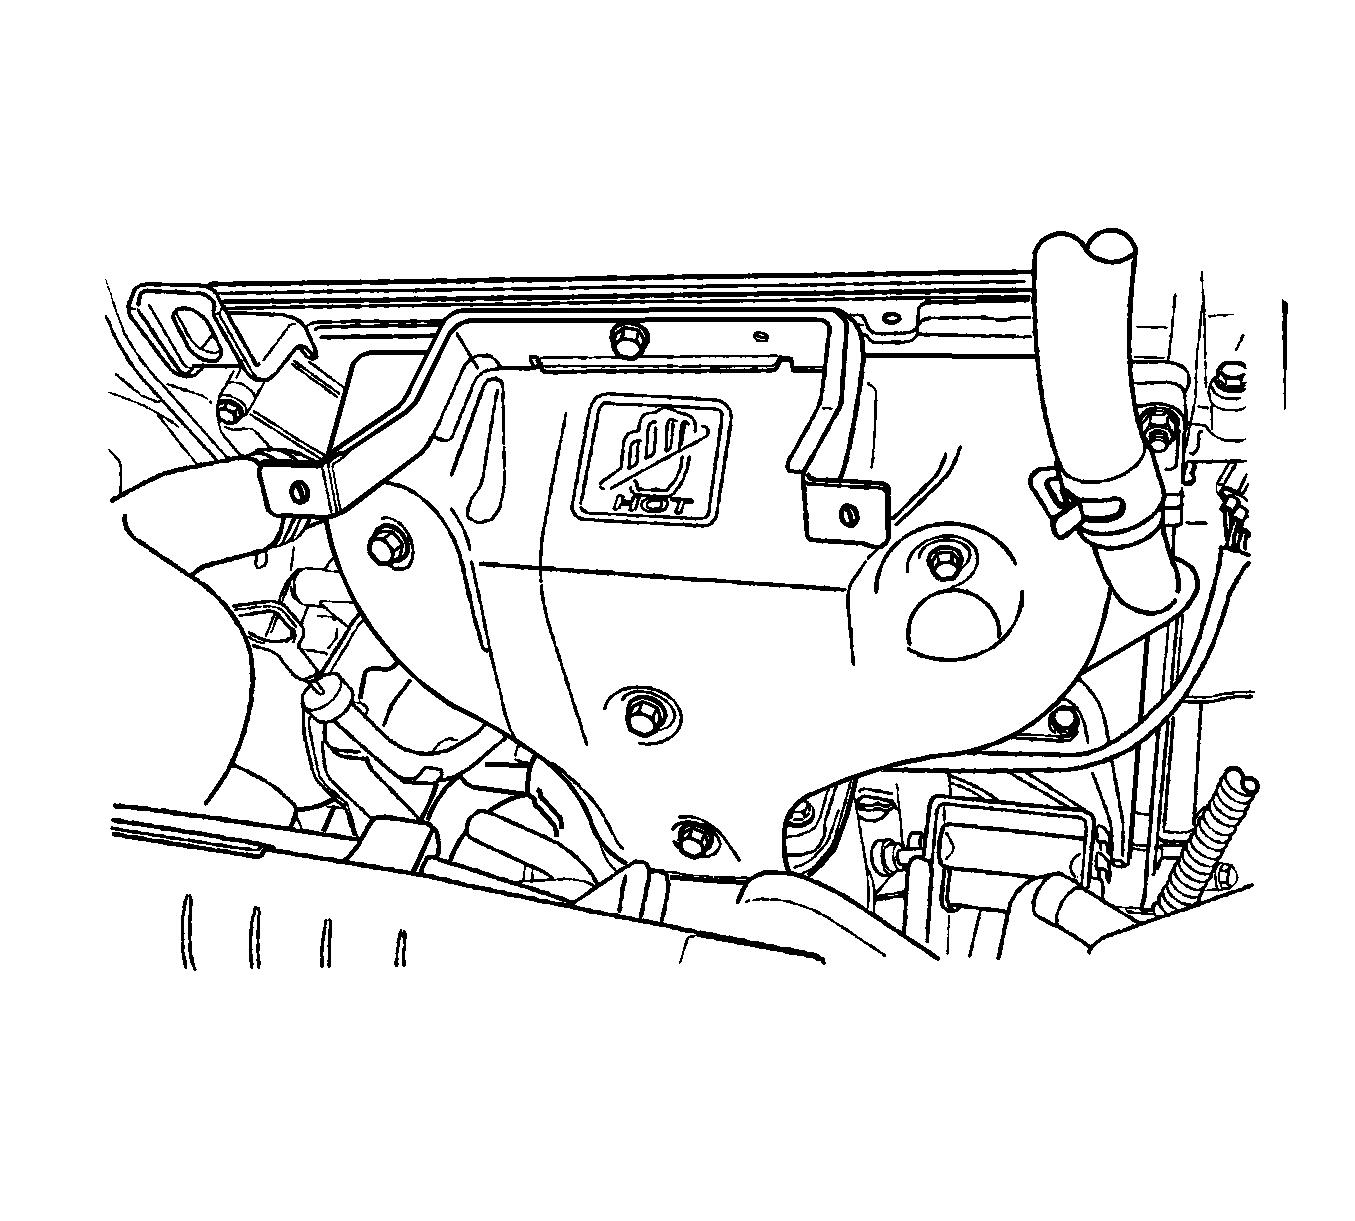
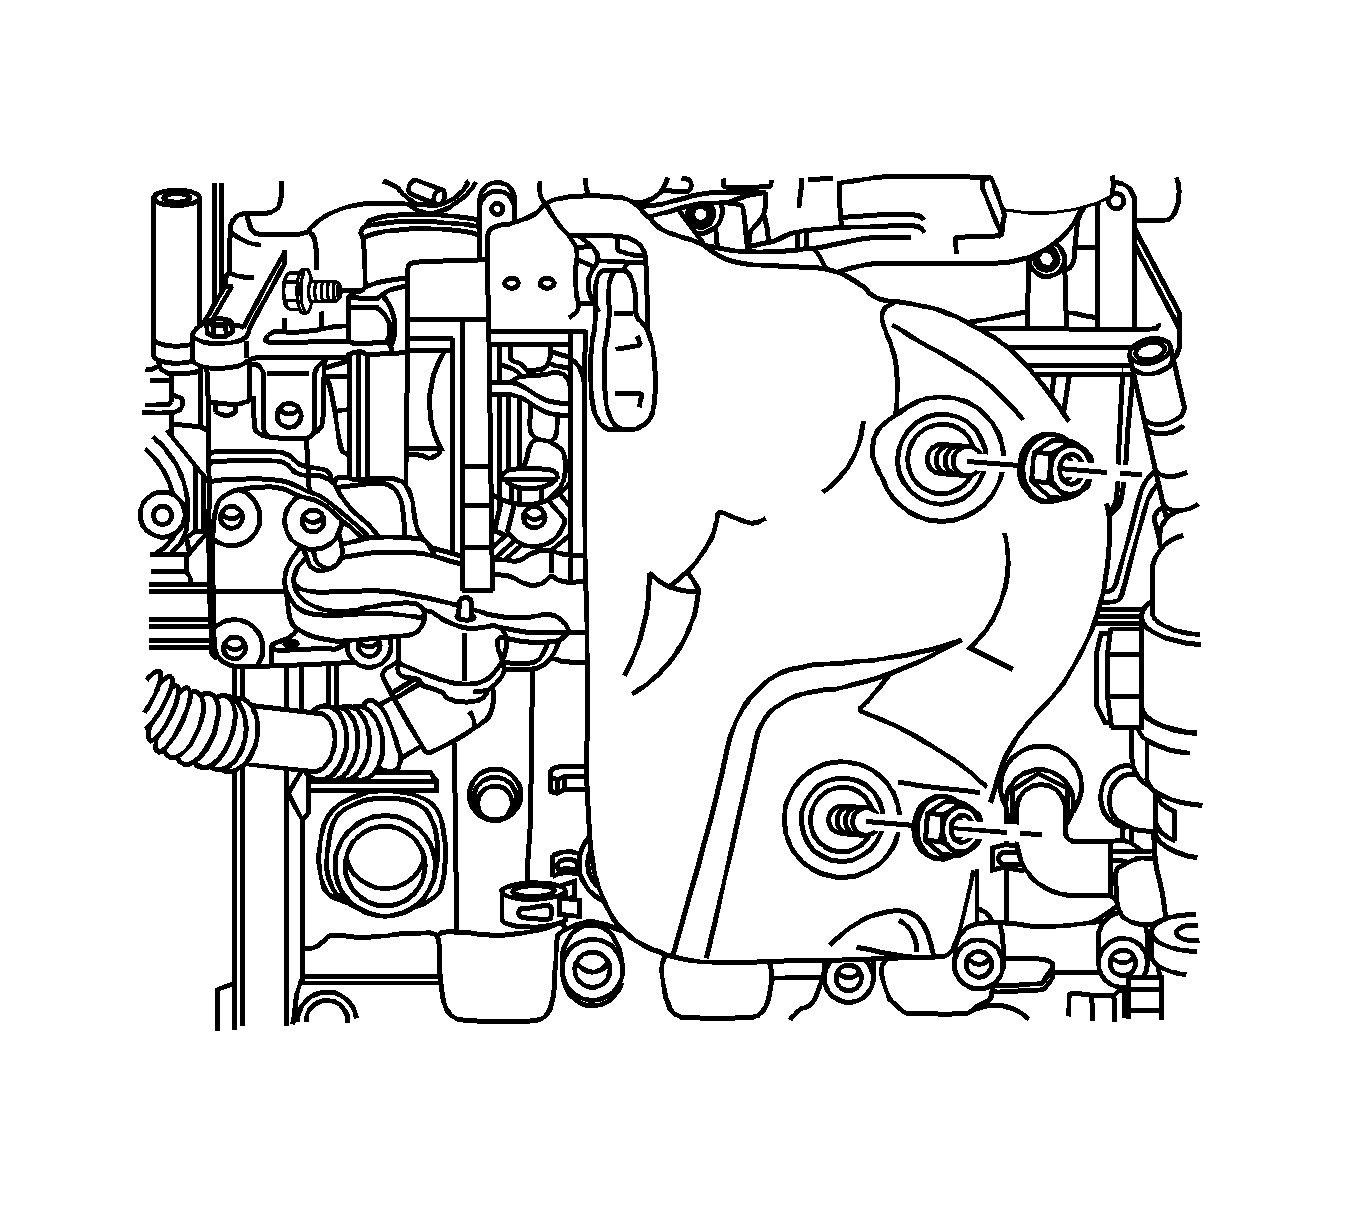
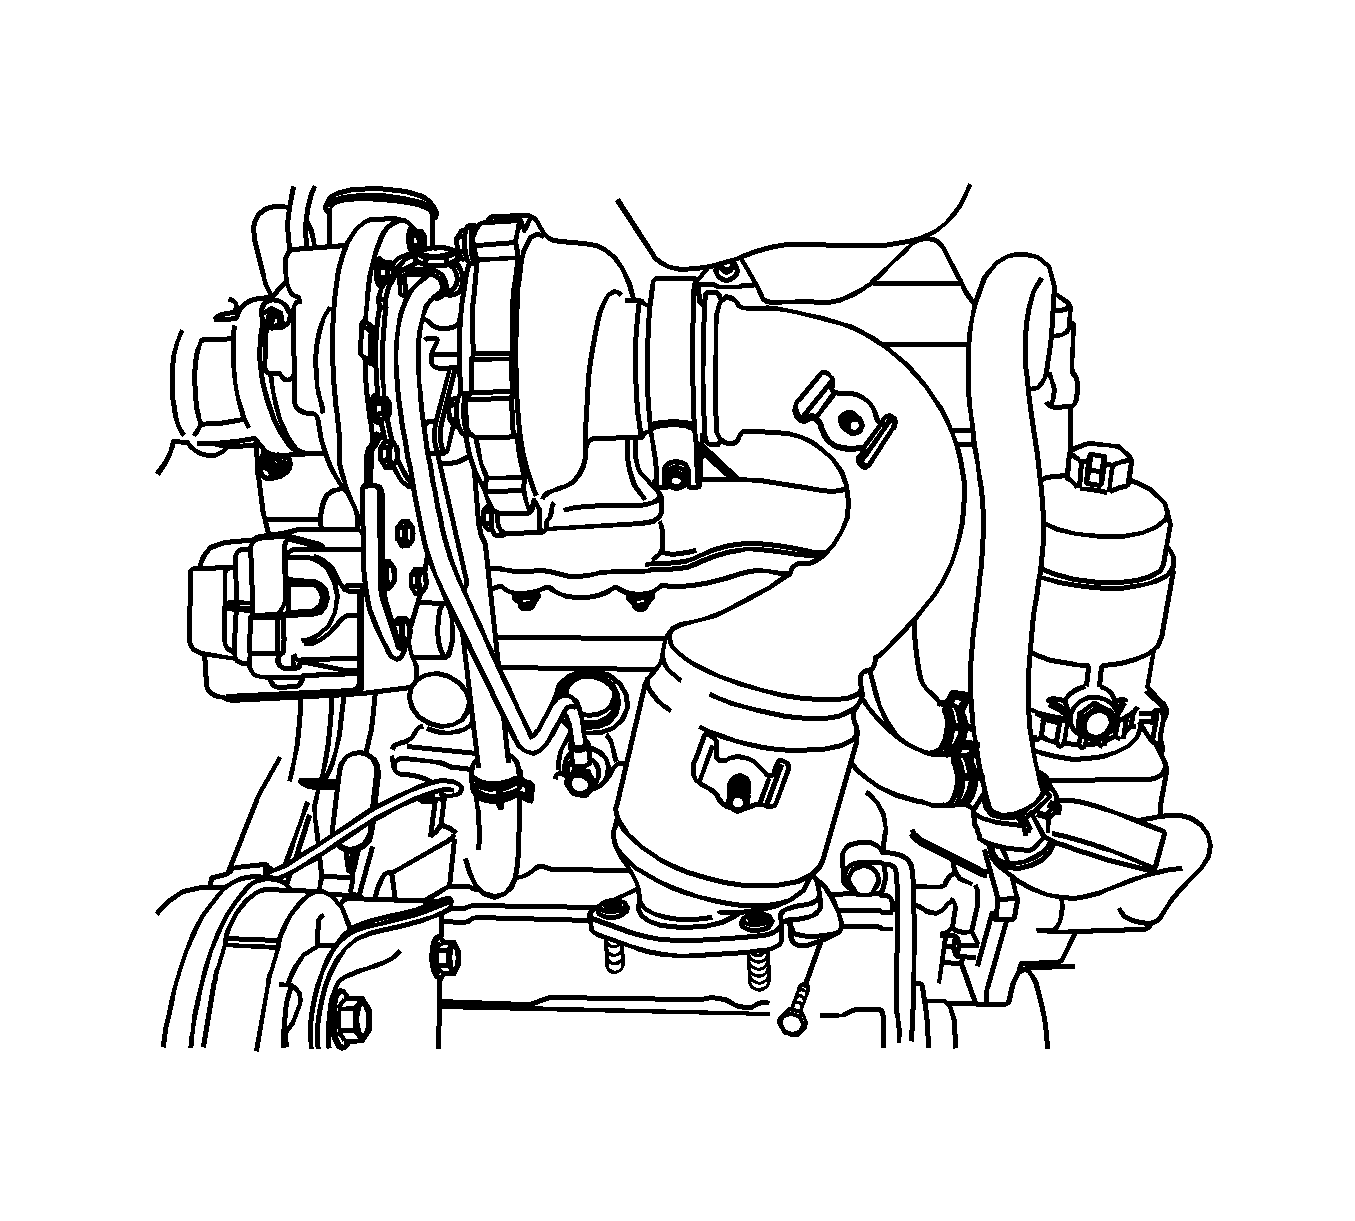
- Remove the exhaust manifold heat shield bolts and the heat shield.
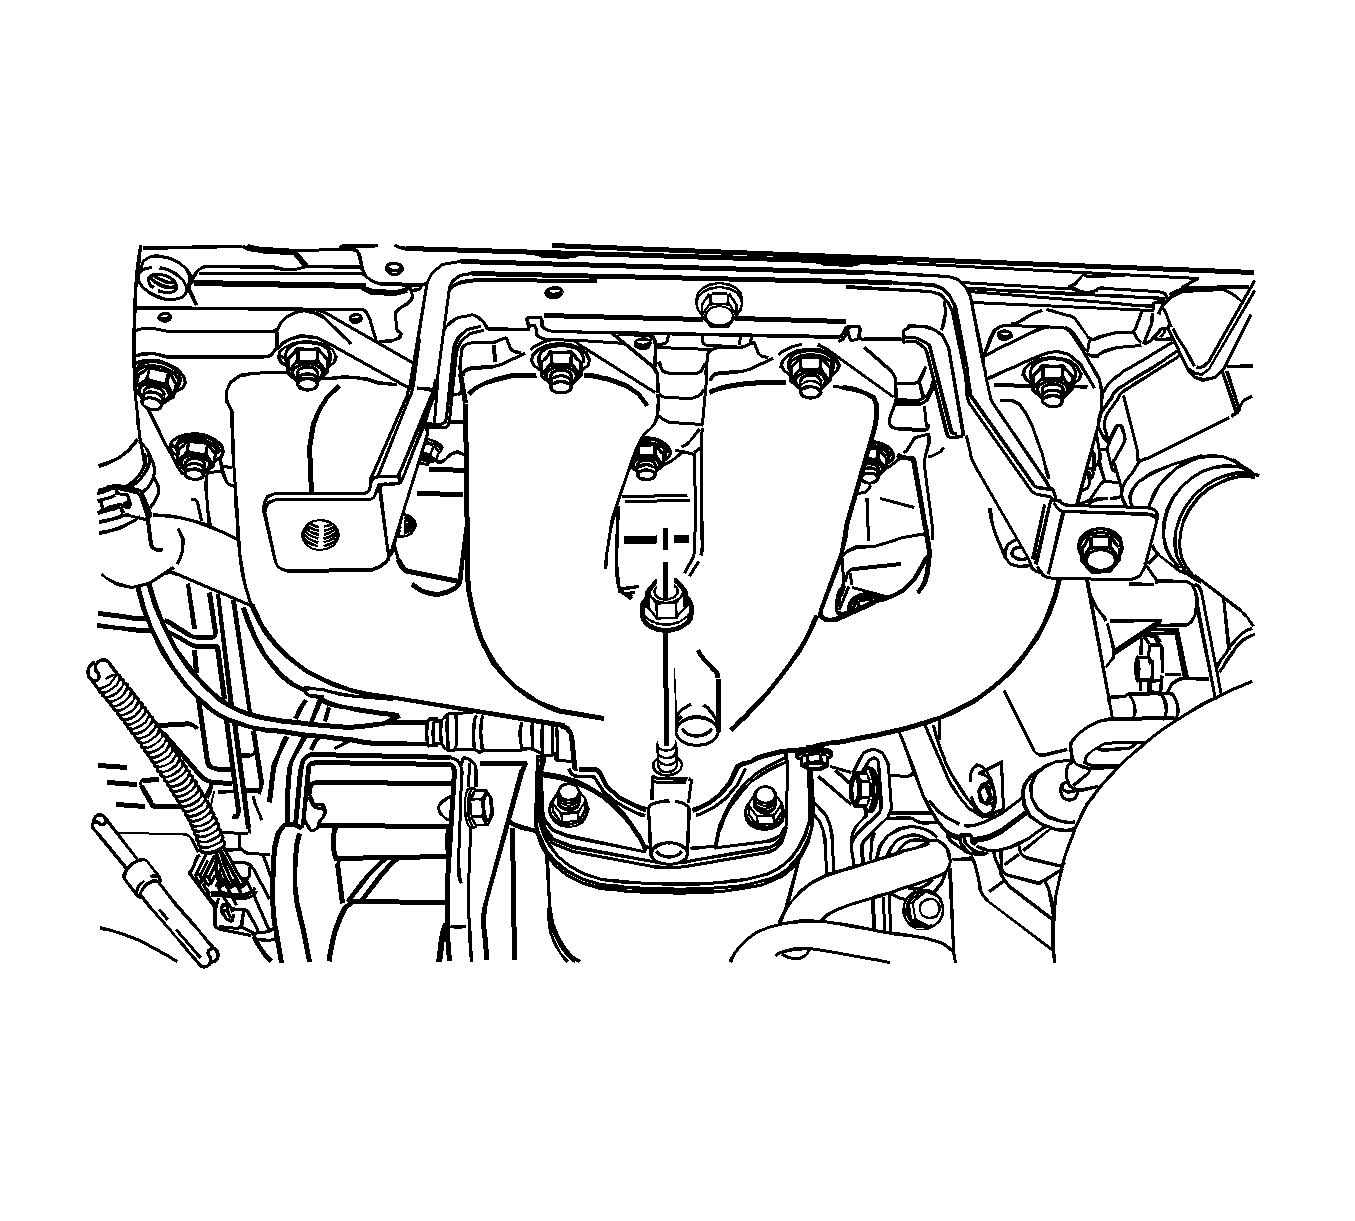
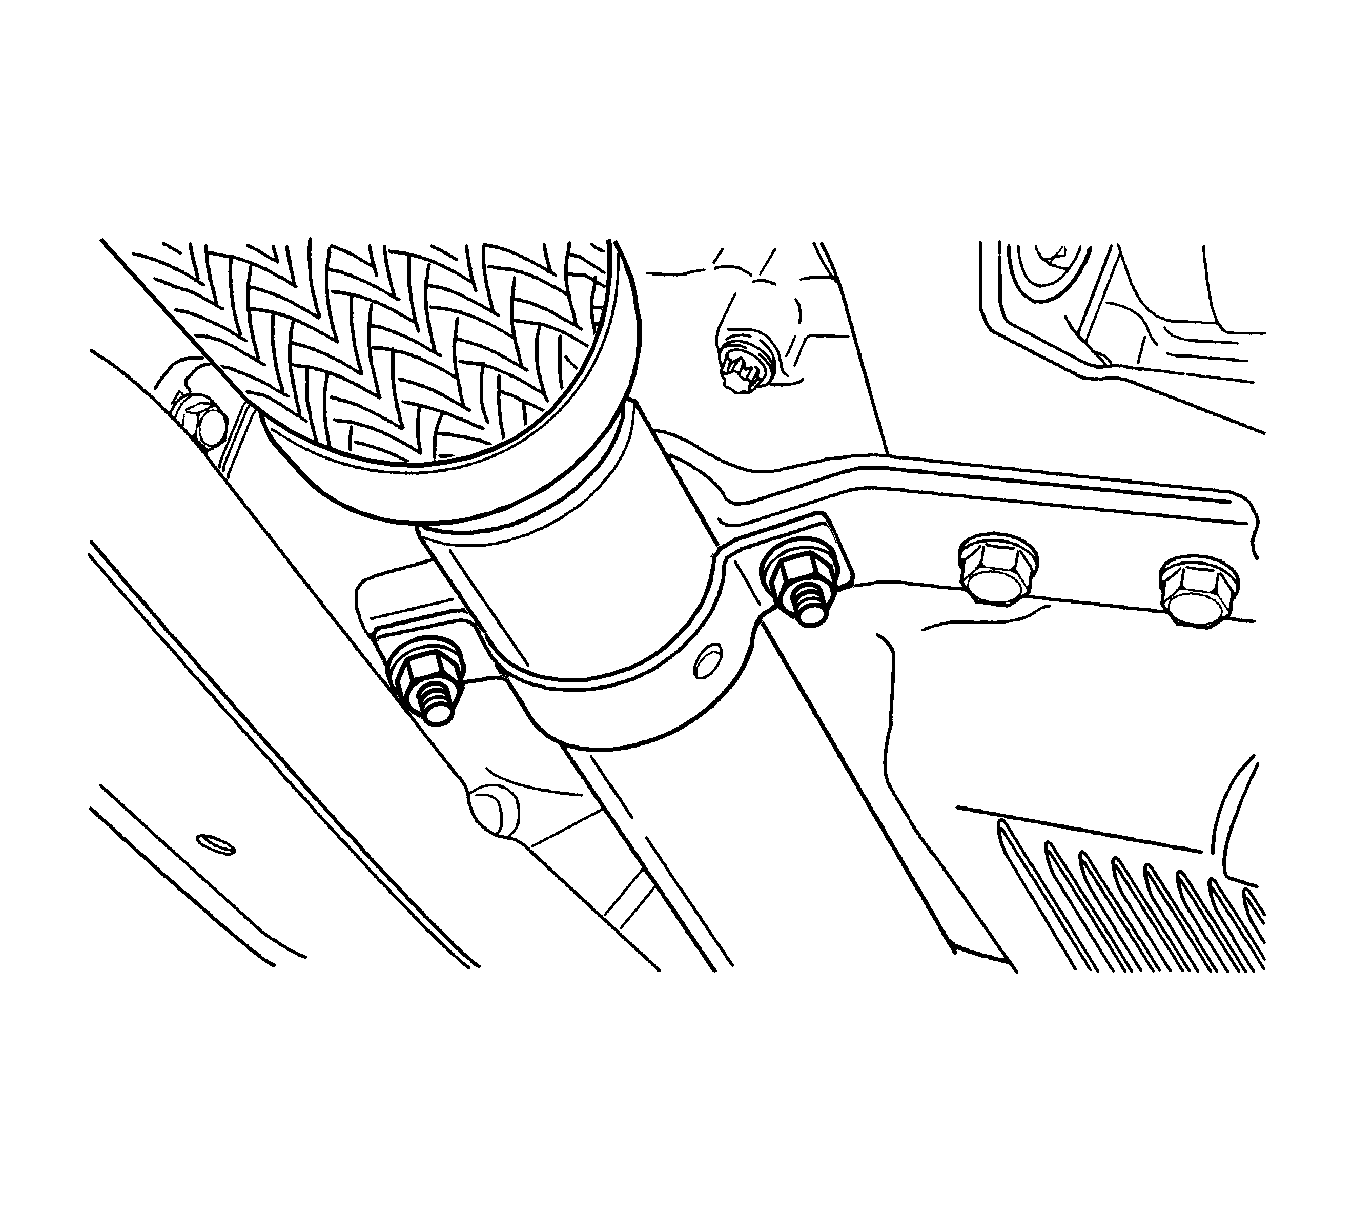
- Remove the catalytic converter upper flange nuts.
- Raise and suitably support the vehicle. Refer to Lifting and Jacking the Vehicle .
- Remove the splash guard. Refer to Engine Shield Replacement .
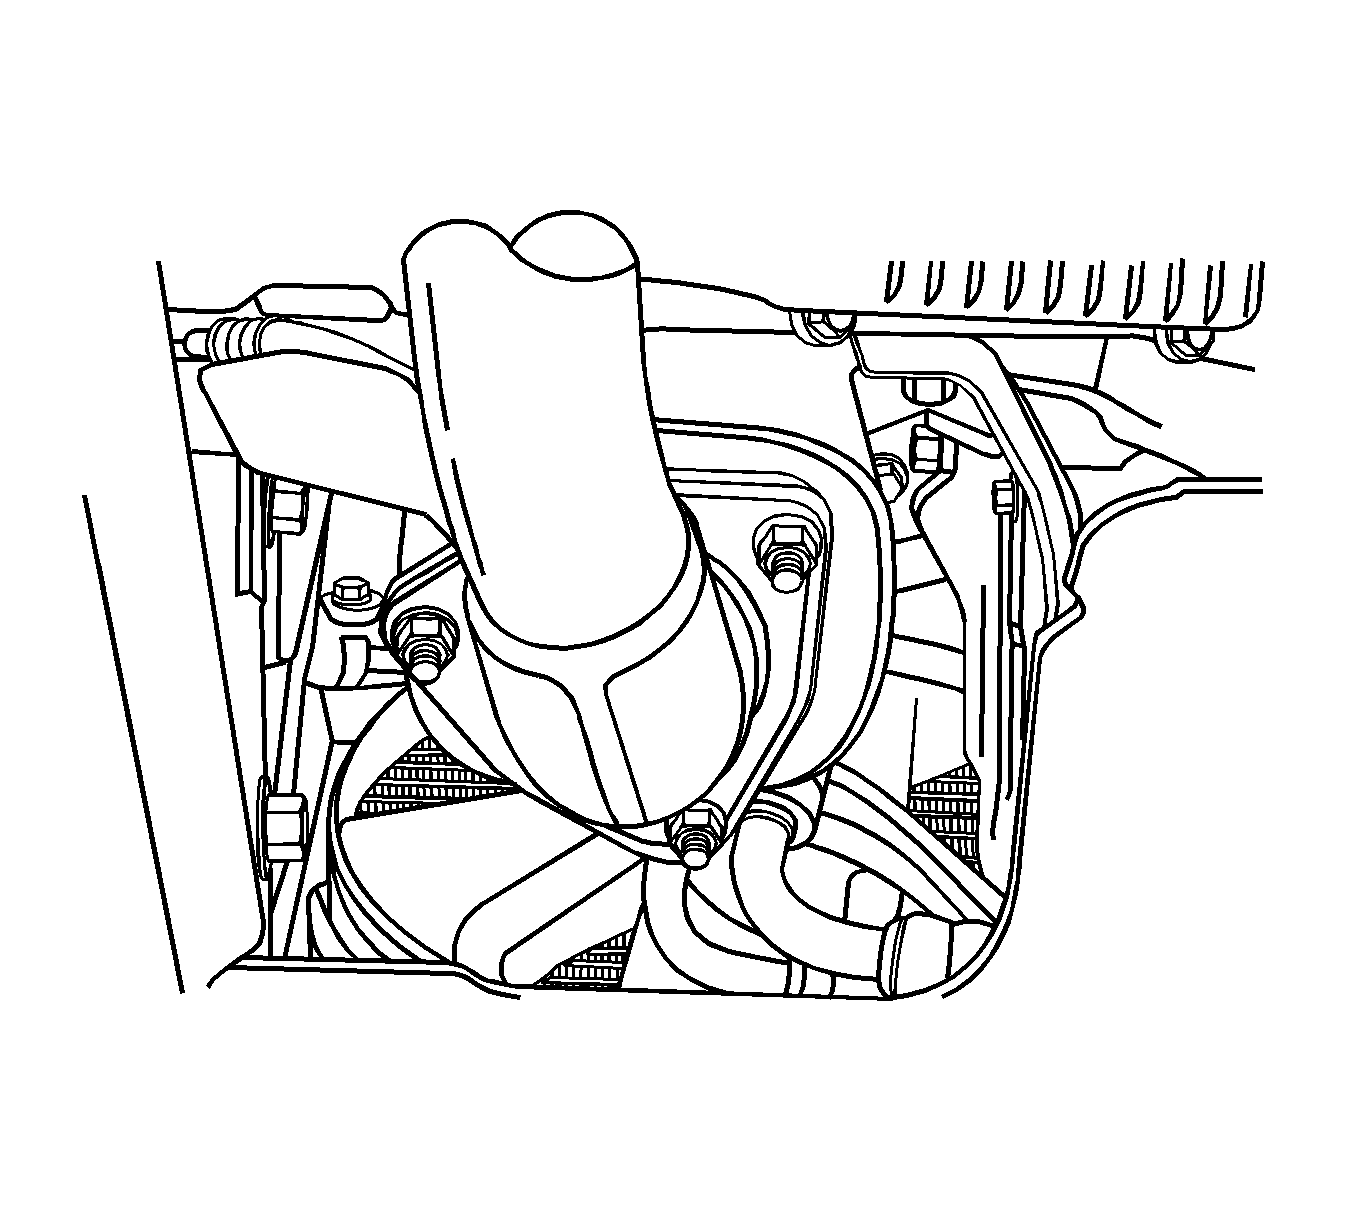
- Remove the catalytic converter lower flange nuts.
- Remove the front exhaust pipe mounting bracket bolts and bracket.
- Remove the catalytic converter.
Caution: Refer to Exhaust Service Caution in the Preface section.
Caution: Refer to Battery Disconnect Caution in the Preface section.
Notice: Refer to Flex Decoupler Notice in the Preface section.
Notice: Refer to Catalytic Converter Movement Notice in the Preface section.
Installation Procedure
- Fit the catalytic converter onto the connecting pipe, raise the front exhaust pipe, and install the front exhaust pipe mounting bracket nuts and bracket.
- Install the catalytic converter lower flange nuts.
- Install the splash guard. Refer to Engine Shield Replacement .
- Lower the vehicle.
- Install the catalytic converter upper flange bolts.
- Install the exhaust manifold heat shield and heat shield bolts.
- Install the exhaust cover mounting bolts and the engine cover.
- Connect the negative battery cable.
Notice: Refer to Fastener Notice in the Preface section.
Tighten
Tighten the connecting pipe mounting bracket nuts to 30 N·m (22 lb ft).
Tighten
Tighten the catalytic converter-to-connecting pipe nuts to 40 N·m (30 lb ft).
Tighten
Tighten the catalytic converter-to-exhaust manifold nuts to 40 N·m (30 lb ft).
Tighten
Tighten the exhaust manifold heat shield bolts to 3 N·m (27 lb ft).
Catalytic Converter Replacement Diesel Engine
Removal Procedure
- Disconnect the negative battery cable.
- Remove the exhaust manifold heat shield.
- Remove the exhaust front pipe.
- Remove the pre-catalyst clamp.
- Remove the pre-catalyst bracket bolt from the engine block.
- Remove the pre-catalyst with the seal ring.
Caution: Refer to Battery Disconnect Caution in the Preface section.
Caution: In order to avoid being burned, do not service the exhaust system while it is still hot. Service the system when it is cool.
Notice: When inspecting or replacing exhaust system components, make sure there is adequate clearance from all points on the underbody to prevent overheating of the floor pan and possible damage to the passenger compartment insulation and trim materials.
Installation Procedure
- Install the pre-catalyst with the seal ring. If damaged, replace the new seal ring.
- Install the pre-catalyst clamp and the bracket bolt.
- Install the exhaust front pipe. Refer to Front Pipe Replacement.
- Install the exhaust manifold heat shield.
- Connect the negative battery cable.
Notice: Refer to Fastener Notice in the Preface section.
Tighten
Tighten the pre-catalyst bracket bolt to 40 N·m (29.5 lb ft).
Tighten
Tighten the exhaust manifold heat shield bolt and nut to 20 N·m (14.8 lb ft).
