For 1990-2009 cars only
Removal Procedure
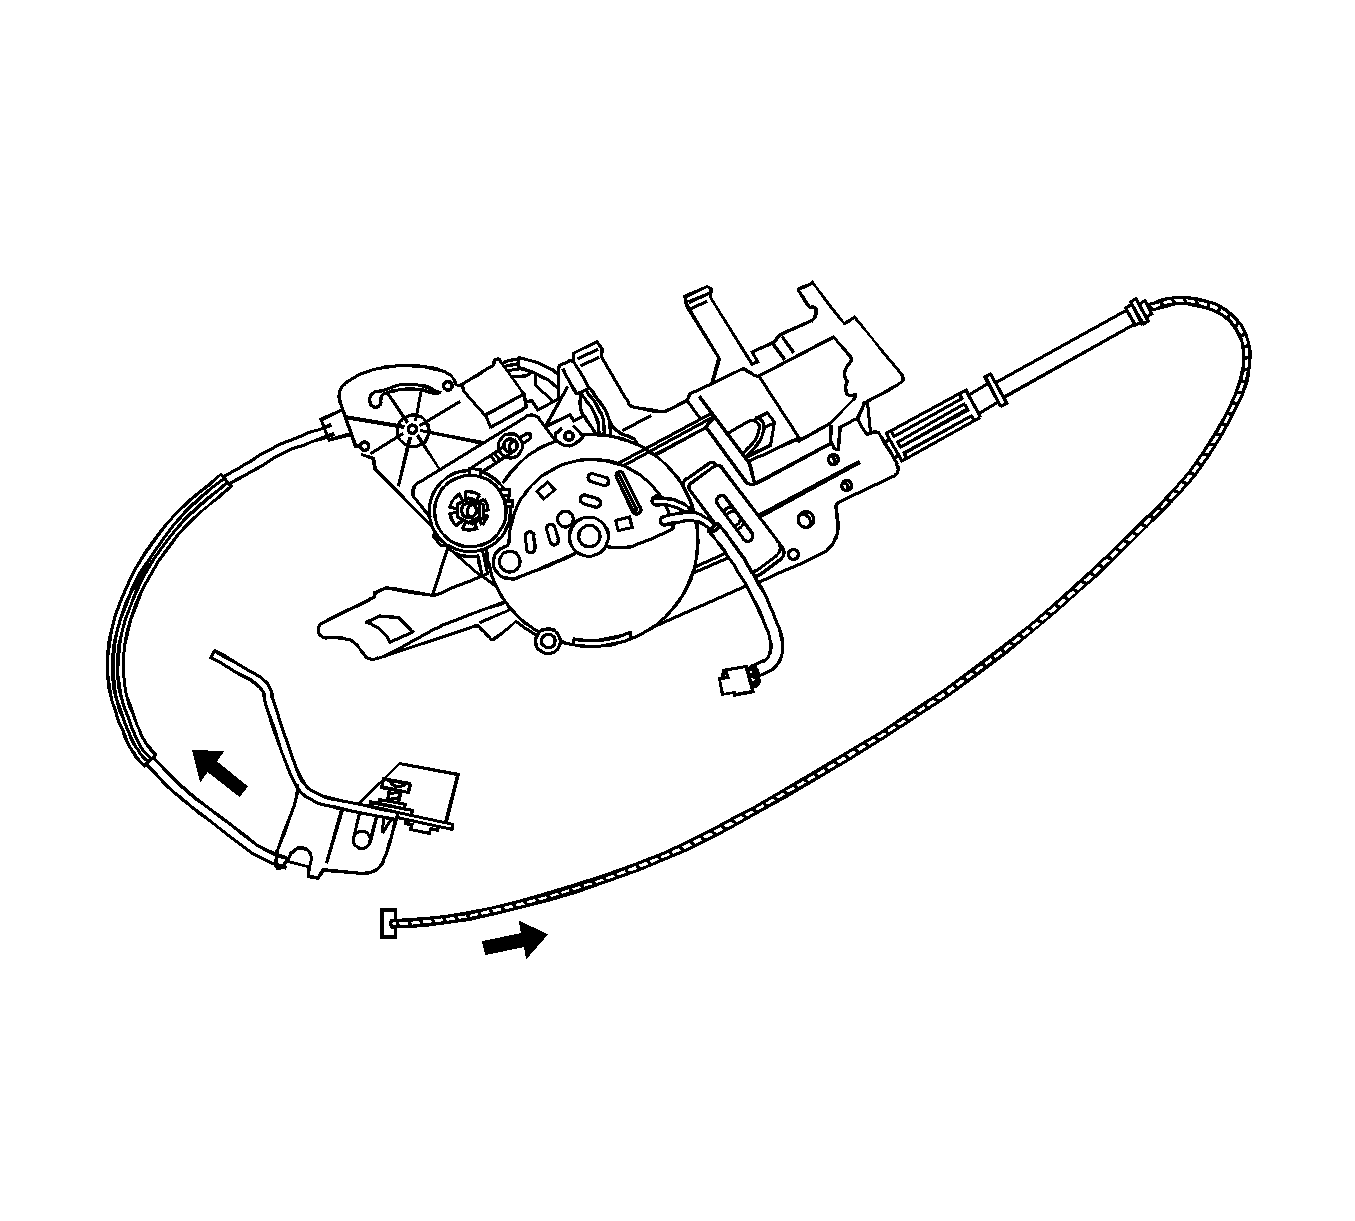
- Remove the LH (E59) motor clutch assembly. Refer to Power Sliding Door Motor Clutch Replacement.
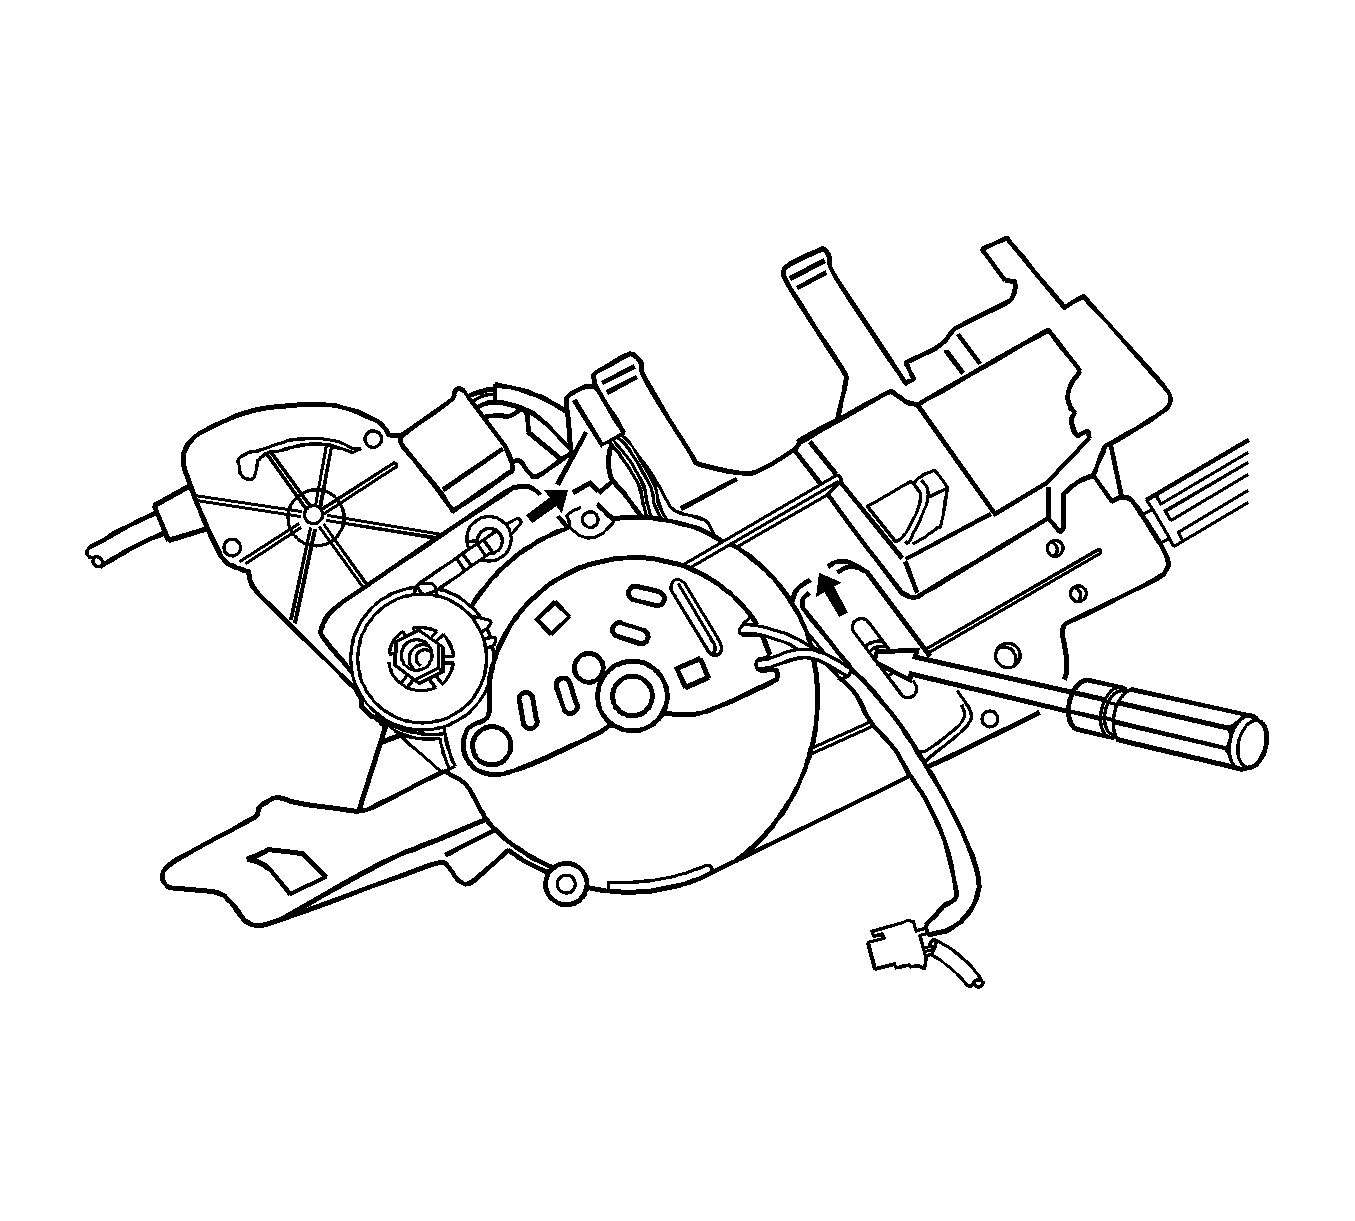
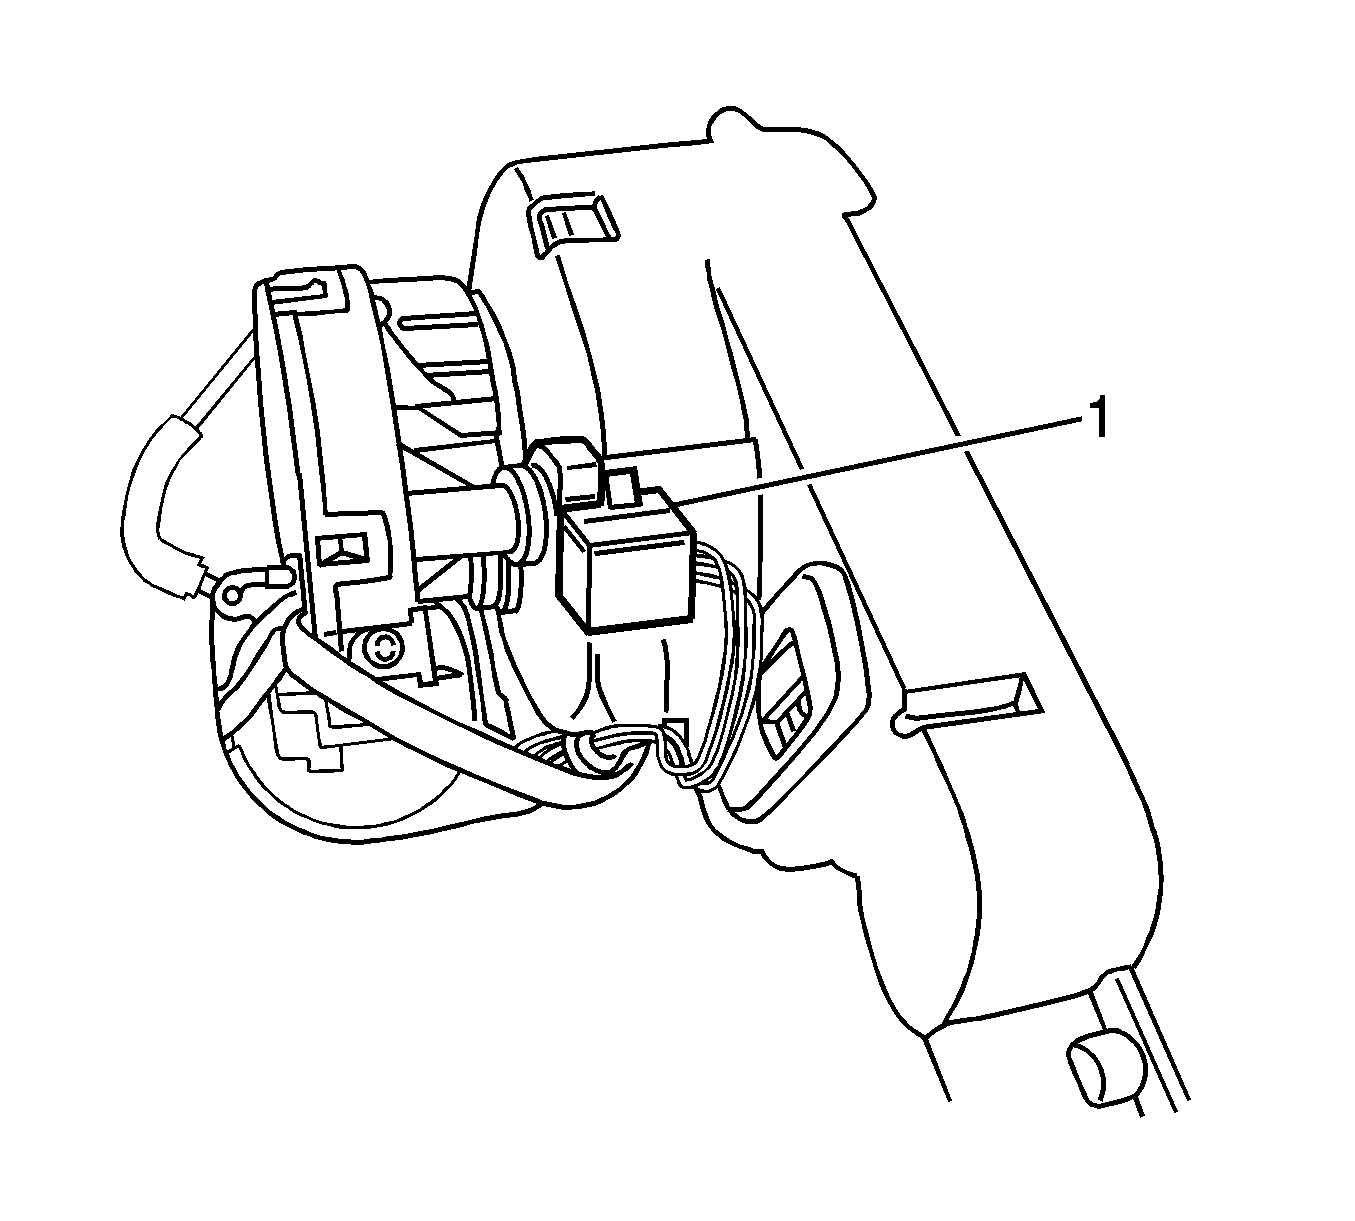
- Locate the optic sensor (1).
- Remove the optic sensor by pushing inward on the tangs and pulling the optic sensor outward from the clutch housing.
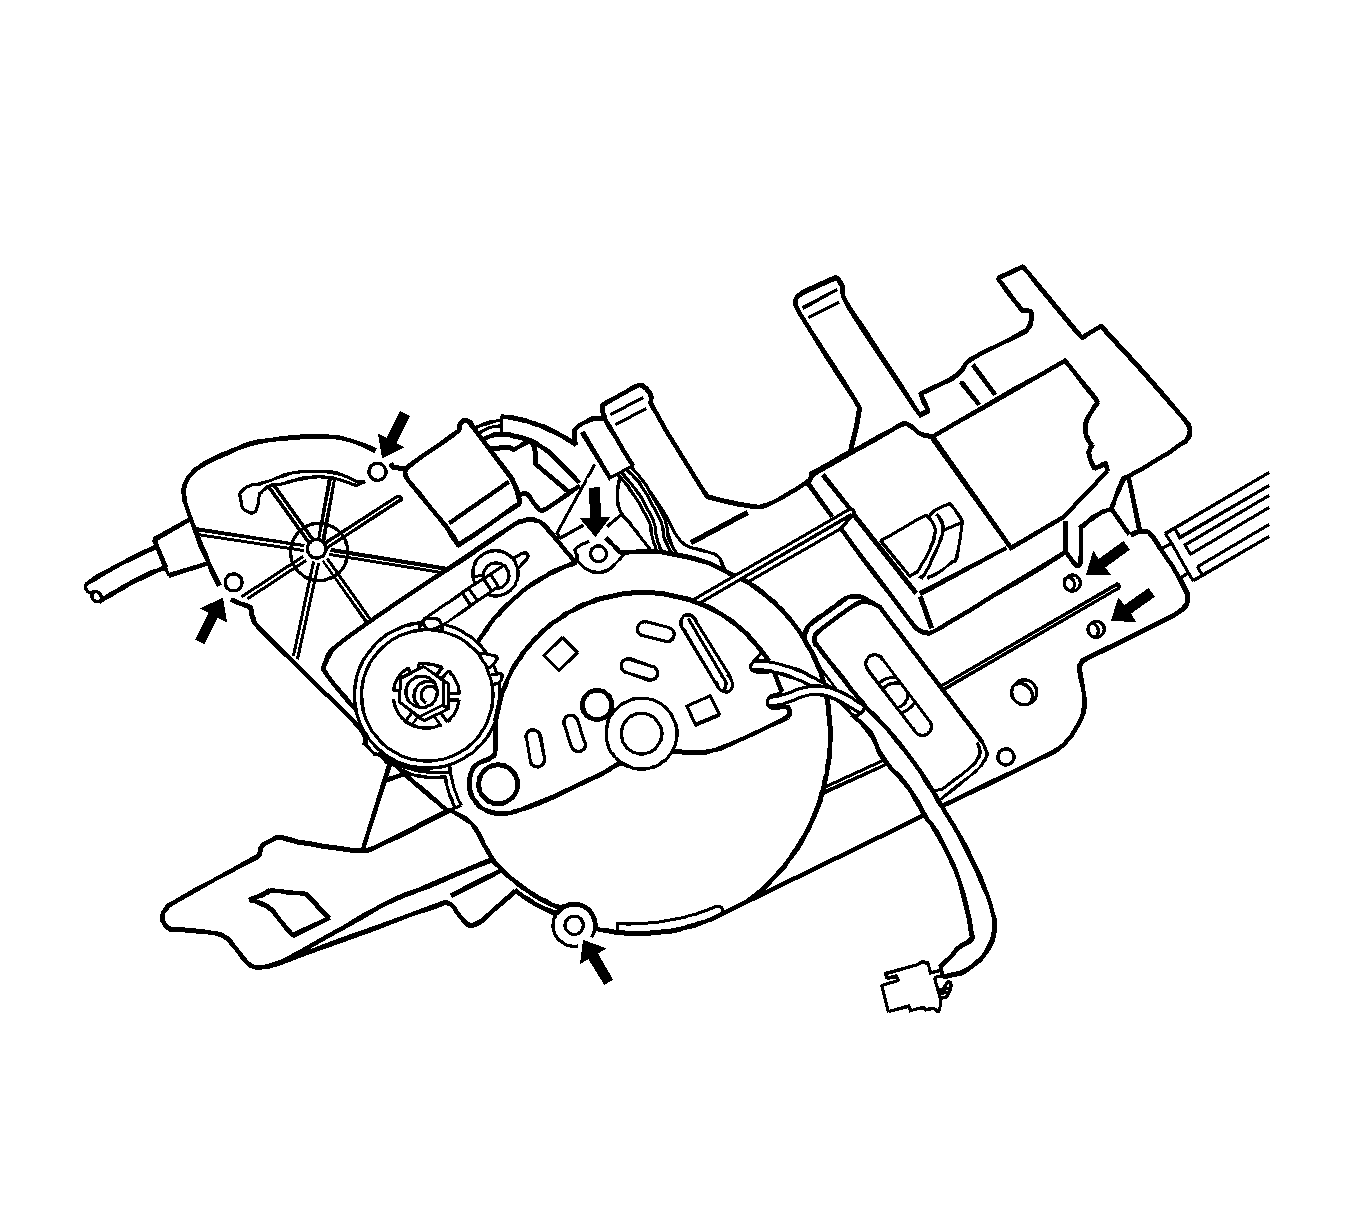
- Remove the seven Torx™ head screws.
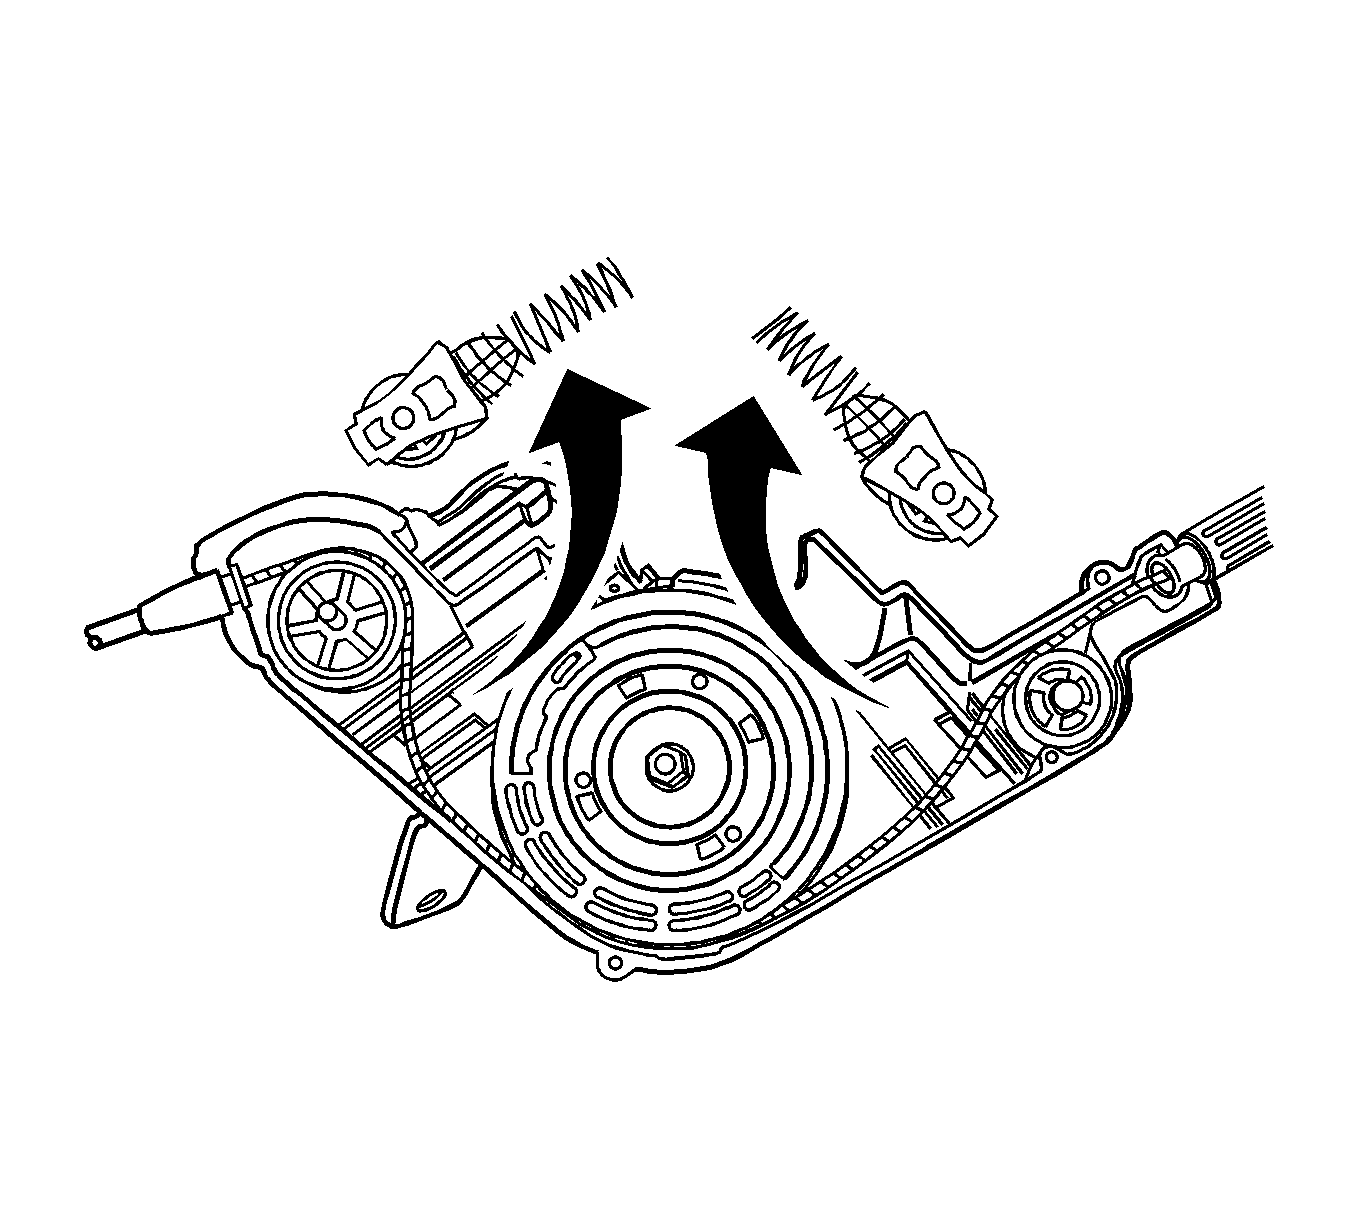
- Remove the spring and roller assemblies.
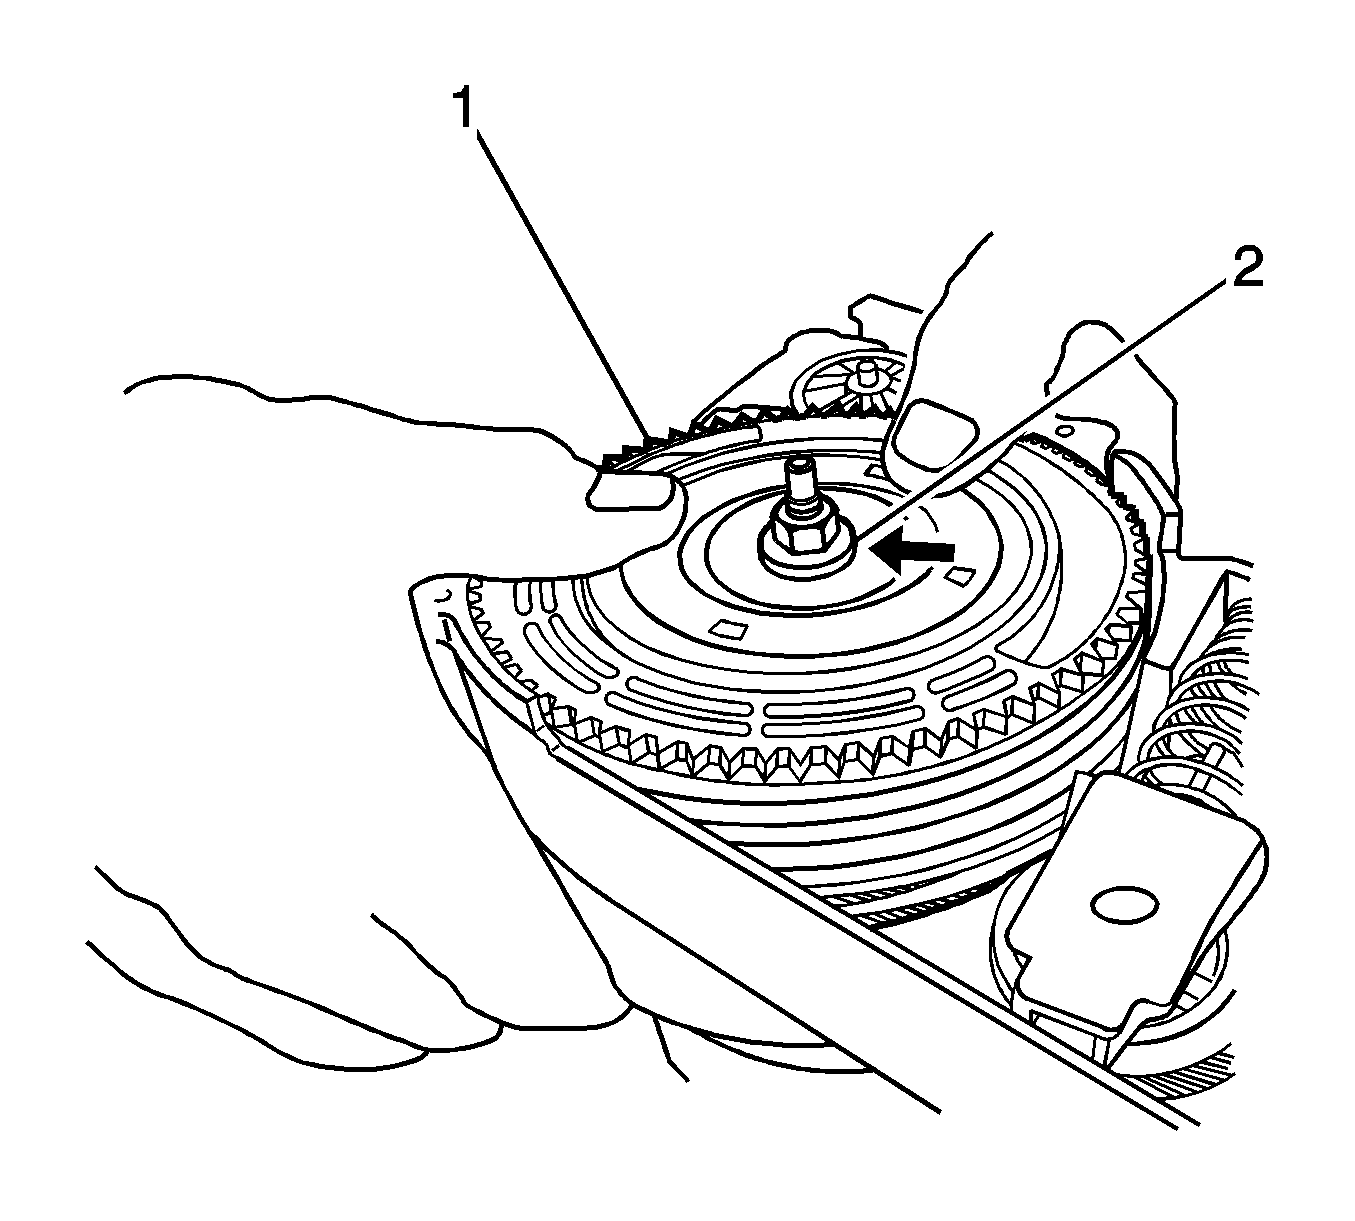
- Remove the prevailing torque nut.
- Remove the cable and drum assembly and then remove the magnetic clutch.
- Make sure the actuator housing is not damaged.


Important: It is important that gloves are worn when handling the magnetic clutch in the following steps.

Installation Procedure
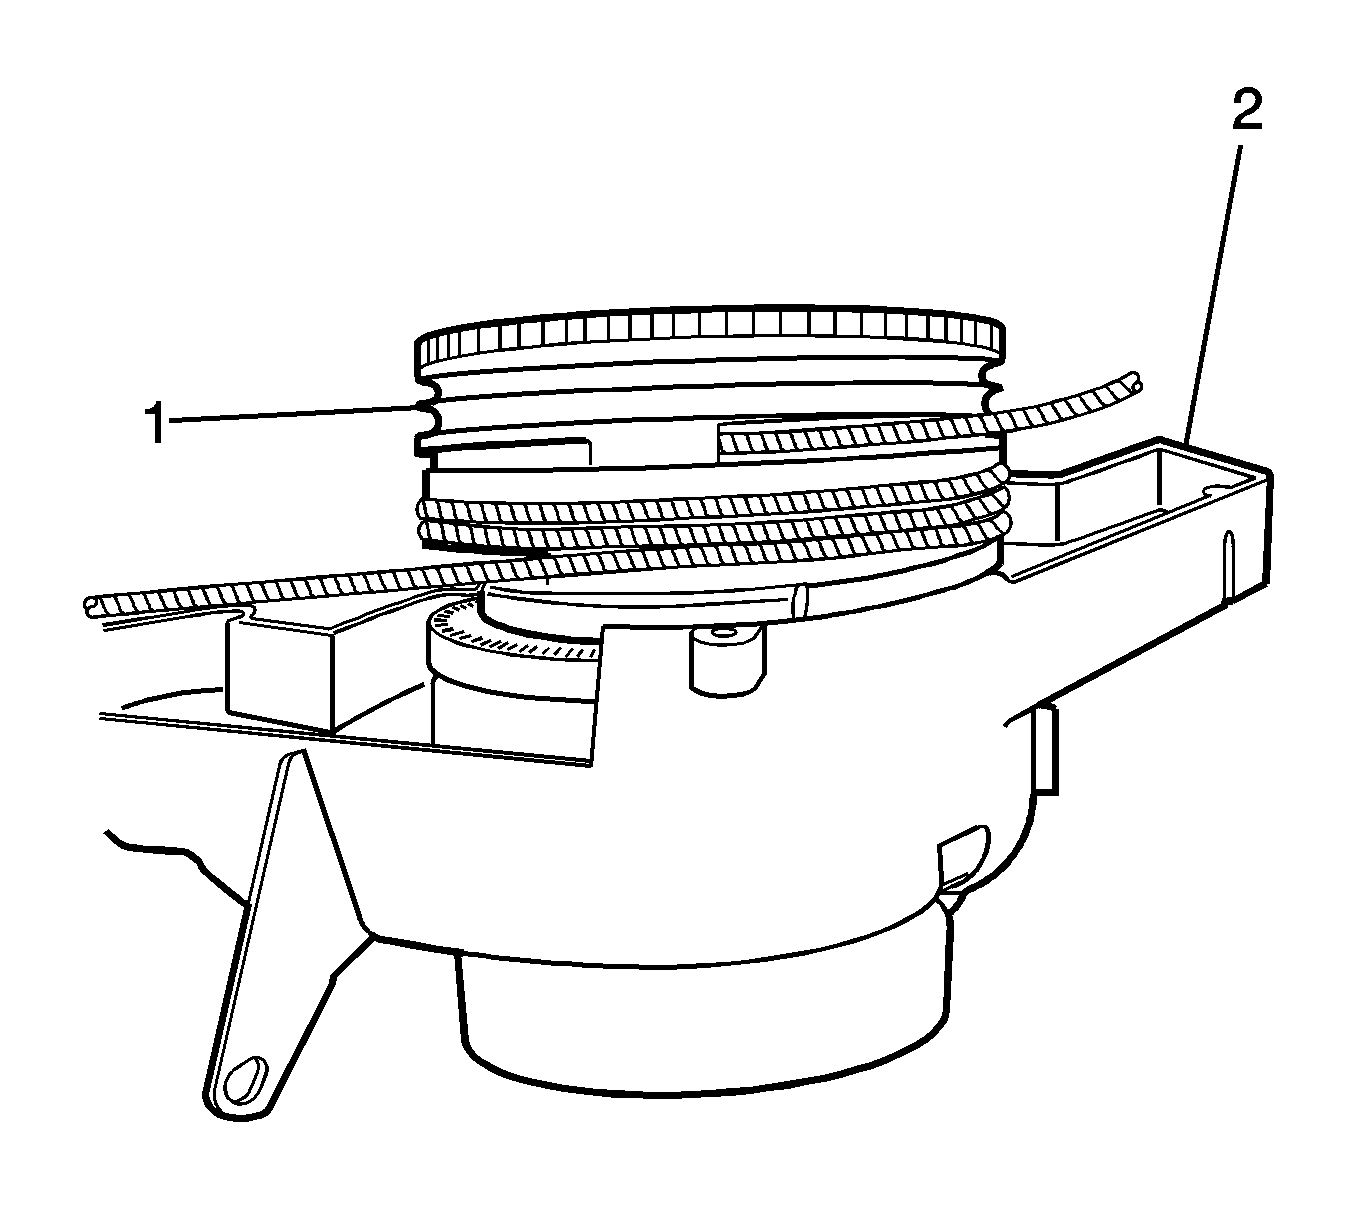
- Wind the cables around the drum.
- Install the cable and drum assembly (1) into the clutch housing (2).
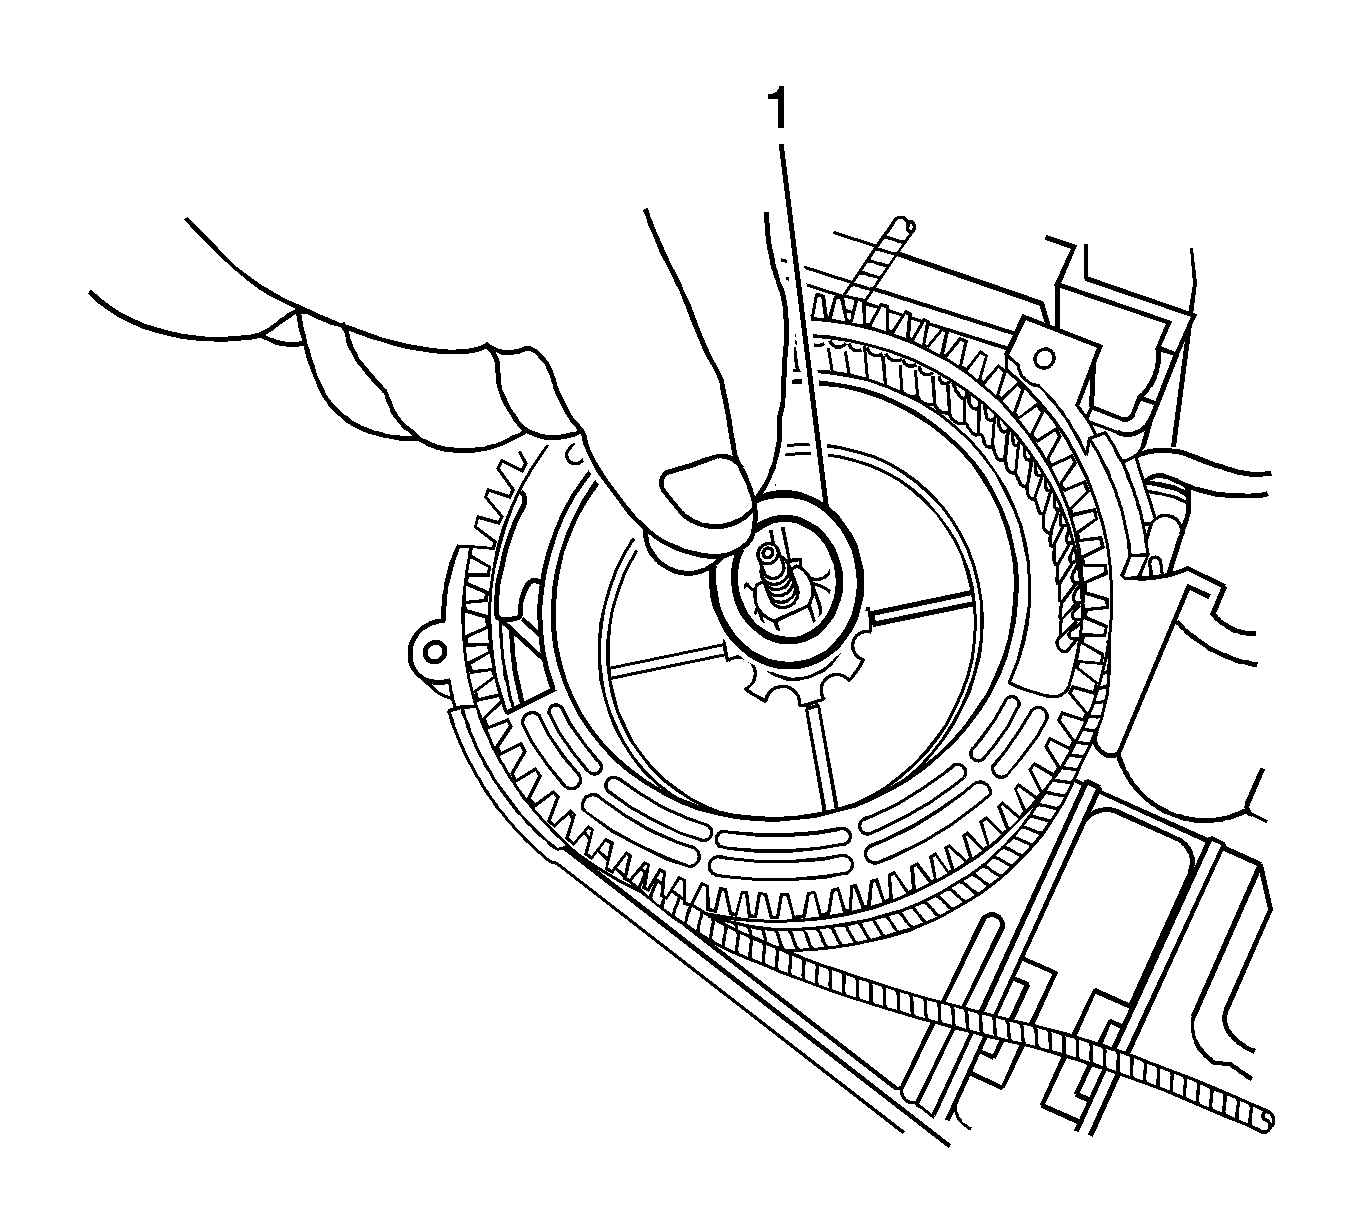
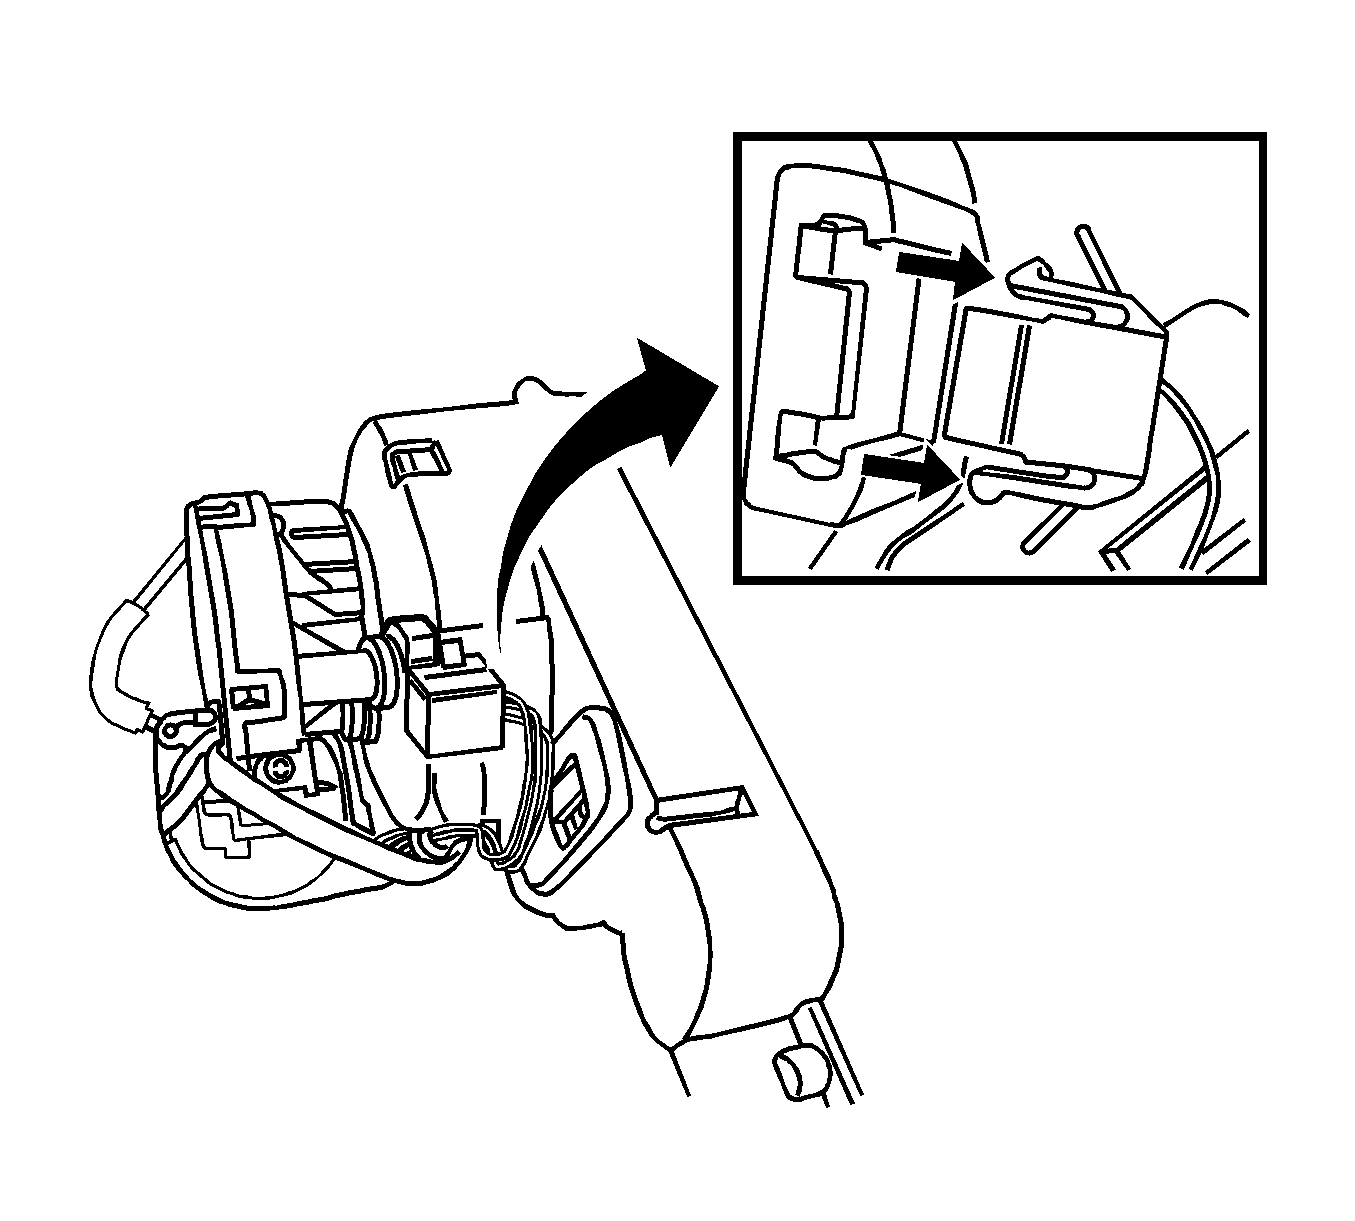
- Wearing gloves, install the base of the magnetic clutch (1). The tab on the bottom of the magnetic clutch can reside anywhere in the slot between the two arrows, as noted in the graphic.
- Install the new wave washer (1).
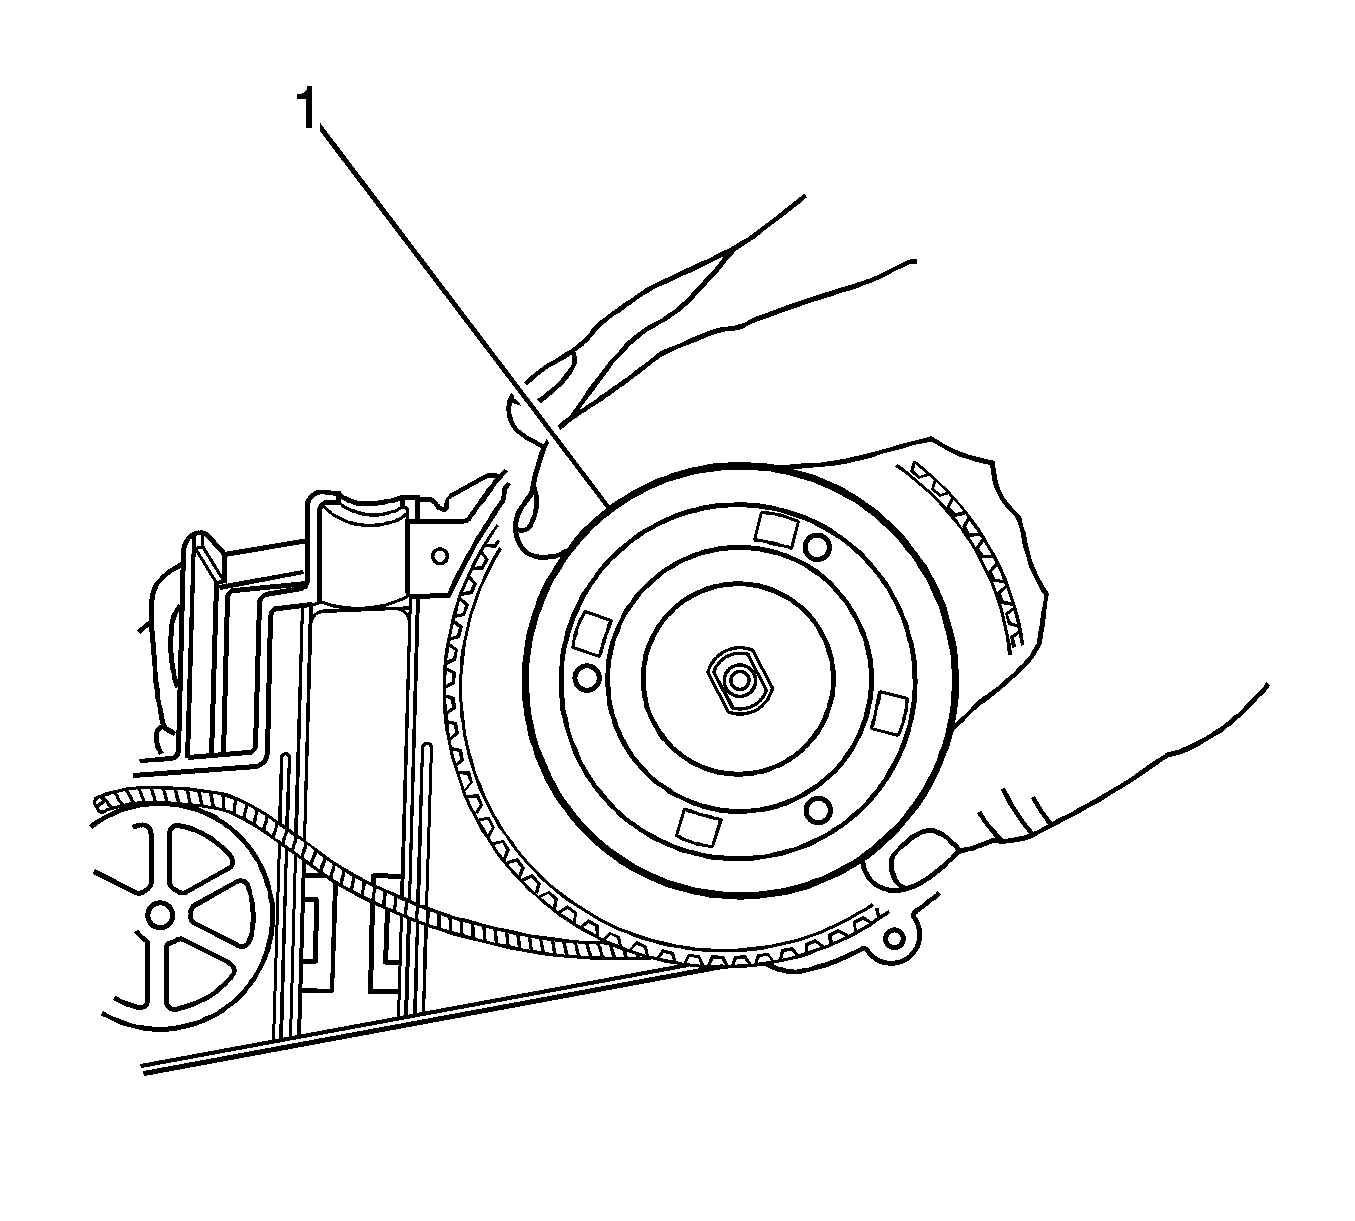
- Install the magnetic clutch (1).
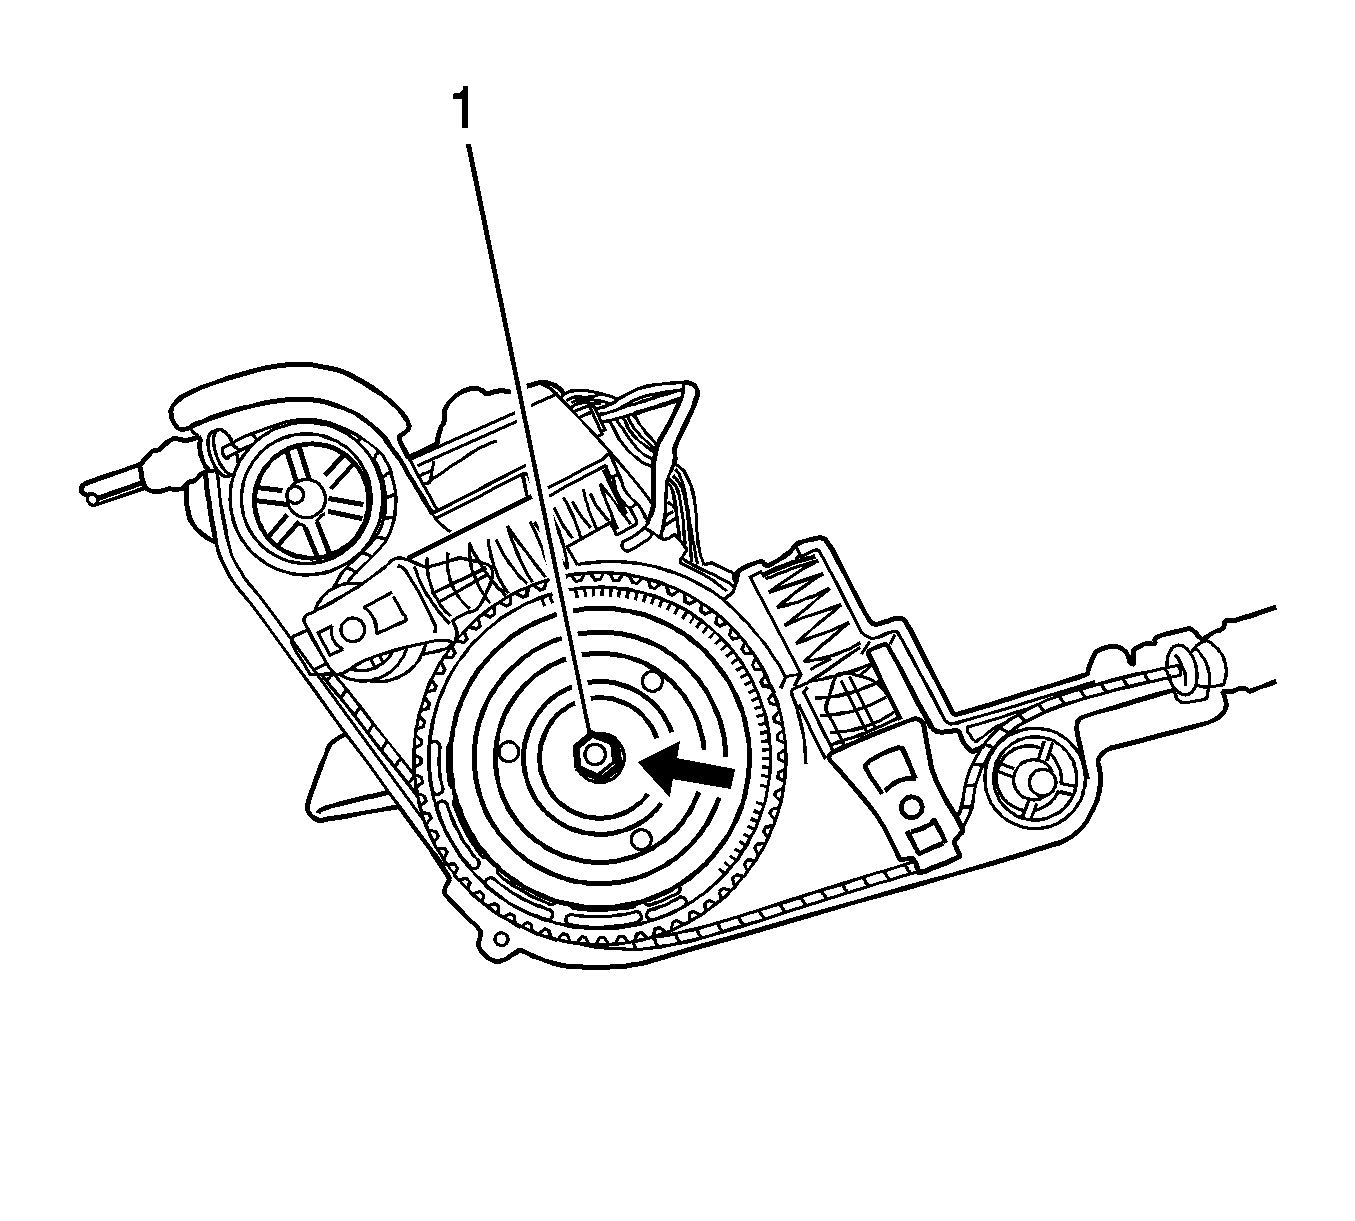
- Install the new prevailing torque nut (1) until bottomed out and then back the nut off one complete turn.
- Push downward on the drum (1), there should be approximately (1 mm) clearance between the bottomside of the prevailing torque nut (2) and the topside of the drum.
- Install the roller and spring assemblies.
- Install the seven Torx™ screws and hand tighten only.
- Push on the roller assemblies to make sure they are free and are not binding.
- Install the optic sensor back into the motor clutch housing.
- Pull the cable from both ends to make sure the cable operates smoothly.
- Install the LH (E59) motor clutch assembly. Refer to Power Sliding Door Motor Clutch Replacement.
- Adjust the actuator cable tension. Refer to Rear Side Door Actuator Cable Tension Adjustment.
- Check the operation of the power sliding door.
- Install the left rear quarter trim. Refer to Body Side Front Trim Panel Replacement - Left Side.

