Tools Required
| • | DT 46612 (DW09913-76010) Bushing, Seal Installer |
| • | DT 46496 (DW09940-53111) Gear, Bearing Installer |
| • | DT 46497 (DW09943-78210) Bushing, Seal Installer |
| • | DT 46553 (DW220-010A) Transaxle Fixture |
| • | KM-519 Oil Seal Installer |
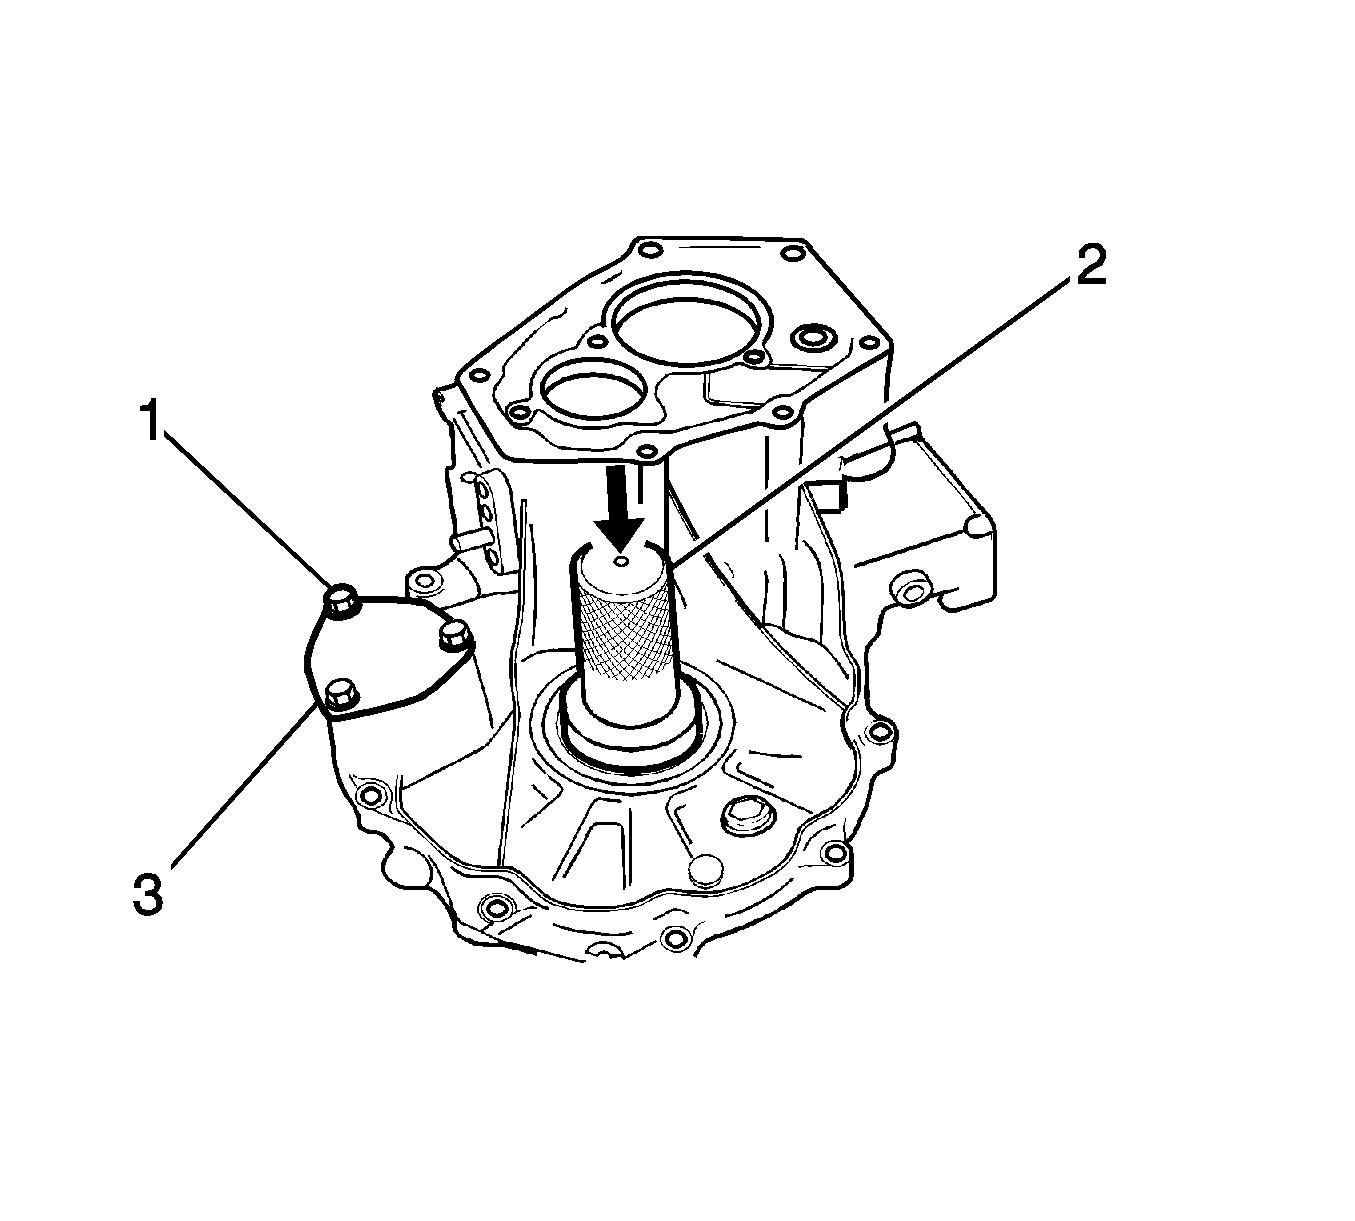
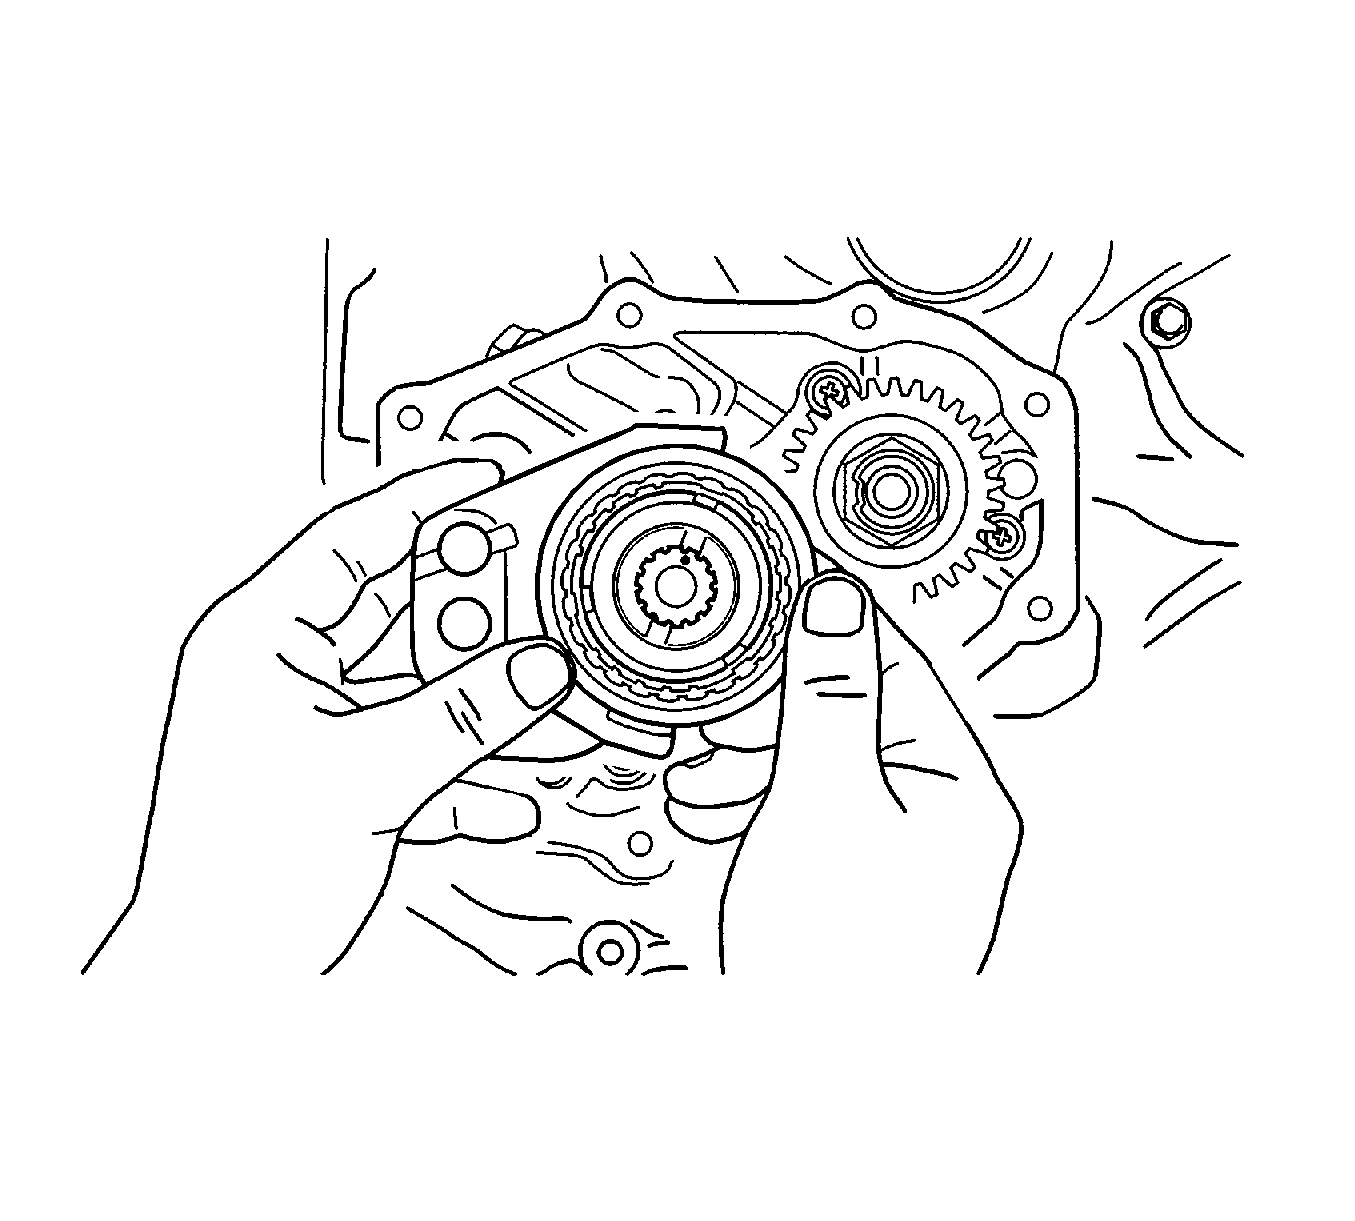
- Install the input shaft oil seal using DT 46497 (1).
- Install the differential right side oil seal using DT 46612 .
- Install the oil plate with the bolts.
- Install the oil gutter with the bolt.
- Install the oil level plug, including the steel gasket.
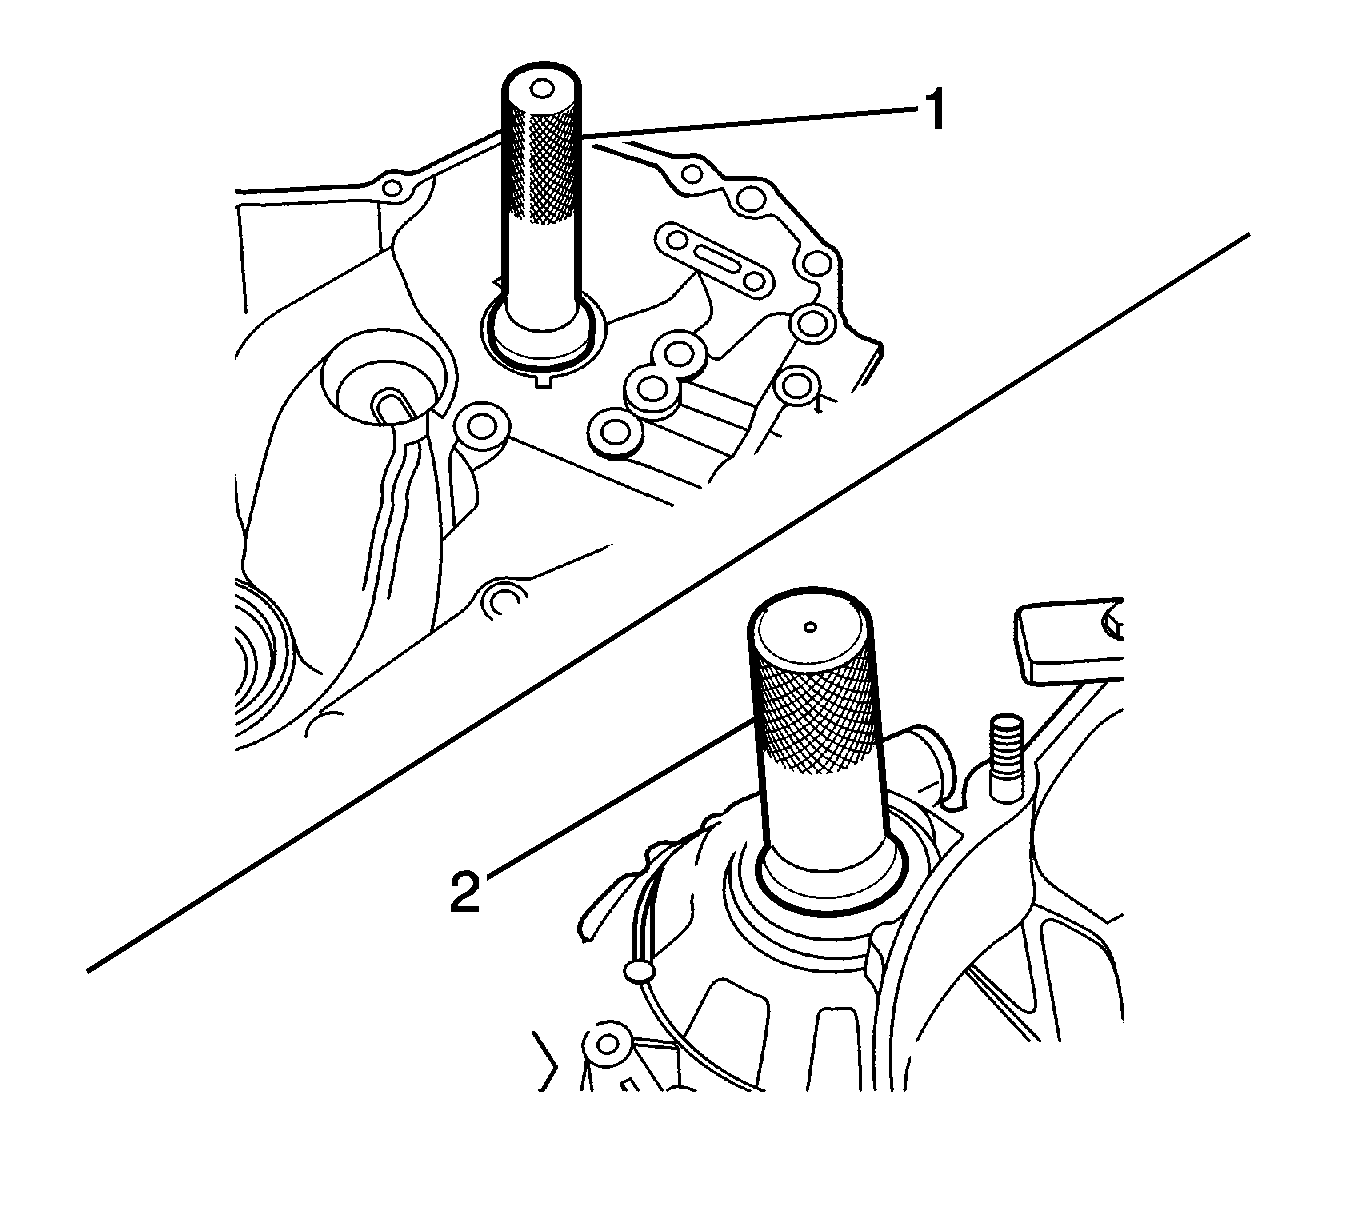
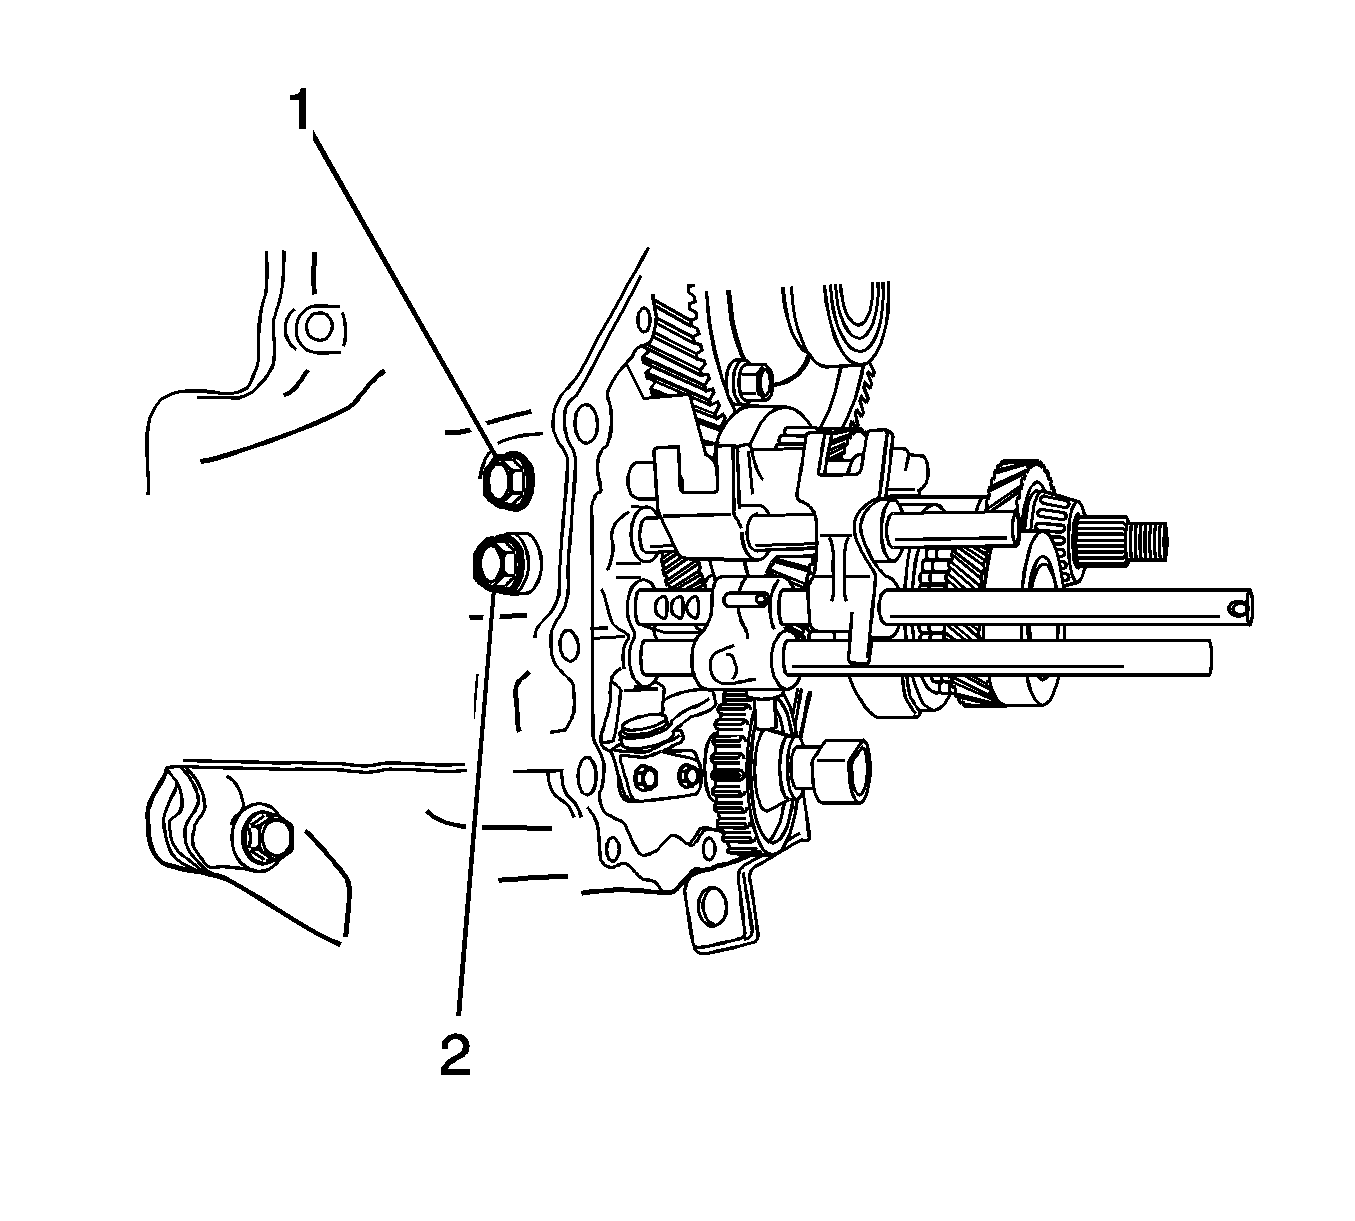
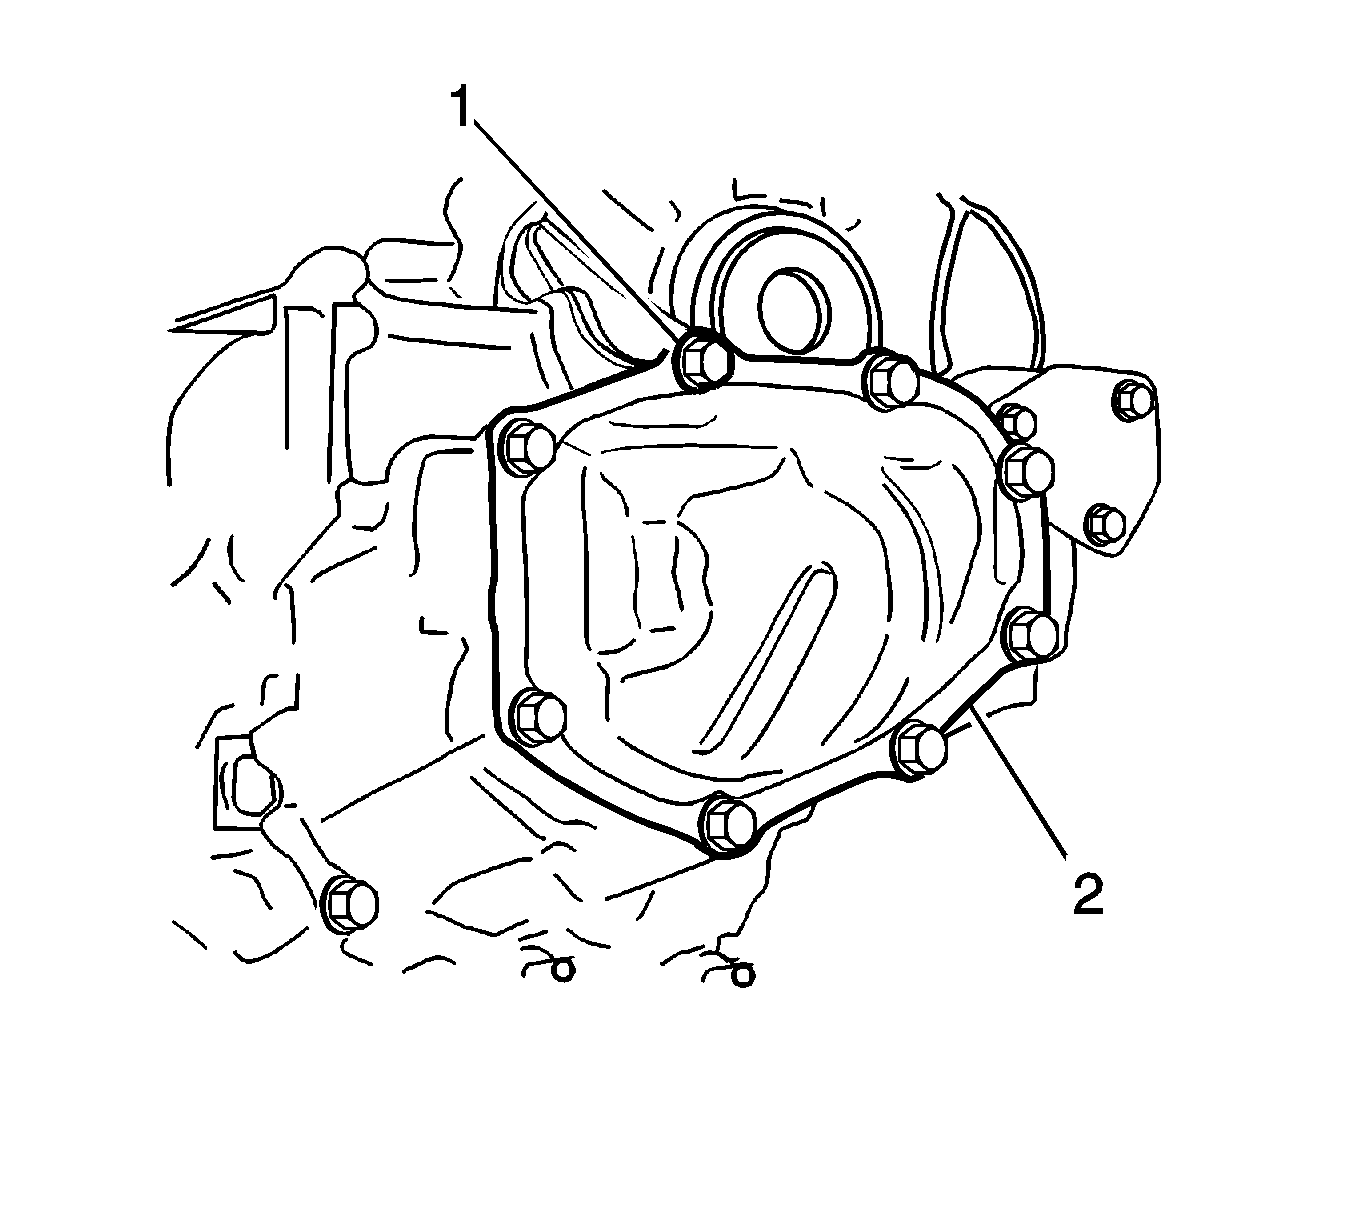
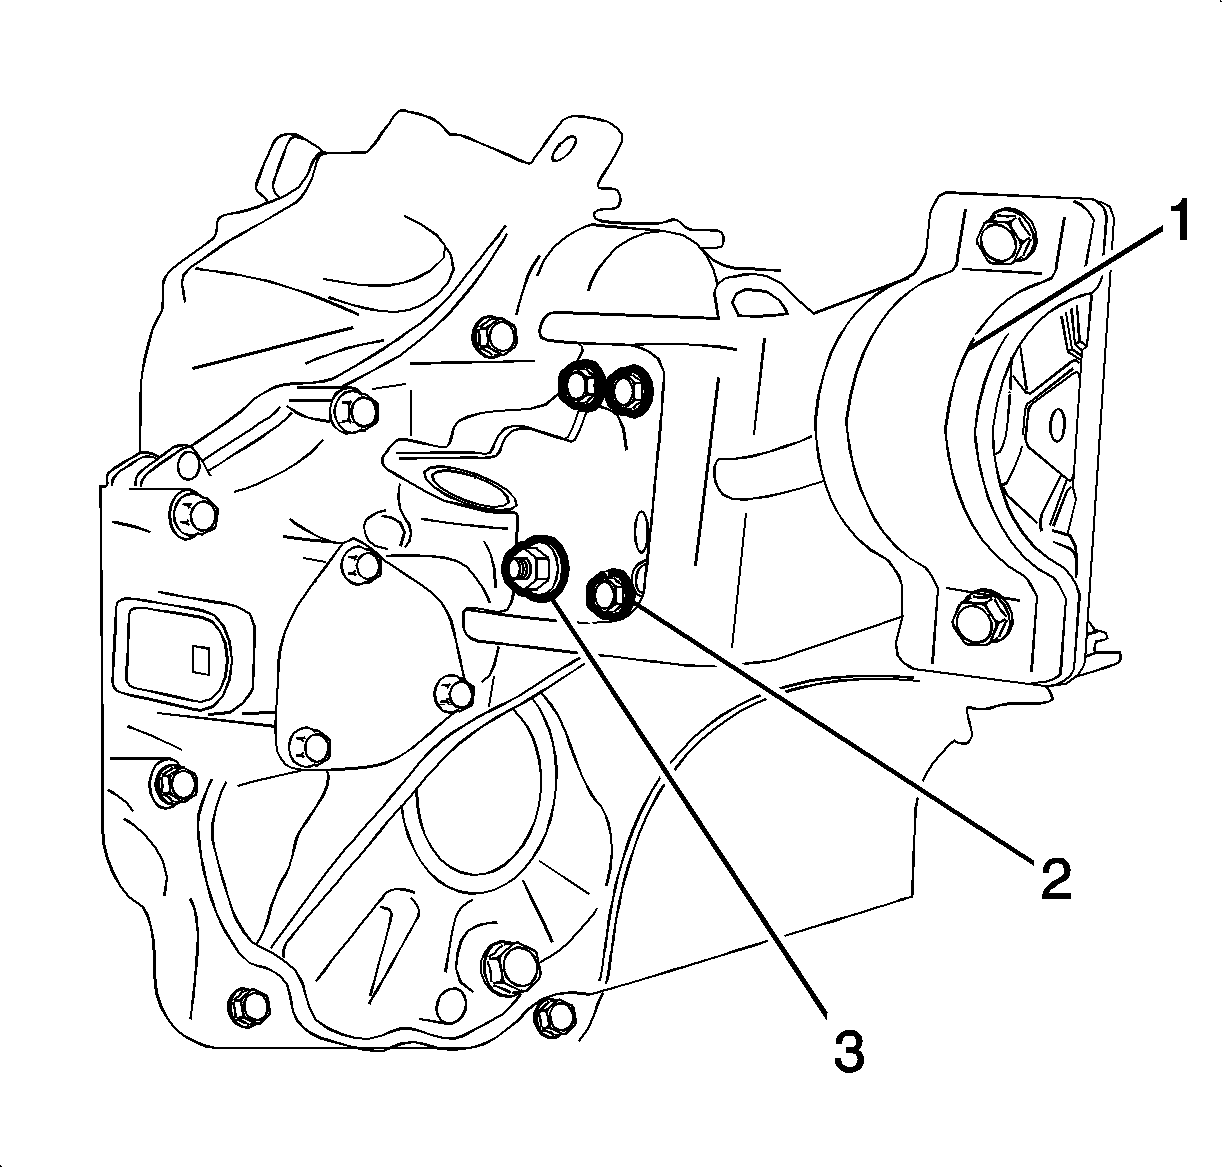
- Install the left side case cap with the bolts, including the O-ring (1).
- Install the case cap retaining bolt.
- Install the differential left side oil seal using KM-519 (2).
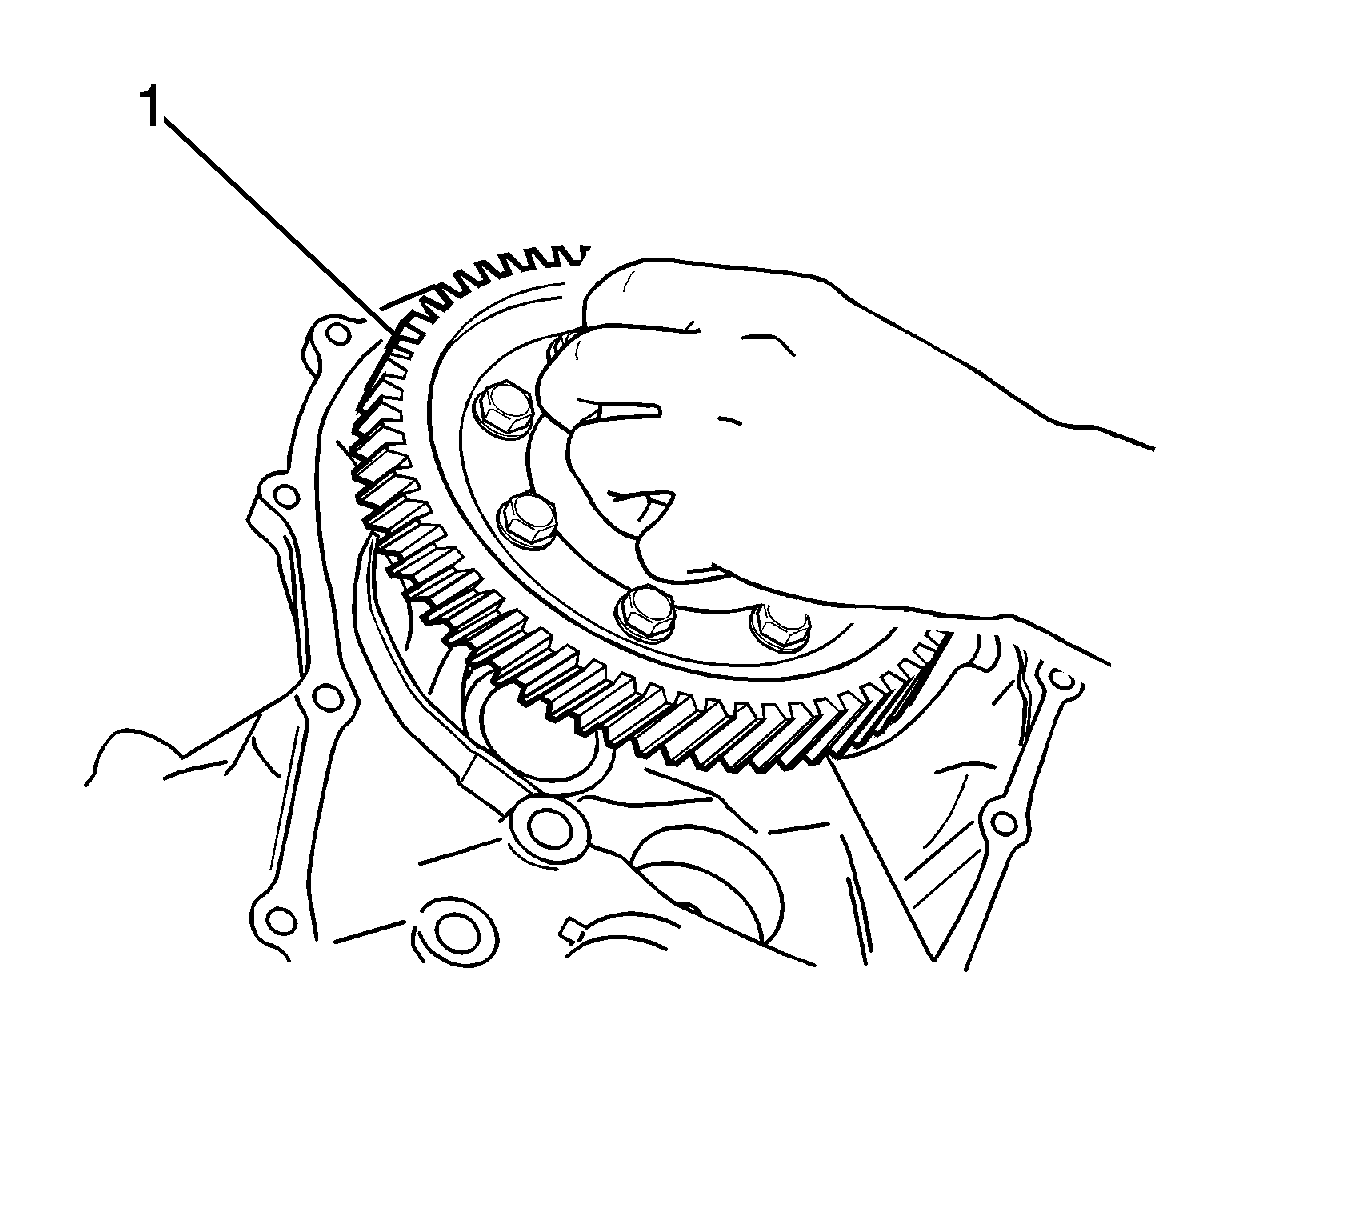
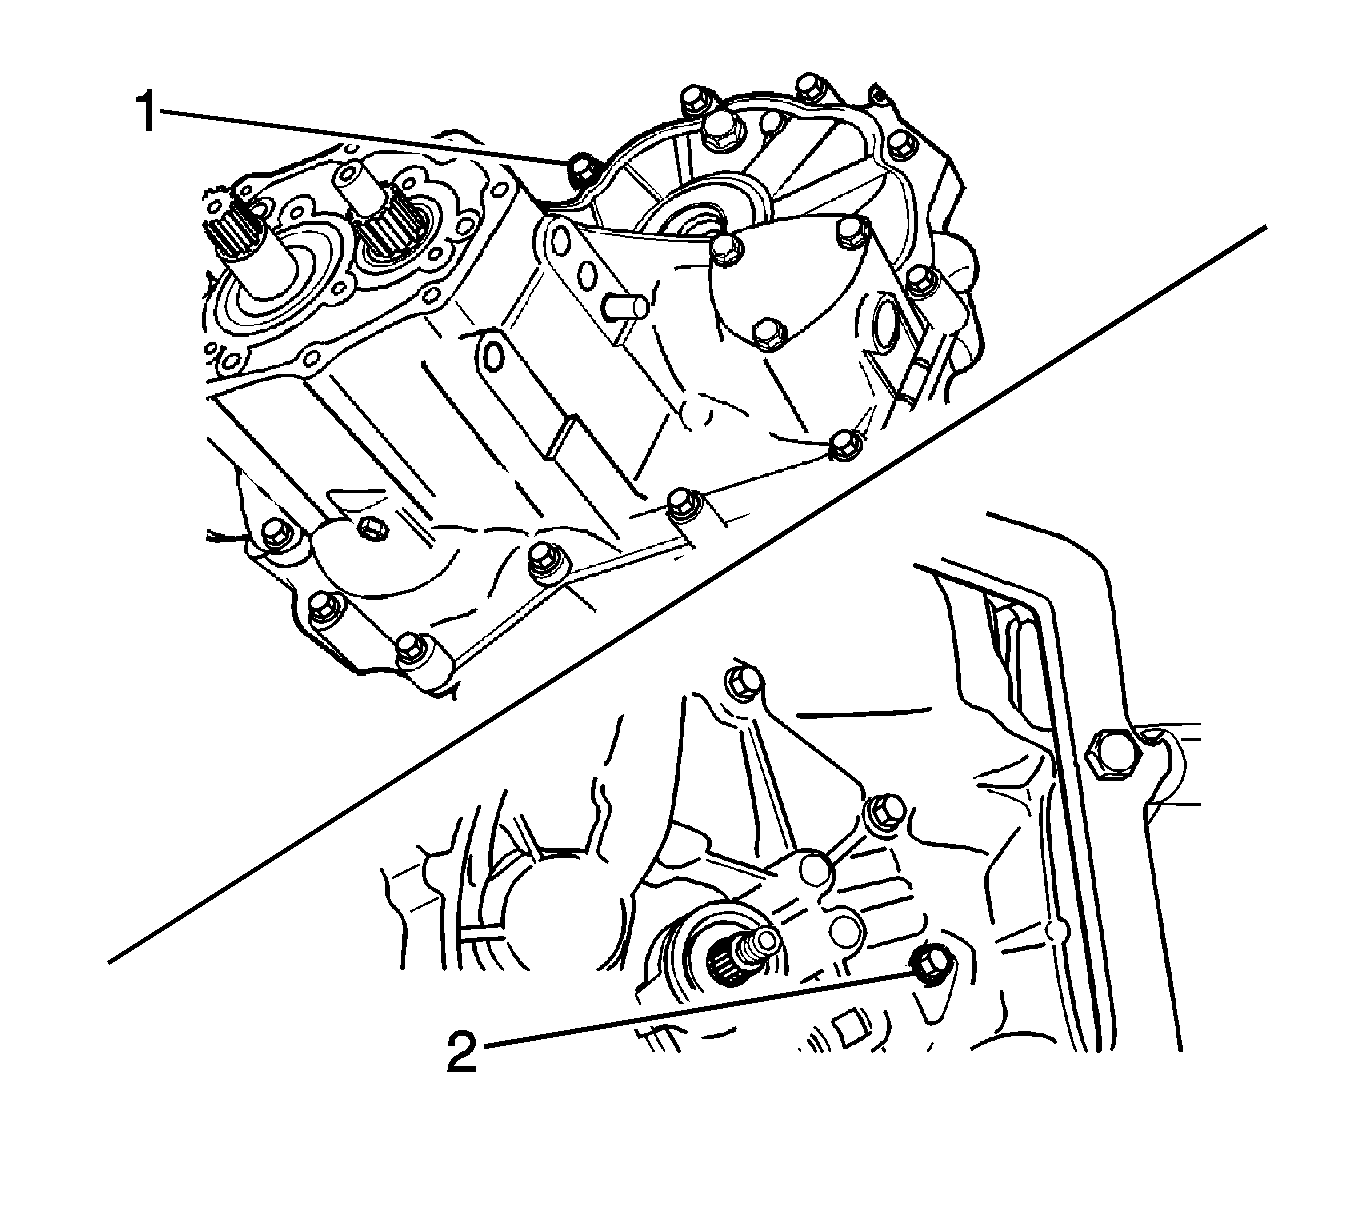
- Install the differential assembly (1) to the right side of transaxle case. The differential ring gear surface should be lower than the right side of transaxle case surface.
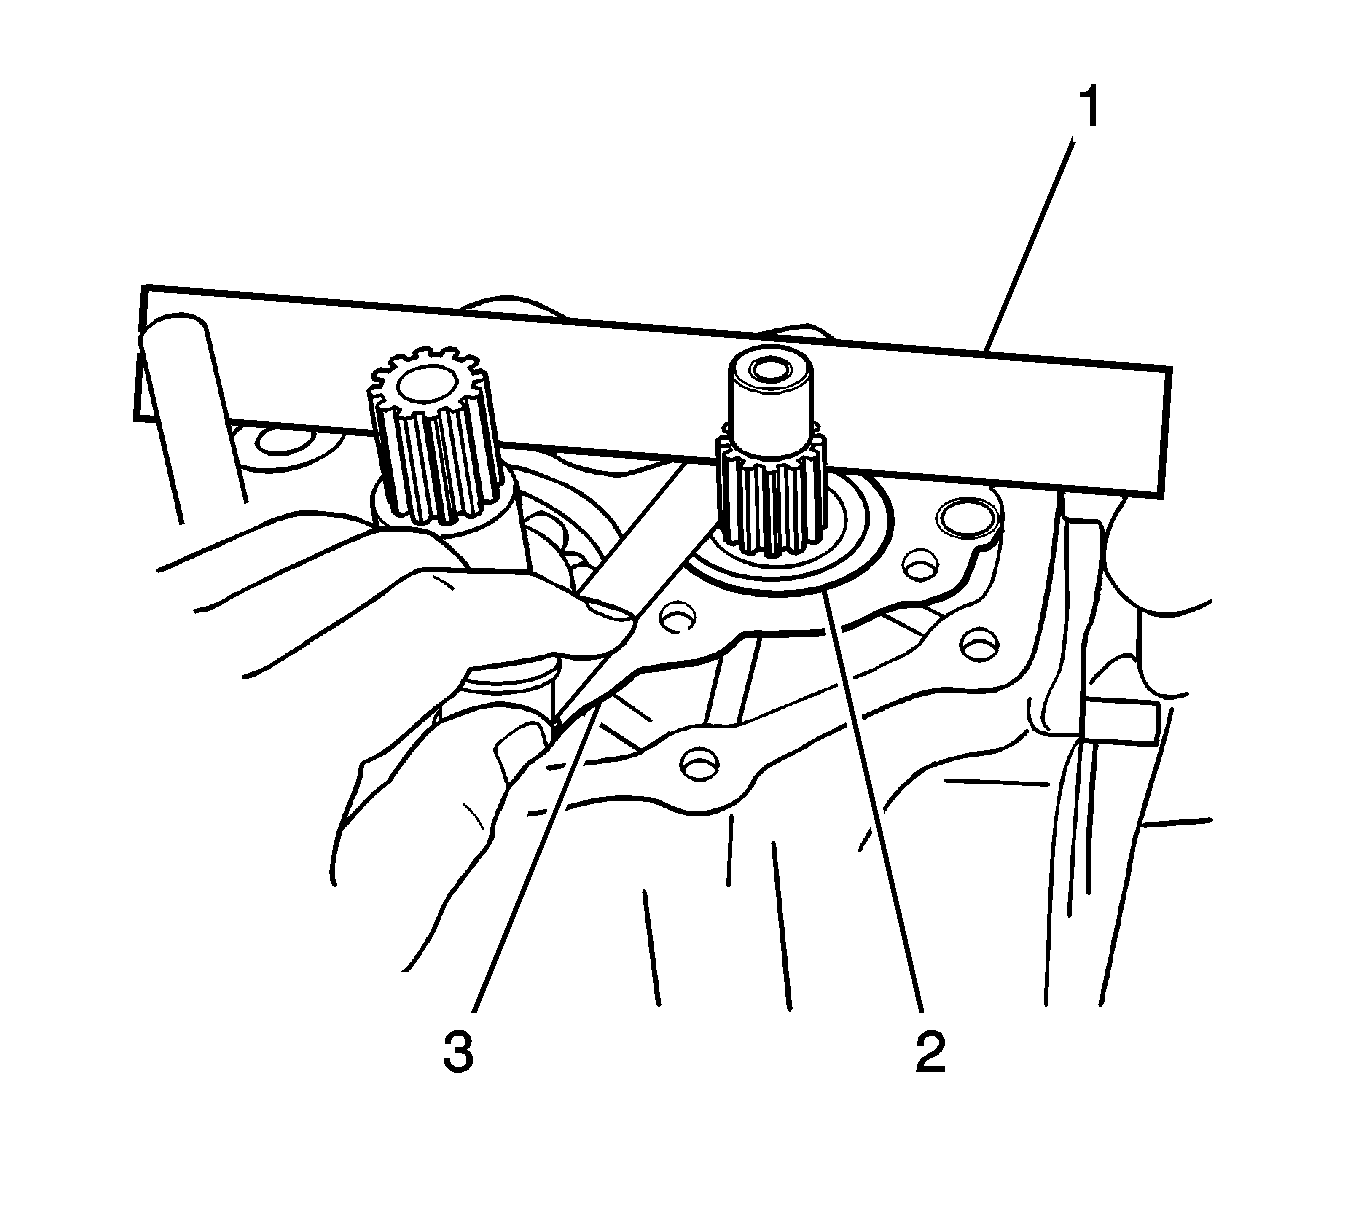
- Install the low and the high speed shift shaft assembly to the gear unit.
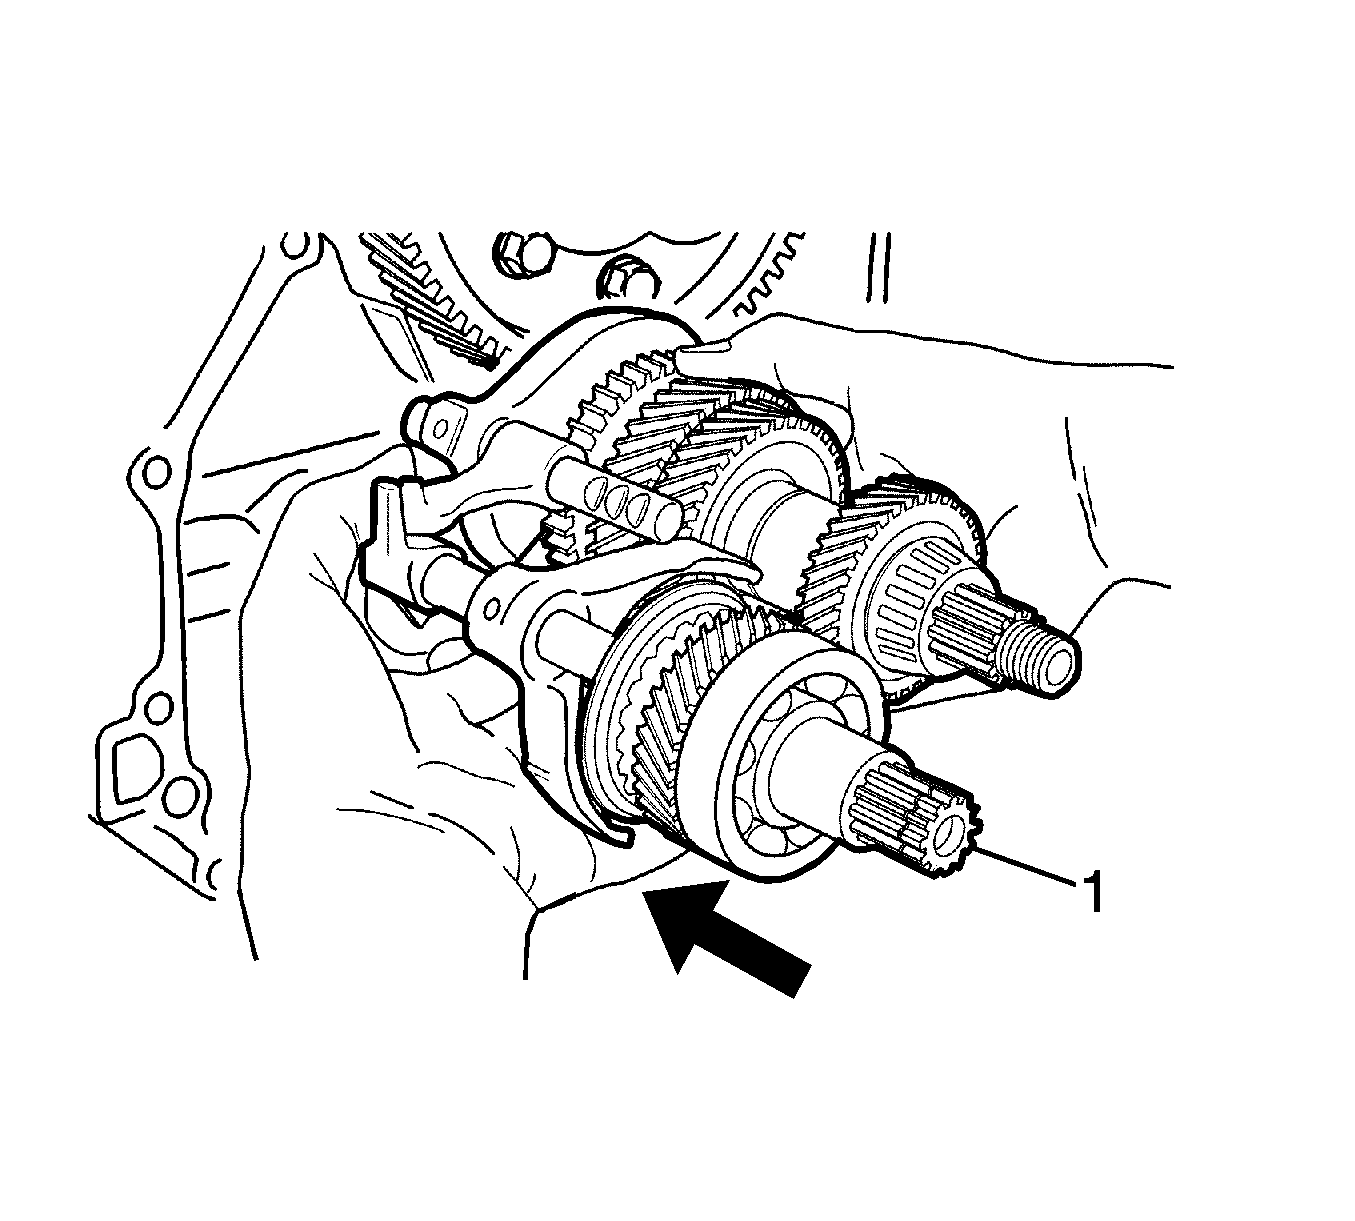
- Push the gear unit by matching it with the input and the counter shaft hole (1).
- Install the 5th reverse gear shift shaft.
- Install the reverse idle gear shaft assembly (2).
- Install the reverse gear shift lever (1).
- Install the 3rd-4th gear shift shaft ball and spring (1).
- Install the 5th reverse gear shift shaft ball and spring (2).
- Coat the transaxle case with recommended Transaxle Case Sealant-THREE BOND 1215.
- Install the transaxle left side case to the transaxle right side case bolts (1).
- Install the 1st-2nd gear shift shaft ball and spring.
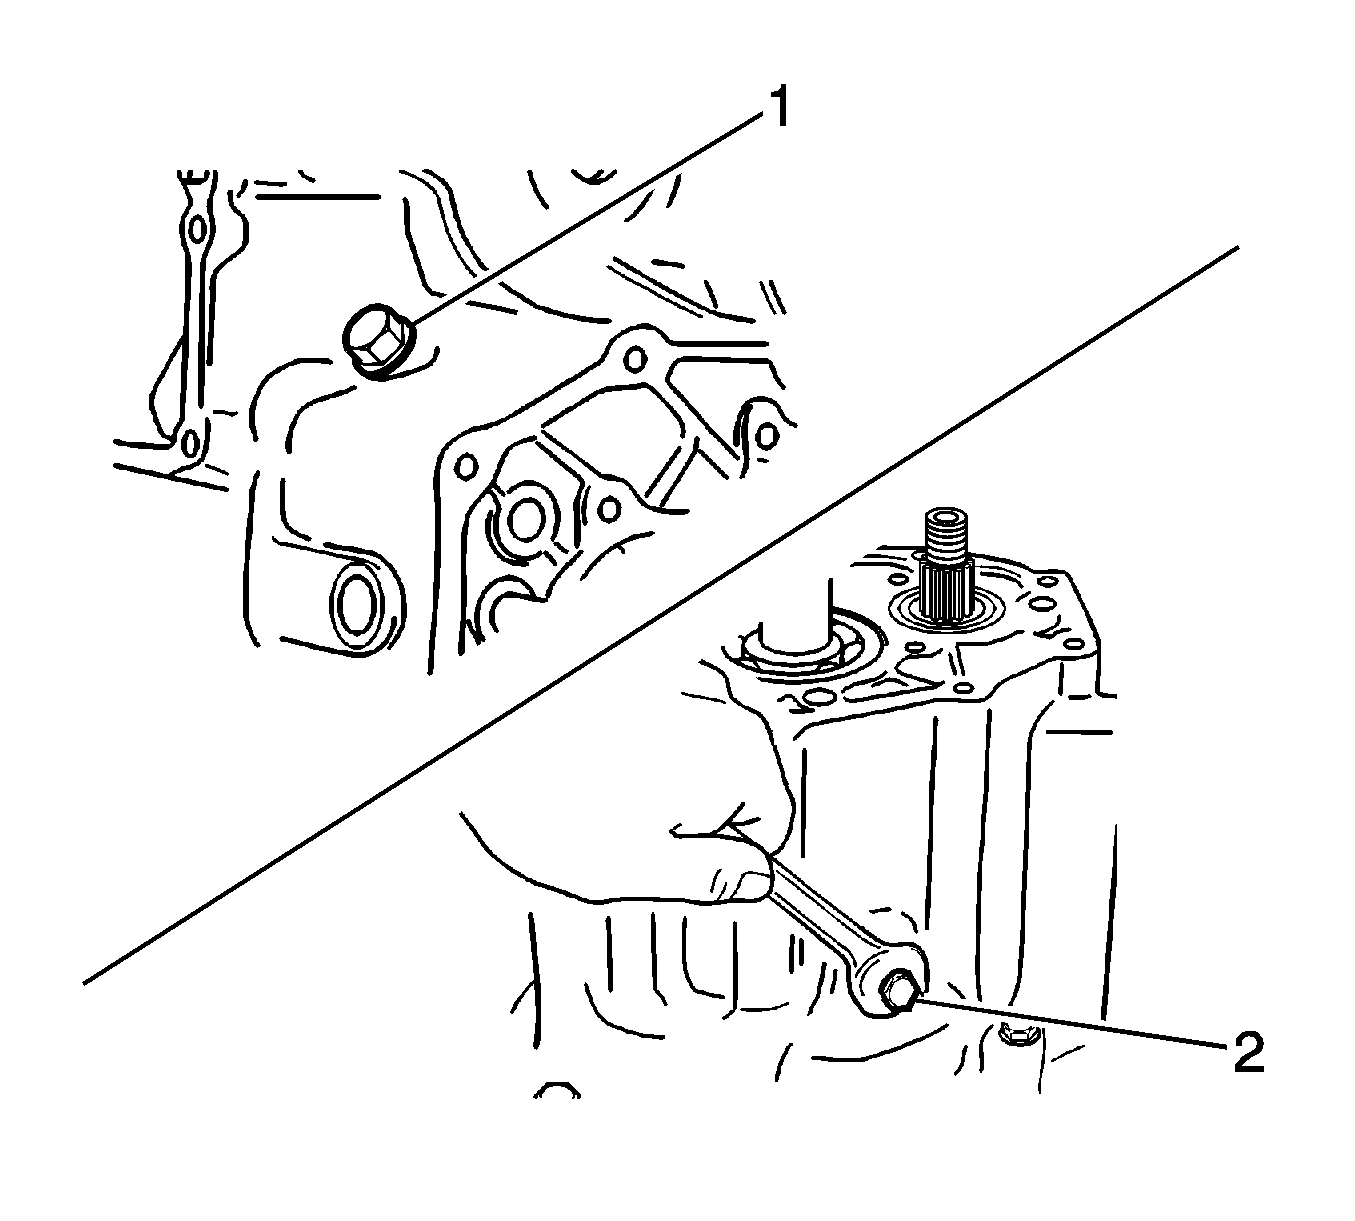
- Install the reverse idle gear shaft bolt.
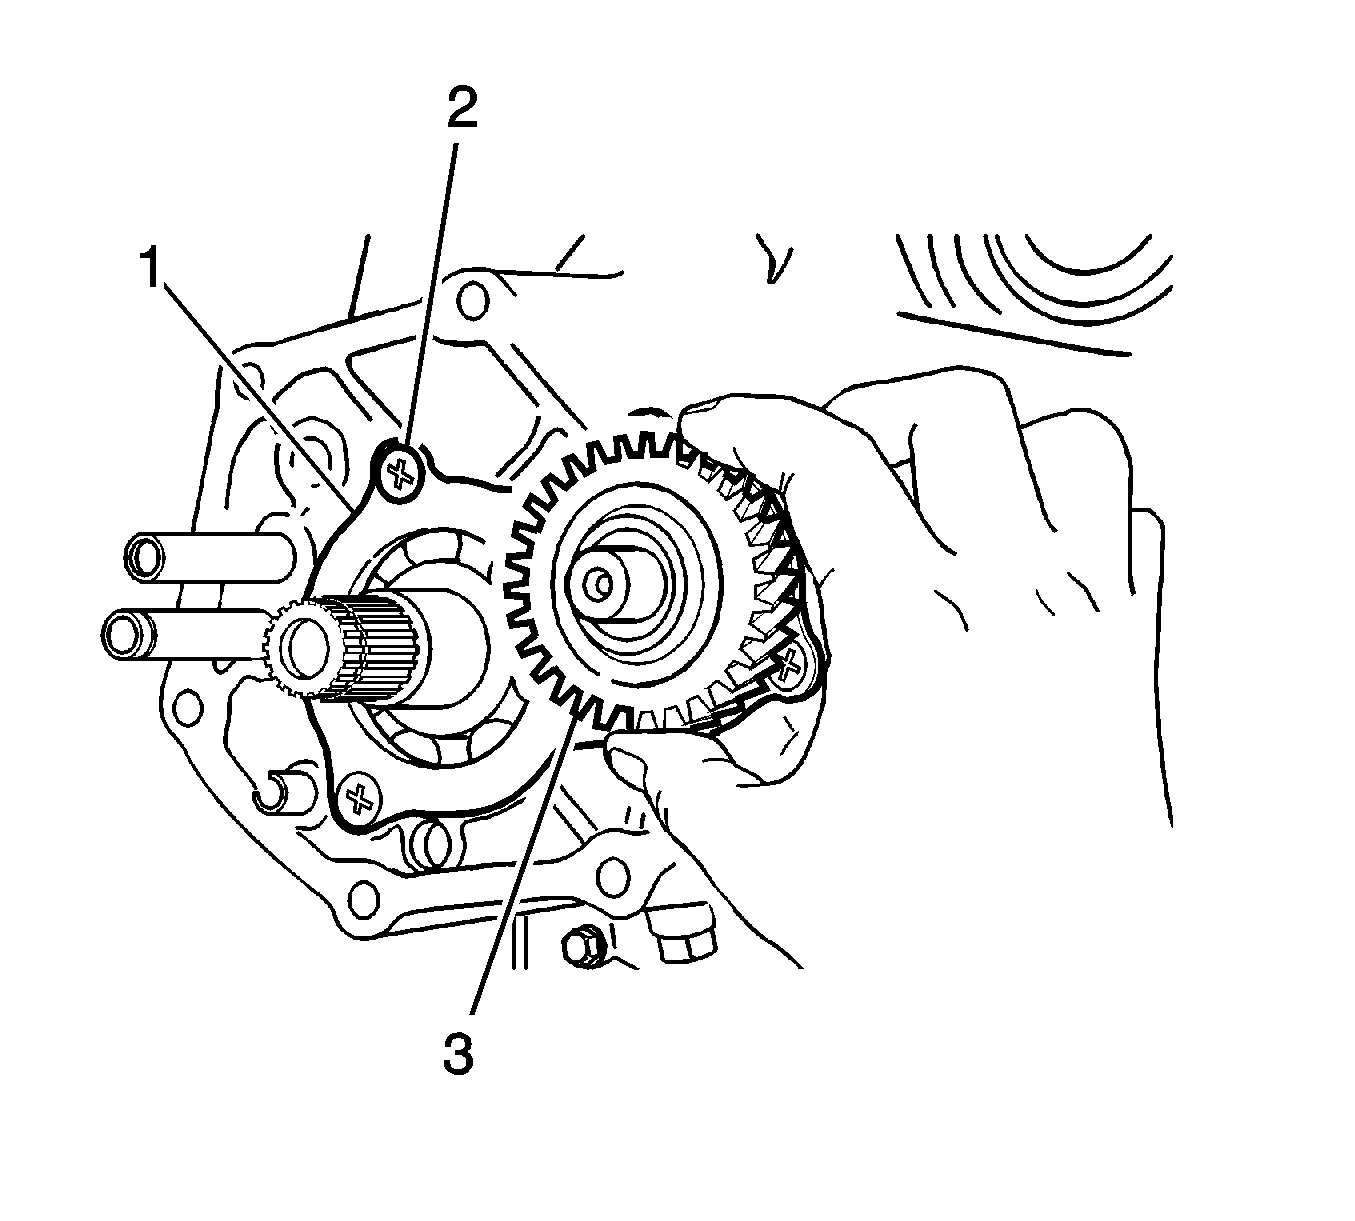
- Install the counter shaft bearing outer race using DT 46496 .
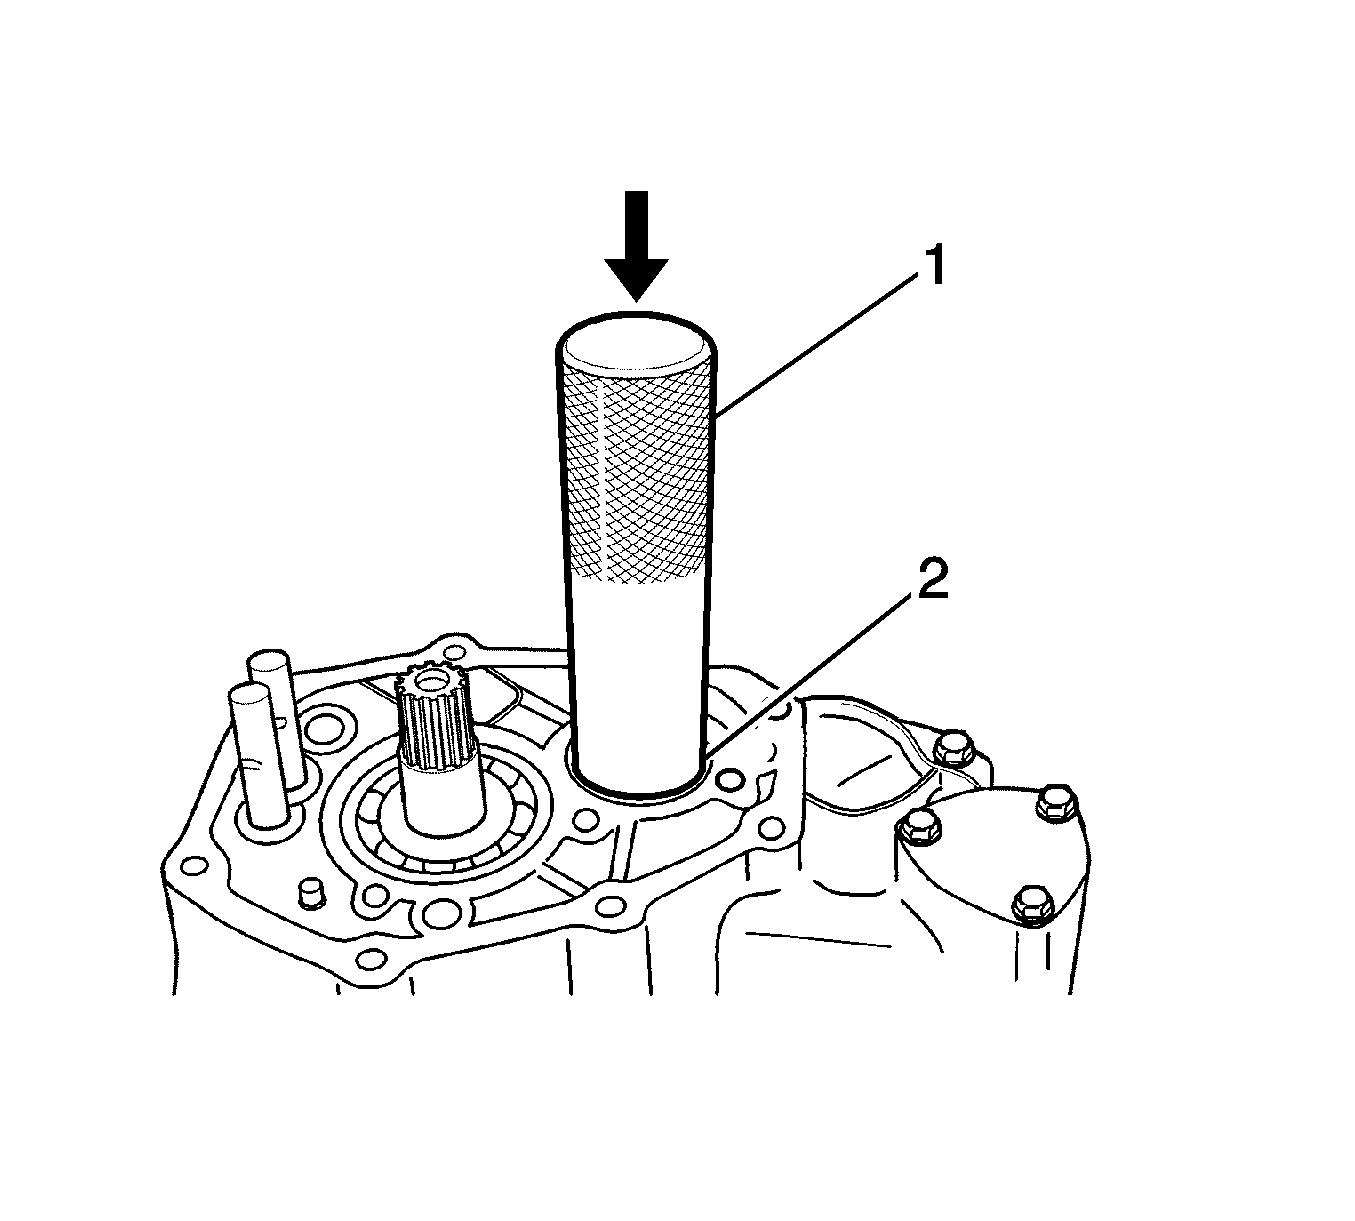
- Measure clearance between the transaxle case surface (3) and the bearing outer race (2) using a straight ruler (1) and gage. Refer to Manual Transmission Specifications .
- Select shim in order that clearance is within standard.
- Install the side cover plate (1).
- Install the counter shaft 5th gear (3).
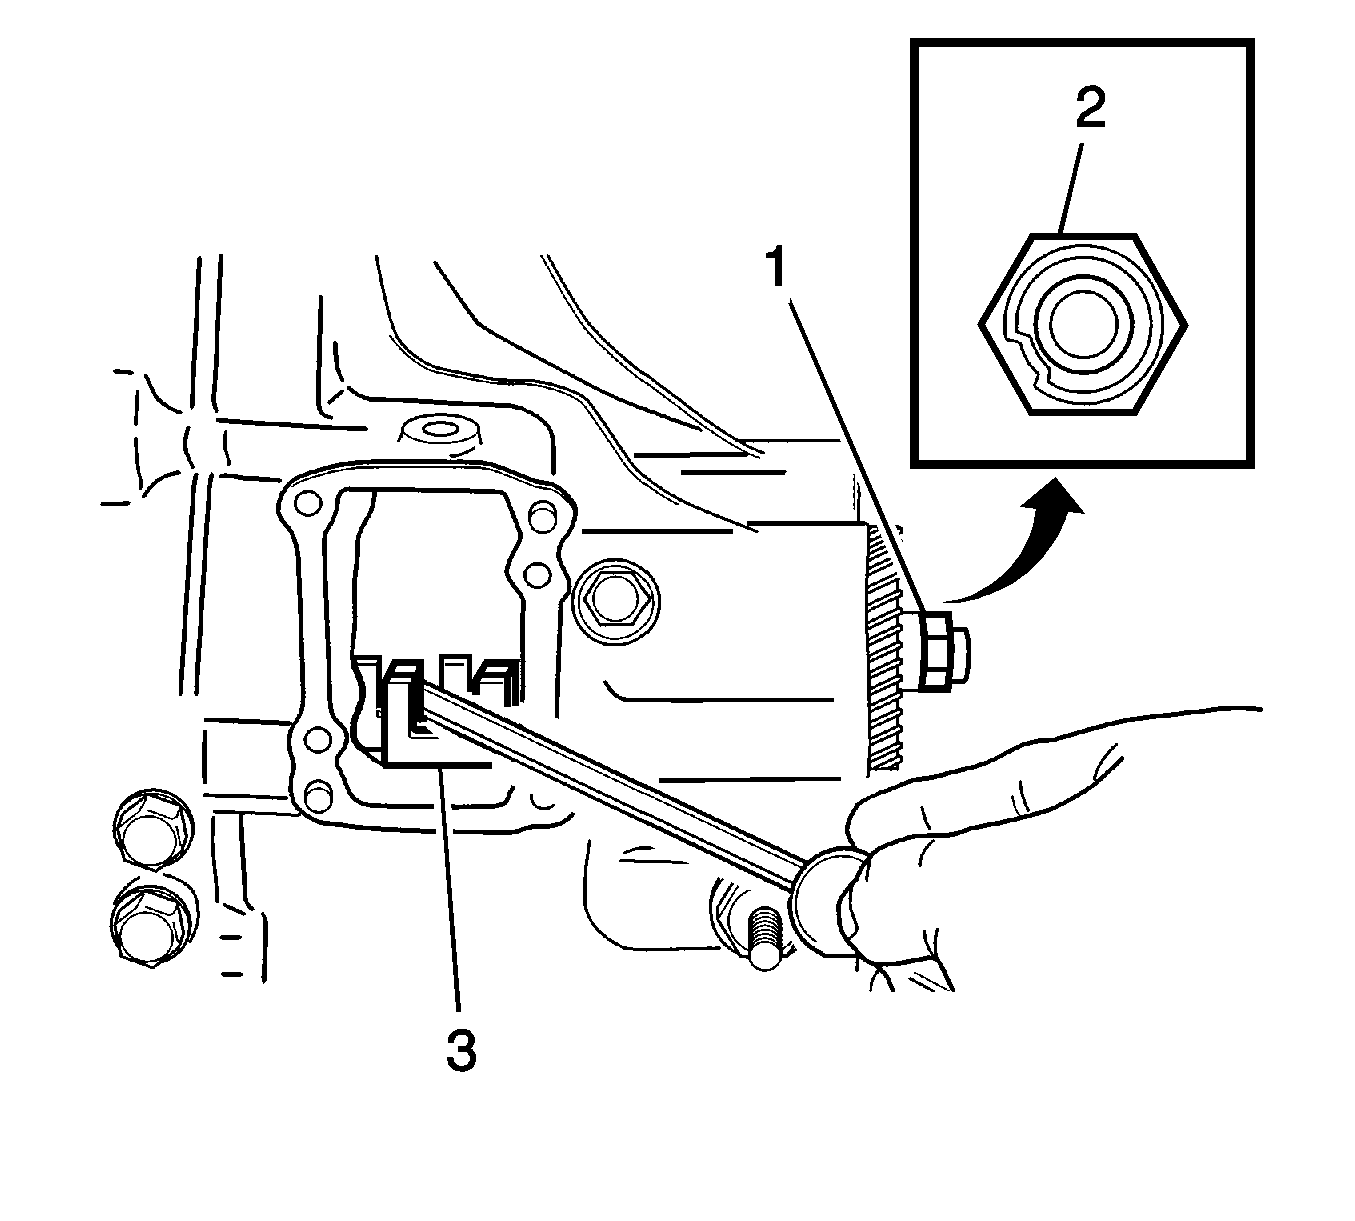
- Shift the shift yoke using a screwdriver to engage the 1st gear and the 3rd gear or the 2nd gear and the 4th gear (3).
- Install the counter shaft fifth gear nut. Caulk the nut using a chisel and a hammer (2).
- Insert the input shaft 5th gear bearing into the input shaft.
- Install the 5th gear, wave spring and synchronizer ring matching synchronizer's oil groove and input shaft punched mark (1).
- Install the synchronizer springs to hub (1).
- Install the synchronizer key (2).
- Position the longer boss side of hub toward inner side (3).
- Position the chamfered spline of sleeve toward inner side and install the hub to the sleeve (4).
- Install the 5th gear fork to the synchronizer hub assembly.
- Install the 5th gear fork and the synchronizer hub assembly to the input shaft.
- Push the 5th gear shift fork toward the 5th gear.
- Install the 5th gear shift fork pin using a pin punch and a hammer (1).
- Install the 5th gear synchronizer plate.
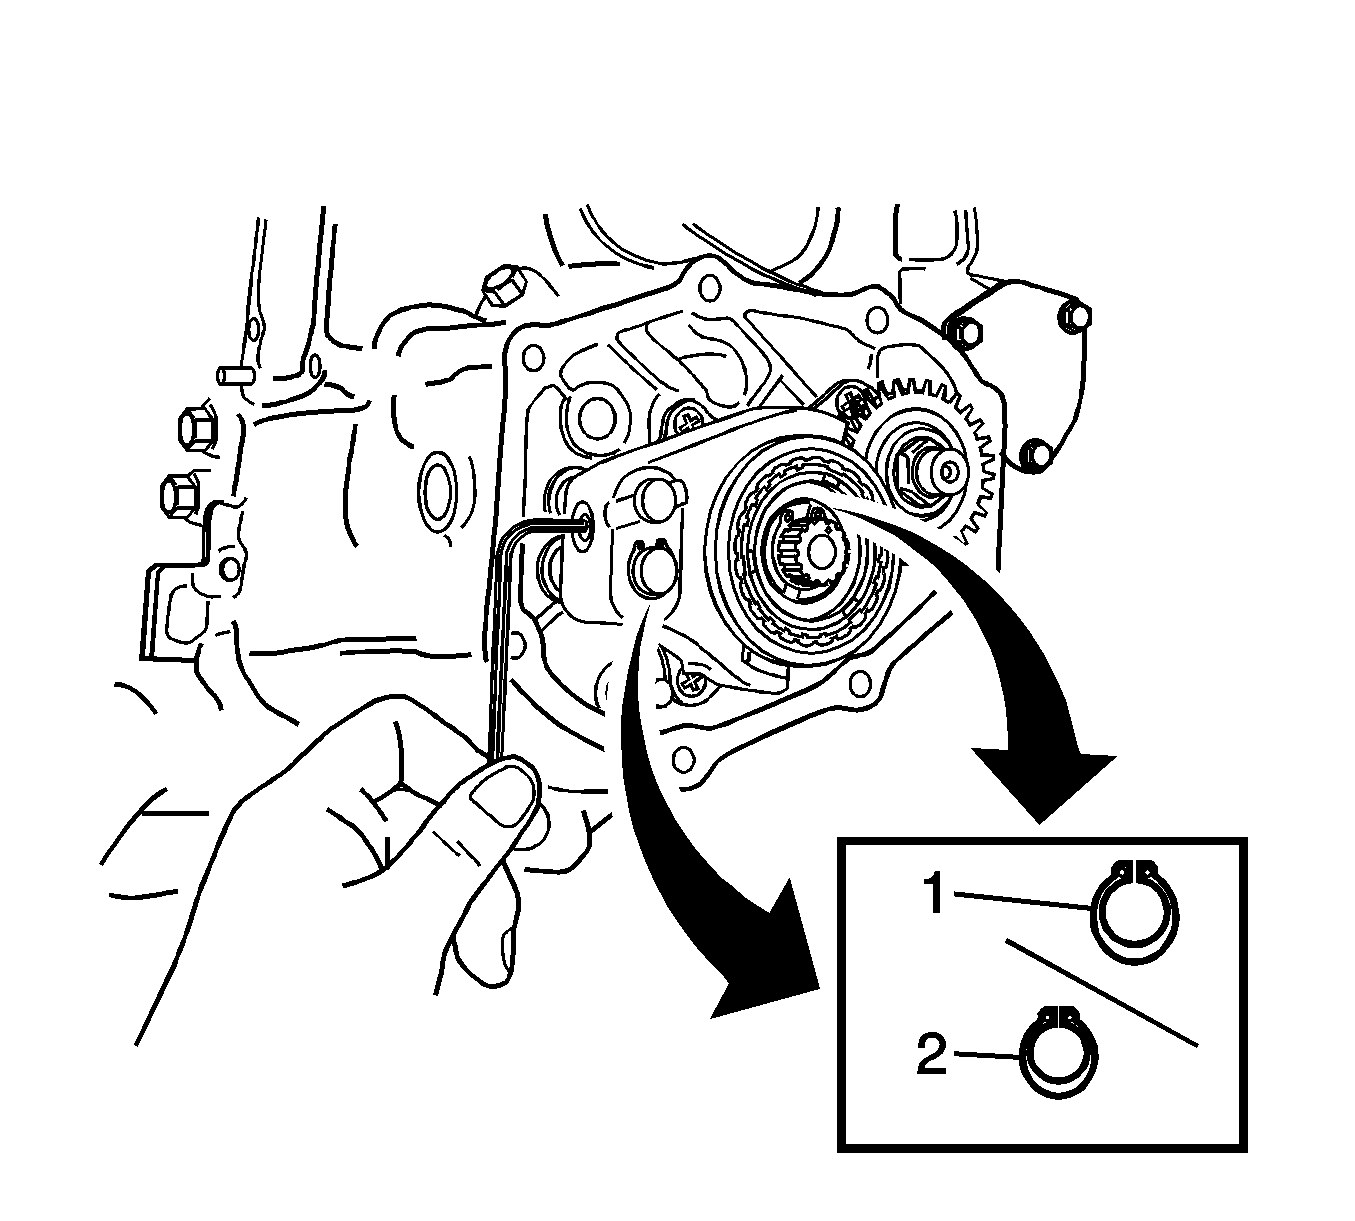
- Install the 5th gear snap ring (1).
- Install the 5th gear fork snap ring (2).
- Tighten the fork plug after inserting the guide ball into the fork hole.
- Install the side cover (1) with recommended Side Cover Sealant-THREE BOND 1215.
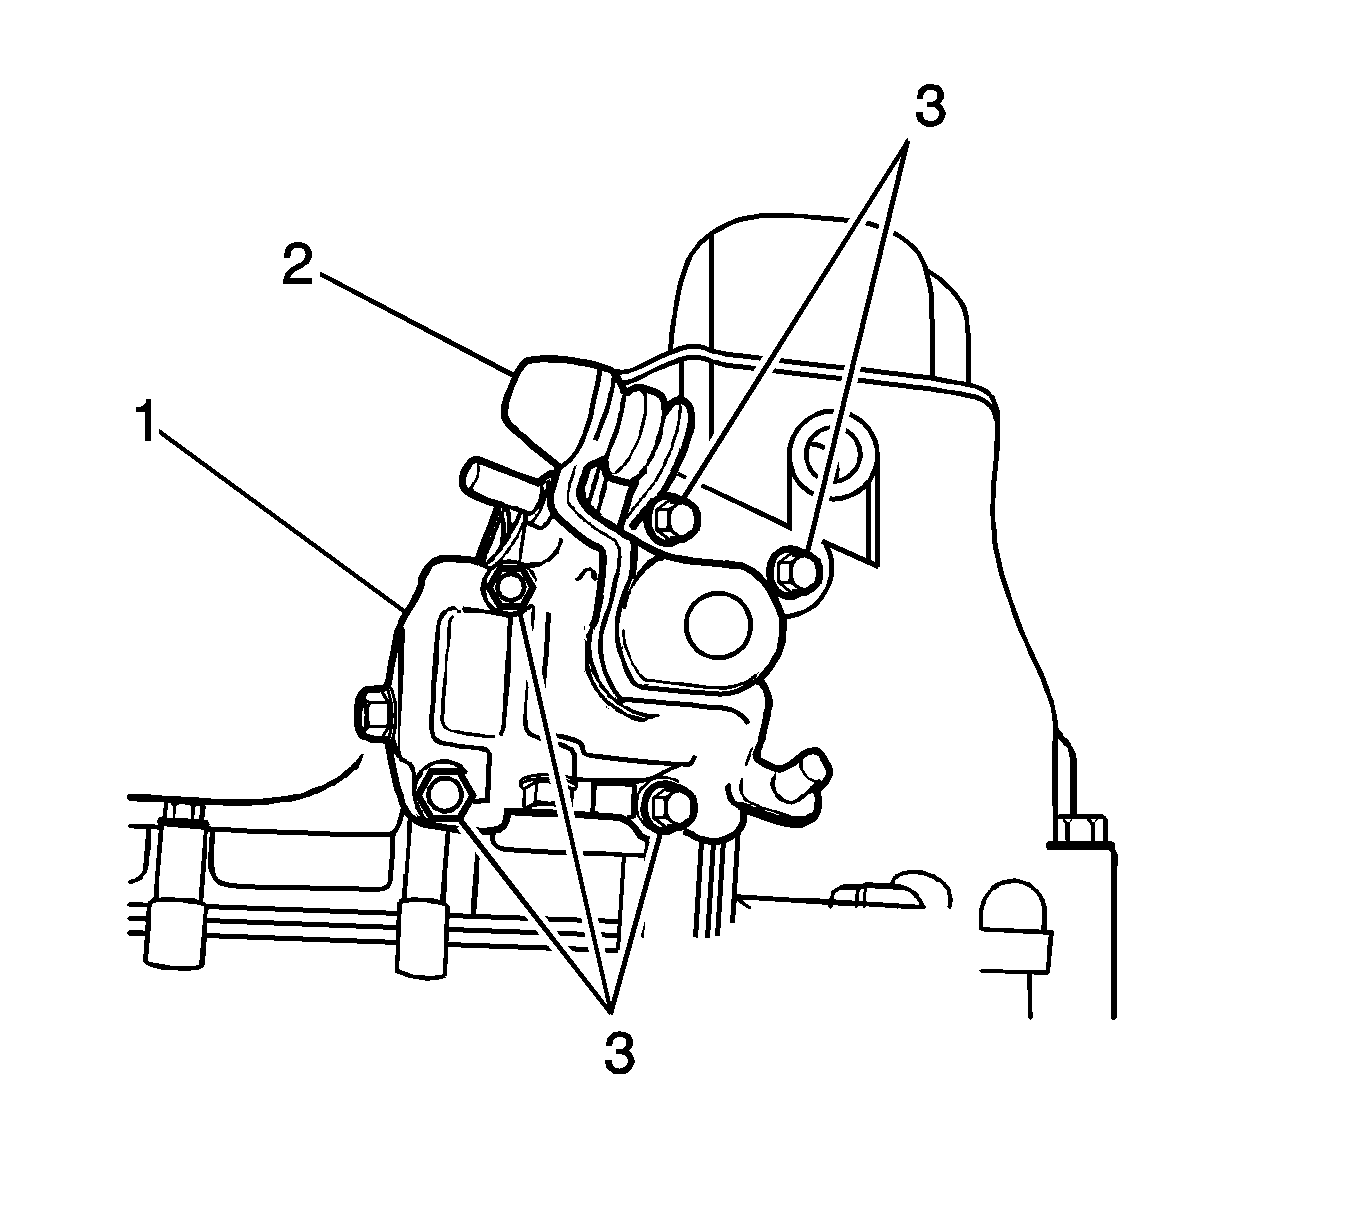
- Install the gear shift control case gasket and case (1) and bolts (2).
- Install the shift interlock bolt.
- Install the select lever.
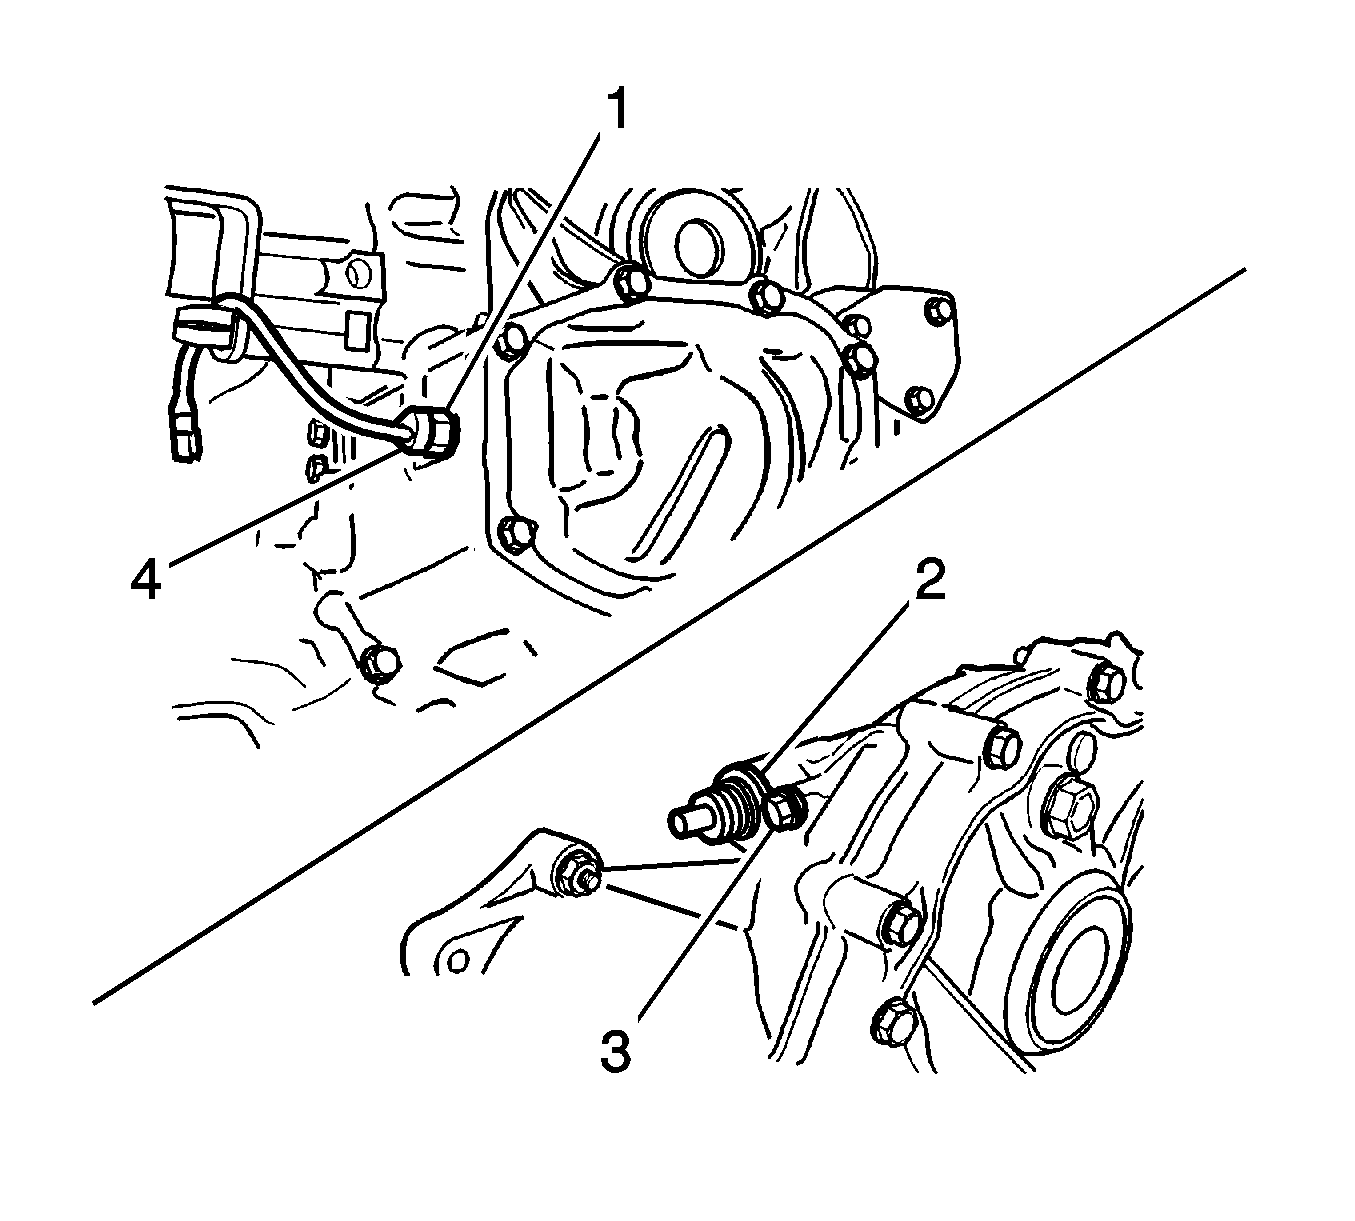
- Install the backup light switch (1).
- Install the speedometer driven gear assembly (2).
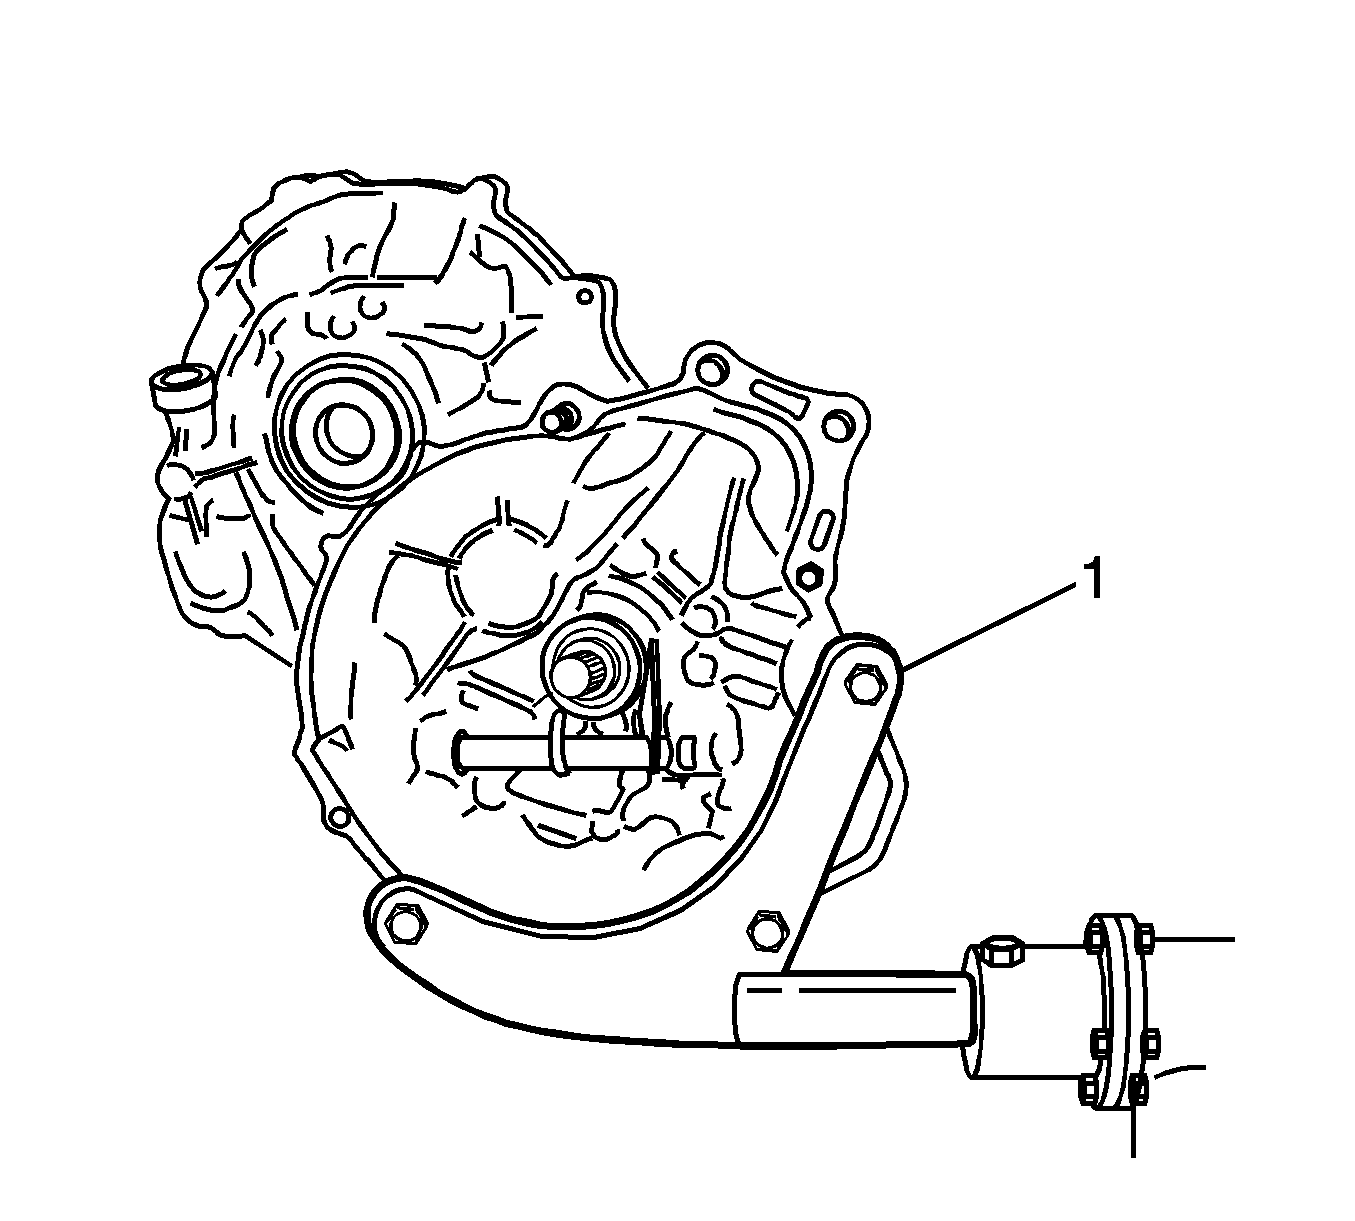
- Install the transaxle mount (1).
- Install the related clutch parts. Refer to Clutch, Pressure Plate, and Pilot Bearing Replacement .
- Remove the transaxle assembly from the DT 46553 (1).
- Install the transaxle assembly. Refer to Transmission Replacement .
Important: Use only a new oil seal.
Important: Coat the transaxle inner parts with gear fluid when installing.
Notice: Refer to Fastener Notice in the Preface section.
Tighten
Tighten the oil level plug to 36-54 N·m (26-40 lb ft).
Tighten
Tighten the bolt to 8-12 N·m (71-106 lb-in).
Important: Do NOT damage the teeth of the counter shaft pinion and the differential ring gear.
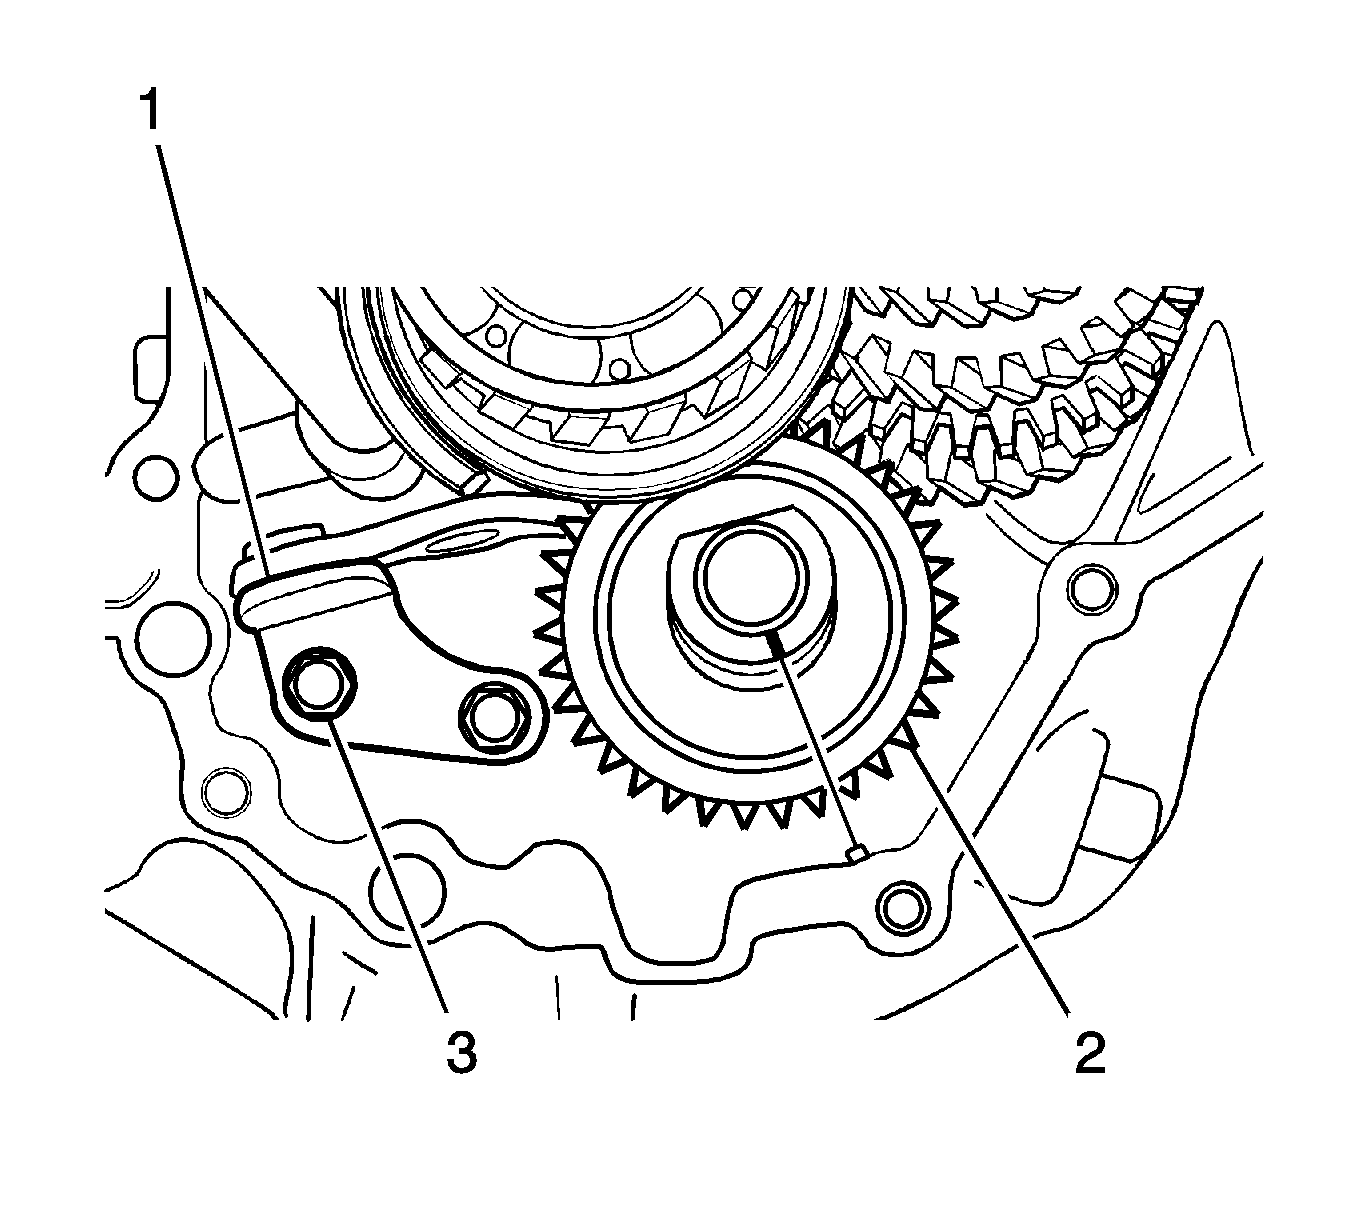
Important: Match the marking of the reverse idle gear shaft bolt hole with the protrusion of the transaxle case - right side.
Tighten
Tighten the bolts to 18-28 N·m (13-21 lb ft).
Tighten
Tighten the bolt to 10-16 N·m (7-12 lb ft).
Important: Install the correct gear shift shaft spring that was marked when removing.
Tighten
Tighten the bolt to 10-16 N·m (7-12 lb ft).
Tighten
Tighten the bolts to 15-22 N·m (11-16 lb ft).
Tighten
Tighten the bolt to 10-16 N·m (7-12 lb ft).
Tighten
Tighten the bolt to 18-28 N·m (13-21 lb ft).
Important: Check if the bearing and the outer race are correctly installed by rotating counter shaft.
Important: Use only new screws.
Tighten
Tighten the screws to 6-7 N·m (53-62 lb in).
Important: Position the machined boss side toward the side cover plate.
Tighten
Tighten the 5th gear nut to 60-80 N·m (44-59 lb ft).

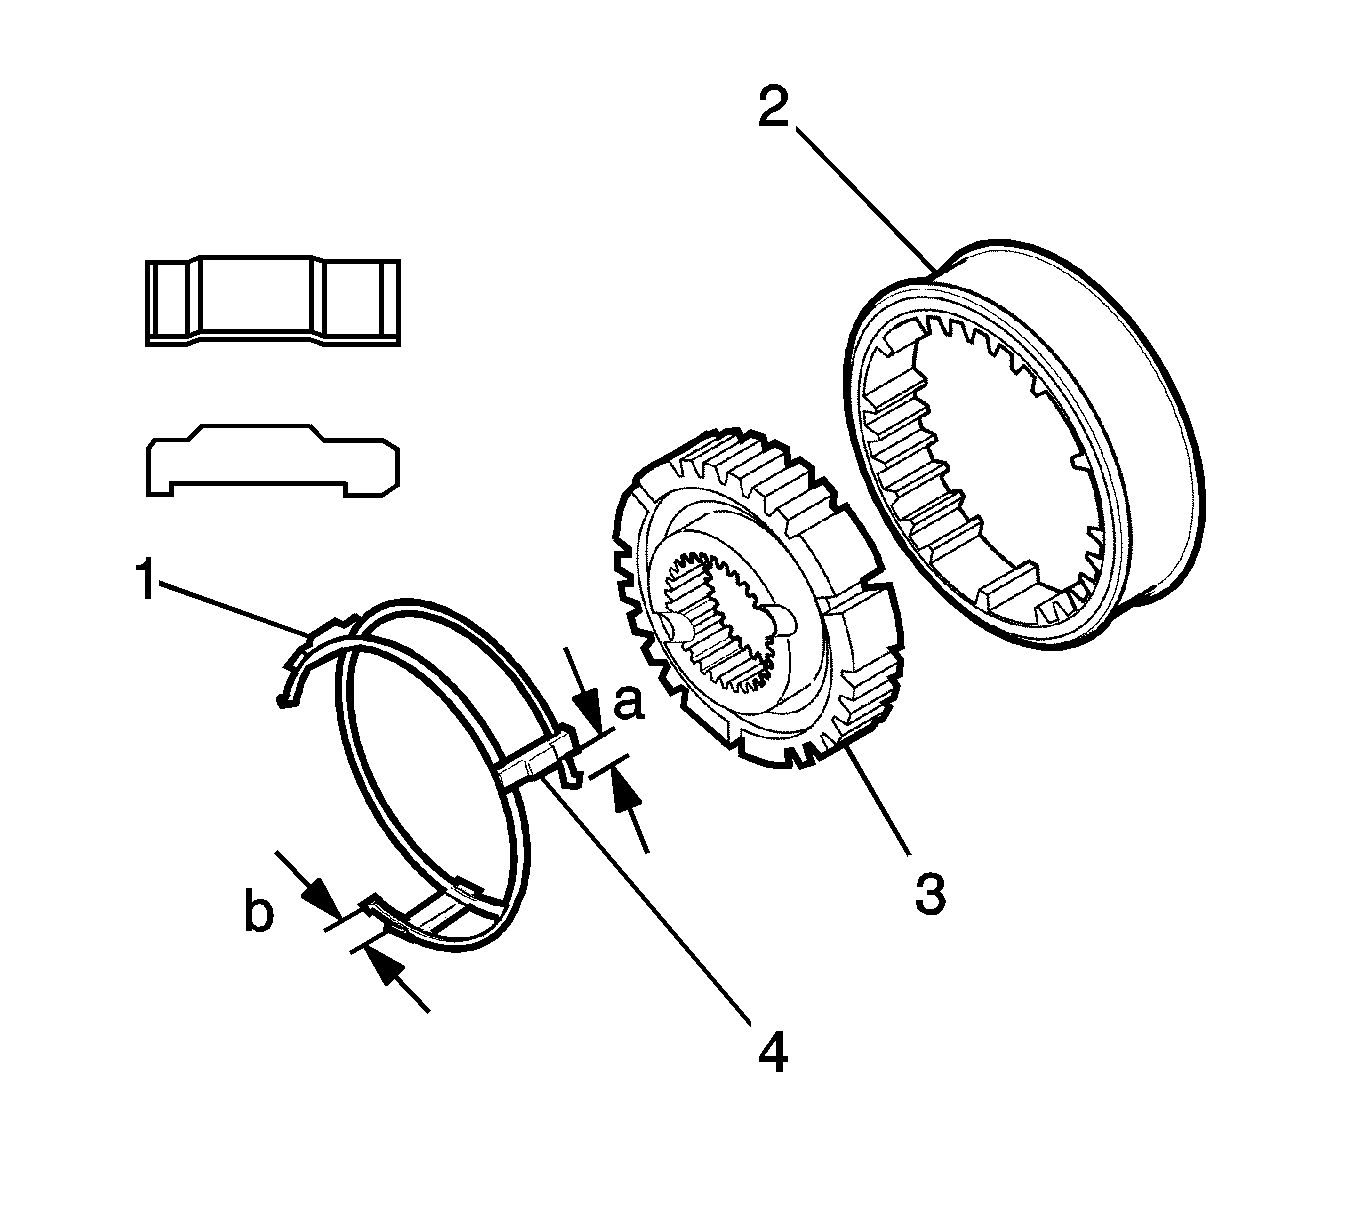
Important: When assembling the synchronizer sleeve and hub, let distance (a) equal distance (b).
Important: Position the longer boss side of hub toward inner side and match the synchronizer key and the hub groove with the input shaft punched mark.

Important: Use only new shift fork pin.
Important: Use only new snap ring.
Tighten
Tighten the side cover bolts to 8-12 N·m (71-106 lb in).
Tighten
Tighten the bolts to 18-28 N·m (13-21 lb ft).
Tighten
Tighten the shift interlock bolt to 18-28 N·m (13-21 lb ft).
Tighten
Tighten the bolts to 18-28 N·m (13-21 lb ft).
Tighten
Tighten the nut to 15-18 N·m (11-13 lb ft).
Tighten
Tighten the bolt to 4-7 N·m (35-62 lb in).
Tighten
Tighten the transaxle mount nut and bolts to 55-65 N·m (41-48 lb ft).