Air Conditioning Compressor Replacement L61
Special Tools
J 39400-A Halogen Leak Detector
Removal Procedure
- Recover the refrigerant. Refer to Refrigerant Recovery and Recharging .
- Raise the vehicle. Refer to Lifting and Jacking the Vehicle .
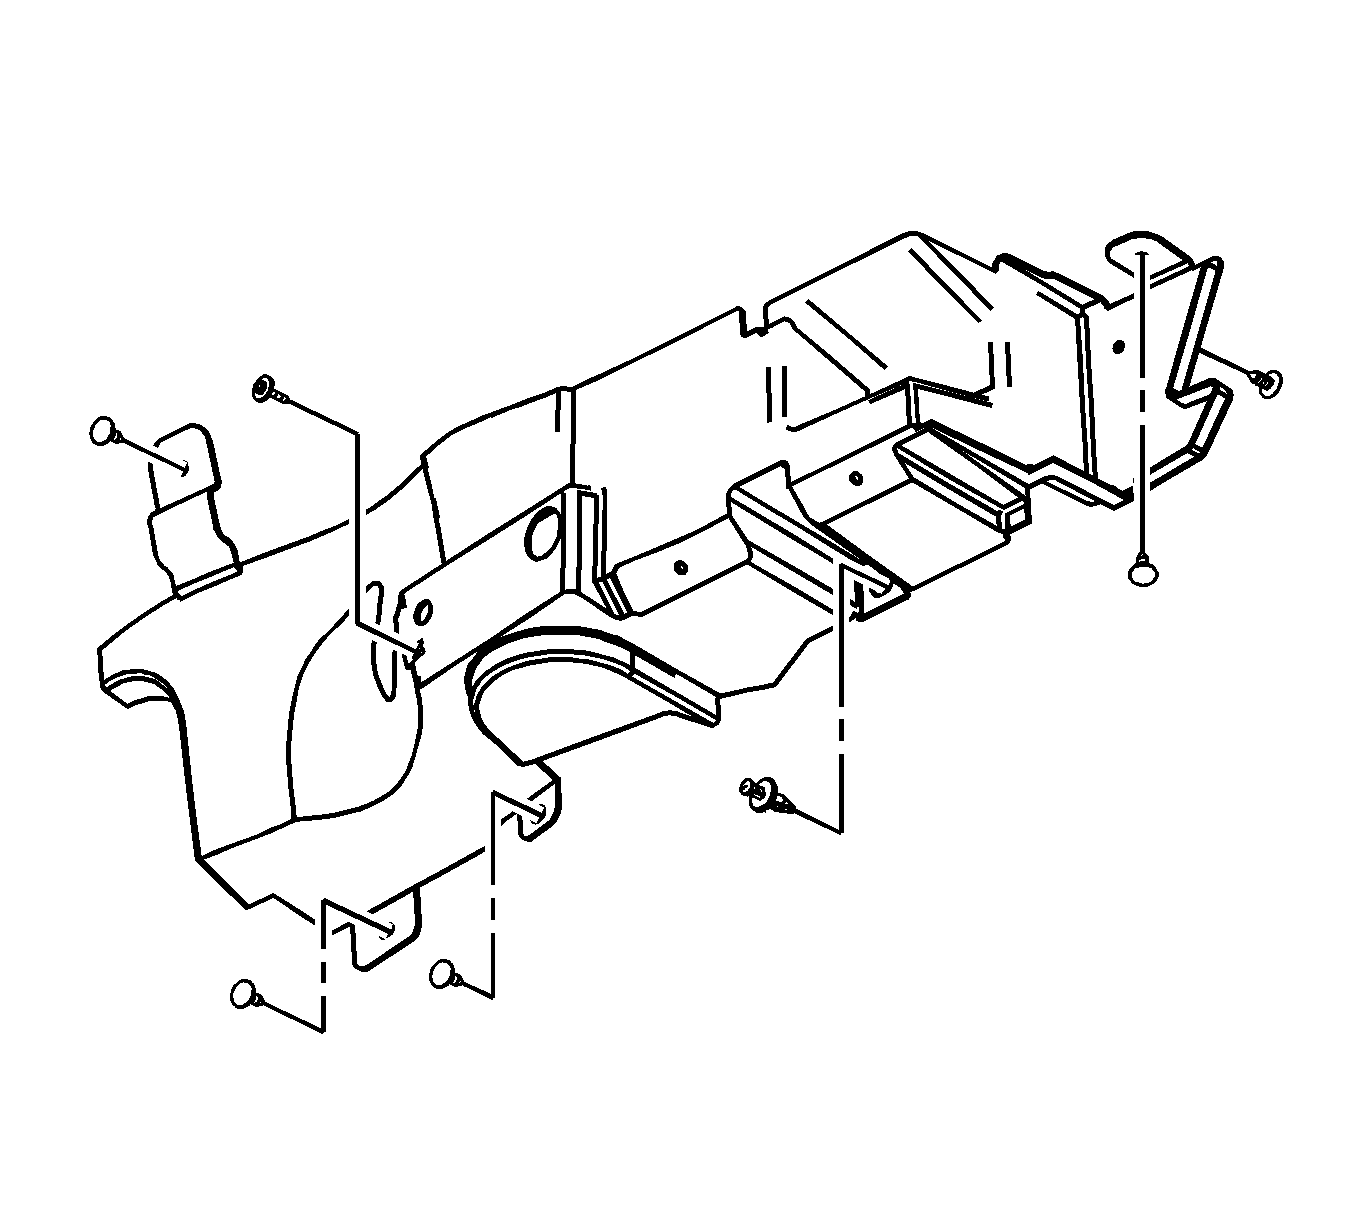
- Remove the right front fender liner. Refer to Front Fender Liner Replacement .
- Remove the right radiator air deflector retainers.
- Remove the right radiator air deflector.
- Remove the engine drive belt. Refer to Drive Belt Replacement .
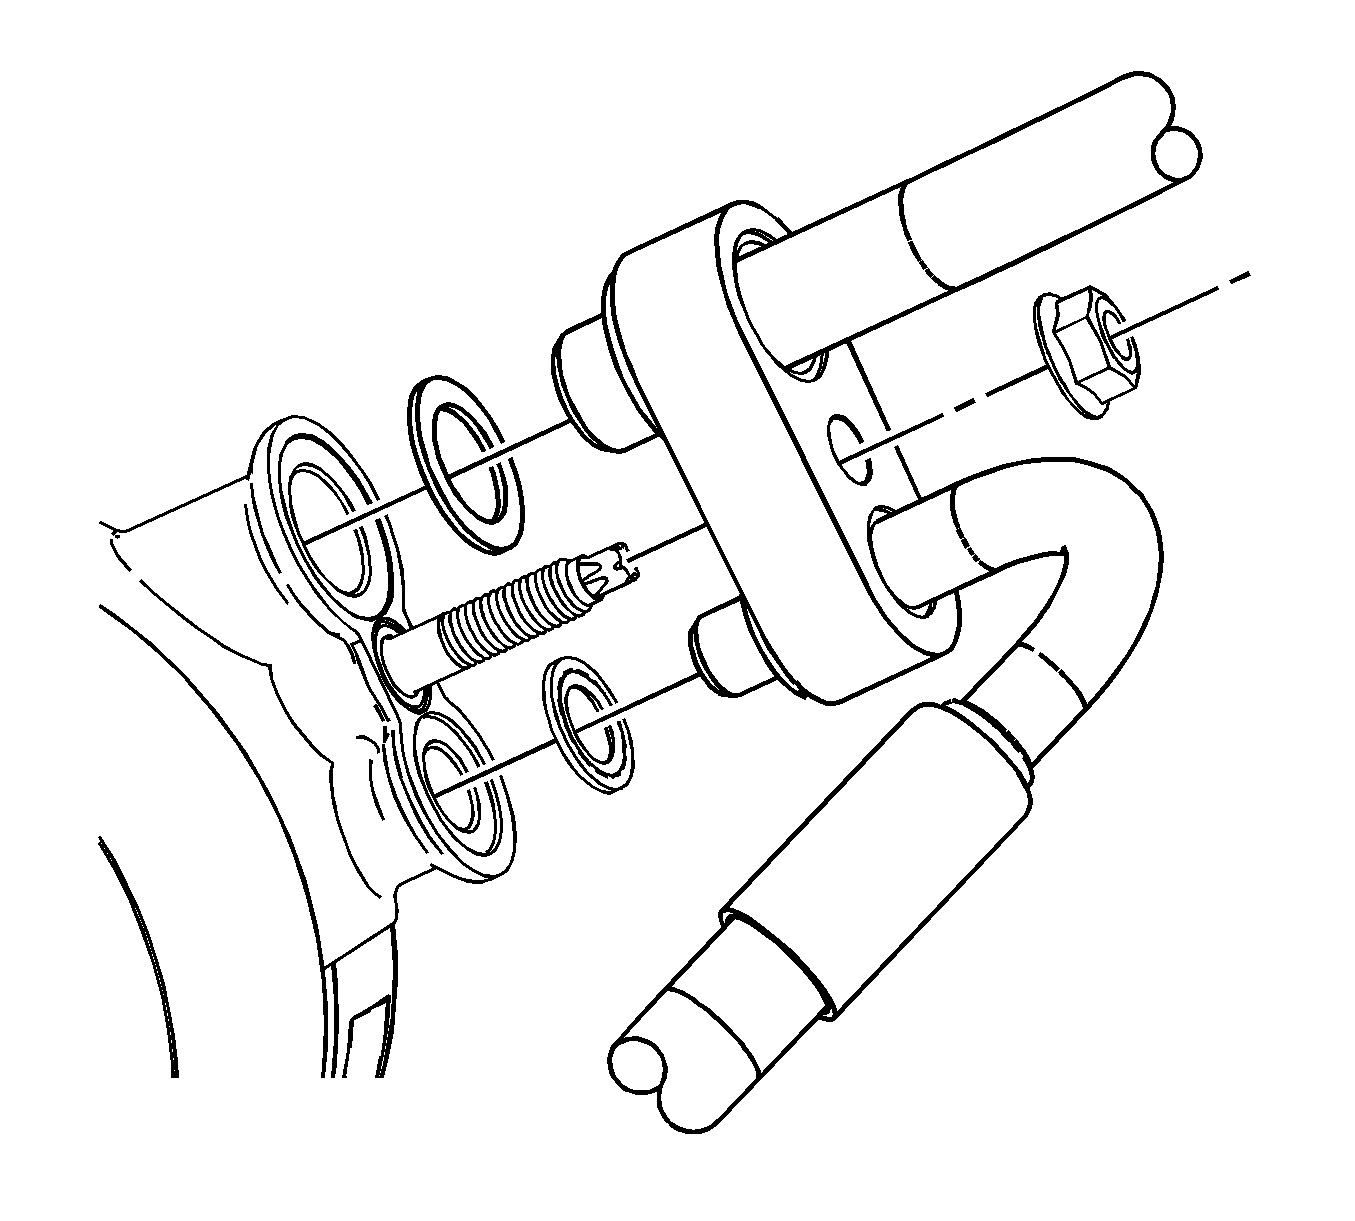
- Remove the compressor hose nut from the compressor.
- Remove the compressor hose from the compressor.
- Remove the compressor wire harness connector.
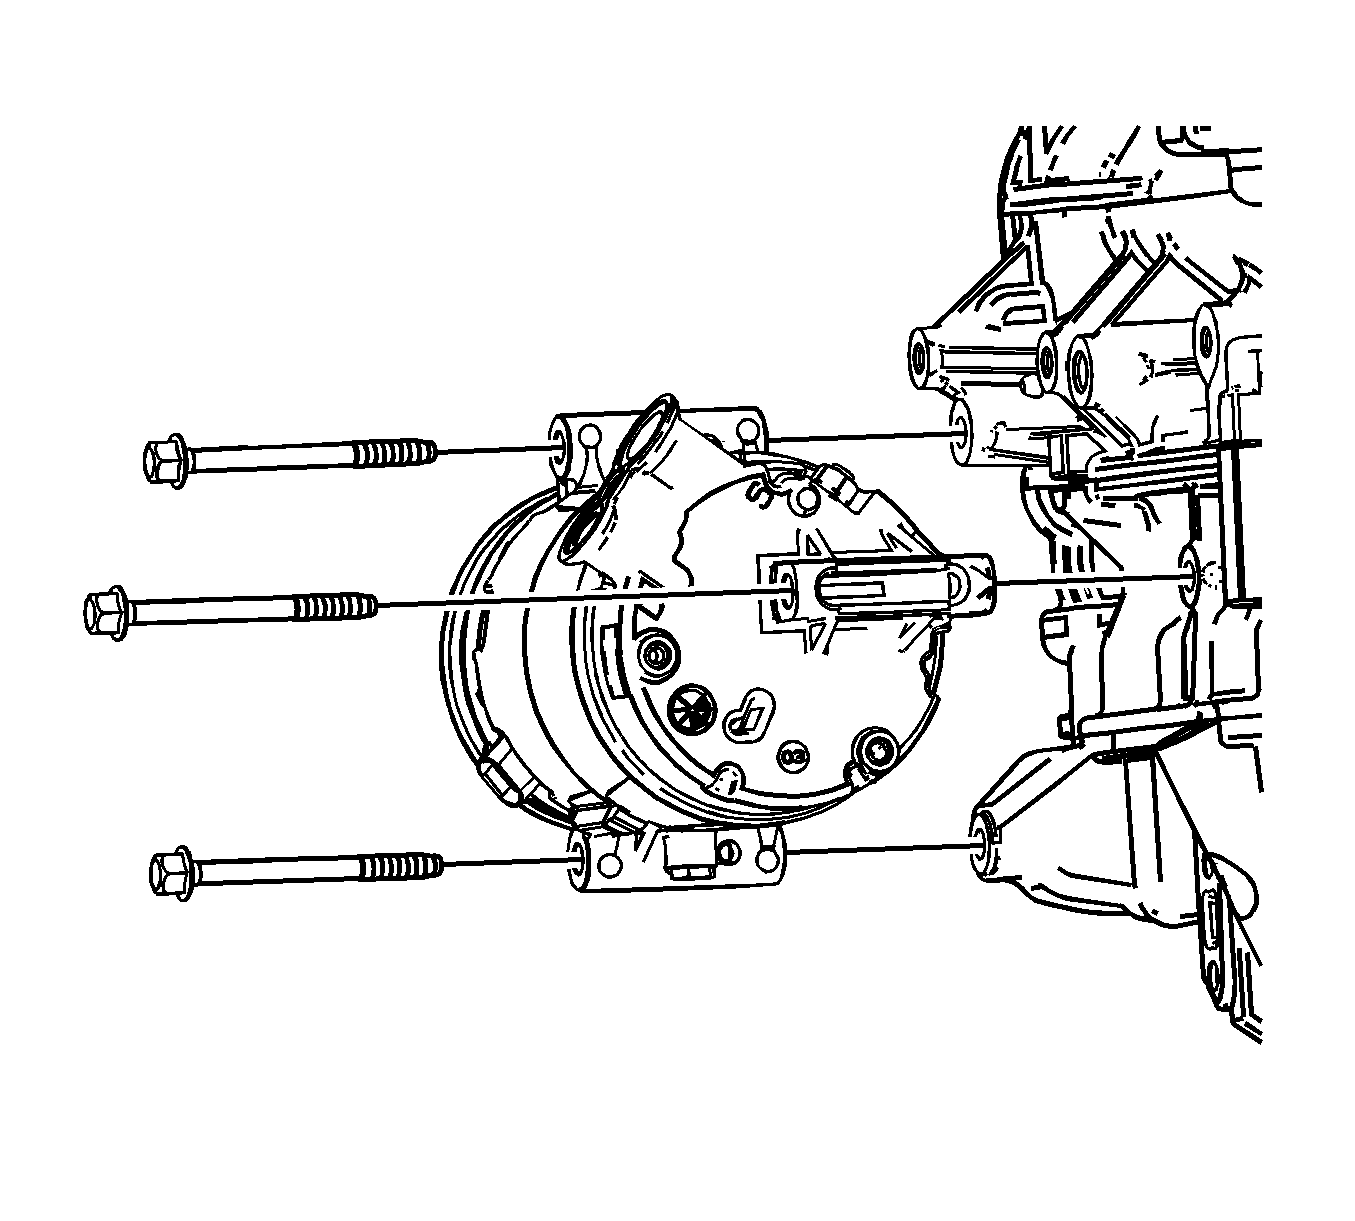
- Remove the compressor mounting bolts.
- Remove the compressor.
- Remove and discard the sealing washers.
Important: Cap all A/C components immediately to prevent system contamination.
Installation Procedure
- If replacing the compressor, refer to Air Conditioning Compressor Oil Balancing .
- Uncap A/C components.
- Install new sealing washers. Refer to Sealing Washer Replacement .
- Install the compressor.
- Install the compressor mounting bolts.
- Install the compressor wire harness connector.
- Install the compressor hose to the compressor.
- Install the compressor hose nut to the compressor.
- Install the engine drive belt. Refer to Drive Belt Replacement .
- Install the right radiator air deflector.
- Install the right radiator air deflector retainers.
- Install the right front fender liner. Refer to Front Fender Liner Replacement .
- Lower the vehicle.
- Evacuate and charge the refrigerant system Refer to Refrigerant Recovery and Recharging .
- Leak test the fittings using the J 39400-A .
Important: Use a low viscosity, poly-alkylene glycol (PAG) oil. Use of the incorrect oil can result in compressor failure.
Notice: Refer to Fastener Notice in the Preface section.
Tighten
Tighten the bolts to 50 N·m (37 lb ft).
Tighten
Tighten the nut to 20 N·m (15 lb ft).
Important: Radiator air deflectors must be properly installed or reduced A/C and engine cooling system performance could occur.
Air Conditioning Compressor Replacement LZ4, LZ9
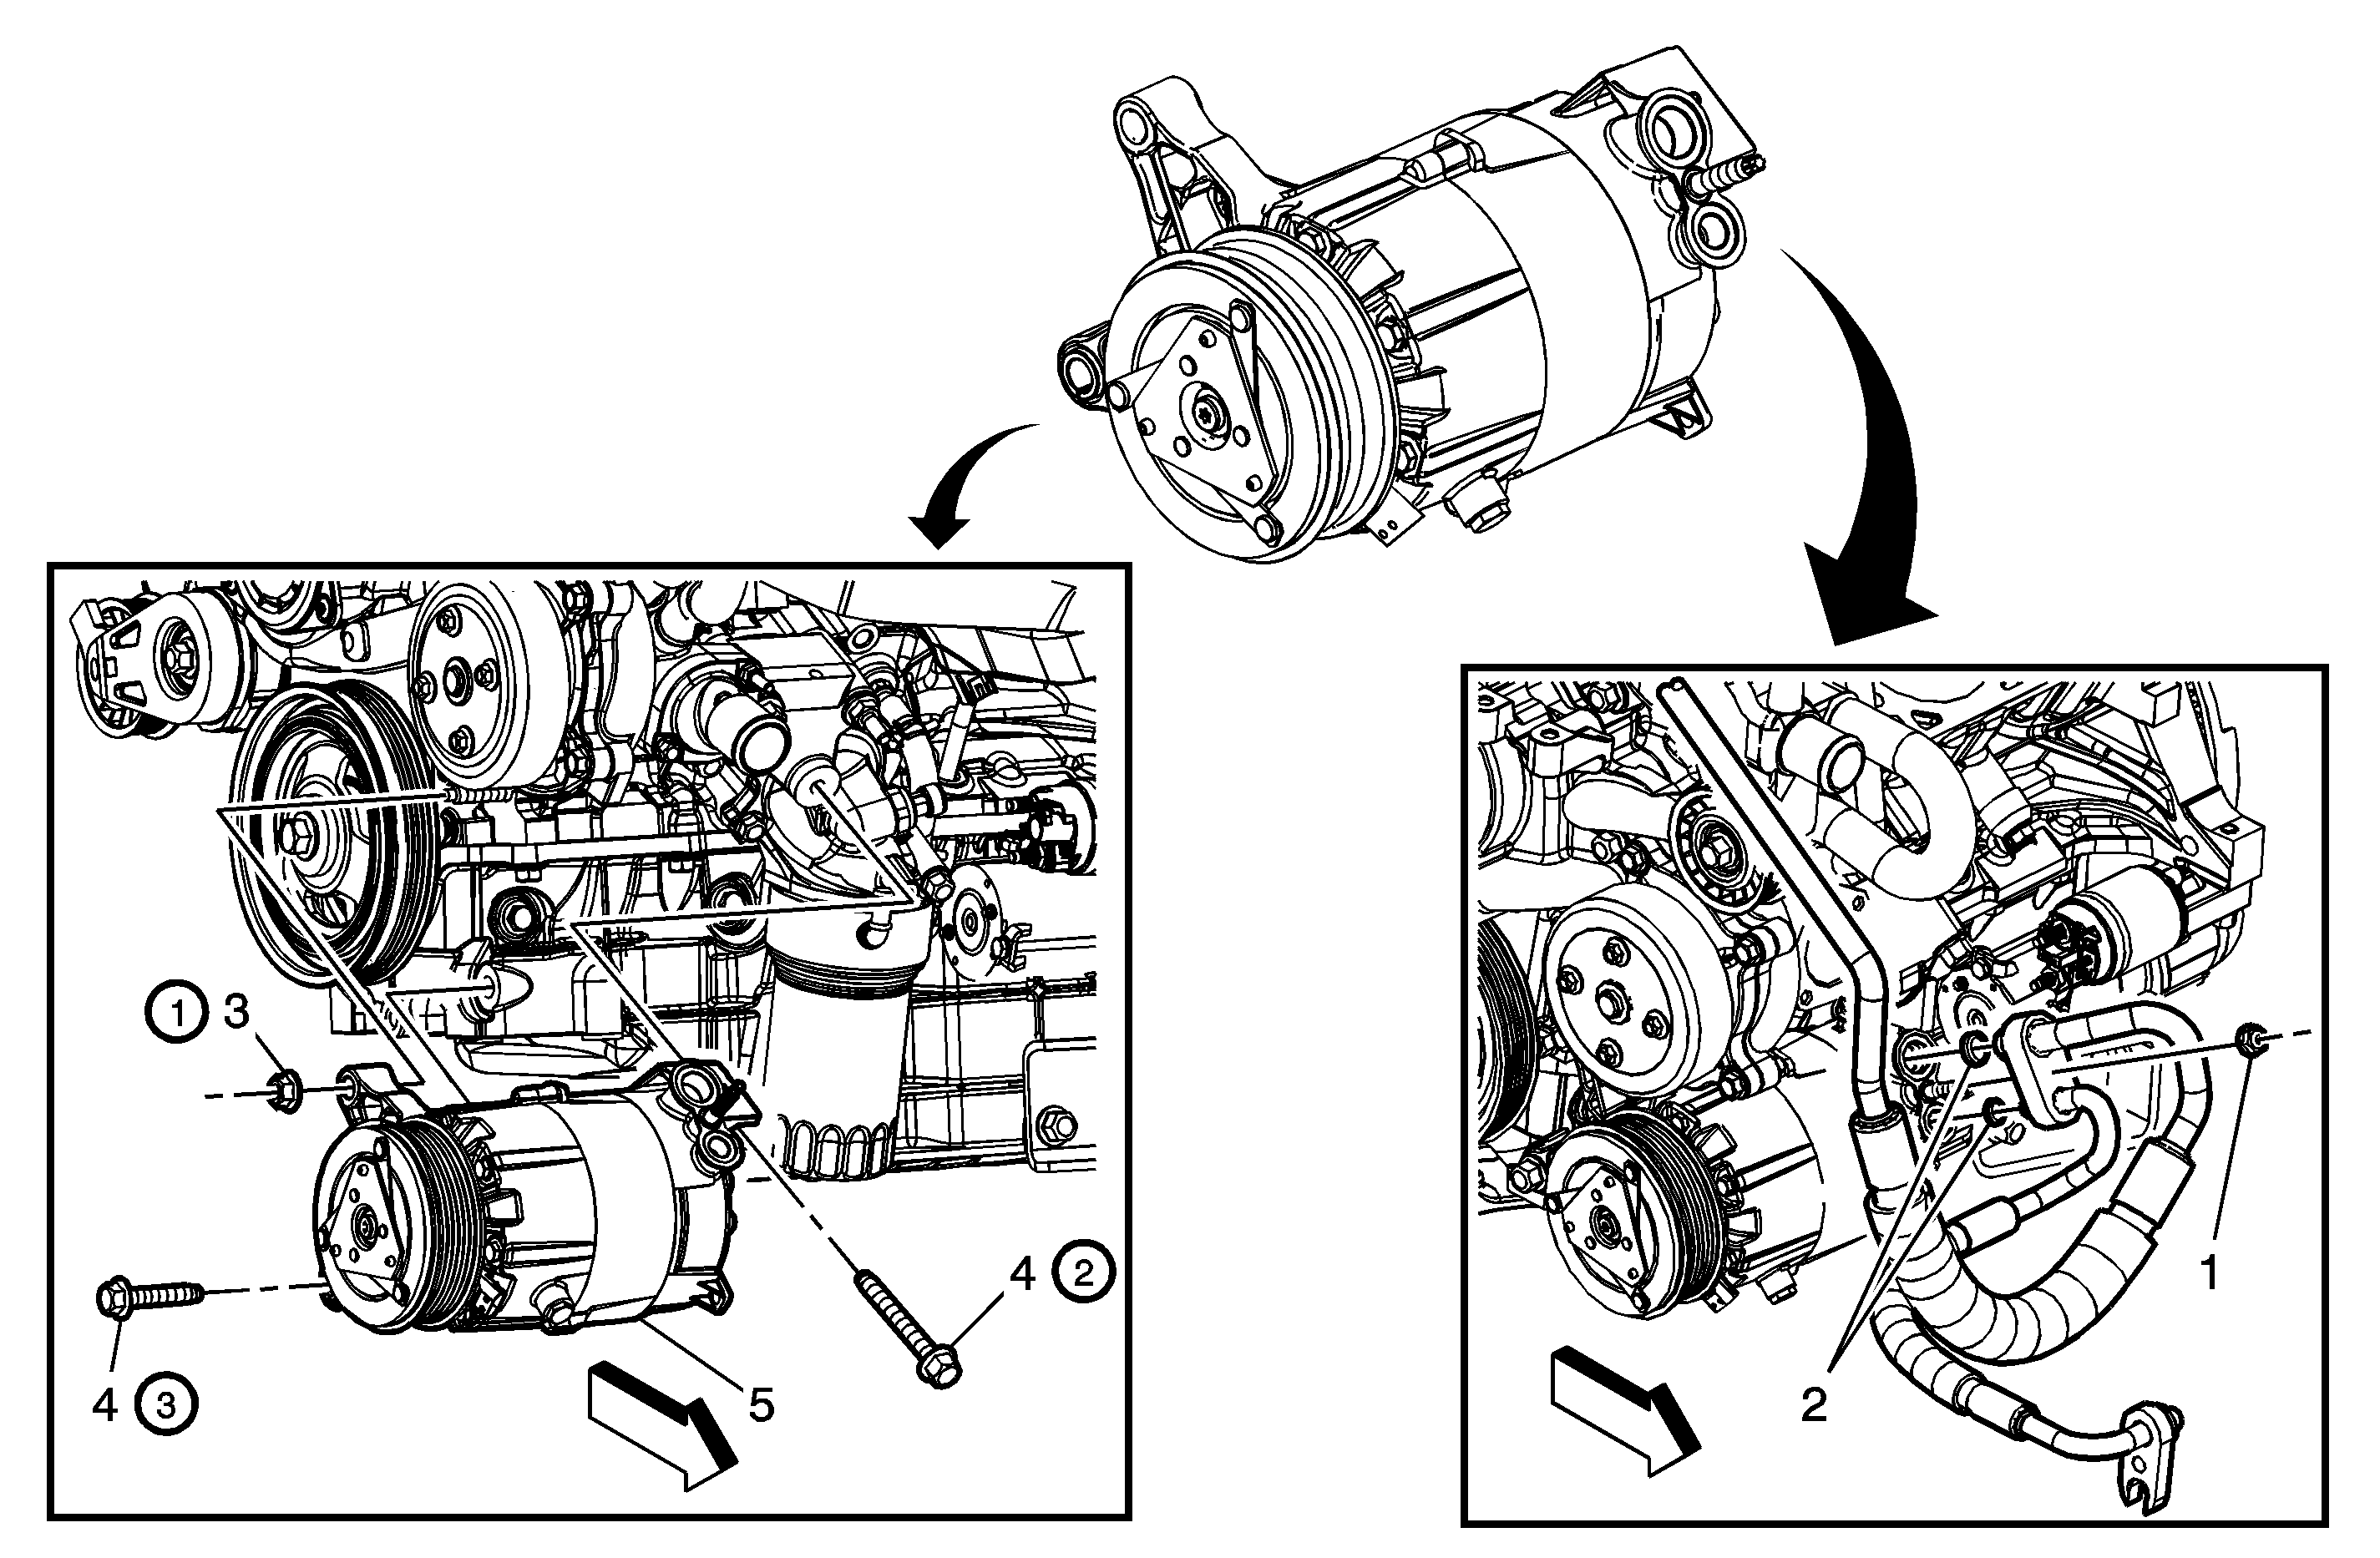
Callout | Component Name |
|---|---|
Preliminary Procedure
| |
1 | A/C Compressor Hose Nut Notice: Refer to Fastener Notice in the Preface section. Tip Tighten |
2 | Sealing Washer Tip |
3 | A/C Compressor Nut Tip Tighten |
4 | A/C Compressor Bolt (Qty: 2) Tip Tighten |
5 | A/C Compressor Assembly Tip
|
