Removal Procedure
- Remove the fuel pump fuse.
- Start the engine. After it stalls, crank the engine for 10 seconds to rid the fuel system of fuel pressure.
- Drain the engine oil.
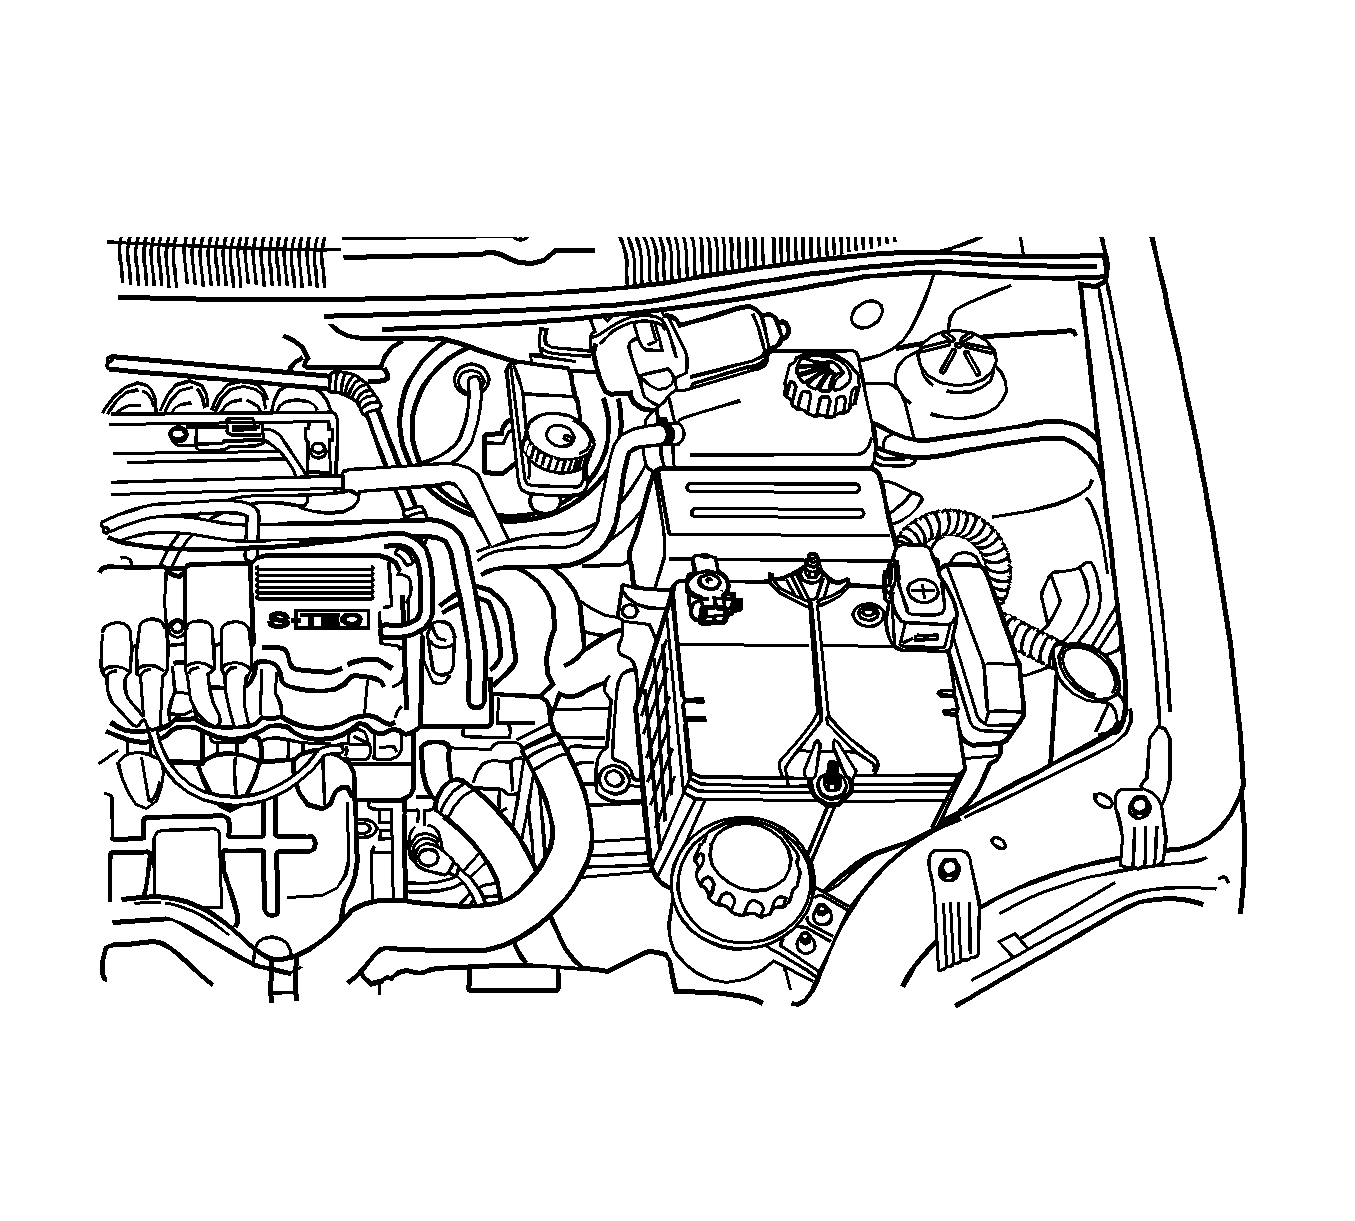
- Disconnect the negative battery.
- Disconnect and separate the battery positive cable.
- Discharge the air conditioning (A/C) system, if equipped. Refer to Refrigerant Recovery and Recharging.
- Disconnect the electrical connector at the engine control module (ECM).
- Remove the battery.
- Remove the coolant surge tank.
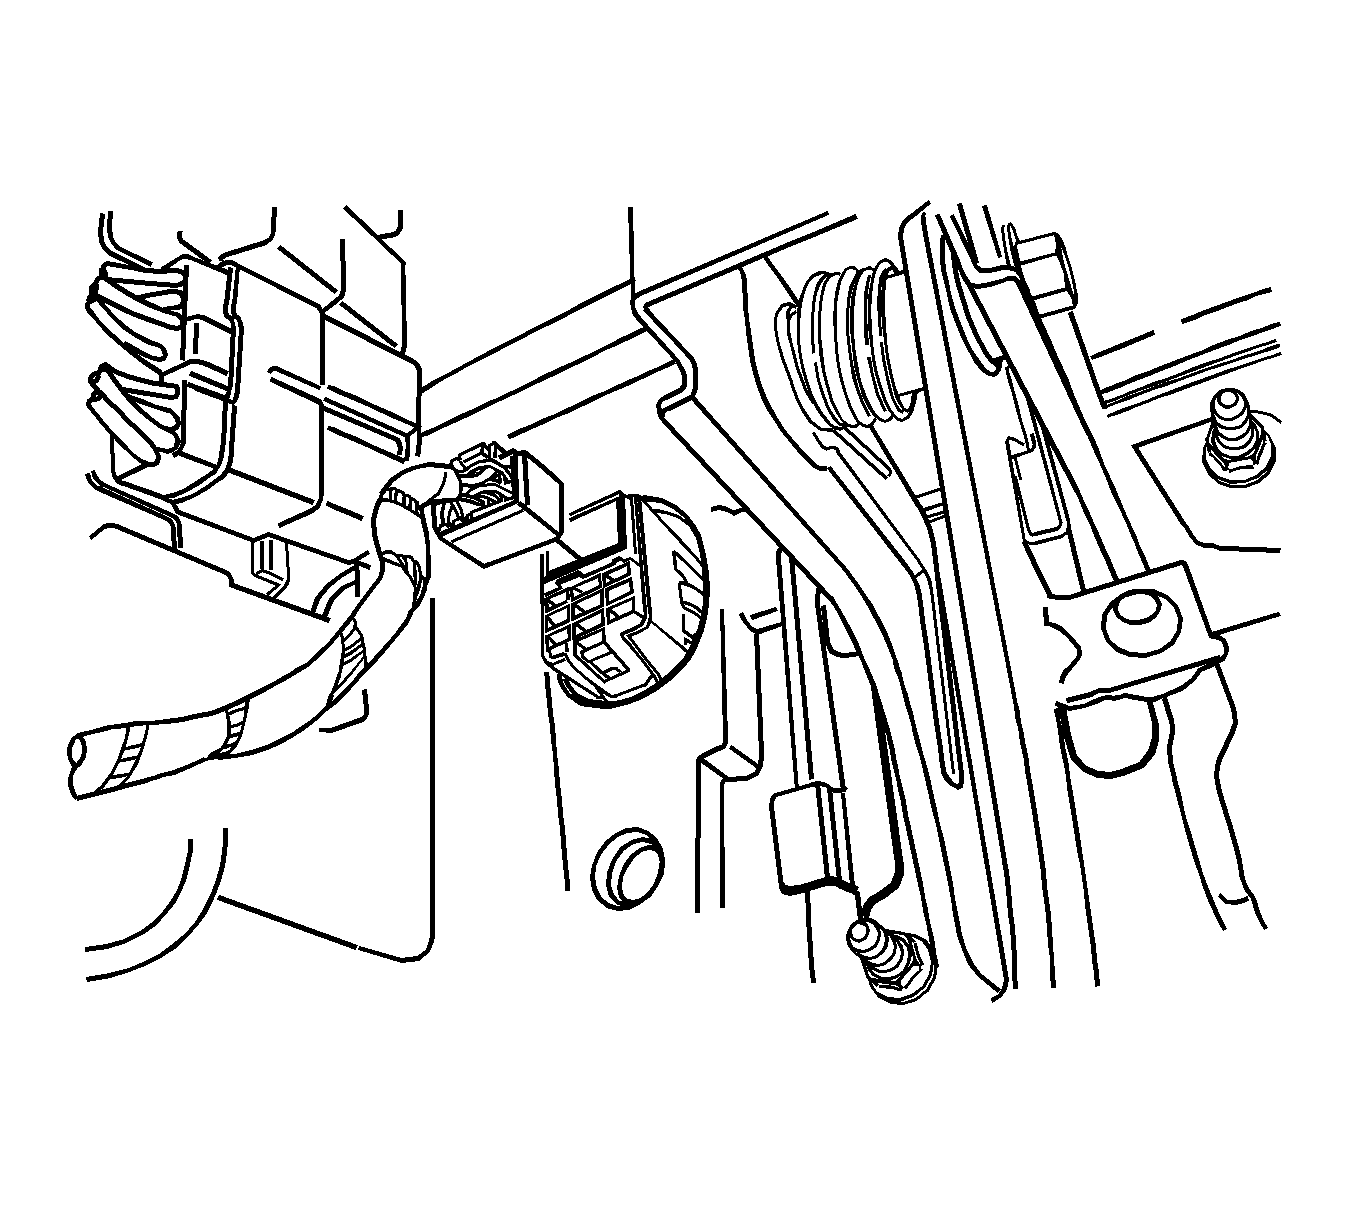
- Disconnect the fuse box cover.
- Disconnect the electrical connector at the fuse box.
- Remove the fuse box bolts and the nut.
- Remove the fuse box.
- Drain the engine coolant. Refer to Cooling System Draining and Filling.
- Disconnect the upper radiator hose.
- Disconnect the lower radiator hose.
- Disconnect the heater inlet/outlet hose.
- Disconnect the negative battery cable from the vehicle frame.
- Disconnect the main connector from the engine wiring harness.
- Remove the air filter housing.
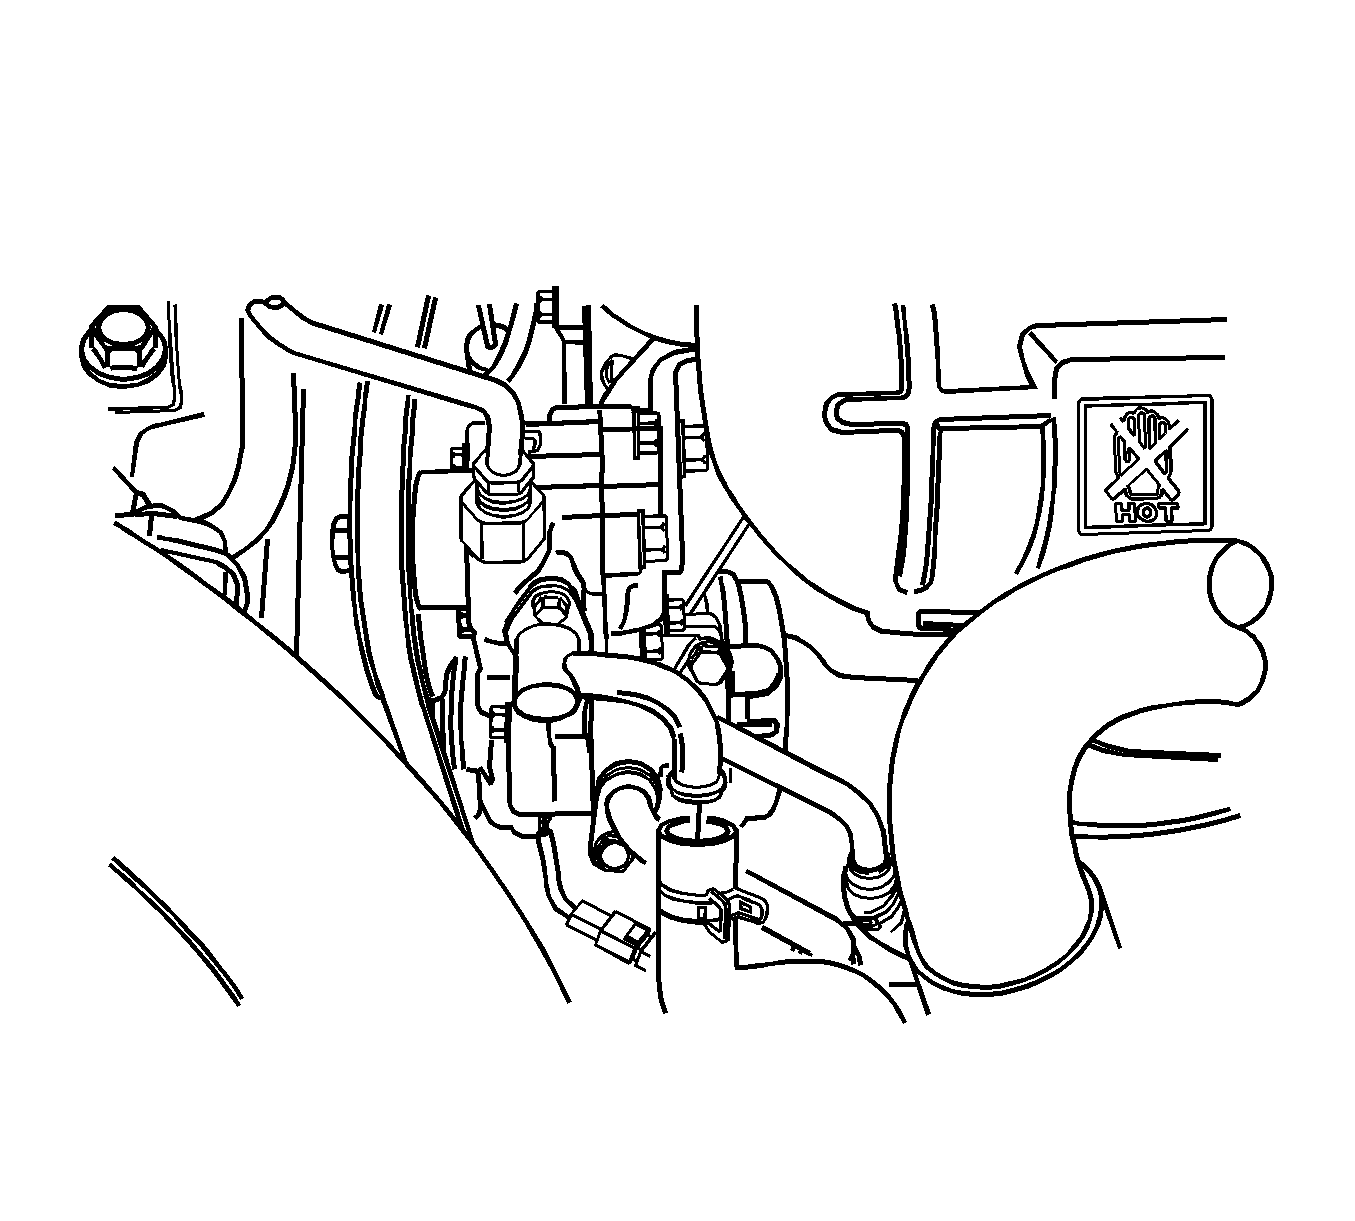
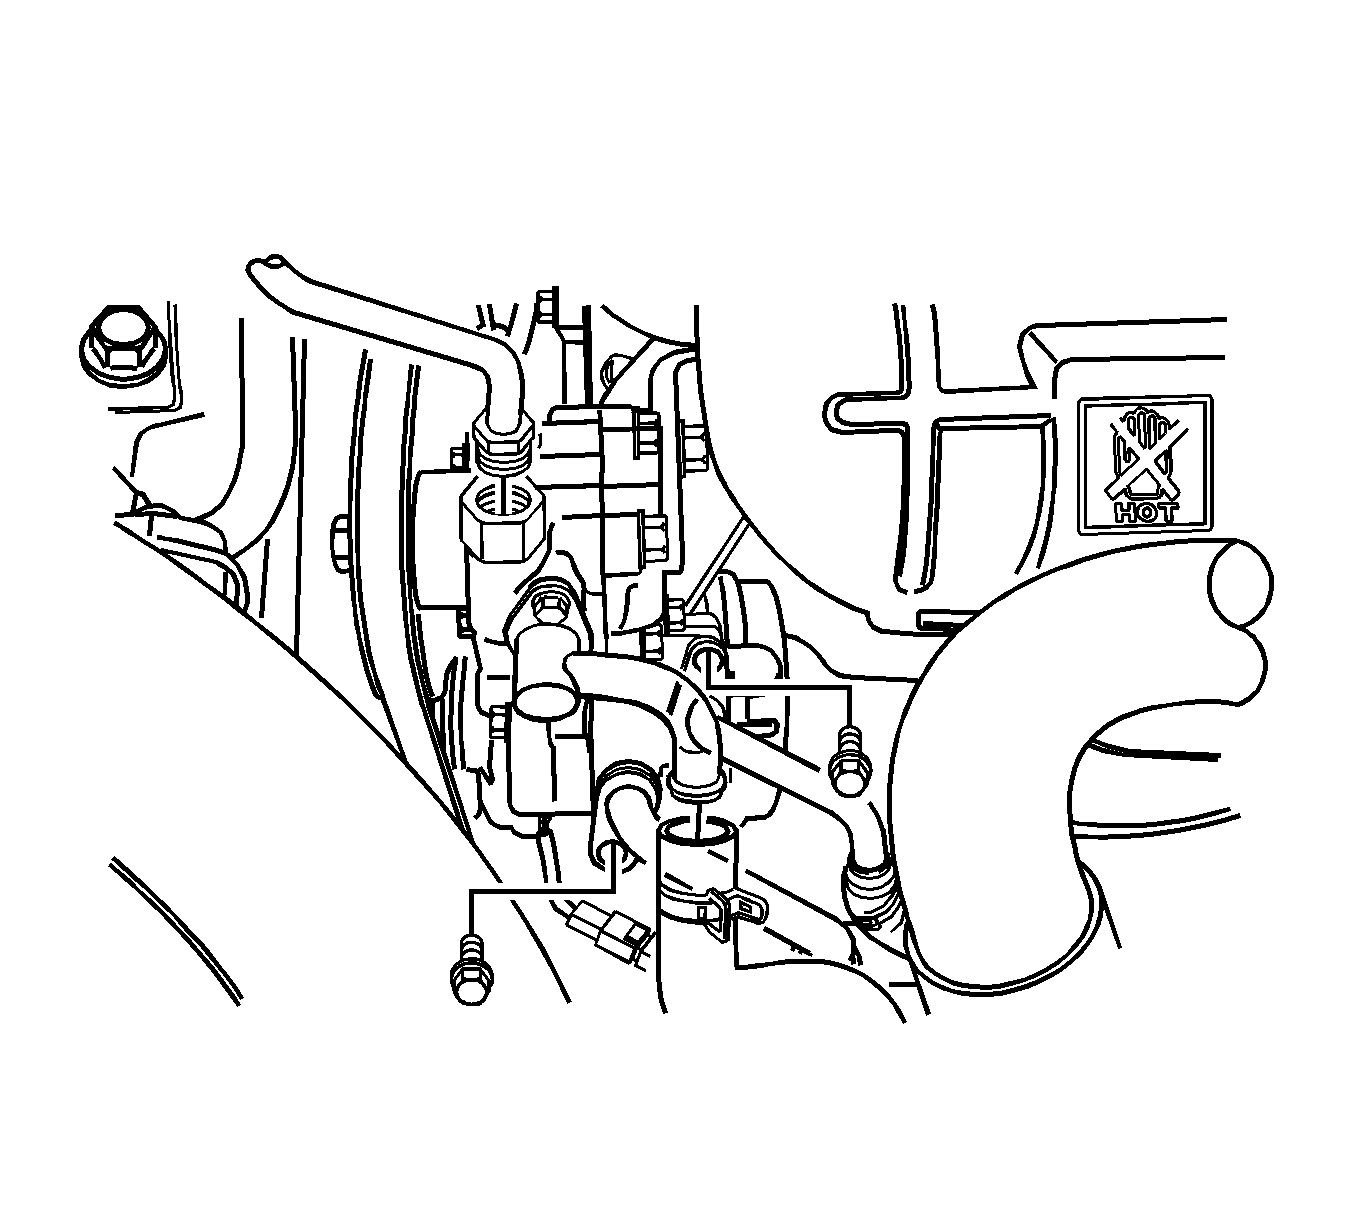
- Disconnect the fuel line at the fuel rail.
- Disconnect the vacuum lines at the evaporative emission (EVAP) canister purge.
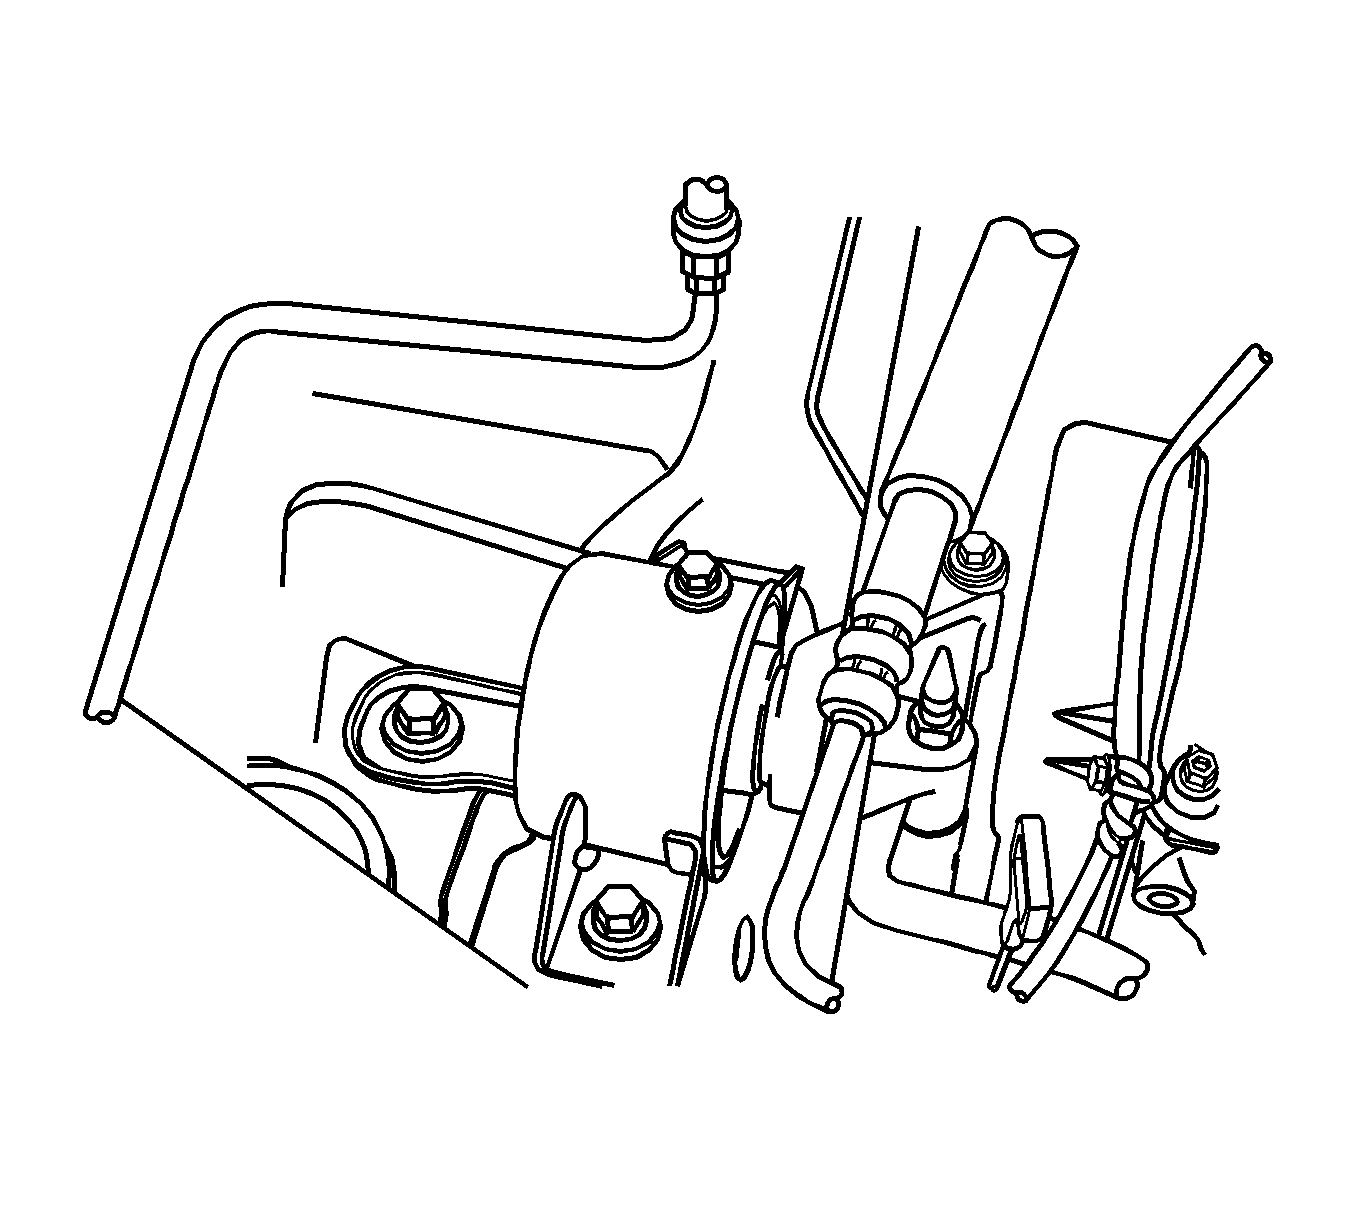
- Disconnect the A/C pressure transducer connector.
- Disconnect the power steering hose.
- Remove the A/C compressor hose assembly retaining bolt.
- Disconnect the A/C compressor hose assembly from the compressor.
- Disconnect the electrical connector from the A/C compressor.
- Disconnect the oxygen sensor at the cooling fans.
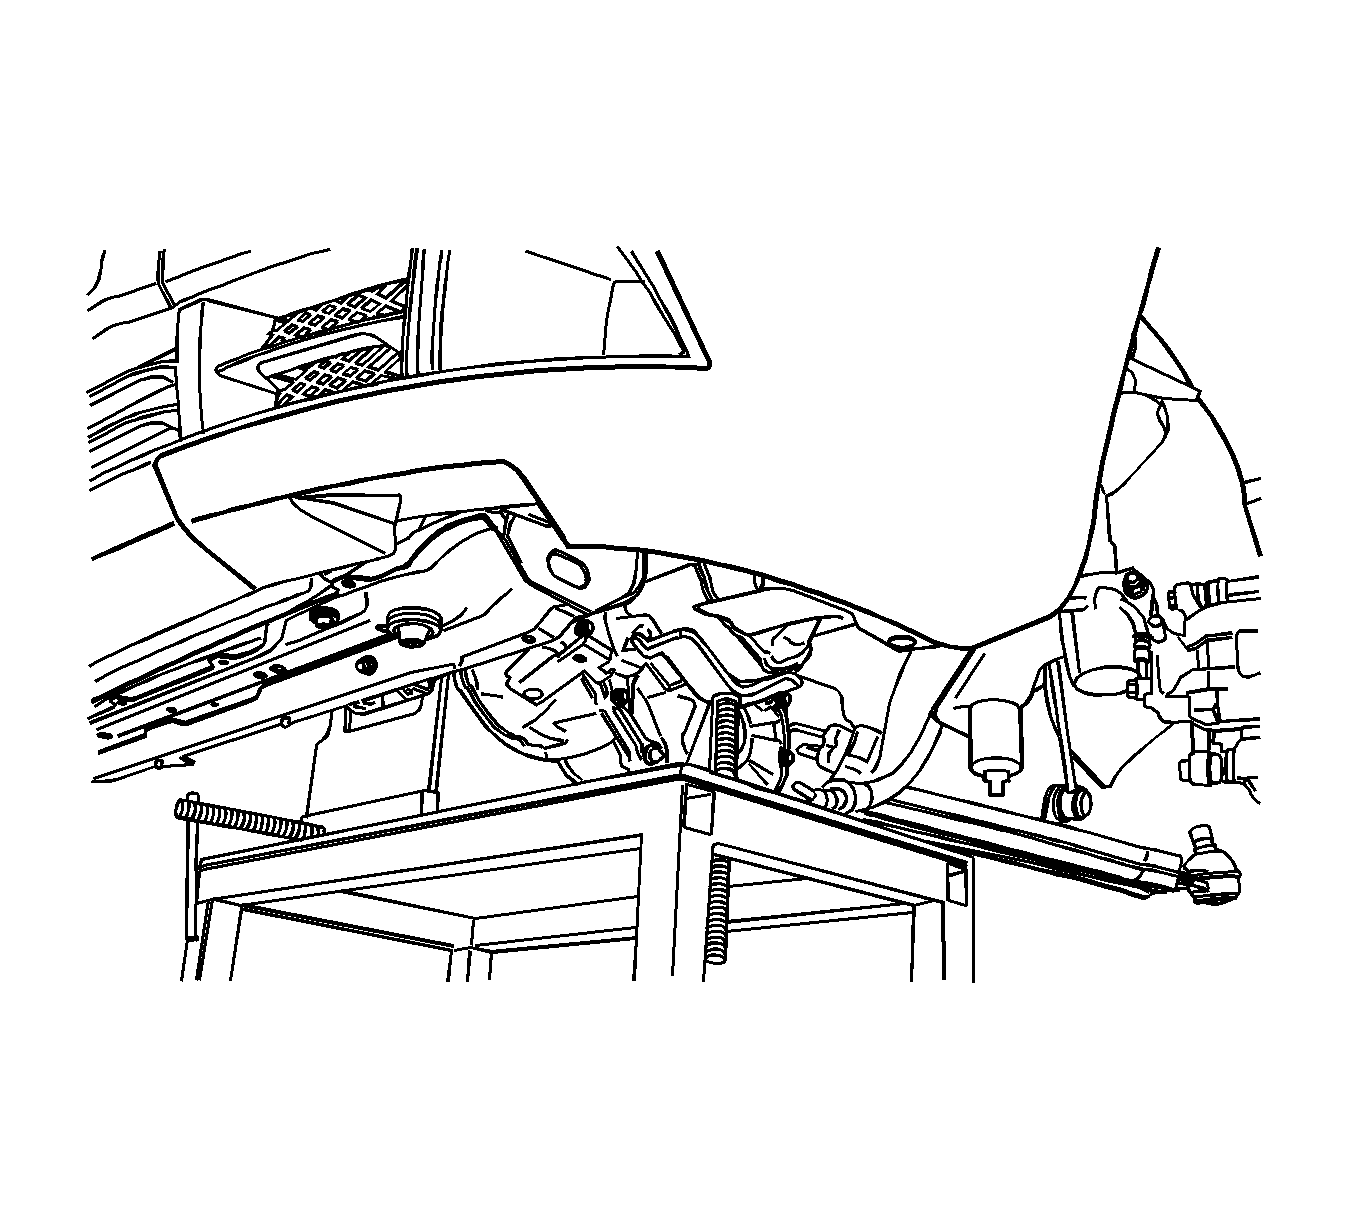
- Disconnect the gear shift control cable. Refer to Gearshift Control Lever Replacement.
- Remove the under cover.
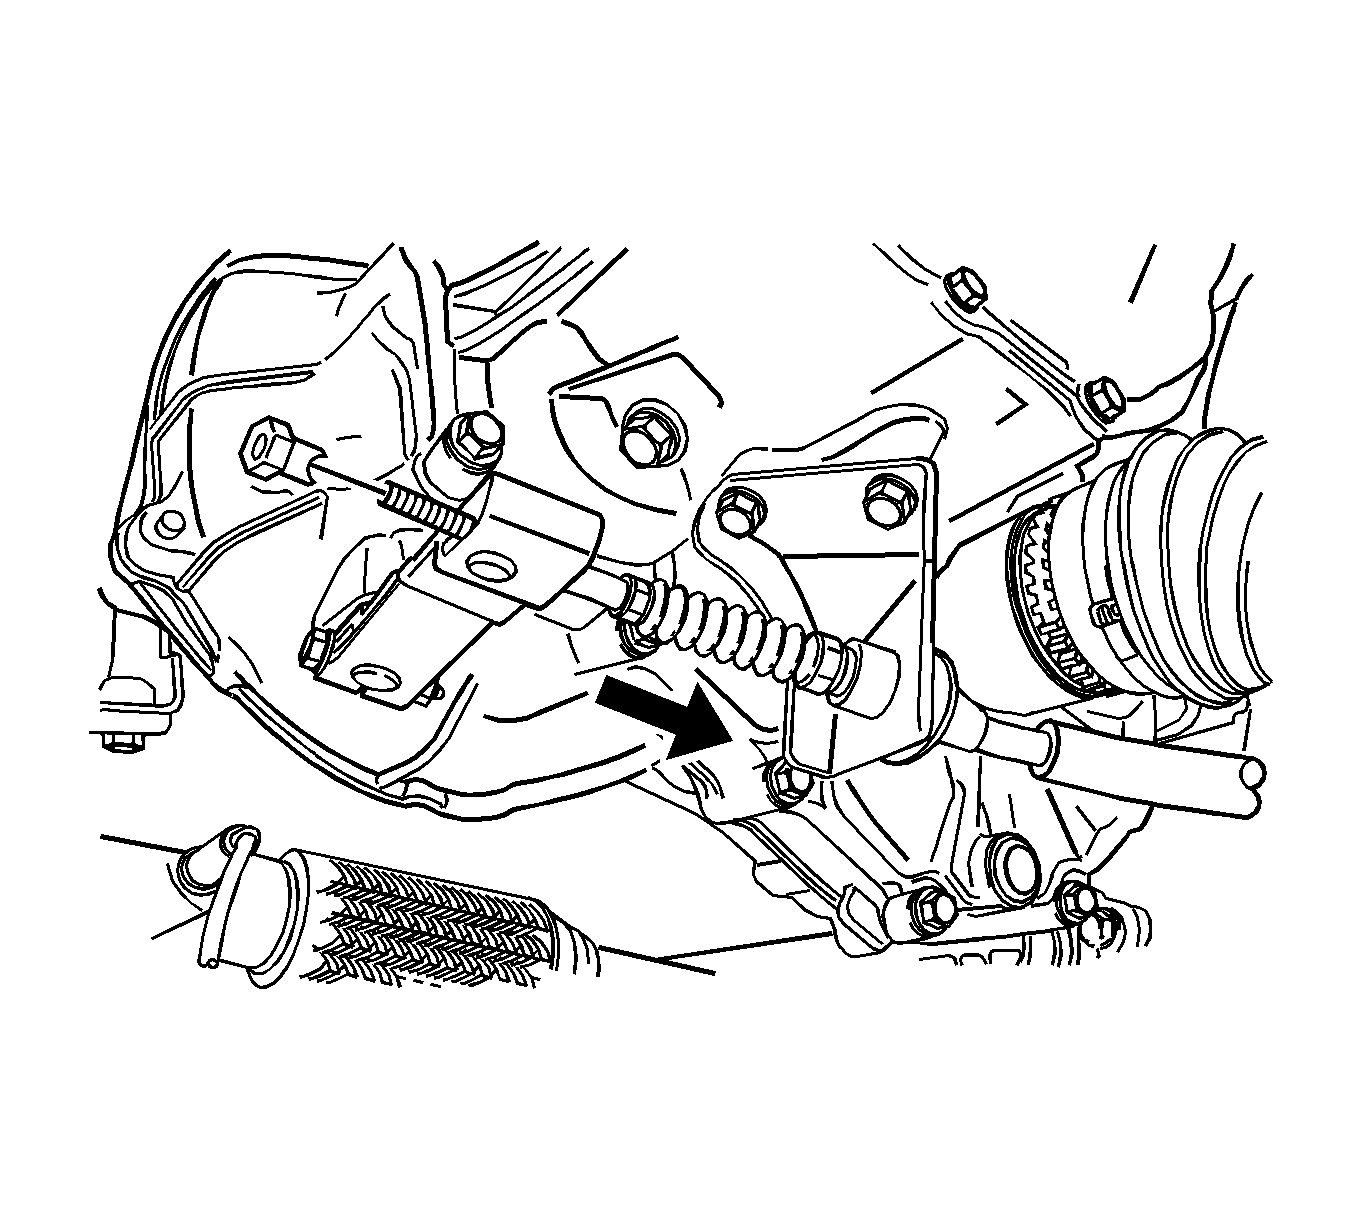
- Disconnect the clutch cable.
- Remove the right front wheel. Refer to Tire and Wheel Removal and Installation.
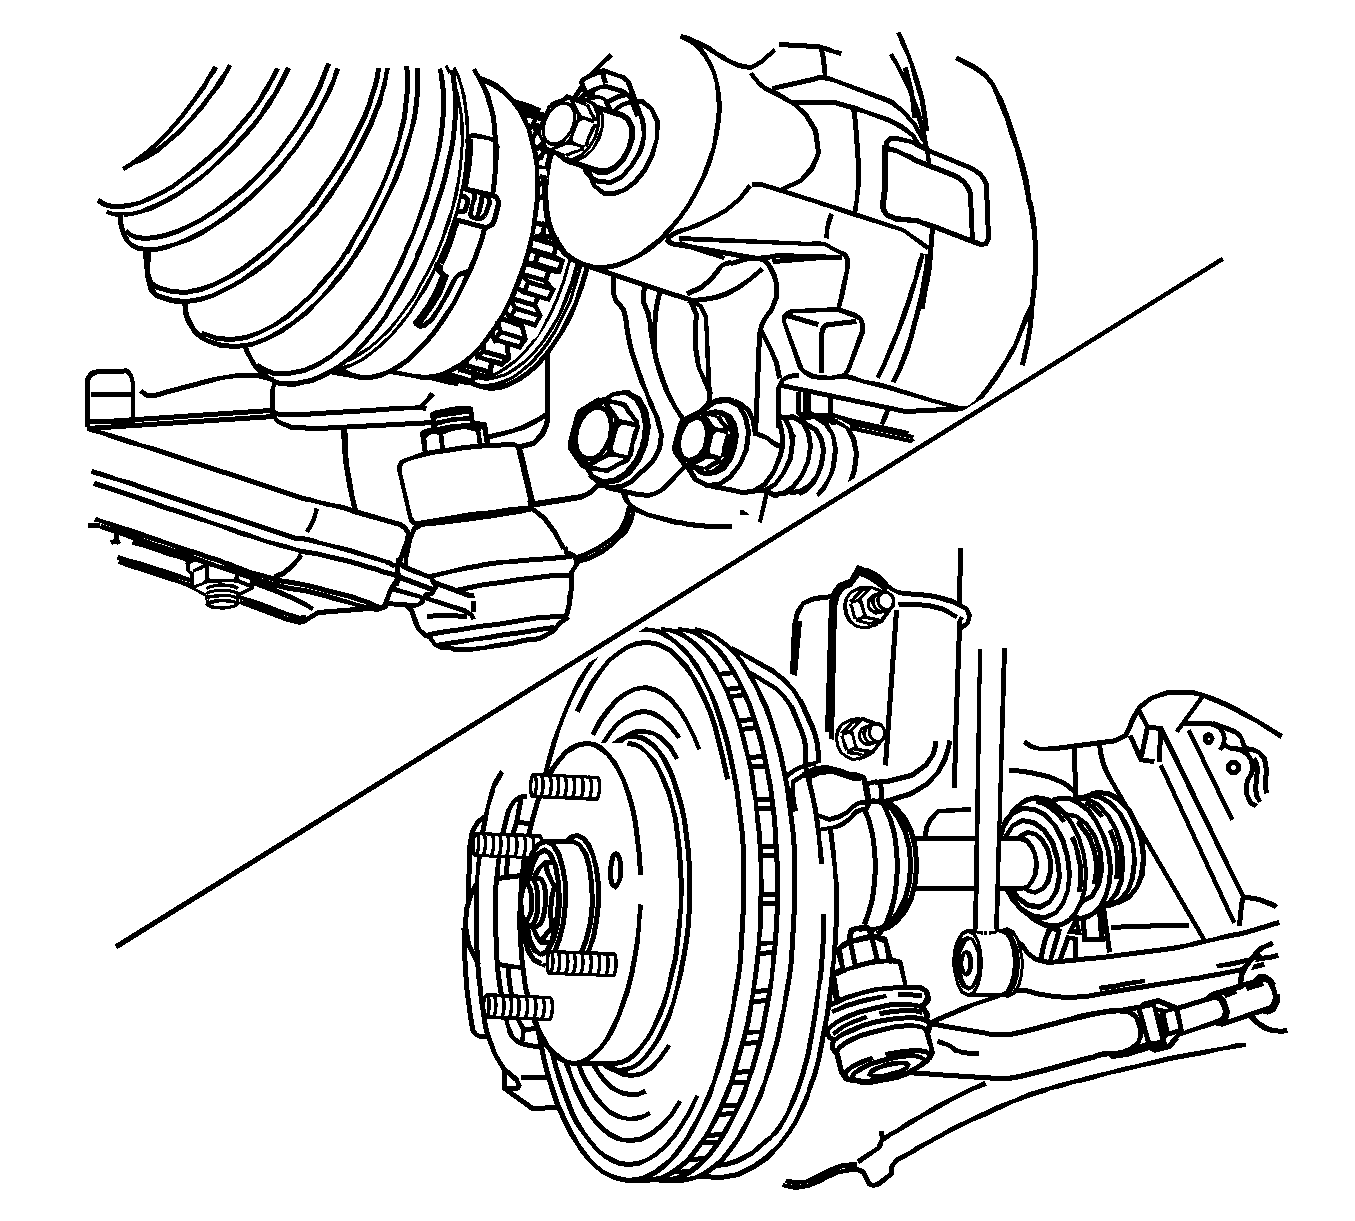
- Disconnect the tie rod end and control arm from the knuckle.
- Remove the drive axle from the transaxle. Refer to Front Drive Axle Inner Shaft Replacement.
- Remove the front exhaust pipe. Refer to Front Pipe Replacement.
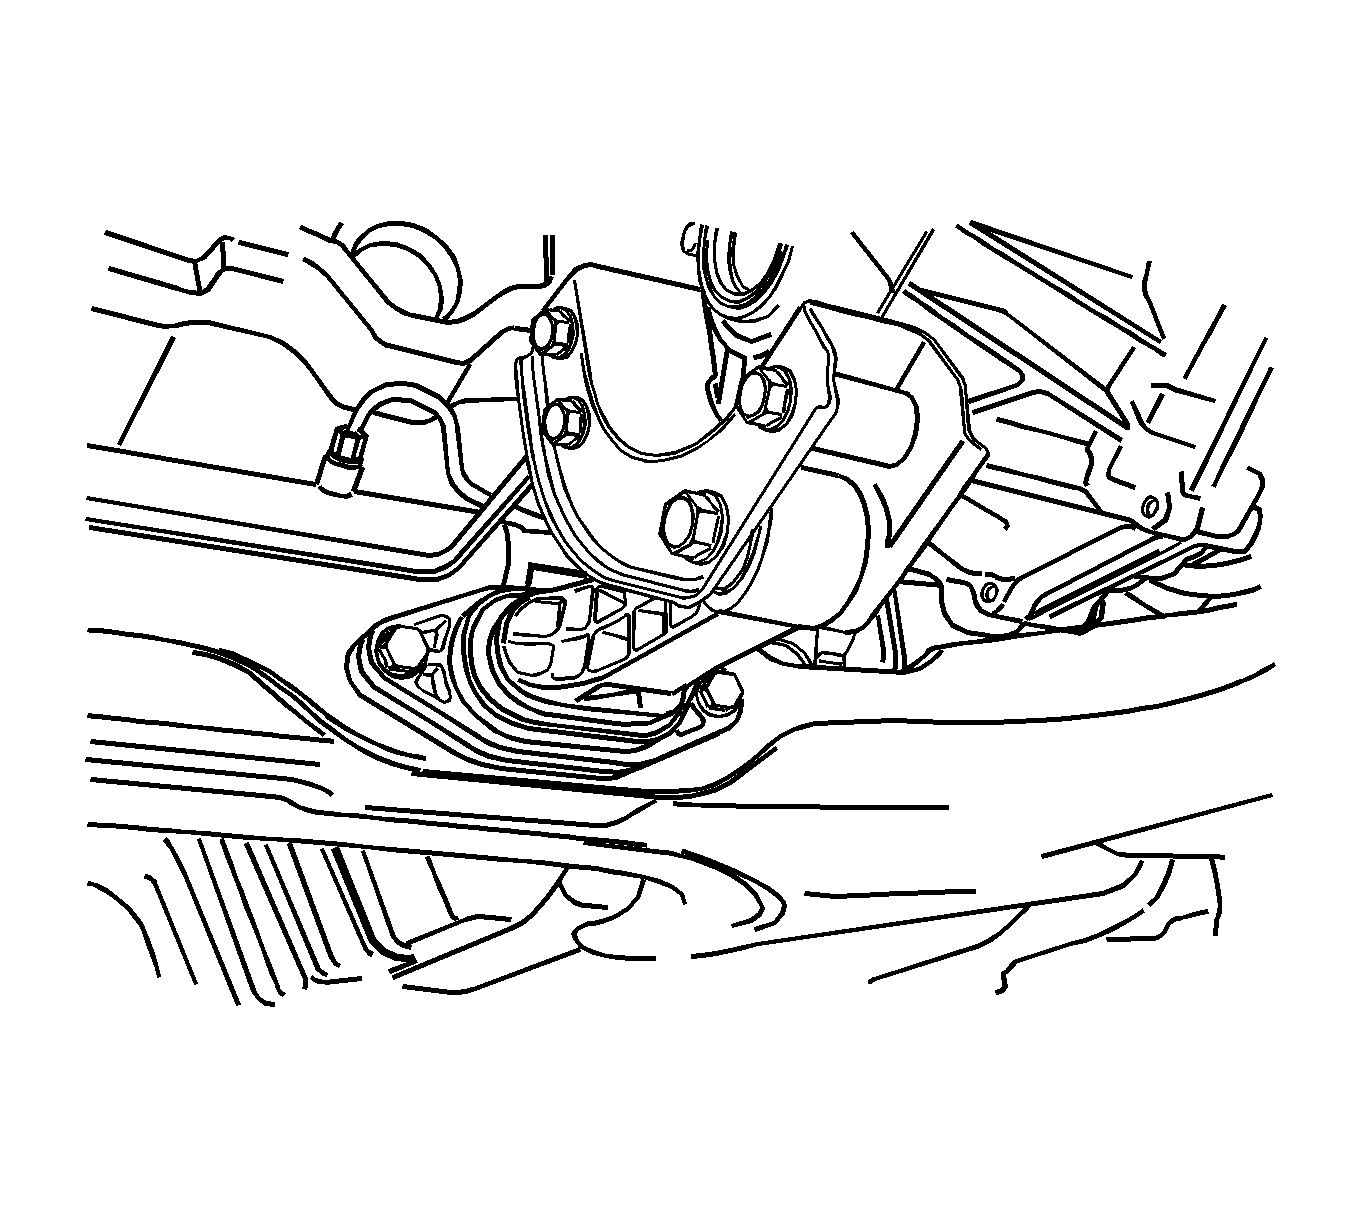
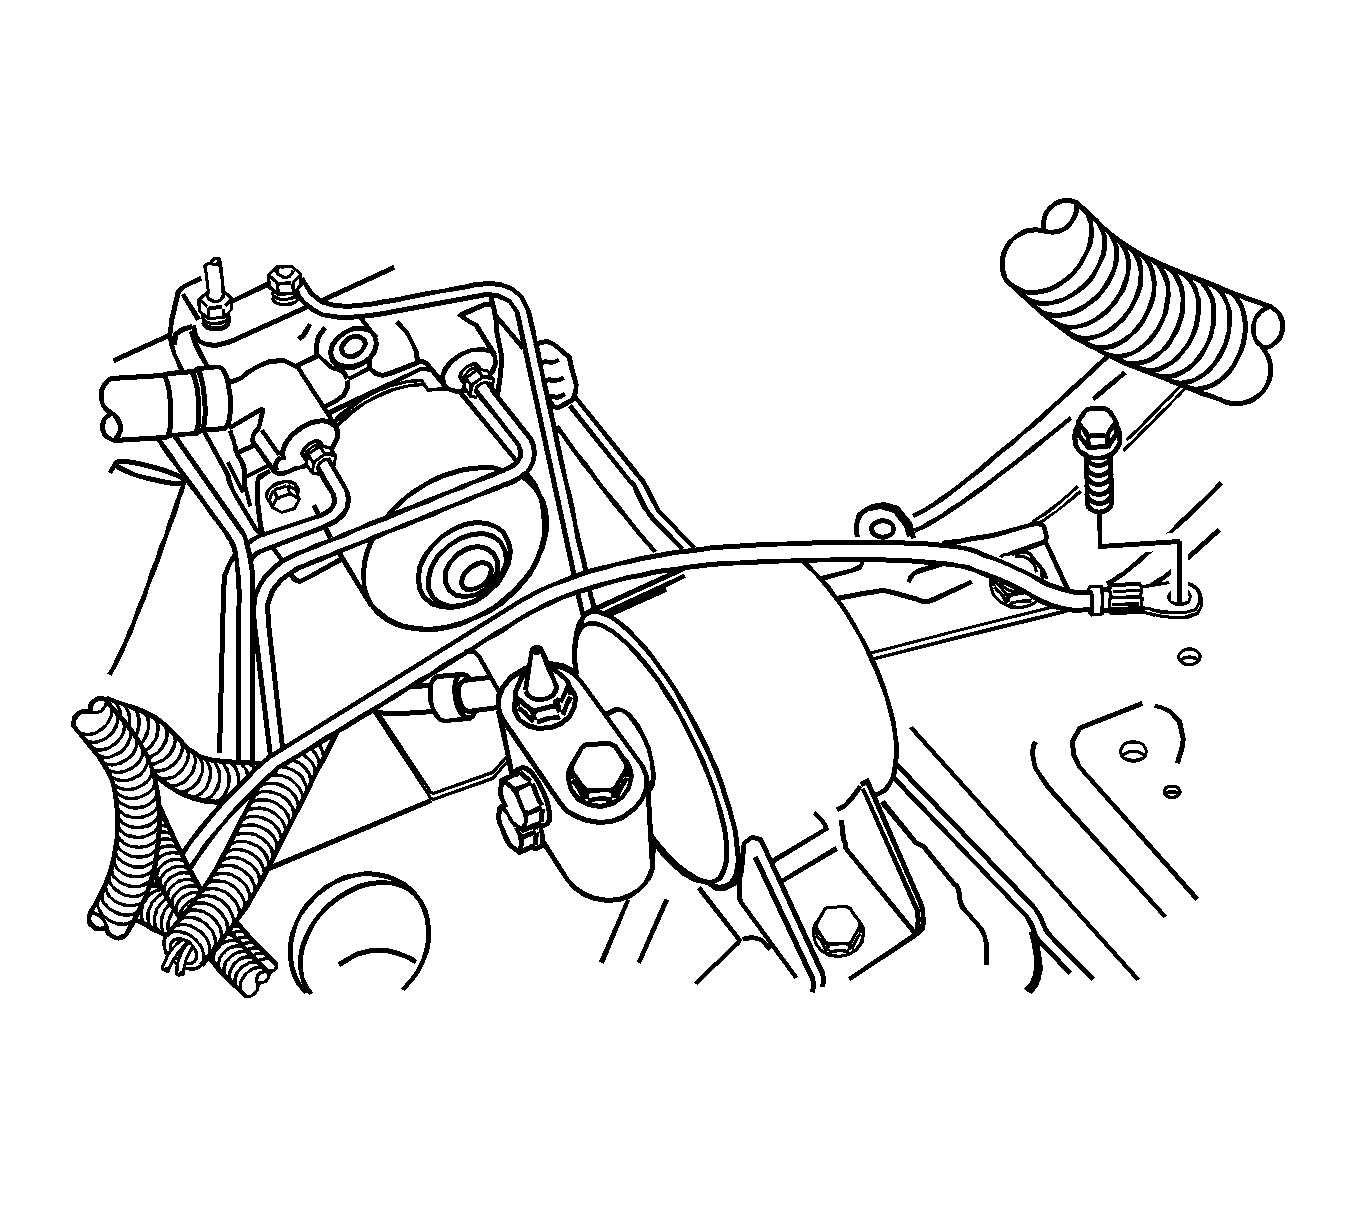
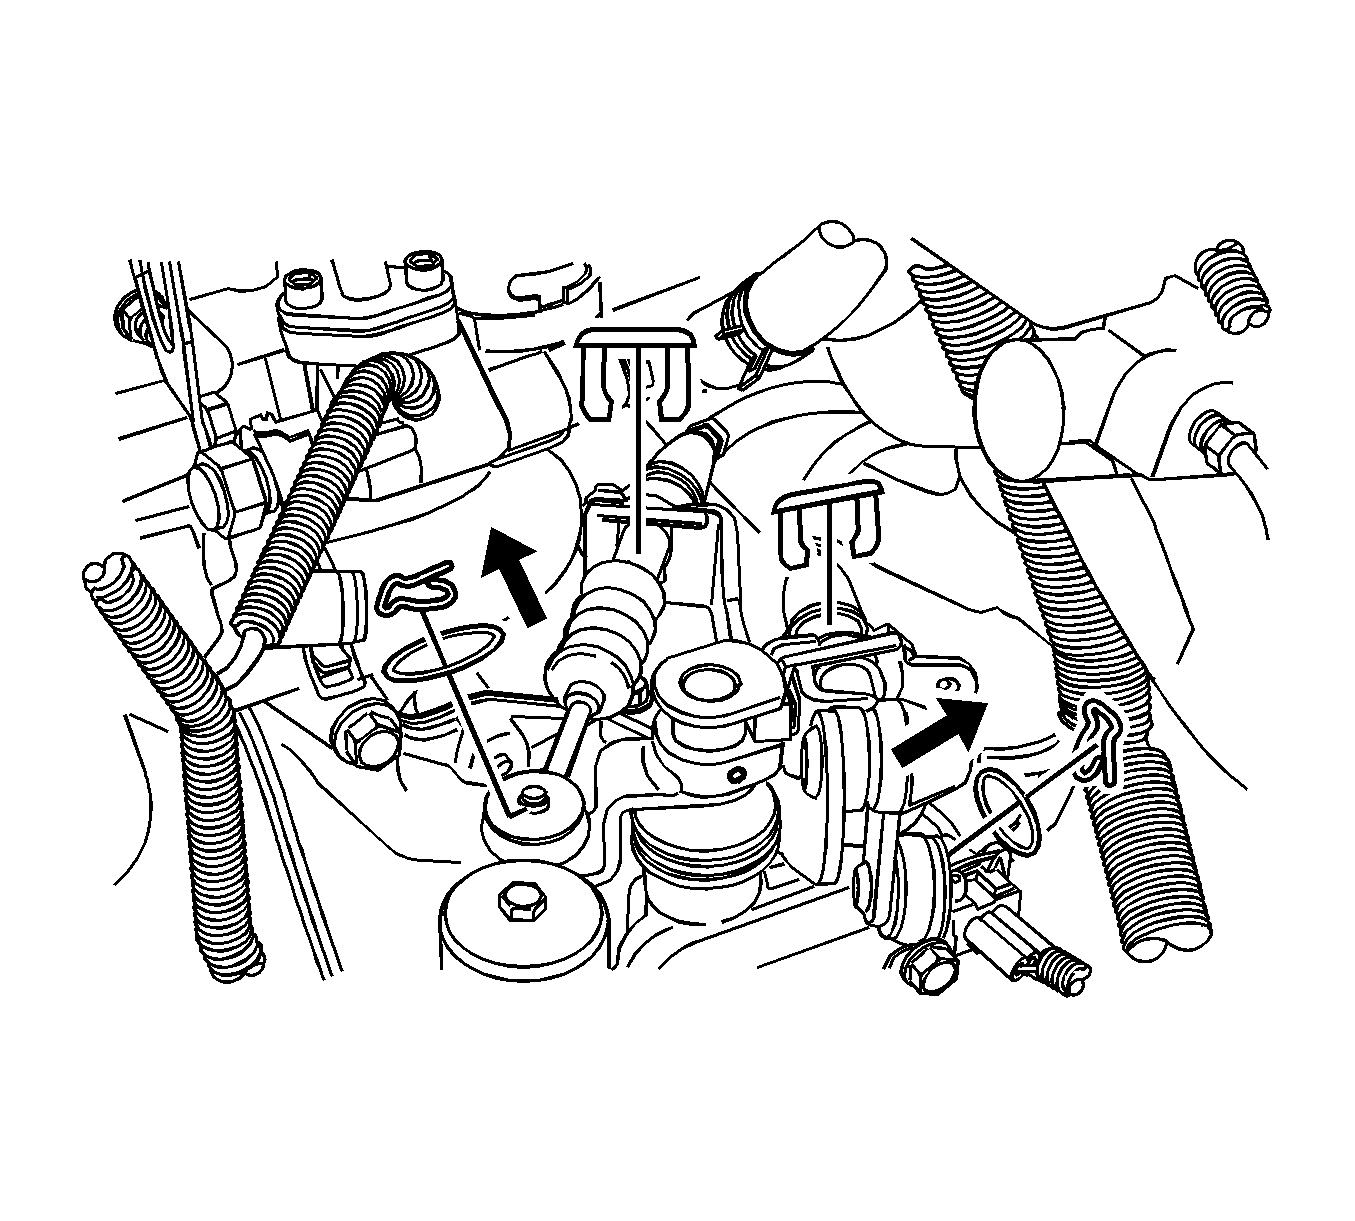
- Remove the rear mounting bracket bolts.
- Remove the rear mounting bracket.
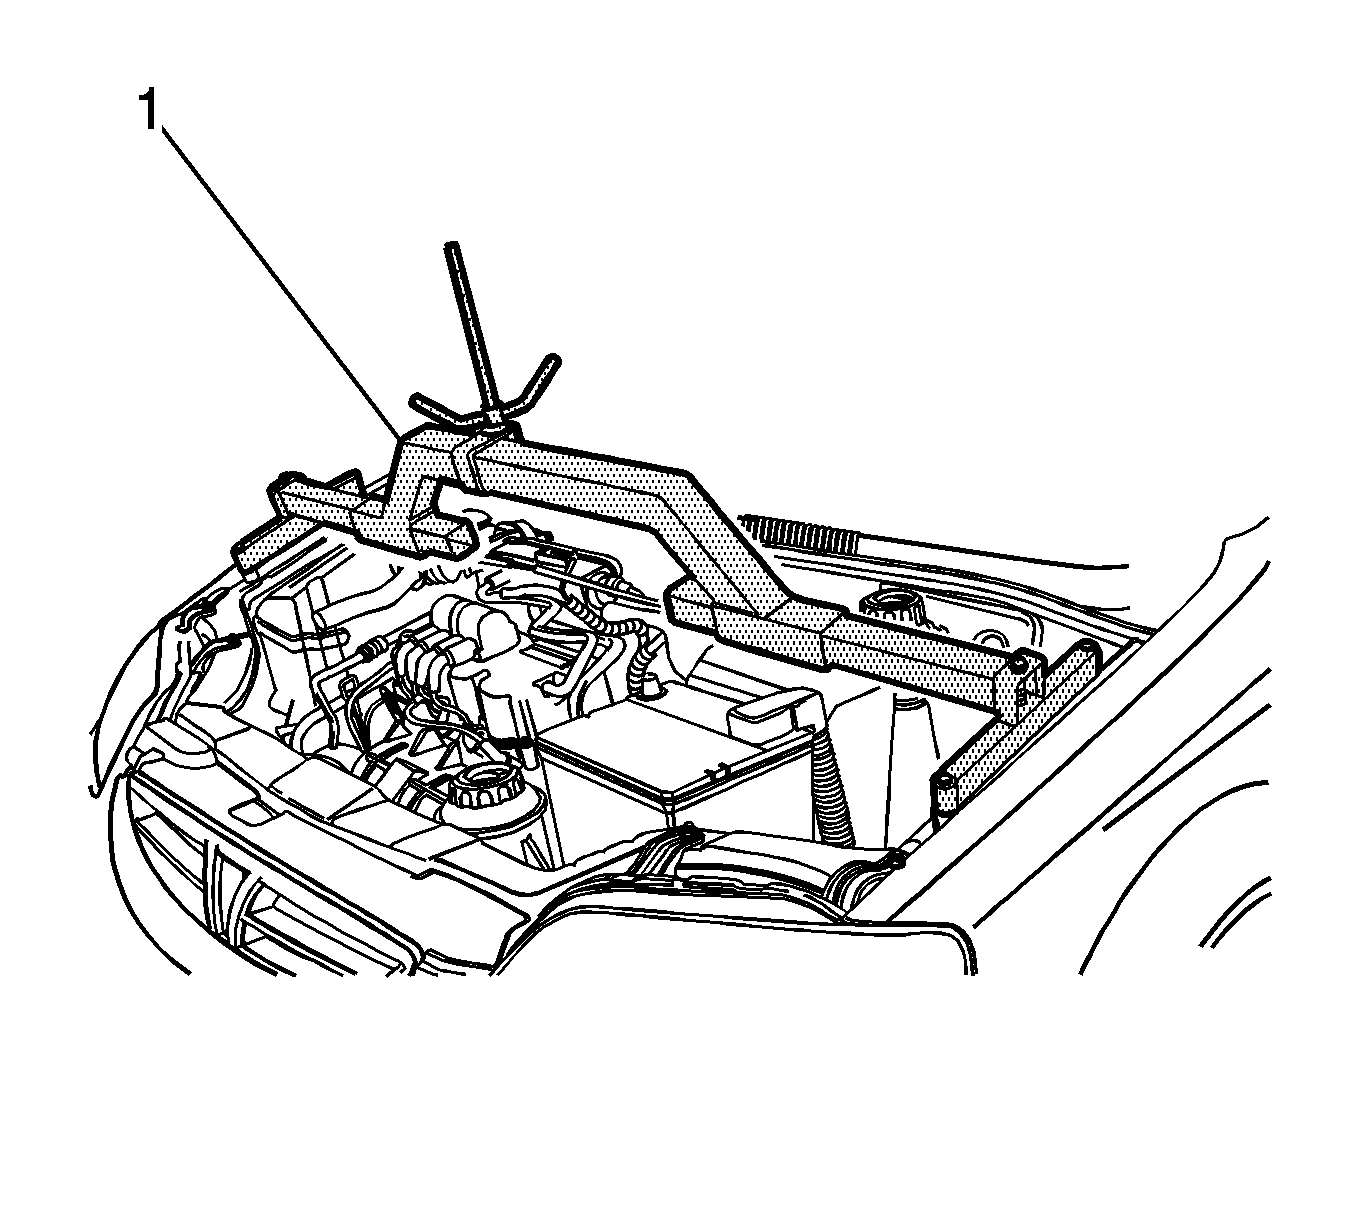
- Support the engine assembly using the engine assembly support fixture.
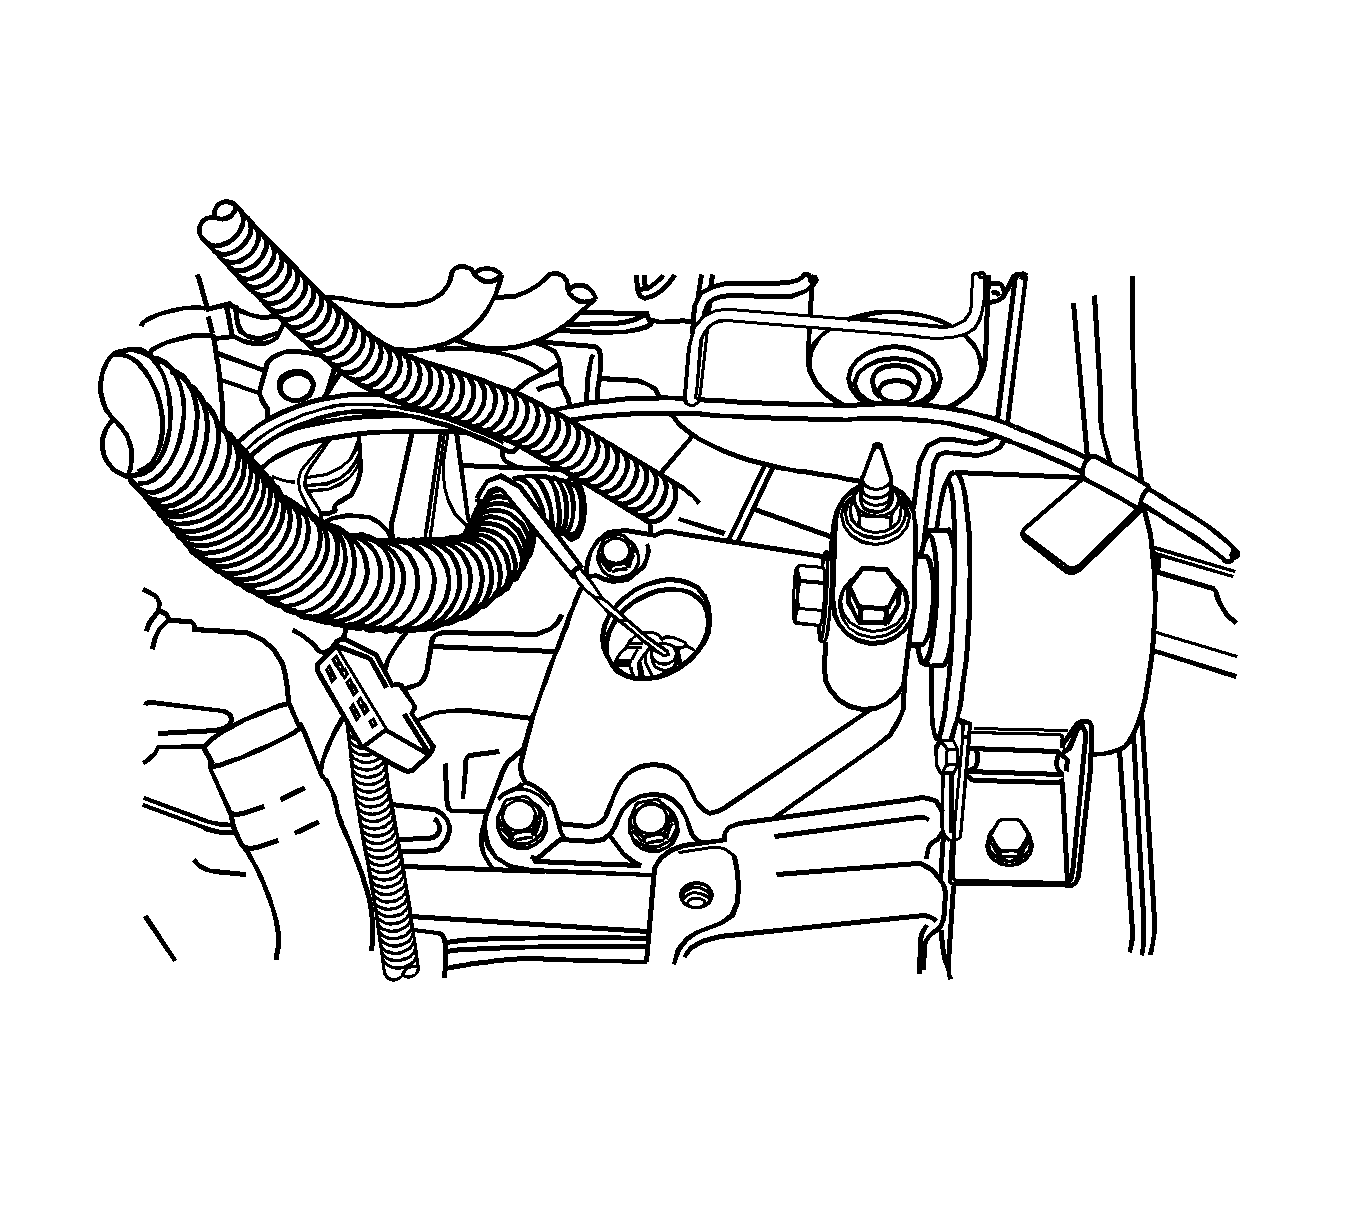
- Remove the engine mount. Refer to Engine Mount Replacement .
- Remove the transaxle mount.
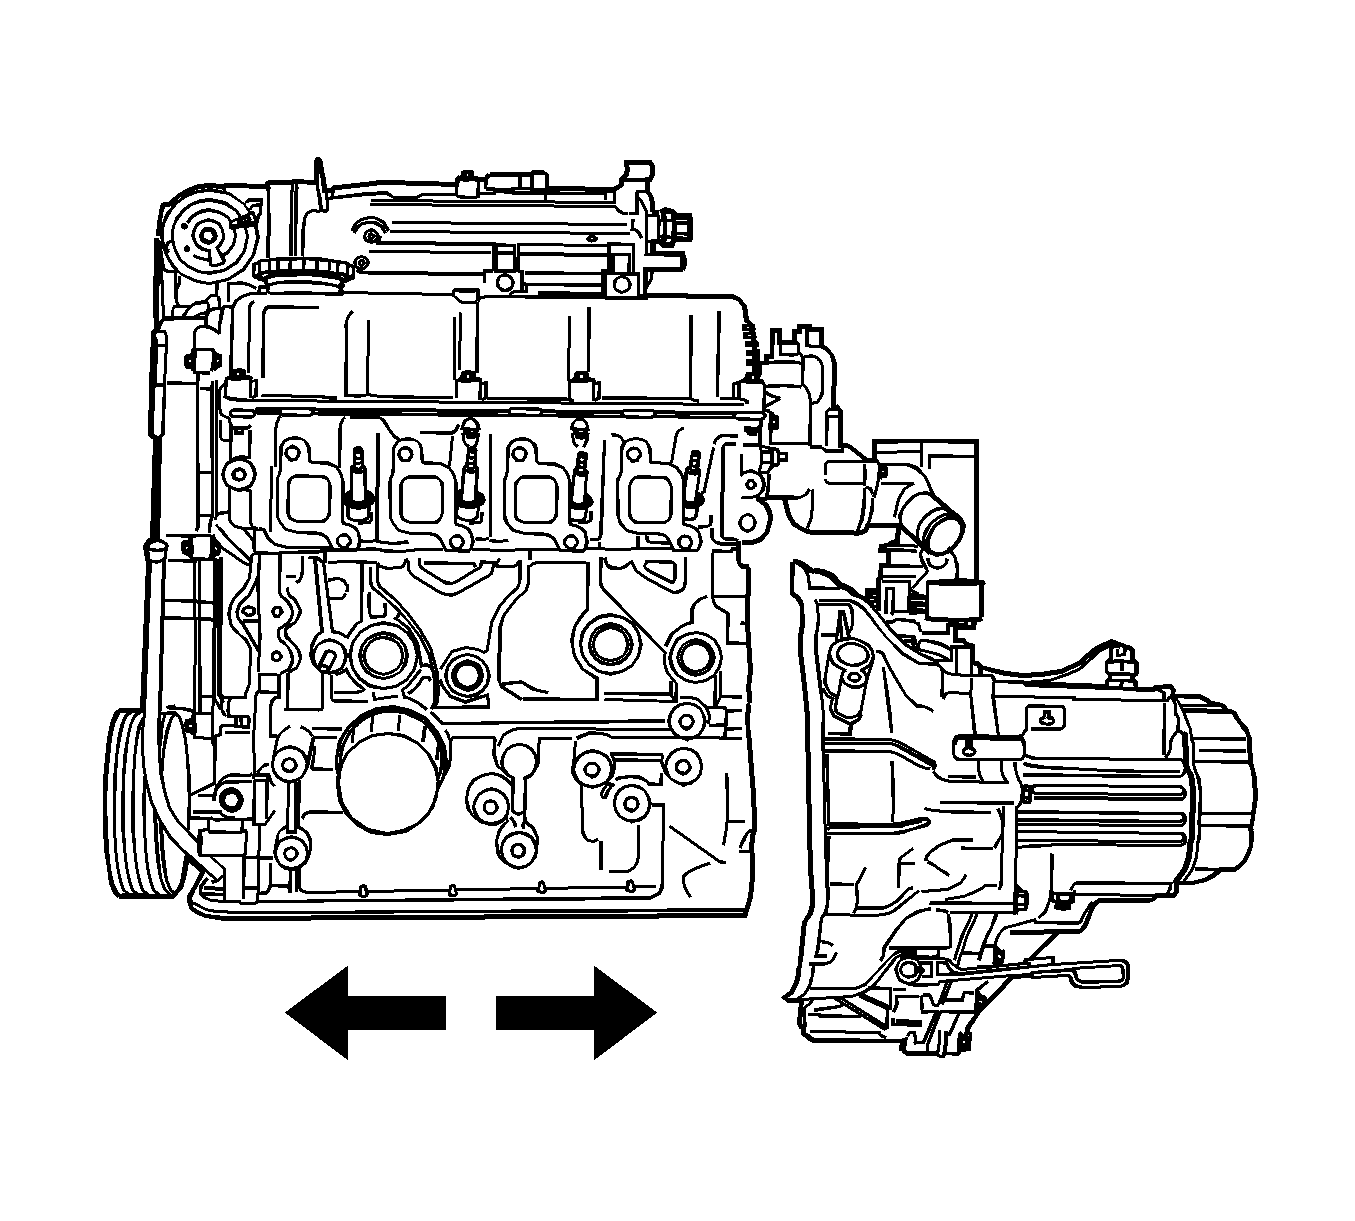
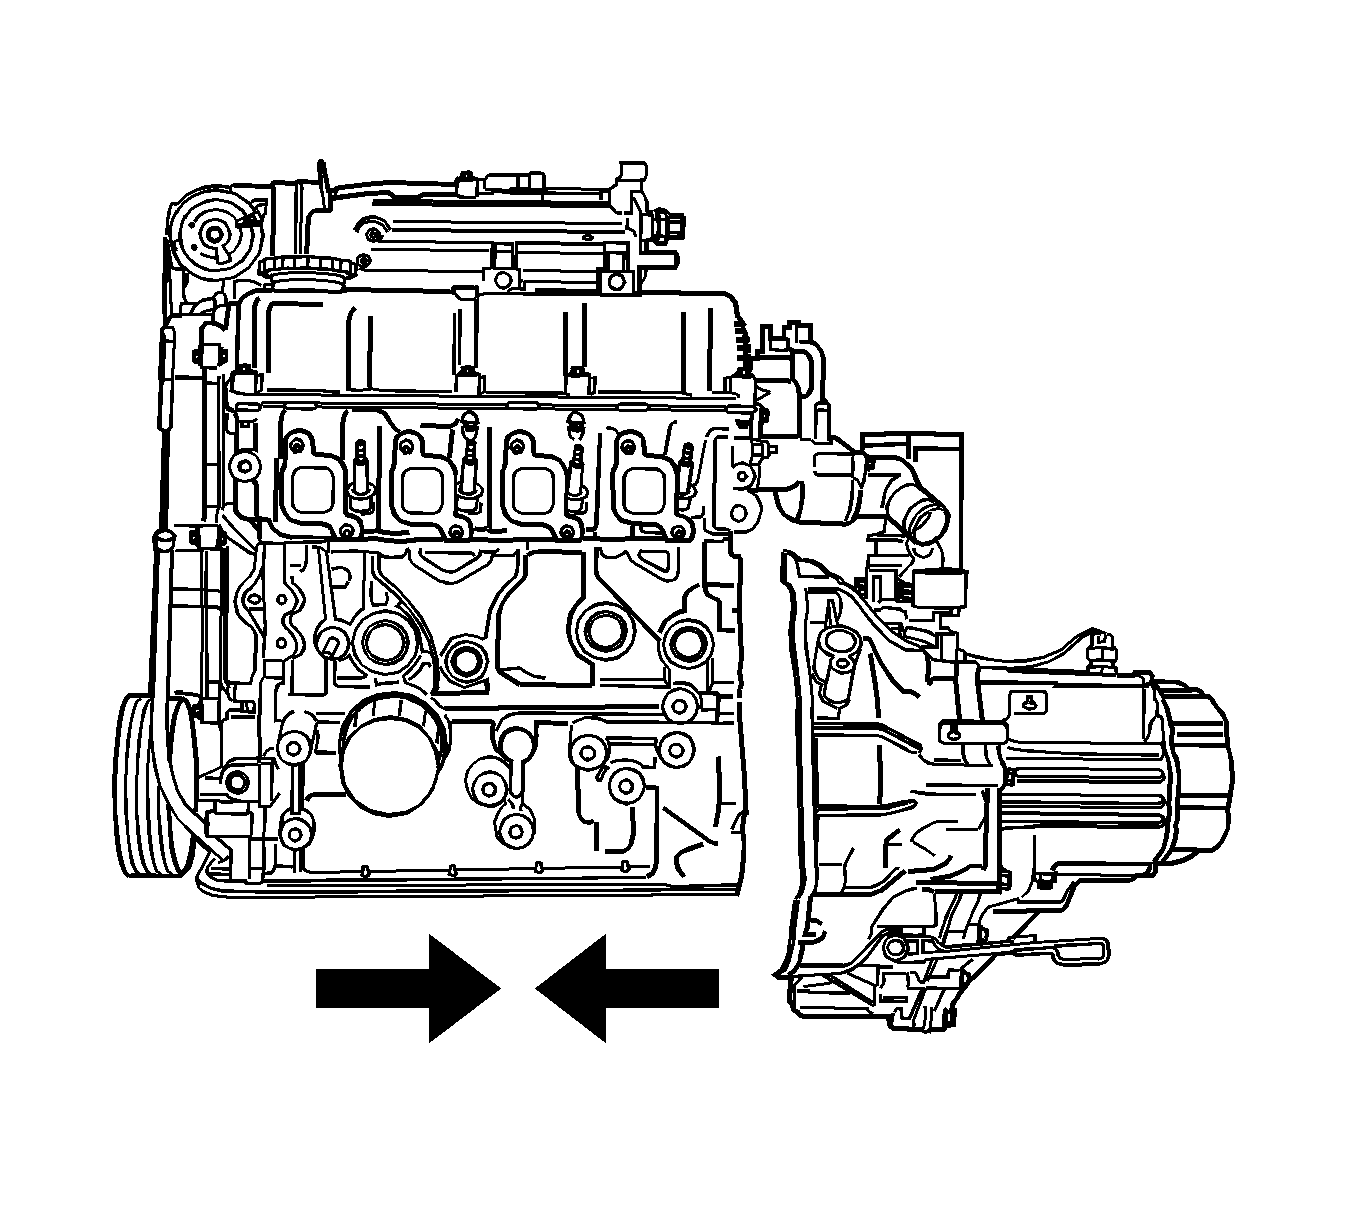
- Separate the engine block from the transaxle.
- Remove the engine.
- Transfer any necessary parts.
Notice: If the engine is damaged internally and a new engine assembly is installed in the vehicle, ensure that all foreign material is flushed out of the cooling system. You must also flush out the oil cooler system. Failure to rid the oil cooler system of debris can result in engine damage.
Important: On vehicle equipped with a manual transaxle, the manual transaxle must be removed before engine removal. Refer to Transmission Replacement.
Caution: Refer to Battery Disconnect Caution in the Preface section.

Notice: When raising or supporting the engine for any reason, do not use a jack under the oil pan, any sheet metal, or the crankshaft pulley. Lifting the engine in an unapproved manner may cause component damage.
Installation Procedure
- Install the engine into the engine compartment.
- Align the transaxle alignment pins to the transaxle.
- Install the transaxle bell housing. Refer to Transmission Replacement.
- Install the engine mount. Refer to Engine Mount Replacement .
- Install the transaxle mount.
- Remove the engine lifting device.
- Install the catalytic converter. Refer to Catalytic Converter Replacement.
- Install the front exhaust pipe. Refer to Front Pipe Replacement.
- Install the power steering pump pressure hose. Refer to Power Steering Pump Hoses and Pipes Replacement.
- Install the power steering pump pressure hose fitting. Refer to Power Steering Pump Hoses and Pipes Replacement.
- Install the air conditioning low/high pressure pipe.
- Install the air filter housing.
- Check the air conditioning low/high pressure pipe O-ring seal, the select/shift cable pin/washer/E-ring, the tie rod end joint castellated nut cotter pin, stabilizer castellated nut cotter pin for loss.
- Refill transaxle oil, power steering oil and coolant after finishing all installation procedures.
- Check if the fuel hose is connected with fuel rail correctly.
- Install the battery.
- Connect the negative battery.
- Reset the ECM.
- Start the engine and check the engine for the normal operation.
- Recharge the air conditioning gas and check the oil and coolant level.
- Inspect the vacuum hose, the coolant hose, the exhaust pipe, the air conditioning/power steering pipe and hose for leakage. Verify if the electrical connectors are connected correctly.
Caution: Wear safety glasses in order to avoid eye damage.