For 1990-2009 cars only
Air Conditioning Clutch Coil Installation V5 Compressor
Tools Required
| • | J 8433-1 Puller Crossbar |
| • | J 8433-3 Forcing Screw |
| • | J 33024 Clutch Coil Installer Adapter |
| • | J 42428 Compressor Holding Fixture |
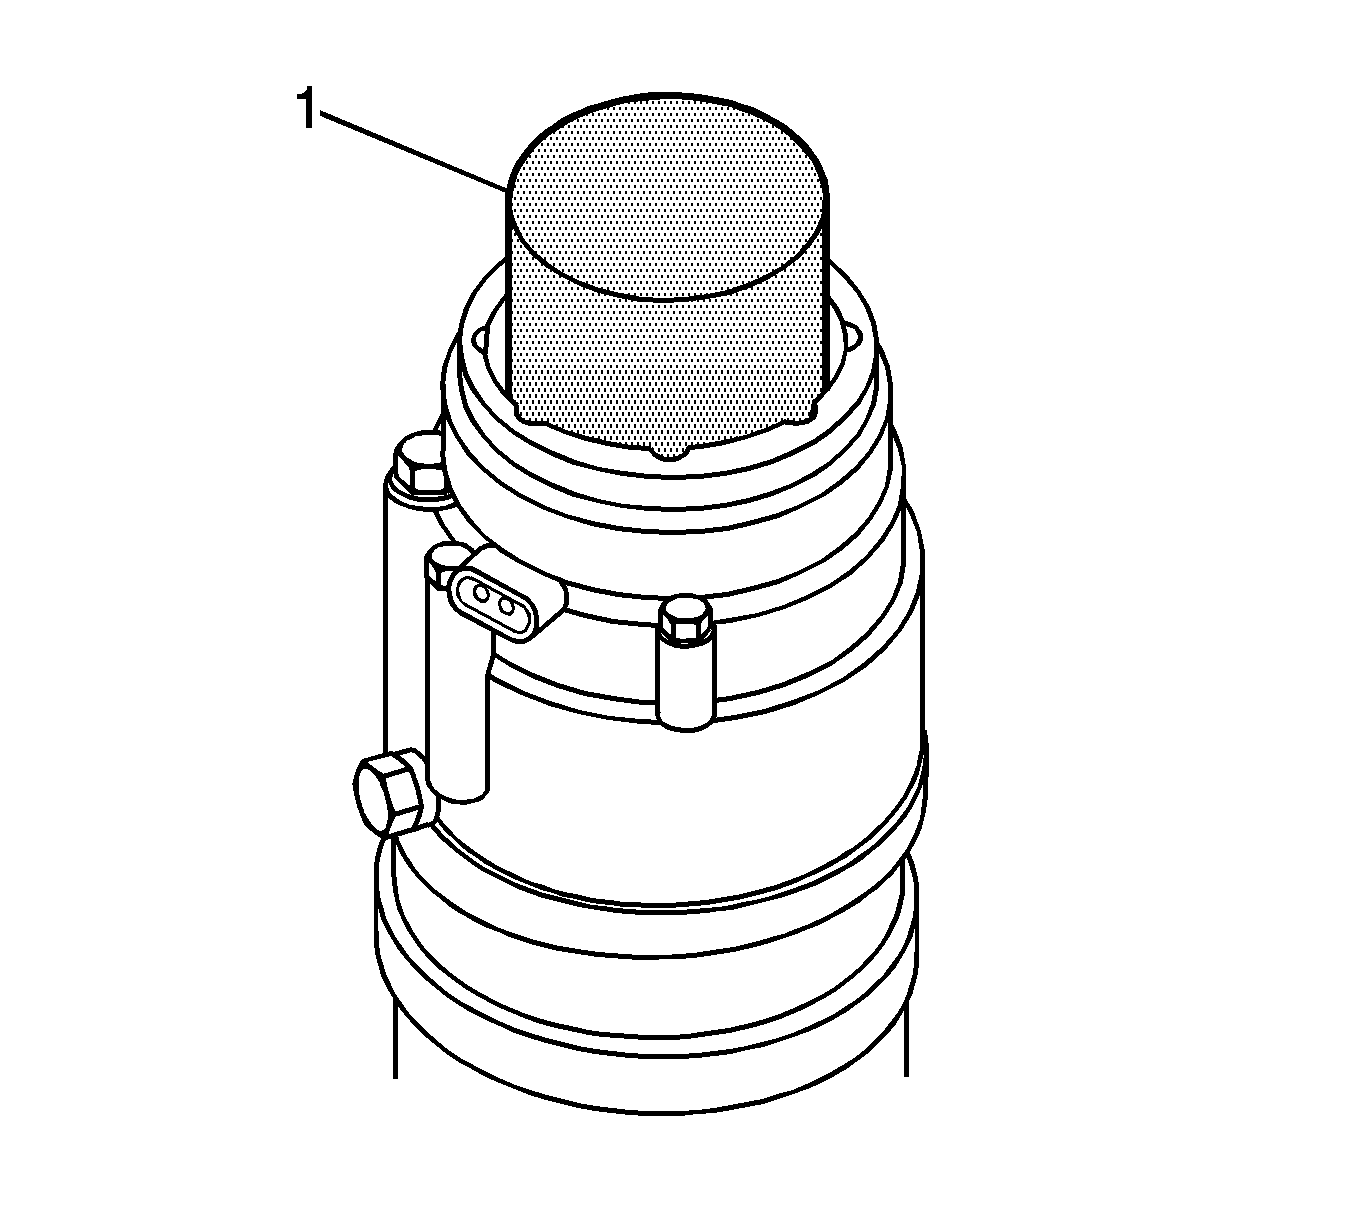
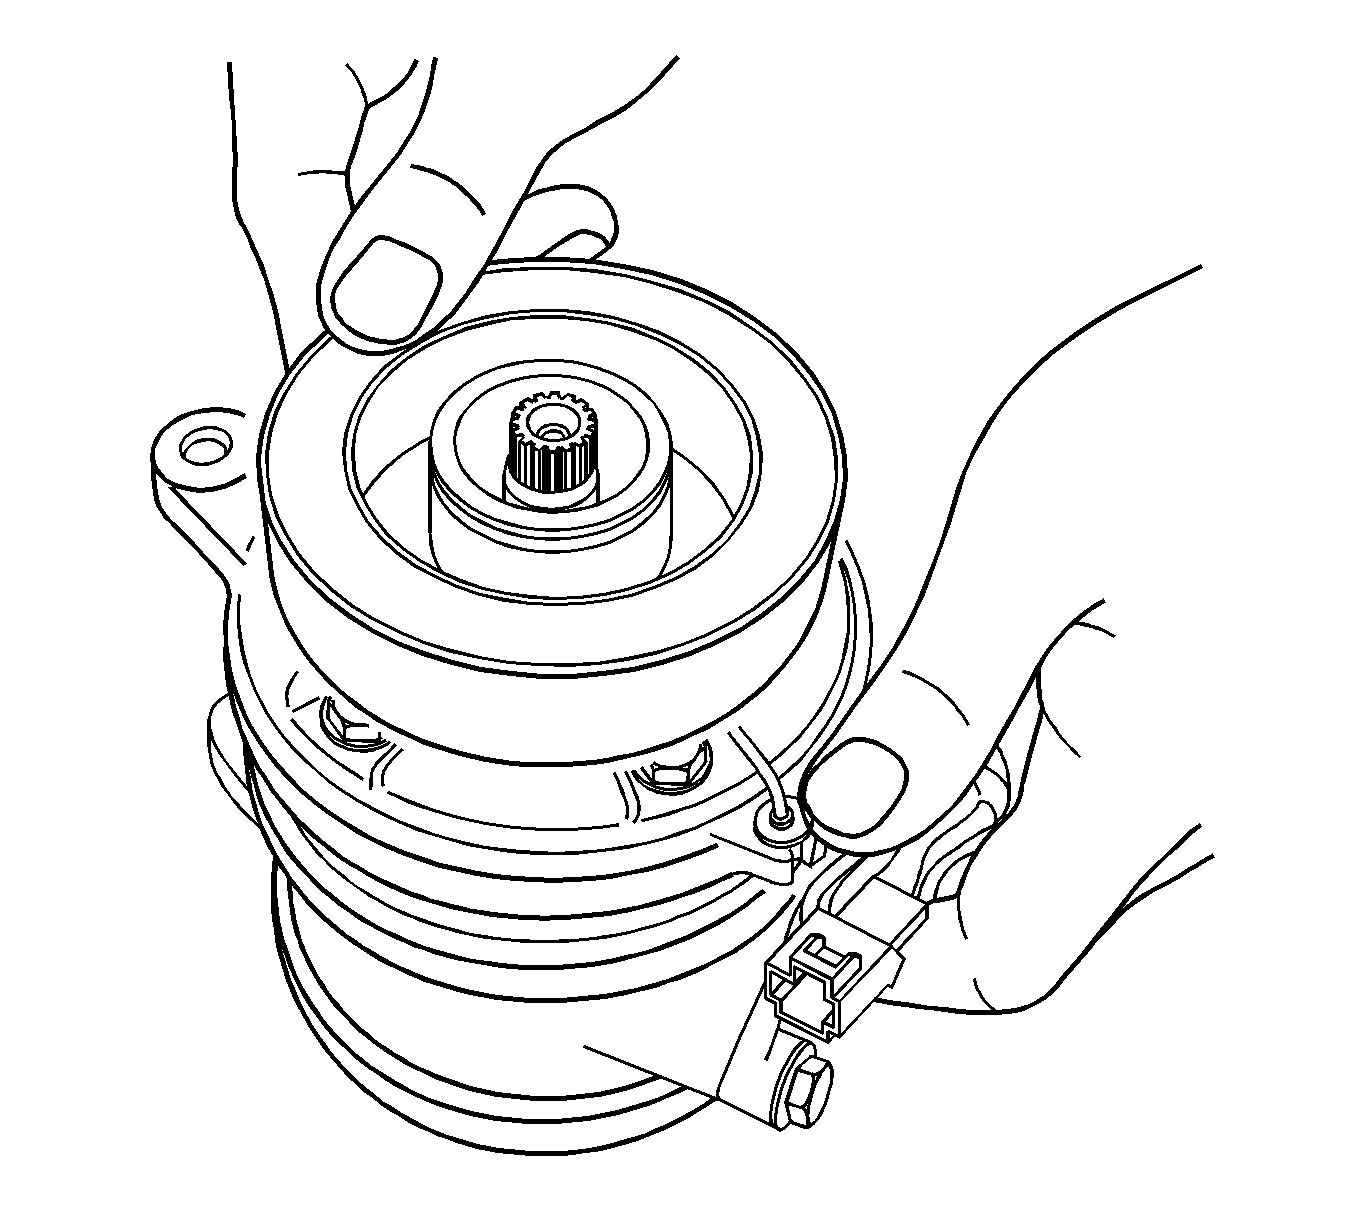
- Place the clutch coil assembly on the compressor housing with the terminals positioned at the marked location.
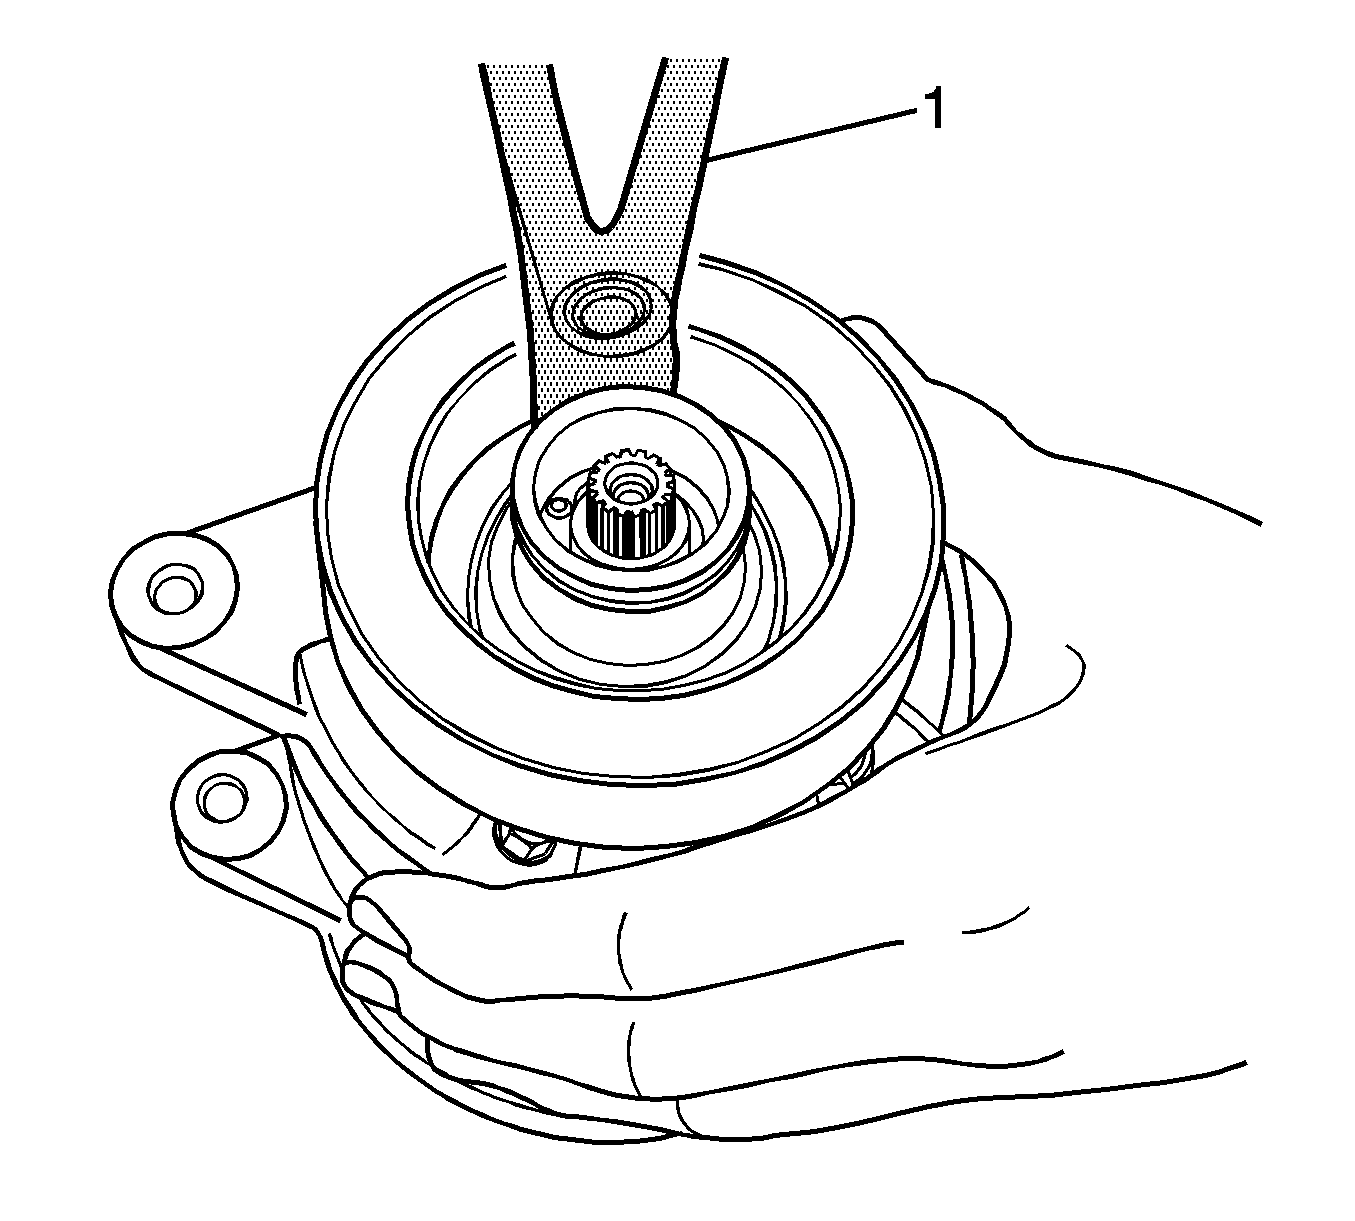
- Place the J 33024 (1) over the internal opening of the clutch coil housing and align the J 33024 (1) with the compressor housing.
- Center the J 8433-1 (4) in the countersunk center hole of the J 33024 (3). Install the J 42428 (2) through-bolts and the washers through the crossbar slots. Thread them into the holding fixture to the full thickness of the holding fixture.
- Turn the J 8433-3 (1), or use a suitable vise, to force the clutch coil onto the compressor housing.
- When the clutch coil is fully seated on the compressor housing, use a 3 mm (1/8 inch) diameter drift punch and stake the housing at 3 places, 120° apart, to ensure that the clutch coil will remain in position. Stake point size should be only one-half the area of the punch tip and approximately 0.28-0.35 mm (0.01-0.015 in) deep.
- Install the clutch rotor and bearing assembly. Refer to Clutch Rotor and/or Bearing Install .
- Install the clutch plate and hub assembly. Refer to Compressor Clutch Plate/Hub Assembly Install .
- Install the compressor. Refer to Air Conditioning Compressor Replacement .
- Connect the negative battery cable.
- Evacuate and recharge the A/C system. Refer to Refrigerant Recovery and Recharging .
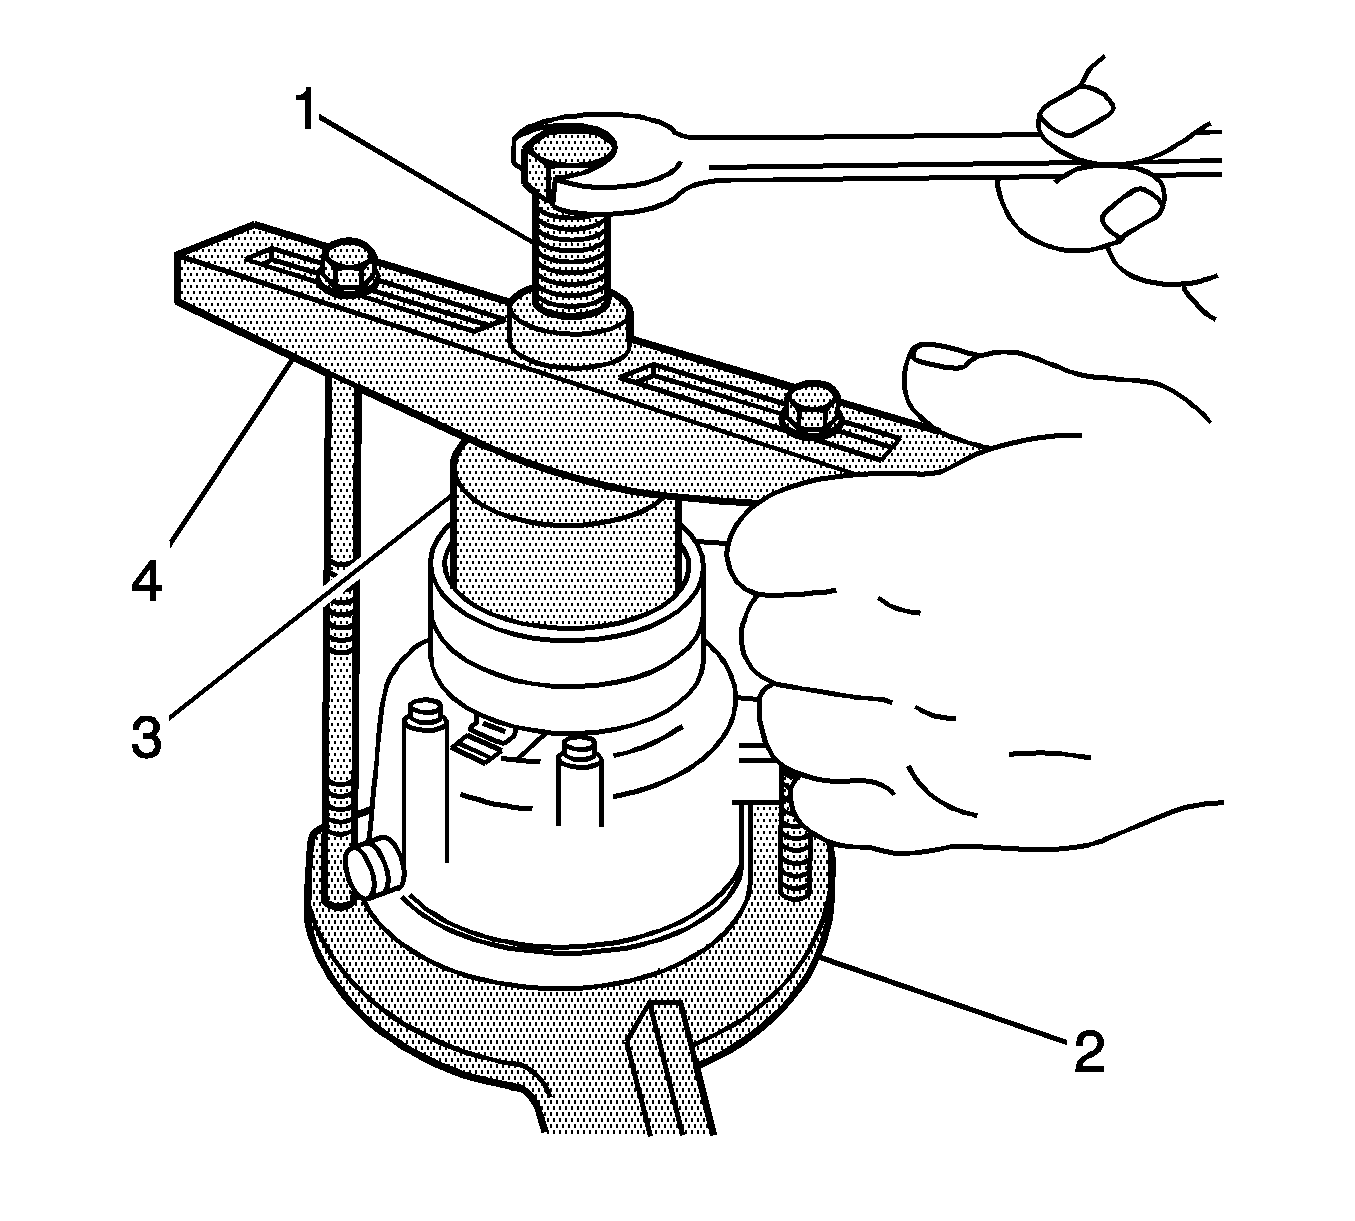
Important: Be sure the clutch coil and the installer stay in-line during installation.
Air Conditioning Clutch Coil Installation SP10 Compressor
- Gently install the coil and housing assembly. The lead wire clamp must be inserted tightly onto the front head slot.
- Install the retainer ring using the snap ring pliers (1).
- Install the pulley and bearing assembly. Refer to Clutch Rotor and/or Bearing Install .
- Install the clutch and drive assembly. Refer to Compressor Clutch Plate/Hub Assembly Install .
Important: Coil flange protrusion must match front head hole to prevent coil movement and allow for correct lead wire location. The lead wire must then be tightened by pulling it toward the compressor body to prevent it from touching the pulley.
Important: Sharp edge side of the coil retainer should be placed on its upper side during assembly. Upon completion, squeeze the retainer to ensure it is well installed.
