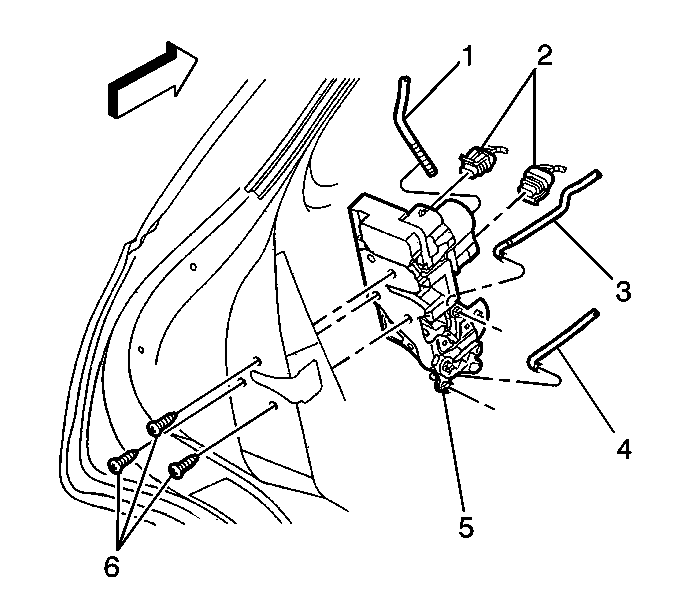
- Connect the inside lock
rod (4) to the door latch.
- Connect the inside handle rod (3) to the door latch.
- Connect the electrical connectors (2) to the door latch.
- Install the door latch assembly (5) to the door through
the access hole of the inner panel.
Notice: Use the correct fastener in the correct location. Replacement fasteners
must be the correct part number for that application. Fasteners requiring
replacement or fasteners requiring the use of thread locking compound or sealant
are identified in the service procedure. Do not use paints, lubricants, or
corrosion inhibitors on fasteners or fastener joint surfaces unless specified.
These coatings affect fastener torque and joint clamping force and may damage
the fastener. Use the correct tightening sequence and specifications when
installing fasteners in order to avoid damage to parts and systems.
- Install the fasteners (6)
to the door latch.
Tighten
Tighten the fasteners to 10 N·m (89 lb in).
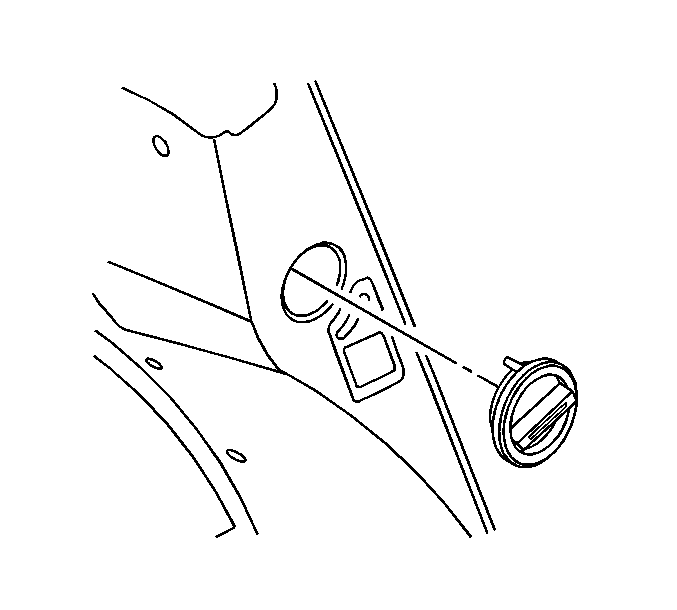
- Align the pin on the child
security lock with the opening on the lock mechanism.
- Press the child security lock inwards until it fully engages the
inner panel.
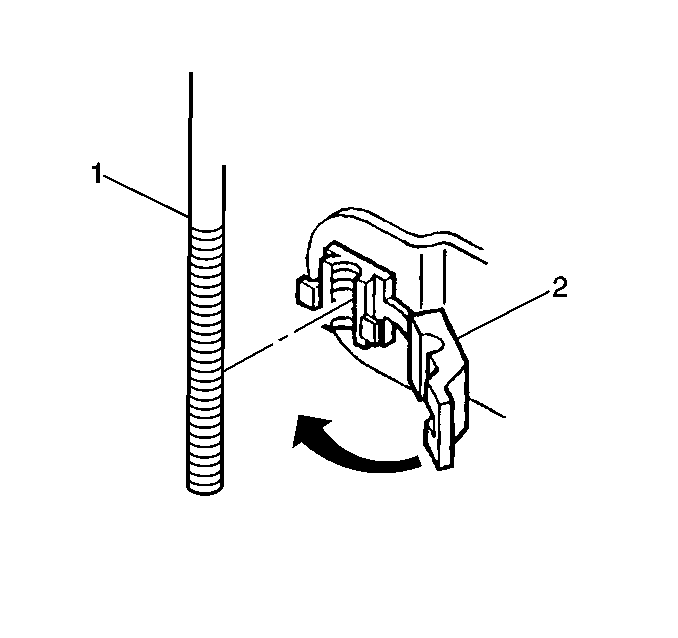
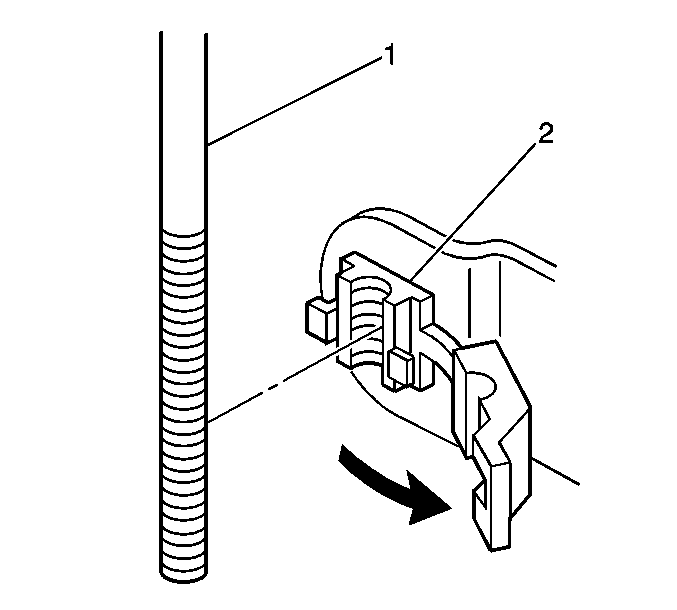
- Connect the outside door
handle rod to the latch in the following order:
| 8.1. | Insert the rod (1) into the retainer clip (2) on
the door latch assembly. |
Important: Make sure the trim panel harness is located between both the lock and
handle rods.
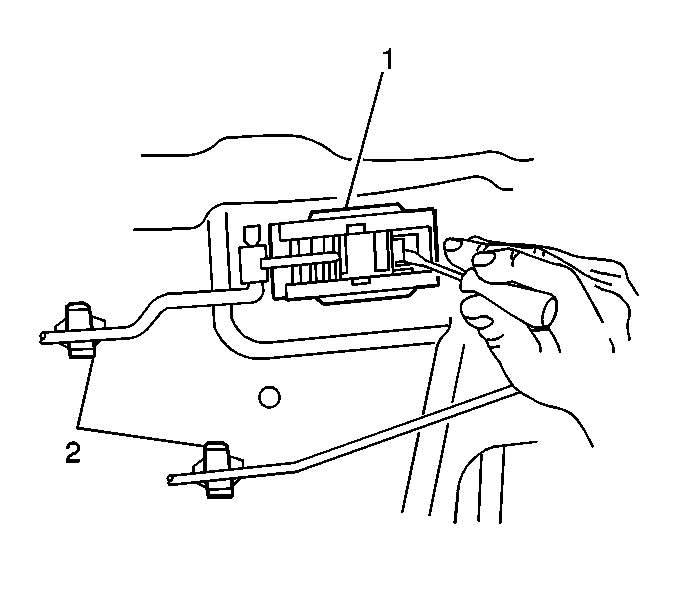
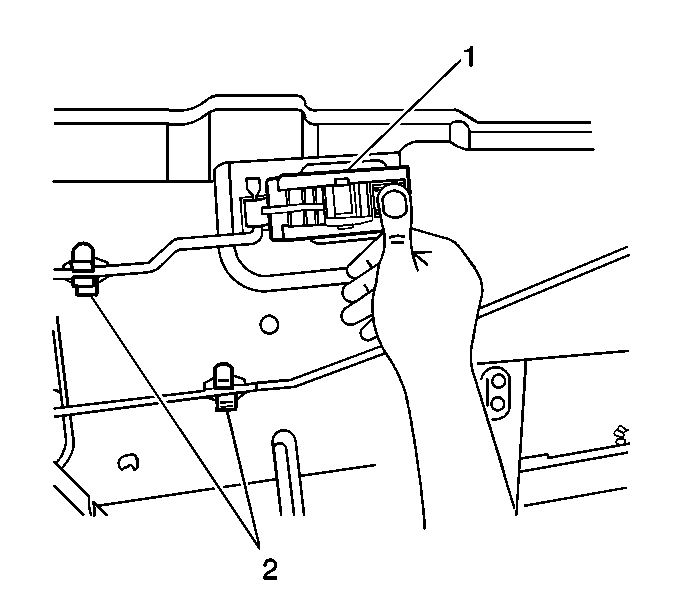
- Position the rear of the inside handle assembly (1) into the
opening of the inner panel.
- Press the front of the assembly (1) inward until it fully
engages the inner panel.
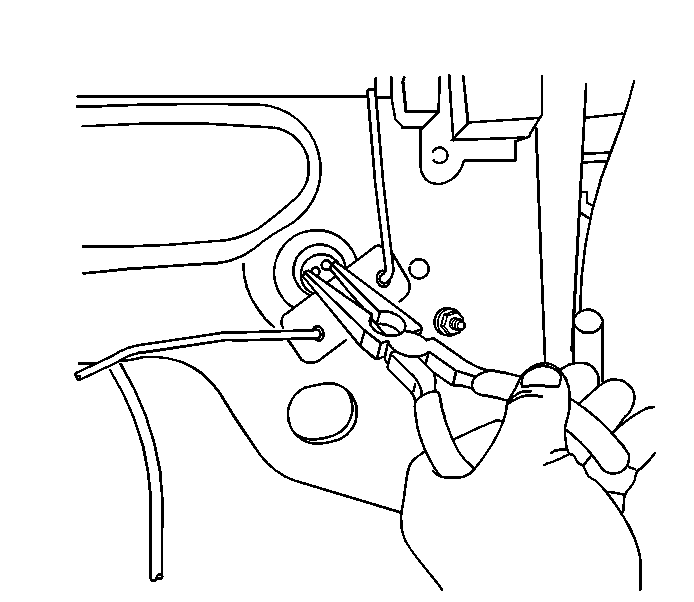
- Connect the lock and handle rods to the clip guides (2).
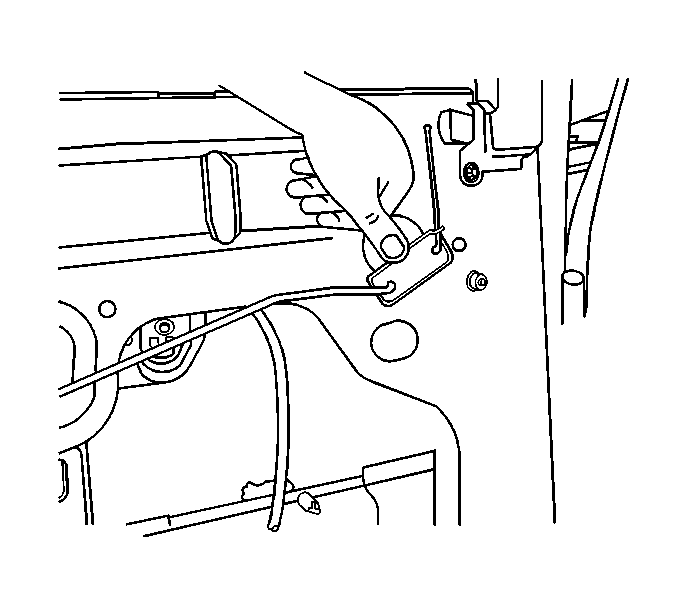
- Position the bell crank
into the opening of the inner panel.
- Press the bell crank inward until it fully engages the inner panel.
Important: Check for proper operation of the door handles and locking mechanism
before installing the water deflector.
- Install the water deflector. Refer to
Rear Side Door Water Deflector Replacement
.
- Install the door module. Refer to
Door Control Module Replacement
.
- Install the door trim panel. Refer to
Rear Side Door Trim Panel Replacement
.