|
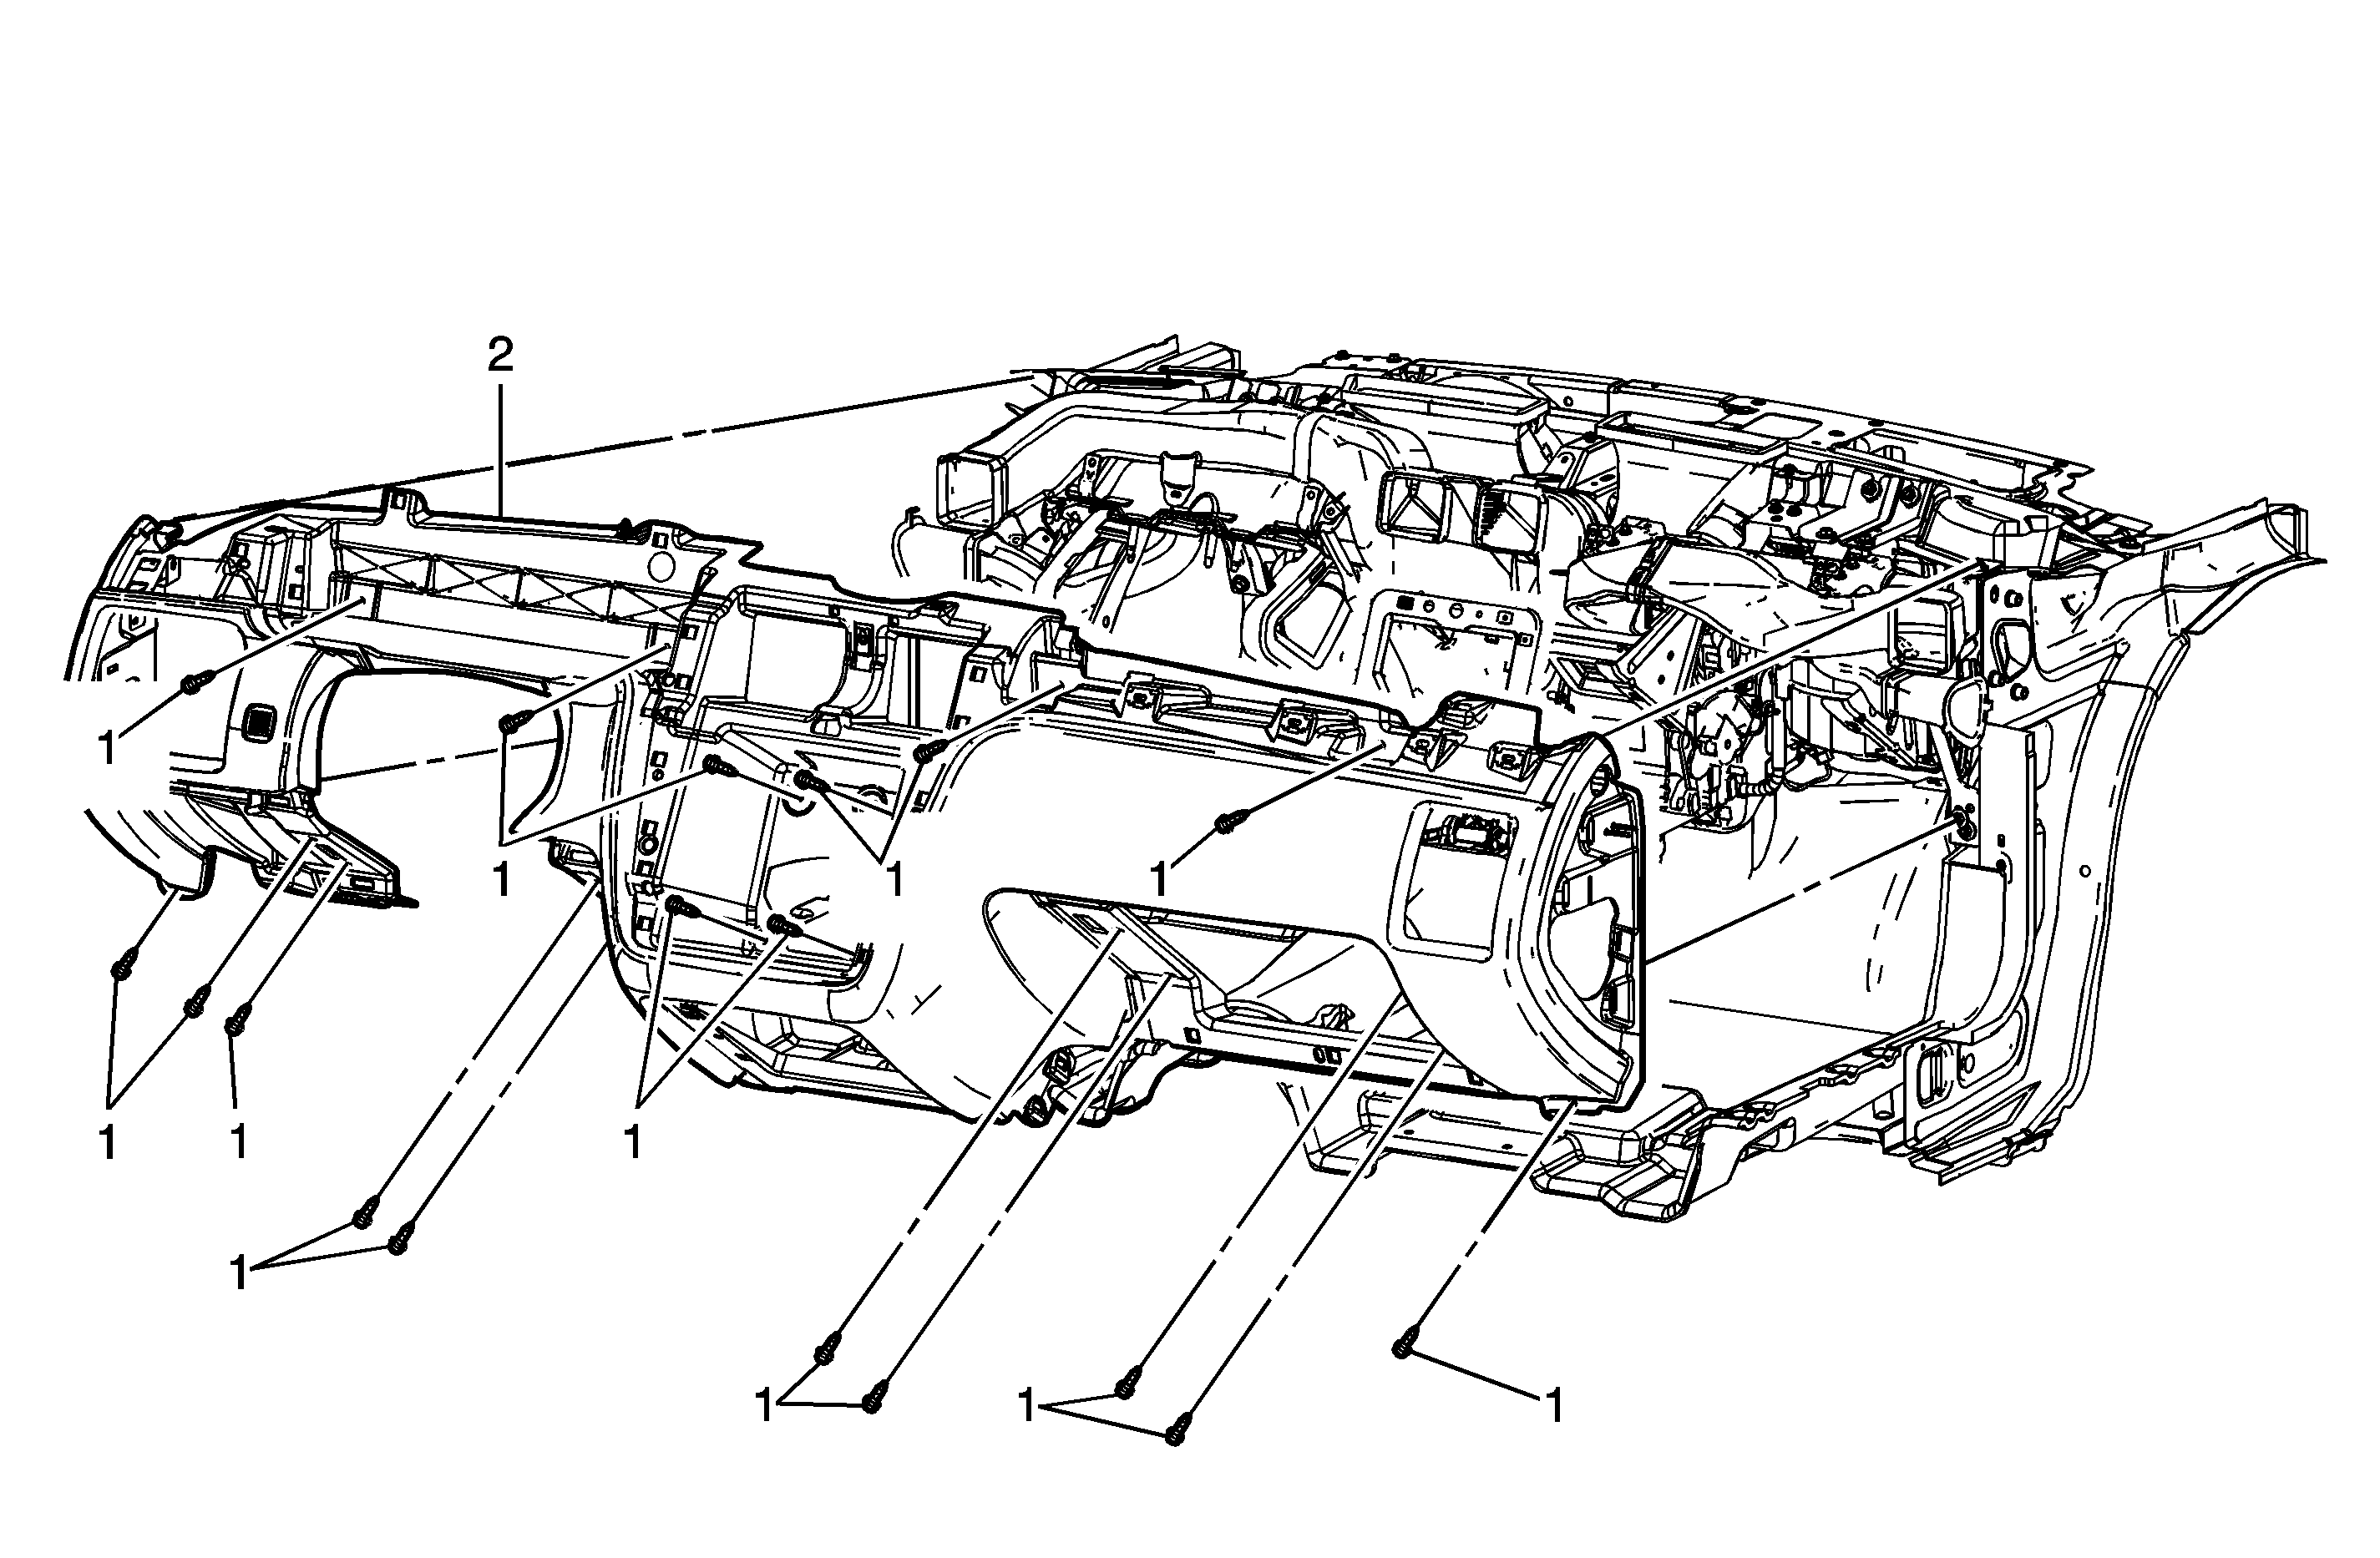
Notice: Refer to Fastener Notice in the Preface section. Fastener Tightening Specifications:
Refer to
Fastener Tightening Specifications
.
Preliminary Procedures
- Remove the instrument panel top pad. Refer to
Instrument Panel Upper Trim Pad Replacement
.
- Remove the instrument panel center trim panel. Refer to
Instrument Panel Center Trim Panel Replacement
.
- Remove the left instrument panel accessory trim plate. Refer to
Instrument Panel Accessory Trim Plate Replacement - Left Side
.
- Remove the instrument panel cluster assembly. Refer to
Instrument Cluster Replacement
.
- Remove the driver knee bolster assembly. Refer to
Driver Knee Bolster Replacement
.
- Remove the steering column. Refer to
Steering Column Replacement
.
- Remove the instrument panel compartment. Refer to
Instrument Panel Compartment Replacement
.
- Remove the instrument panel ashtray assembly, if equipped. Refer to
Ashtray Replacement
.
- Remove the center console, if equipped. Refer to
Console Replacement
.
- Remove the radio. Refer to
Radio Replacement
.
- Remove the HVAC control Assembly. Refer to
Heater and Air Conditioning Control Replacement
.
- Remove the instrument panel left air outlet. Refer to
Instrument Panel Outer Air Outlet Replacement - Left Side
.
- Remove the right and left side window air outlet ducts. Refer to
Side Window Air Outlet Replacement
.
- Remove the instrument panel right air outlet. Refer to
Instrument Panel Outer Air Outlet Replacement - Right Side
.
|

