For 1990-2009 cars only
Removal Procedure
- Remove the windshield garnish moldings. Refer to Windshield Pillar Garnish Molding Replacement in Interior Trim.
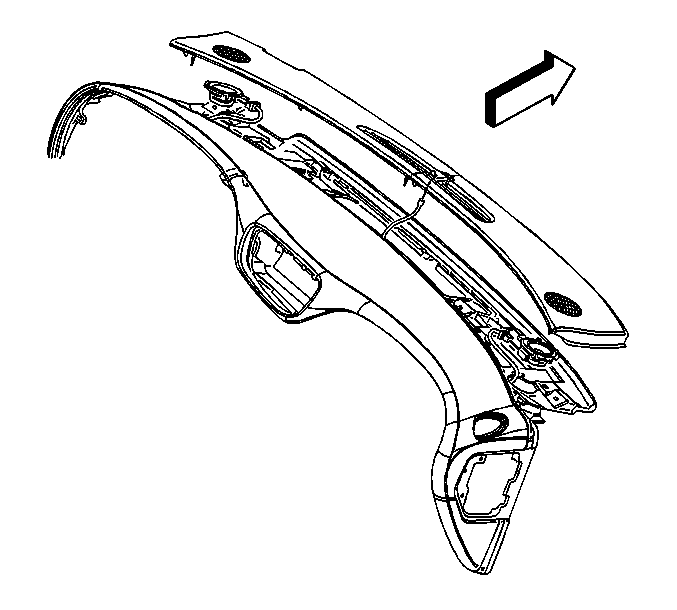
- Remove the trim pad. Refer to Instrument Panel Upper Trim Pad Replacement in Instrument Panel Gages and Console.
- Disconnect the electrical connector from the sensor.
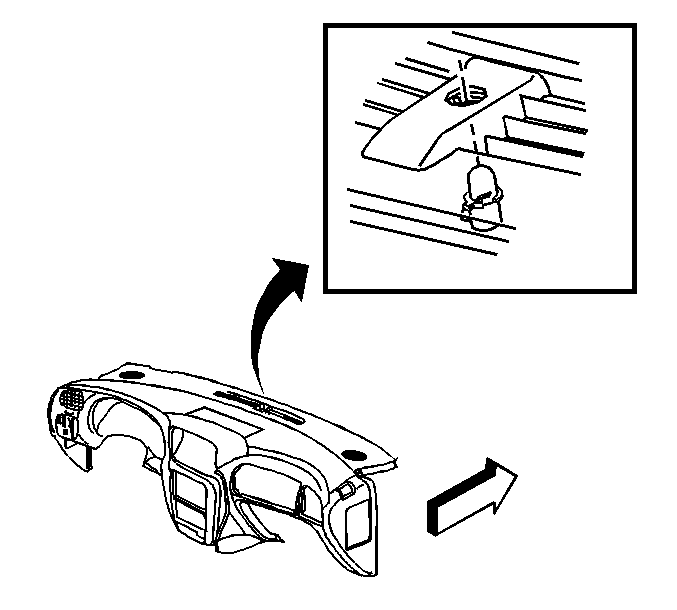
- In order to remove the sensor from the trim pad, rotate the sensor counter-clockwise 1/4 turn .
- Remove the sensor from the trim pad.
Important: Cover the windshield defrost vents with clean shop rags.
Installation Procedure
- Position the sensor to the trim pad.
- In order to install the sensor to the trim pad, rotate the sensor clockwise 1/4 turn .
- Position the trim pad to the upper portion of the instrument panel (I/P).
- Connect the electrical connector to the sensor.
- Remove the shop rags from the windshield defrost vents.
- Install the trim pad to the I/P. Refer to Instrument Panel Upper Trim Pad Replacement in Instrument Panel Gages and Console.
- Install the windshield garnish moldings. Refer to Windshield Pillar Garnish Molding Replacement in Interior Trim.
