For 1990-2009 cars only
Removal Procedure
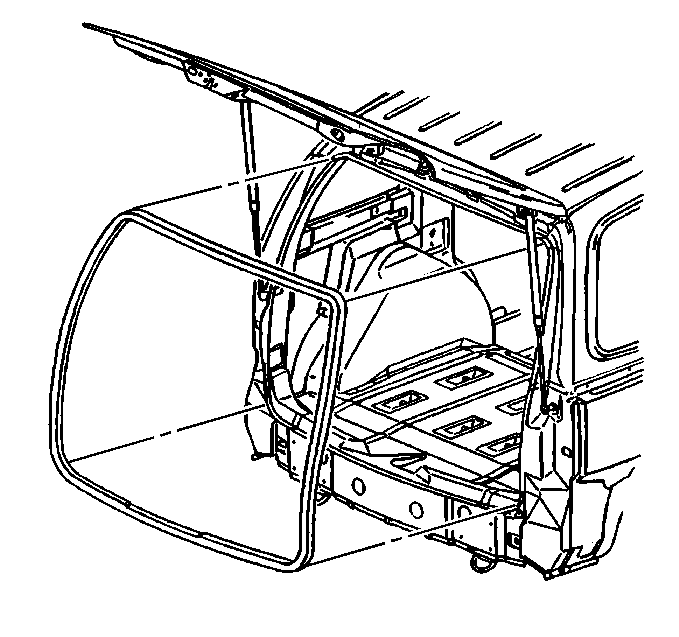
- Open liftgate.
- Remove liftgate sill plate. Refer to Liftgate Door Sill Plate Replacement in Interior Trim.
- Pull the liftgate weather-strip from the liftgate opening.
- Clean all adhesive from the liftgate opening pinch-weld flange.
Installation Procedure
- Apply new liftgate weather-strip sealing strip to pinch-weld flange (1) if required.
- Align the blue dot on the liftgate weather-strip to top center of the liftgate opening pinch-weld flange.
- Align the white dots on the liftgate weather-strip to the top corners of the liftgate opening pinch-weld flange.
- Starting at the top center of the liftgate opening pinch-weld flange and working towards the bottom center, being careful not to stretch the liftgate weather-strip while installing it.
- Align bottom center cutout in weather-strip to the liftgate striker.
- Use a rubber mallet to ensure full engagement of the liftgate weather-strip to the pinch-weld flange.
- Pull the tear strip at the liftgate body wedge around the entire length of liftgate opening to remove.
- Install the liftgate sill plate. Refer to Liftgate Door Sill Plate Replacement in Interior Trim.
- Close the liftgate.
Important: A mastic/sealer/glue in inside of new liftgate weather-strip. If a new weather-strip in being installed, weather-strip adhesive should not be used.
If the liftgate weather-strip is reused, weather-strip adhesive should be used.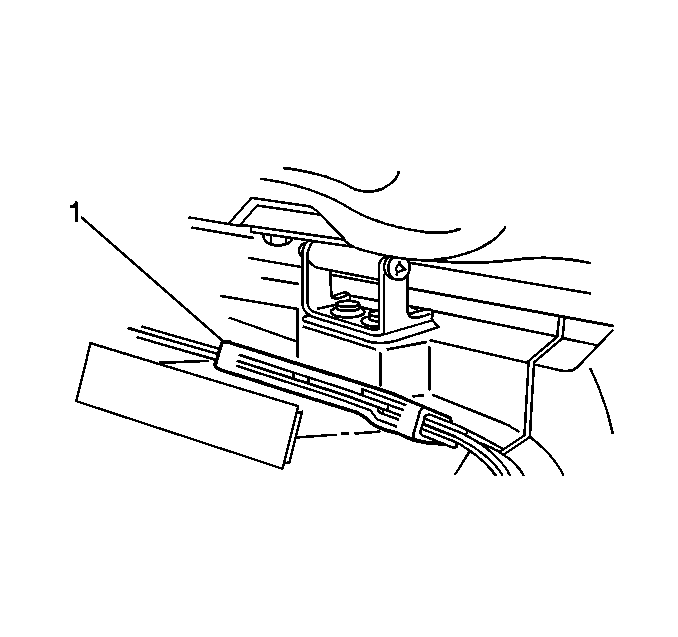
| • | Removal of the tear strip should pull the inner lip of the liftgate weather-strip out over the interior trim. Spooning of the liftgate weather-strip may be required to complete the installation of the liftgate weather-strip. |
| • | Spooning of the reused liftgate weather-strip will be required to complete the placement of the liftgate weather-strip. |
