A/C Growl or Buzzing Noise (Install Bracket Kit/Thermal Expansion Valve and/or Inspect A/C Compressor Bolts)

| Subject: | A/C Growl or Buzzing Noise (Install Bracket Kit/Thermal Expansion Valve and/or Inspect A/C Compressor Bolts) |
| Models: | 2006-2007 Pontiac Solstice -- with 2.0L or 2.4L Engine (VINs X, B - RPOs LNF, LE5) |
| 2007 Saturn Sky (Non-Turbo) -- with 2.4L Engine (VIN B - RPO LE5) |
| 2007 Opel GT |
| 2007 Daewoo G2X |
| Built Prior To VIN Breakpoint 7Y122161 (For Thermal Expansion Valve) |
This bulletin is being revised to add models, a part number and Step 16 to the procedure. Please discard Corporate Bulletin Number 06-01-39-016A (Section 01 - HVAC)
Condition
Some customers may comment on a growling or buzzing noise when the A/C is on.
Cause
This condition may be caused by any of the following:
| • | Cause 1 - Loose A/C Compressor Bolts |
| • | Cause 2 -- Thermal Expansion Valve. Typically a buzzing noise at 1500-2000 RPM. (Vehicle built prior to VIN breakpoint 7Y122161) |
| • | Cause 3 - Evaporator Tube Assembly Lines Contacting Front of Dash Sheet Metal |
Correction 1
Inspect the A/C compressor bolts and tighten, if necessary.
Correction 2 (for vehicles built prior to VIN Breakpoint 7Y122161)
Install Chassis Ears Electronic Listening Tool J 39570 on the thermal expansion valve. With A/C on and the system stabilized (run for one minute), listen for a buzzing noise with the engine RPM between 1500-2000 RPM. Replace the thermal expansion valve if this noise is detected. Refer to Thermal Expansion Valve Replacement in SI and install the evaporator tube bracket kit (refer to Correction 3).
Correction 3
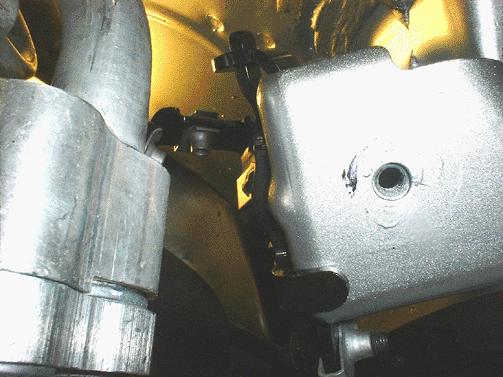
Install the evaporator tube bracket kit.
- Remove the left and right wiper arms. Refer to Wiper Arm Replacement in SI.
- Remove the air inlet grille. Refer to Air Inlet Grille Panel Replacement in SI.
- Remove the hood release cable from the pencil brace and, if vehicle is equipped with an automatic transmission, remove the breather tub .
- Remove the pencil brace.
- Remove the wiper transmission assembly. Refer to Wiper Transmission Replacement in SI.
- Recover the refrigerant. Refer to Refrigerant Recovery and Recharging in SI.
- Remove the evaporator tube from the vehicle. Refer to Evaporator Tube Replacement in SI.
- Place the evaporator tube on the bench and drill out the rivet with a ¼ in drill bit. Discard the old bracket.
- Install the bracket kit.
- Remove the two fasteners from the bracket and install them on the evaporator tube.
- Snug up the lower bolt on the bracket.
- Attach the bracket to the fastener and tighten the bolts.
- Inspect the tighten the two bolts that retains the thermal expansion valve.
- Install the evaporator tube. Refer to Evaporator Tube Replacement in SI.
- Attach the evaporator tube bracket to the wiper transmission assembly bracket and tighten all bolts.
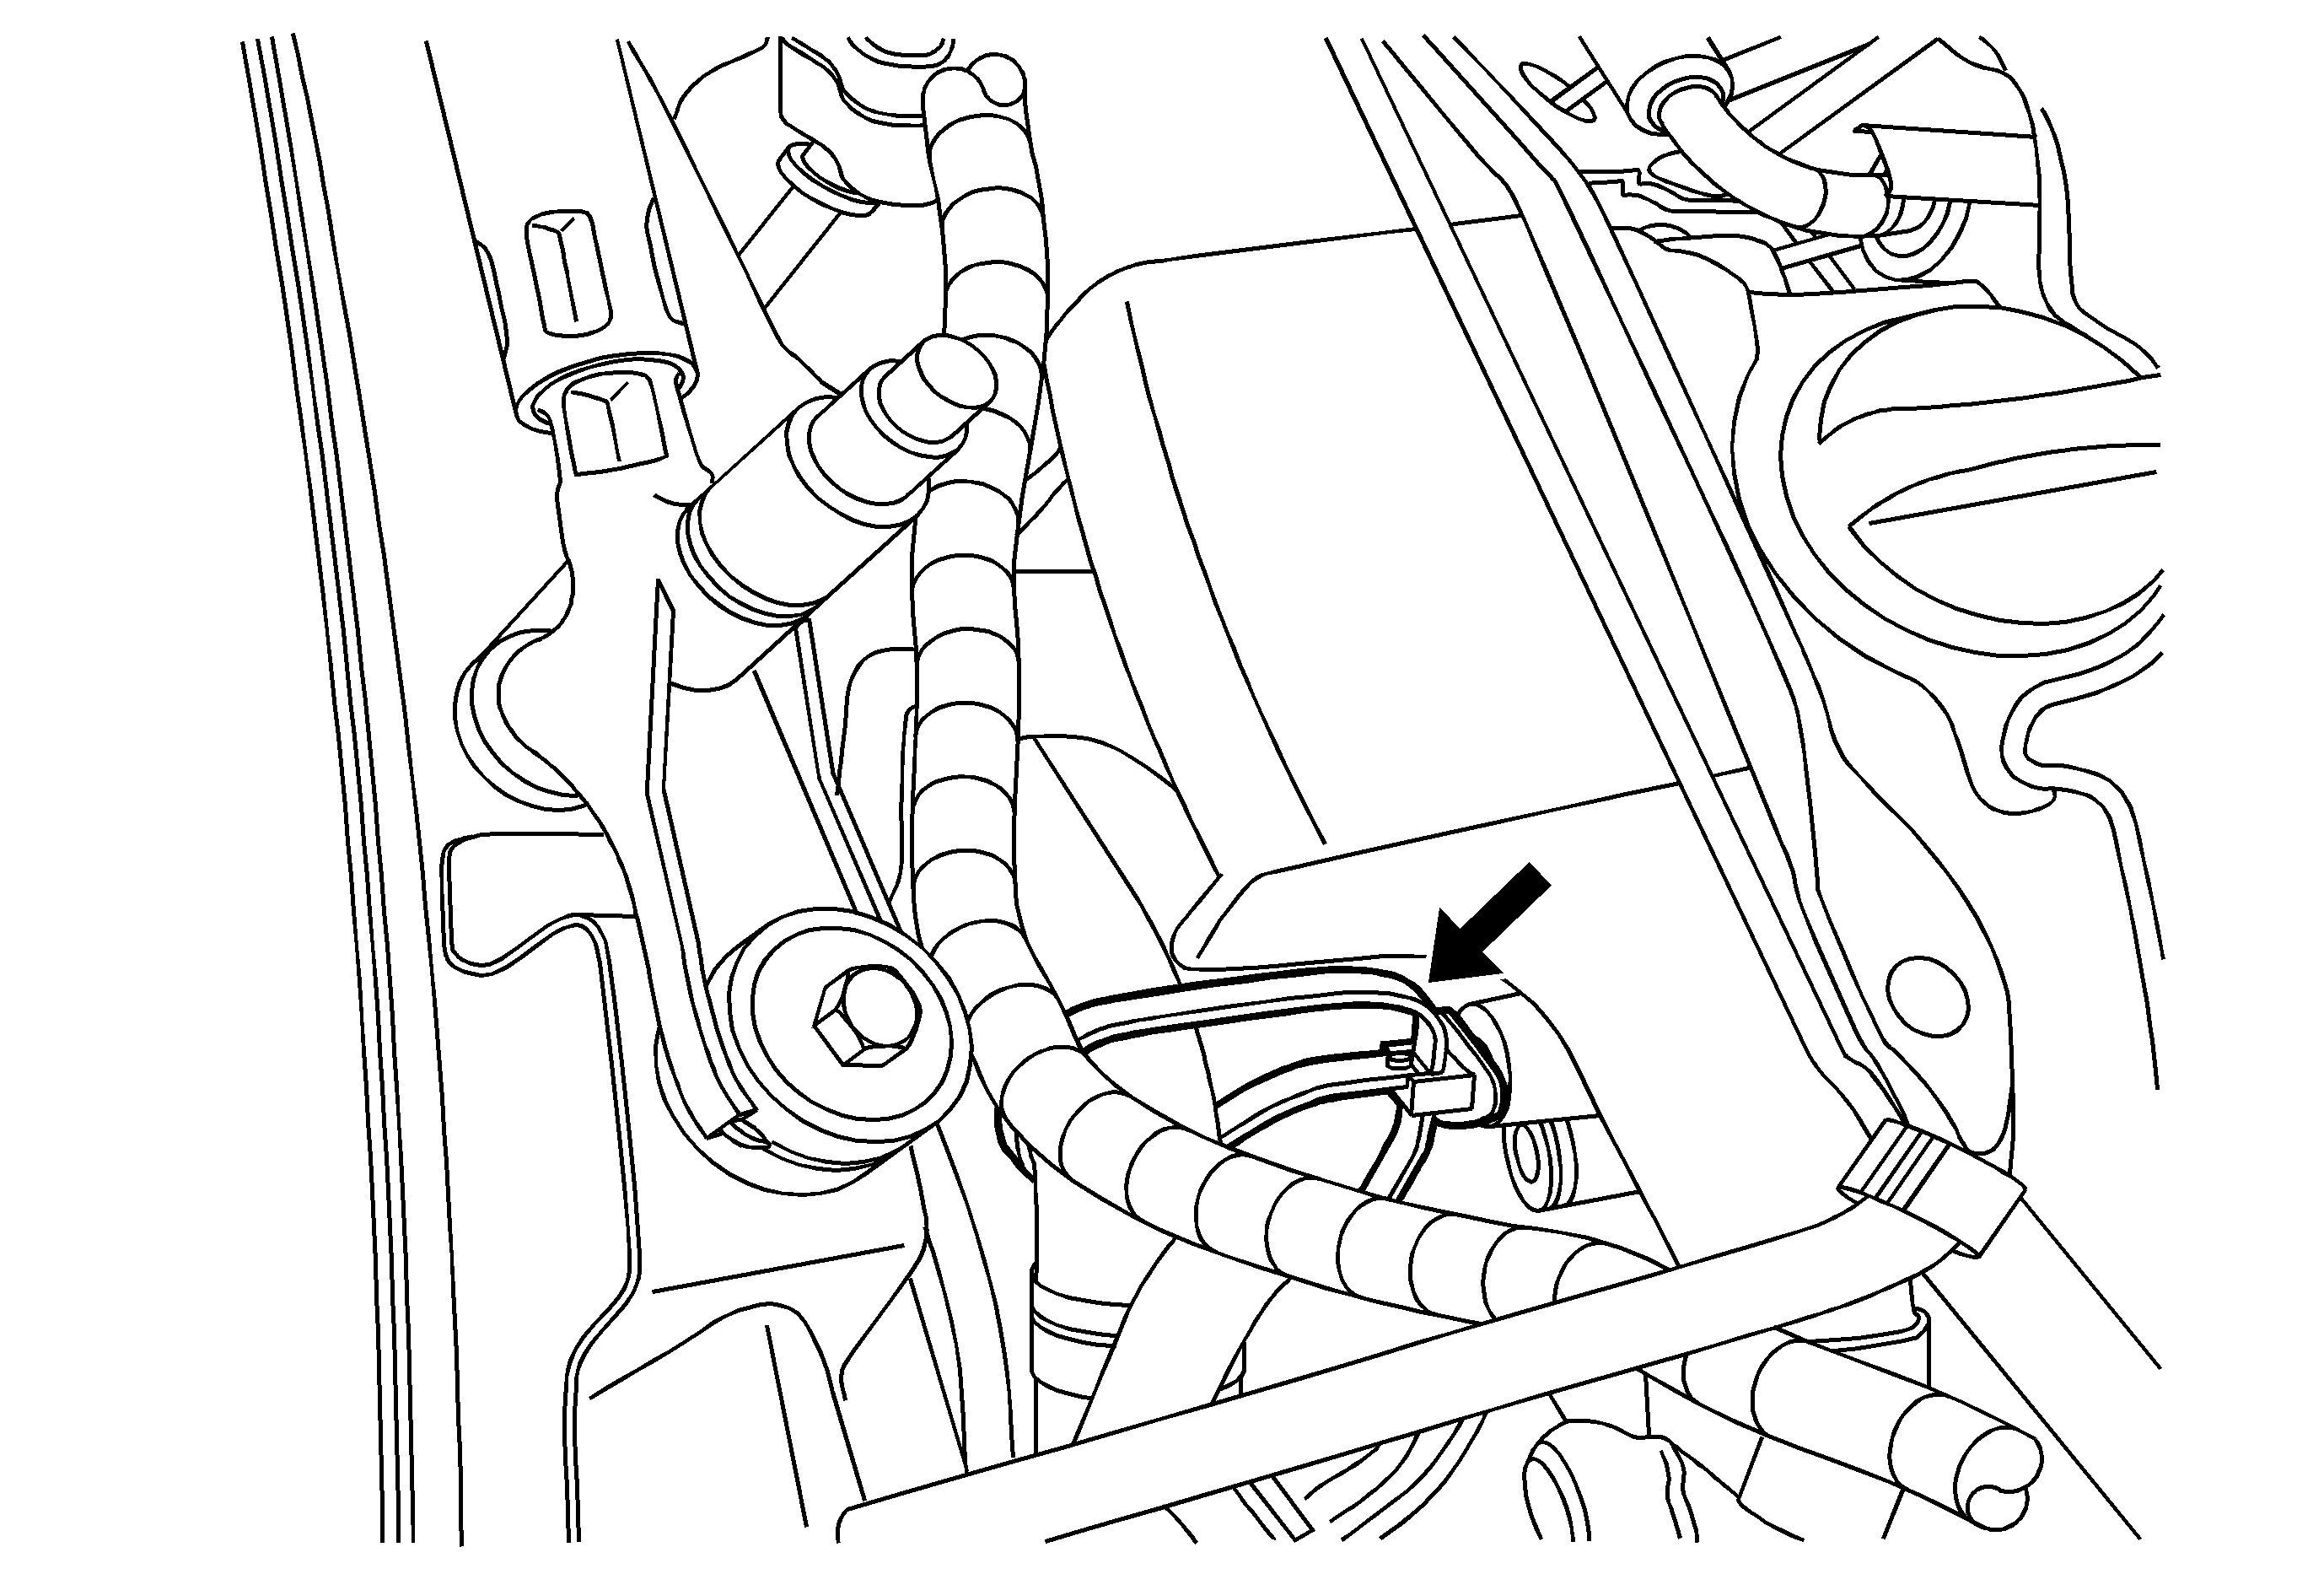
- On LNF turbo-equipped models, install a plastic tie strap around the surge tank outlet hose and attach it to the threaded hole in the rear of the cylinder head.
- Install the wiper transmission assembly. Refer to Wiper Transmission Replacement in SI.
- Install the pencil brace.
- Install the hood release cable to the pencil brace and, if vehicle is equipped with an automatic transmission, install the breather tube.
- Install the air inlet grille. Refer to Air Inlet Grille Panel Replacement in SI.
- Install the left and right wiper arms. Refer to Wiper Arm Replacement in SI.

Tighten
Tighten the bolts to 9 N·m (80 lb in).
Tighten
Tighten the bolts to 16 N·m (12 lb ft).
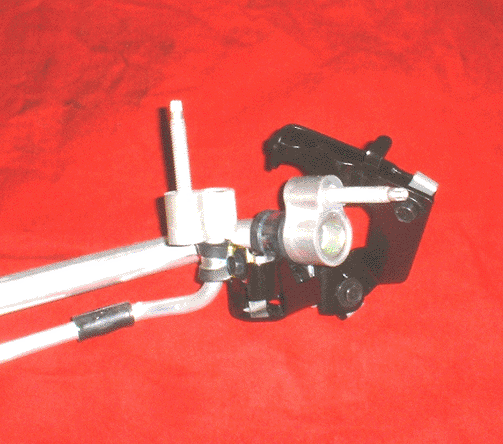
Example of How to Attach Bracket to Wiper Transmission Assembly Bracket (shown without evaporator tube)
Parts Information
Part Number | Description | Qty |
|---|---|---|
19130241 | Bracket Asm, A/C EVPR Hose Kit | 1 |
89025005 | Valve Asm, AD EVPR Thermal Expansion Kit | 1 |
19130464 | Tie Strap | 1 |
Warranty Information
For vehicle repaired under warranty, use:
Labor Operation | Description | Labor Time |
|---|---|---|
D3104 | Hose and/or Line, Refrigerant - Evaporator Inlet and Outlet Assembly - Replace | Use Published Labor Operation Time |
Add | To Remove Existing Bracket | 0.1 hr |
Add | Install Bracket Kit | 0.1 hr |
Add | To Replace Thermal Expansion Valve | 0.3 hr |
D9727* | Inspect A/C Compressor Bolts | 0.2 hr |
*This is a unique labor operation for bulletin use only. It will not be published in the Labor Time Guide. | ||
