For 1990-2009 cars only
Before proceeding, refer to General Plastic Repair and Plastic Repair Precautions .
The following are 3 methods of fabricating a backing patch:
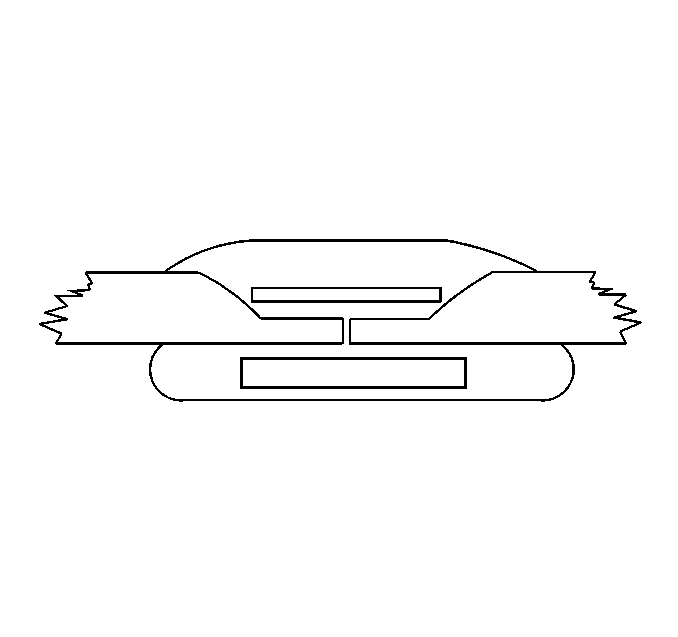
| • | Method 1: Fabricating a patch directly on the back of the damaged area. Layers of repair material and glass cloth mat are applied one at a time to a clean and sanded surface. |
| • | Method 2: Cutting a patch from a scrap piece of a replaced panel. |
| • | Method 3: Fabricating a patch on the outside of the damaged area to be reapplied to the inside of the damaged area. |
Any method can be used, but one method may be easier than another depending on the given situation. Read over each of the following methods in order to decide which will work best in a given situation.
Method 1
- Cut a piece of the reinforcement mat, to the desired shape, so that the mat overlaps all sides of the back of the damage area by 38-51 mm (1.5-2.0 in).
- Determine the proper repair material. Refer to Flexible Plastic Part Repair Materials or Rigid Plastic Part Repair Materials .
- Mix the repair material according to the manufacturers instructions.
- Following the manufacturers instructions, apply a skim coat of the repair material to the back of the damaged area.
- Lay the pre-cut piece of reinforcement mat into the skim coat of the repair material.
- Apply additional skim coats as needed for strength.
- Allow the material to cure according to the manufacturers instructions.
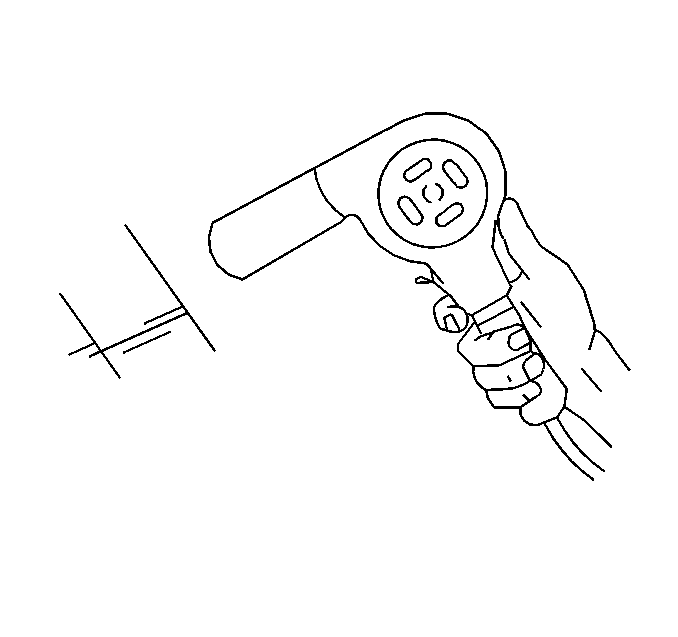
- Allow the repair area to return to room temperature.
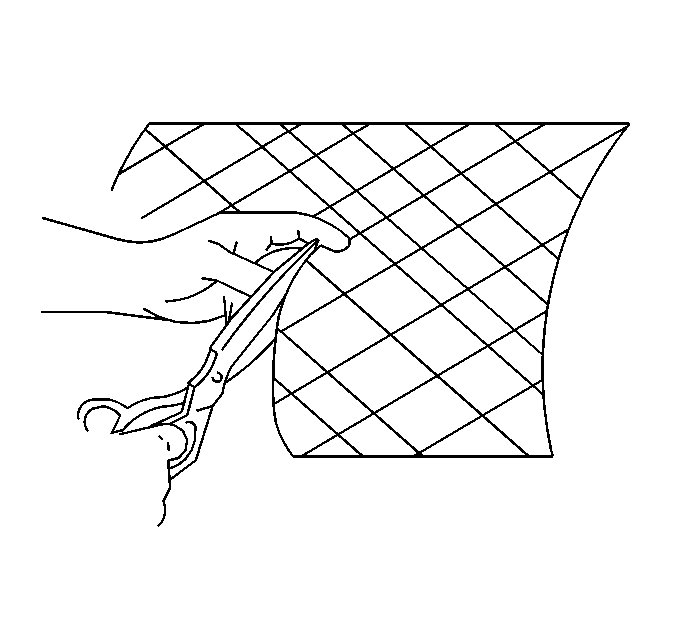
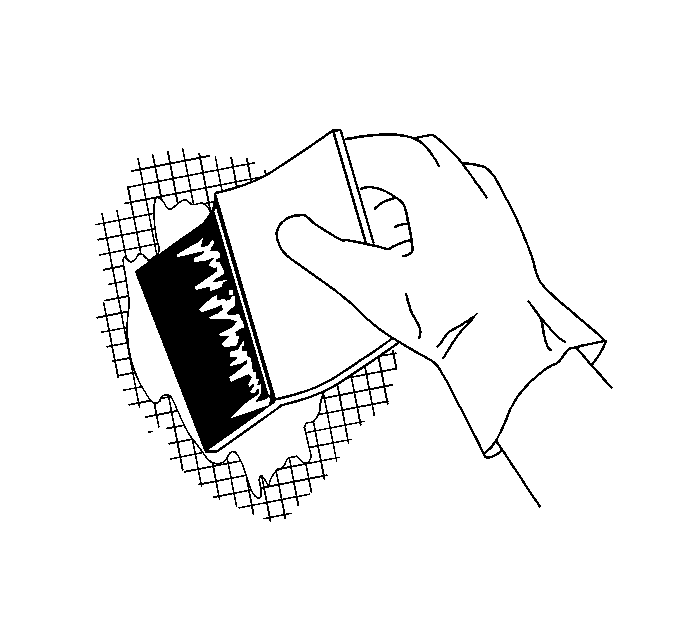
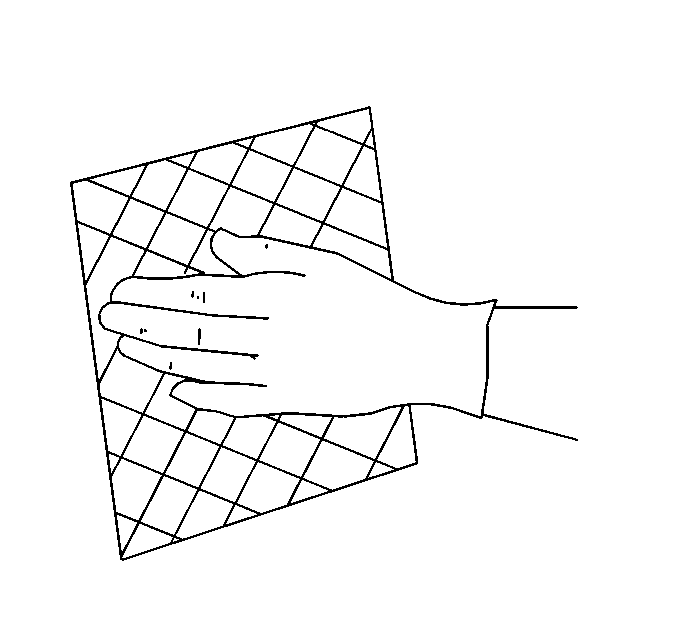
| • | Use the applicator in order to press the mat until saturated. |
| • | Inspect for exposed fibers or trapped air. |

Method 2
- Cut a patch from a scrap piece of a replaced panel so that the patch overlaps all sides of the damage area by 38-51 mm (1.5-2.0 in).
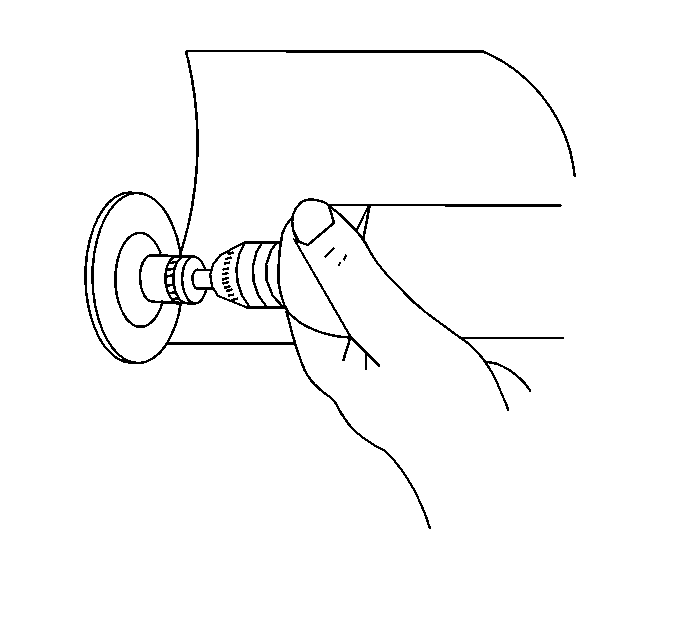
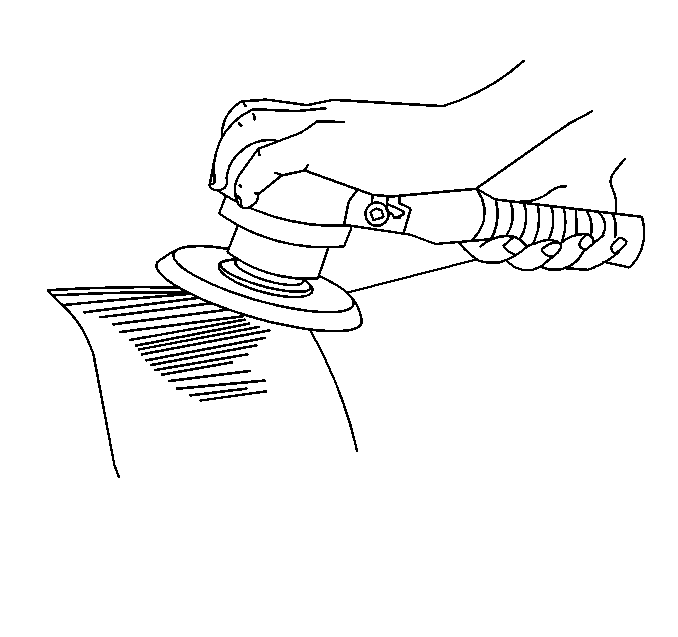
- Sand and clean the surface of the patch in order to remove any paint or finish material which could prevent proper bonding.
- Determine the proper repair material. Refer to Flexible Plastic Part Repair Materials or Rigid Plastic Part Repair Materials .
- Mix the repair material according to the manufacturers instructions.
- Following the manufacturers instructions, apply a skim coat of repair material to the back of the damaged area.
- Install the patch:
- Cure according to the manufacturers instructions.
- Remove the clamp or the prop when curing is complete.

| 6.1. | Align the patch over the damage on the back of the panel. |
| 6.2. | Clamp or prop the patch onto the panel. |
| 6.3. | Cover with repair material any voids or gaps at the edges of the patch that could allow entry of water or chemicals. |

Method 3
- Cut a piece of wax paper or polyethylene film material such as that used to wrap food:
- Cut a piece of the glass cloth mat to the desired shape, extending the mat 38-51 mm (1.5-2.0 in) beyond the repair area.
- Determine the proper repair material. Refer to Flexible Plastic Part Repair Materials or Rigid Plastic Part Repair Materials .
- Mix the repair material according to the manufacturers instructions.
- Following the manufacturers instructions, apply a layer of the repair material.
- Place a layer of the mat over the repair material.
- Smooth out any wrinkles in the mat. Follow the contour of the panel.
- Apply a coat of repair material.
- Cover the repair material with the wax paper or polyethylene.
- Press against the wax paper with a saturation roller or squeegee in order to ensure saturation of the mat and to remove any air bubbles.
- Continue applying layers as before as needed to strengthen.
- Form the patch to match as close as possible to the surface of the panel.
- Cure according to manufacturers instructions.
- Allow to return to room temperature.
- Remove the patch.
- Remove the wax paper or polyethylene.
- Apply a skim coat of repair material.
- Install the patch:
- Cure according to the manufacturers instructions.
- Remove the clamp or the prop when curing is complete.
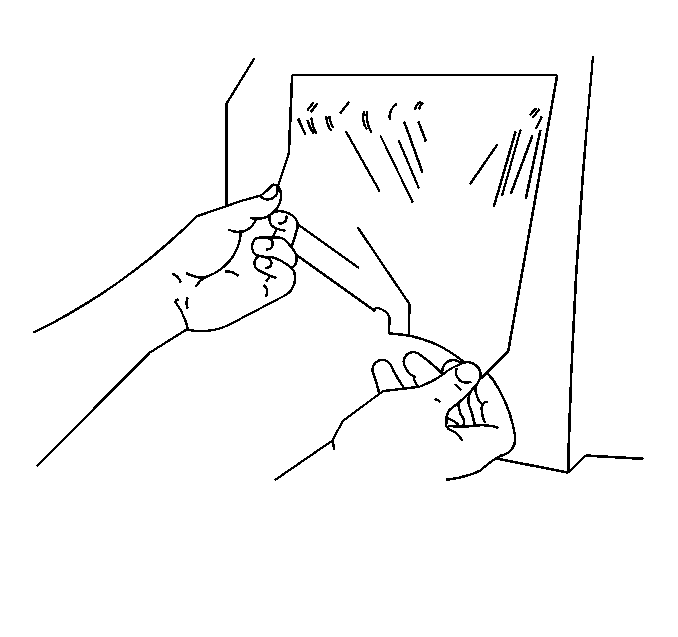
| 1.1. | Cut the material to extend about 75 mm (3 in) beyond the repair area. |
| 1.2. | Tape the material to the outside of the repair surface. |


| 18.1. | Align the patch over the damage on the back of the panel. |
| 18.2. | Clamp or prop the patch onto the panel. |
| 18.3. | Cover with repair material any voids or gaps at the edges of the patch that could allow entry of water or chemicals. |

