- Install the shaft key into the hub key groove (4) approximately 3.2 mm
(1/8 in) out of the keyway.
The shaft key is curved slightly to provide an interference fit in the
hub key groove.
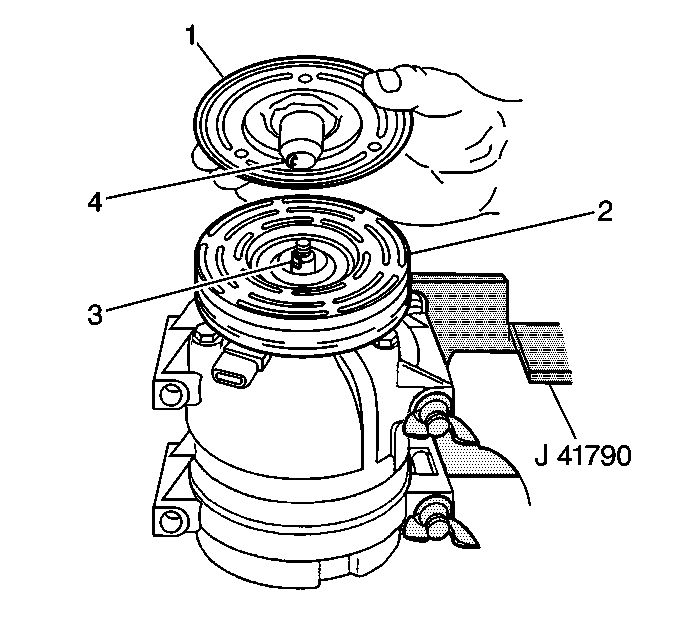
- Clean the surfaces of the clutch plate (1) and the clutch rotor
(2) before installing the clutch plate and hub assembly.
- Align the shaft key with the shaft keyway in the clutch plate
and the hub assembly and place onto the A/C compressor shaft (3).
- Remove the J 33013-B
.
| 4.1. | Remove the center screw from the body of the J 33013-B
. |
| 4.2. | Install the center screw into the opposite end of the J 33013-B
. |
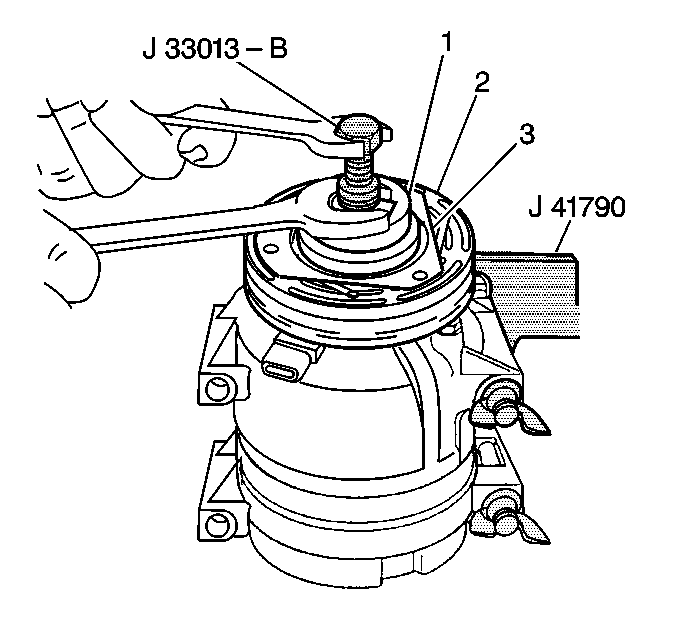
- Install the J 33013-B
and bearing tools (1) onto the clutch plate (3) and the hub assembly
(2).
| 5.1. | Back the body of the J 33013-B
off enough to allow the center screw to be threaded onto
the end of the A/C compressor shaft. |
| 5.2. | Thread the center screw several turns onto the end of the A/C
compressor shaft. |
Do not tighten the center screw on the A/C compressor shaft.
- Hold the center screw with a wrench.
| 6.1. | Tighten the hex portion of the J 33013-B
body several turns. |
| 6.2. | Remove the J 33013-B
from the clutch plate and hub. |
| 6.3. | Make sure that the shaft key is still in place in the keyway. |
- Reinstall the J 33013-B
.
- Place a feeler gage between the clutch plate and the clutch rotor.
Important: Make sure that the air gap is even all around the clutch plate and hub
assembly.
- Tighten the hex portion of the J 33013-B
until the air gap between the clutch plate and clutch rotor
is 0.40 mm (0.015 in).
- Remove the J 33013-B
.
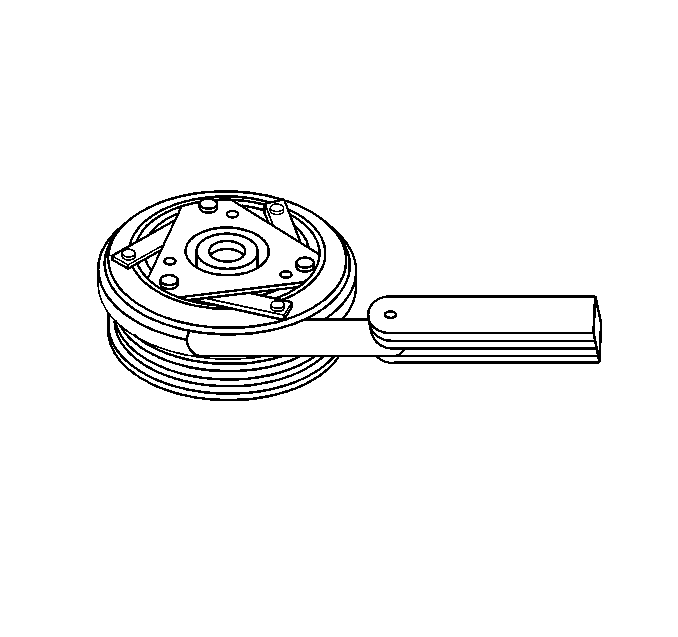
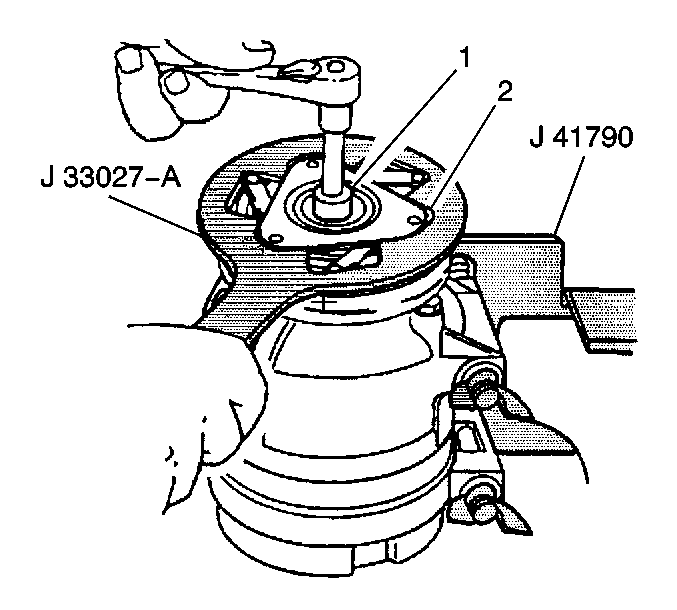
- Hold the clutch plate and hub assembly (2) with the J 33027-A
.
Notice: Use the correct fastener in the correct location. Replacement fasteners
must be the correct part number for that application. Fasteners requiring
replacement or fasteners requiring the use of thread locking compound or sealant
are identified in the service procedure. Do not use paints, lubricants, or
corrosion inhibitors on fasteners or fastener joint surfaces unless specified.
These coatings affect fastener torque and joint clamping force and may damage
the fastener. Use the correct tightening sequence and specifications when
installing fasteners in order to avoid damage to parts and systems.
- Install the A/C
compressor shaft nut.
Tighten
Tighten the nut to 17.5 N·m (13 lb ft).
- Spin the pulley rotor by hand to make sure the rotor is not rubbing
against the clutch drive plate.
- Remove the A/C compressor from the J 41790-A
.
- Install the A/C compressor into the vehicle.
