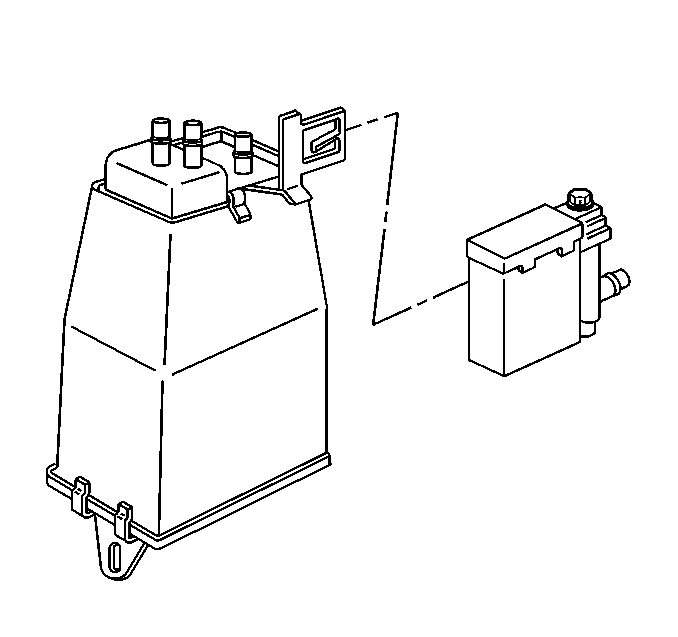
For 1990-2009 cars only
Removal Procedure
- Raise the vehicle.
- Remove the splash shield from the left rear bumper fascia . Refer to Rear Bumper Fascia Splash Shield Replacement in Bumpers.
- Bend the tab retaining the EVAP canister vent valve.
- Remove the valve from the bracket.
- Disconnect the electrical connector (2) from the EVAP canister vent valve (1).
- Loosen the vent hose clamp and remove the vent hose from the EVAP vent valve.
- Remove the EVAP canister vent valve from the vehicle.
Caution: Provide additional support when a vehicle is on a hoist in the following
ways:
• Before removing parts, support the opposite end. This helps prevent
the vehicle from slipping off.
Failure to follow these precautions could cause vehicle damage, serious
personal injury, or death.
• Before removing major components, chain the vehicle frame to the
hoist pads at the same end as the removal. This helps avoid a tip-off.

Important: The hose clamp is a pinch type.

Installation Procedure
- Connect the vent hose to the EVAP canister vent valve and tighten the hose clamp.
- Connect the electrical connector (2) to the EVAP canister vent valve (1).
- Bend the tab to retain the EVAP canister vent valve.
- Install the EVAP canister vent valve to the bracket.
- Install the splash shield to the left rear bumper fascia. Refer to Rear Bumper Fascia Splash Shield Replacement in Bumpers.
- Lower the vehicle.

Important: The hose clamp is a pinch type.

