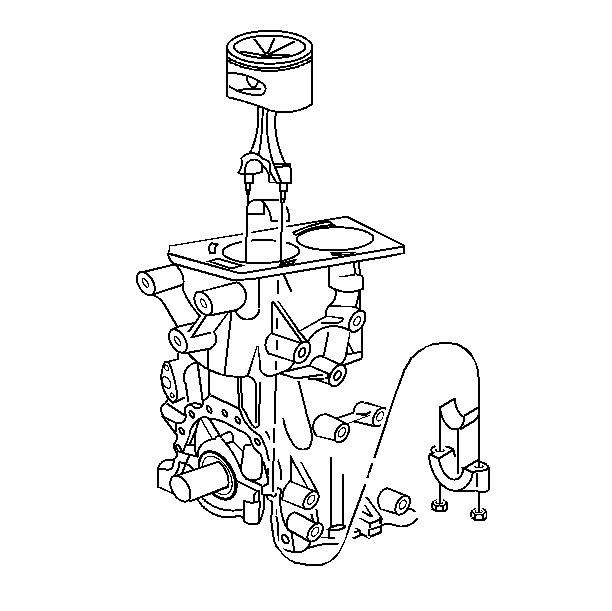
For 1990-2009 cars only
- Rotate the crankshaft to a position where the connecting rod nuts are the most accessible.
- Mark the connecting rod and cap with the cylinder position. Also mark the orientation. This will ensure the caps and connecting rods are re-assembled properly.
- Remove any ridge at the top of the cylinder bore to avoid damage to the piston ring lands.
- Remove the connecting rod nuts.
- Remove the connecting rod cap.
- Install thread protectors (3 in length of 3/8 inch ID hose) on the connecting rod bolts before removing the piston and connecting rod assembly.
- Remove the piston and connecting rod assembly.

