Communication Interface Module Replacement TrailBlazer, Envoy, Bravada, Rainier
Removal Procedure
- Position the right rear seat bottom to a cargo position.
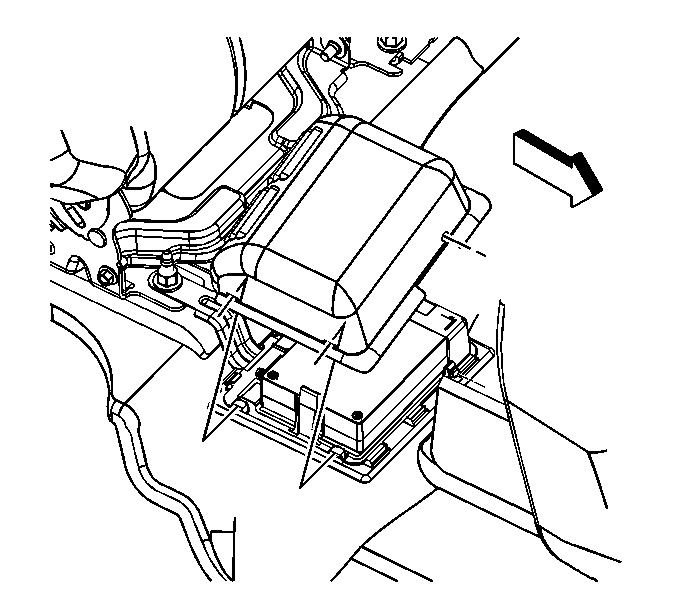
- Remove the protective cover from the vehicle communication interface module (VCIM).
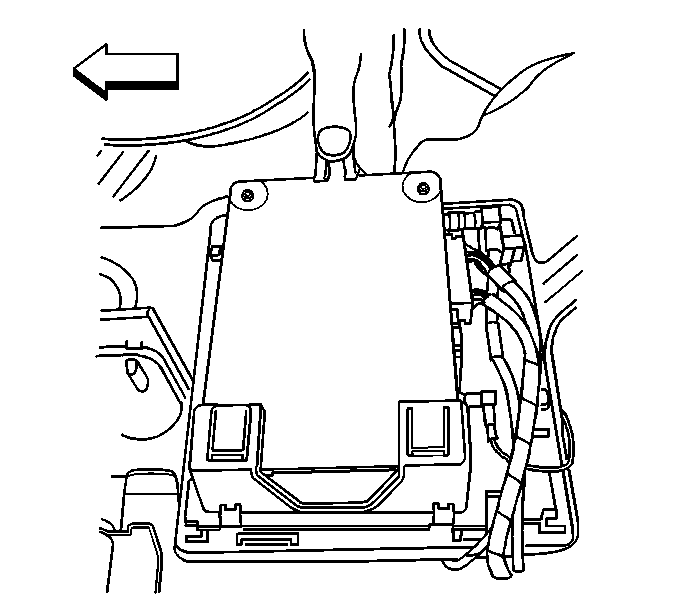
- Remove the module from the upper bracket by releasing the retaining tab.
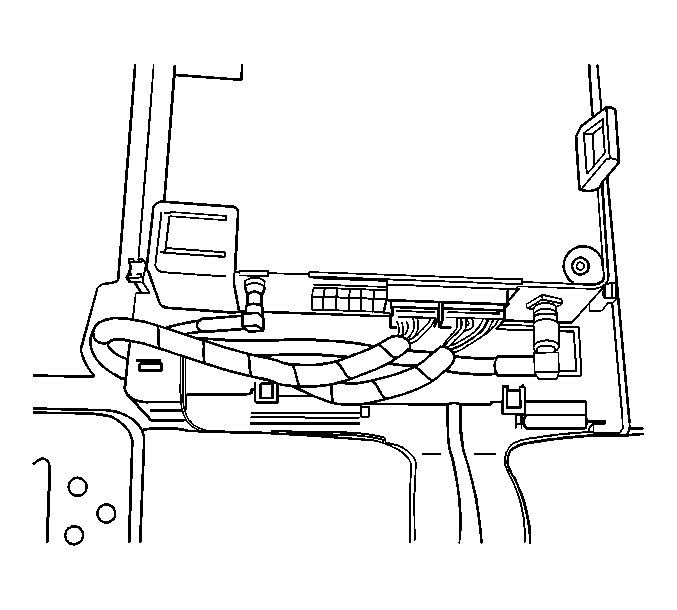
- Remove the electrical connectors from the VCIM.
- Remove the VCIM from the vehicle
Important: The vehicle communication interface module (VCIM) has a specific set of unique numbers that tie the module to each vehicle. These numbers, the 10-digit station identification and the 11-digit electronic serial number, are used by the National Cellular Network and OnStar® to identify the specific vehicle. Because these numbers are tied to the vehicle identification number of the vehicle, you must never exchange these parts with those of another vehicle.
Installation Procedure
- If replacing the VCIM, record the 10-digit STID number, and the 11-digit ESN number from the labels on the new module.
- Install the module to the upper bracket ensuring the retaining tab is fully seated.
- Connect the 2 electrical connectors.
- Install the protective cover to the module.
- Position the right rear seat bottom to a passenger position.
- Reconfigure the OnStar® system. Refer to OnStar Reconfiguration .

Notice: In order to avoid damage to the circuit board, do NOT over-tighten the thumb screws. Using your fingers, apply only a light pressure.
Tighten
Tighten the module thumb screw to a maximum of 0.2 N·m (2 lb in).

Important: After replacing the vehicle communication interface module, you must reconfigure the OnStar® system. Failure to reconfigure the system will result in an additional customer visit for repair. In addition, pressing and holding the white dot button on the keypad will NOT reset this version of the OnStar® system. This action will cause a DTC to set.
Communication Interface Module Replacement Envoy XL
Removal Procedure
- Fold and tumble the right second row seat to a cargo position.
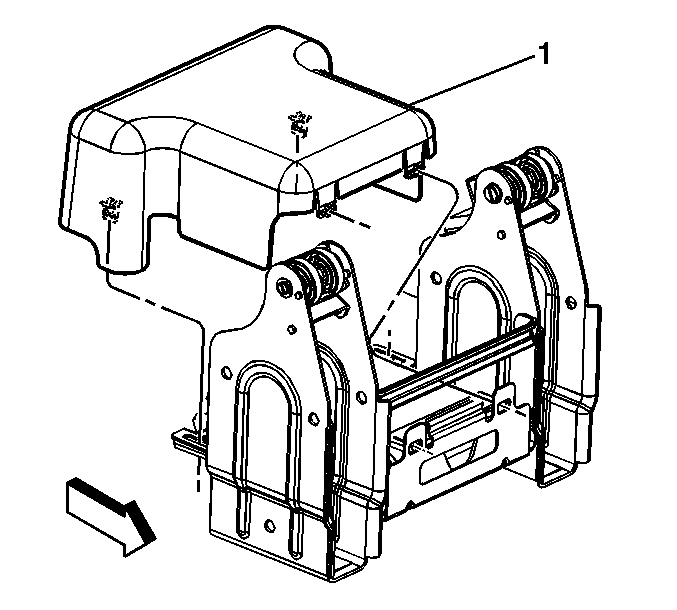
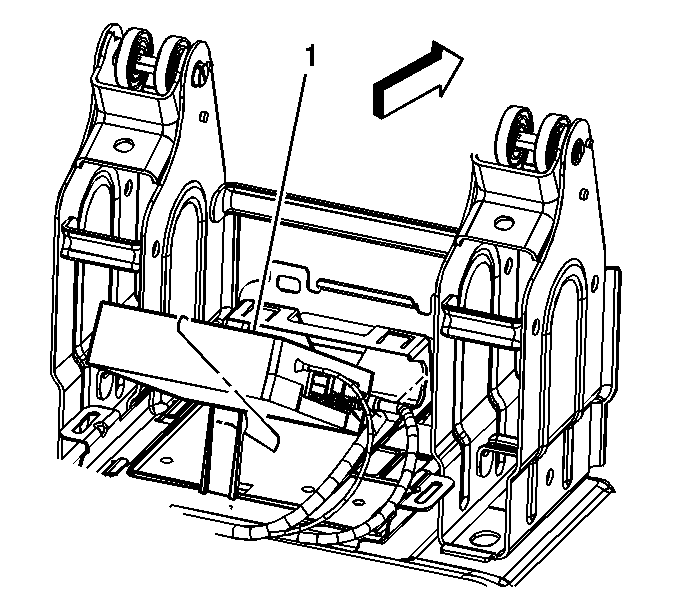
- Remove the protective cover (1) from the vehicle communication interface module (VCIM).
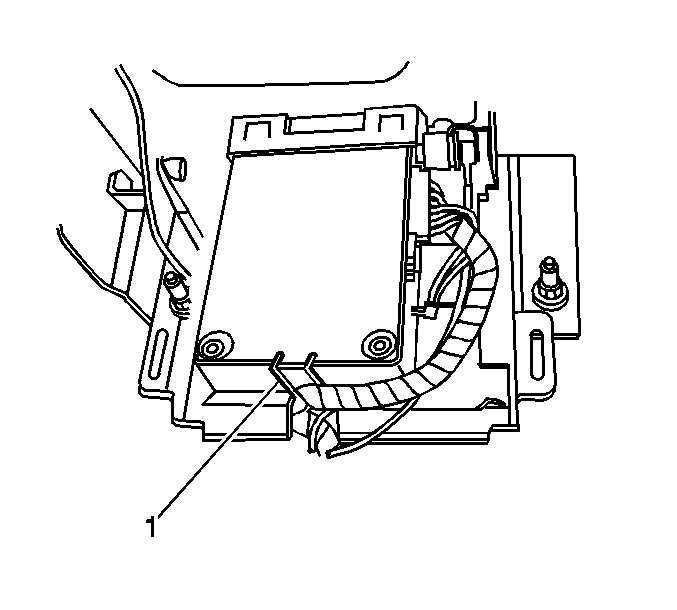
- Remove the VCIM from the bracket by releasing the retaining tab (1).
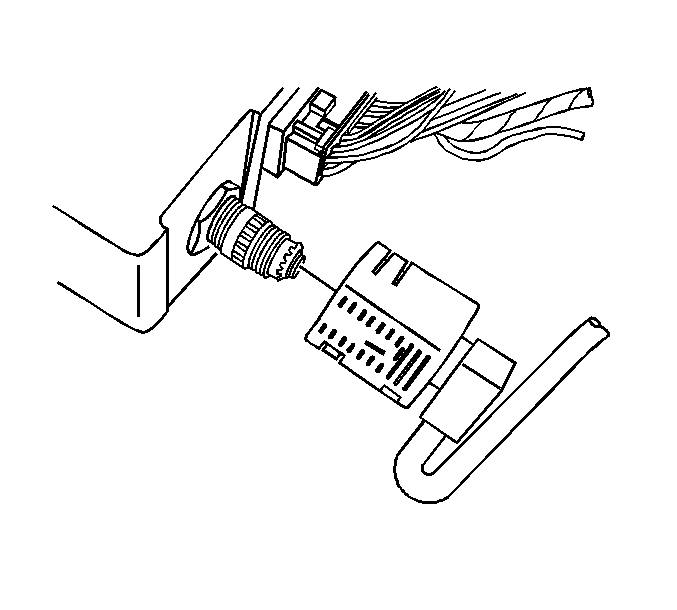
- Remove the electrical connectors from the VCIM.
- Remove the VCIM from the vehicle.
Important: Do not exchange the vehicle communication interface module with other vehicles. Each vehicle communication interface module has a specific station identification (STID) and electronic serial number (ESN). These identification numbers are stored in the General Motors vehicle history files by VIN and used by OnStar® and the National Cellular Telephone Network.
Installation Procedure
- If replacing the VCIM, record the 10-digit STID number, and the 11-digit ESN number from the labels on the new module.
- Position the VCIM near the mounting location.
- Install the quick connector to the VCIM.
- Install the remaining electrical connectors to the VCIM.
- Install the VCIM (1) to the bracket.
- Ensure the retaining tab (1) is fully seated.
- Install the protective cover (1) to the module.
- Position the right second row seat to a passenger position.
- Reconfigure the OnStar® system. Refer to OnStar Reconfiguration .


Important: After replacing the vehicle communication interface module, you must reconfigure the OnStar® system. Failure to reconfigure the system will result in an additional customer visit for repair. In addition, pressing and holding the white dot button on the keypad will NOT reset this version of the OnStar® system. This action will cause a DTC to set.
