Removal Procedure
Caution: Refer to SIR Caution in the Preface section.
- Disconnect the negative battery cable. Refer to
Battery Negative Cable Disconnection and Connection
in Engine Electrical.
- Disable the SIR. Refer to
SIR Disabling and Enabling
in SIR.
- Apply the parking brake.
- Remove the I/P cluster trim plate bezel. Refer to
Instrument Panel Cluster Trim Plate Bezel Replacement
.
- Remove the radio. Refer to
Radio Replacement
in Entertainment.
- Remove the HVAC control module assembly. Refer to
HVAC Control Module Replacement
in HVAC Systems Automatic.
- Insert the ignition key and turn the ignition switch to RUN, continue
to step 8.
If the keys are unavailable or the ignition lock cylinder is seized proceed
with the following:
| 7.1. | Remove the fasteners securing the ignition
switch to the I/P retainer. |
| 7.2. | Push and release the retaining tab at the rear of the ignition switch. |
| 7.3. | Remove the ignition switch through the radio opening in the retainer. |
| 7.4. | Protect the immediate work area with suitable material such as clean shop
towels or a clean fender cover. |
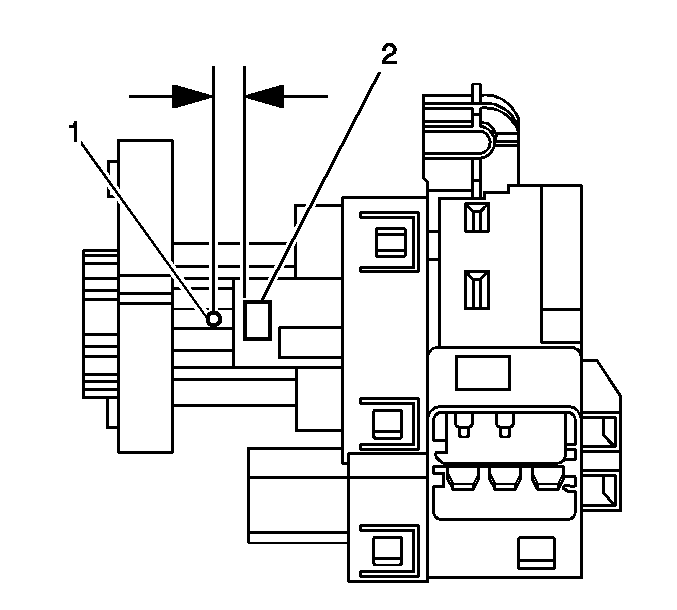
| 7.5. | Locate the surface for the ignition switch lock cylinder release button
(2) on the plastic ignition switch housing and center punch a location (1)
on the "rib" approximately 3/8 inch rearward, toward the
key entry end of the cylinder release button. |
| 7.6. | Drill a pilot hole through the plastic housing with a 1/8 inch
drill bit. |
| 7.7. | Drill a larger hole at the pilot location, and slightly into the ignition
switch lock cylinder surface to break the release button retaining spring using a 1/4 inch
drill bit. |
| 7.8. | Use a magnet and remove the retainer tab (2). |
| 7.9. | Grasp the ignition switch lock cylinder and remove it from the switch
housing. |
| 7.10. | Remove any plastic "flash" from the drilling operation, and
using compressed air blow out the ignition switch assembly, proceed to step 11. |
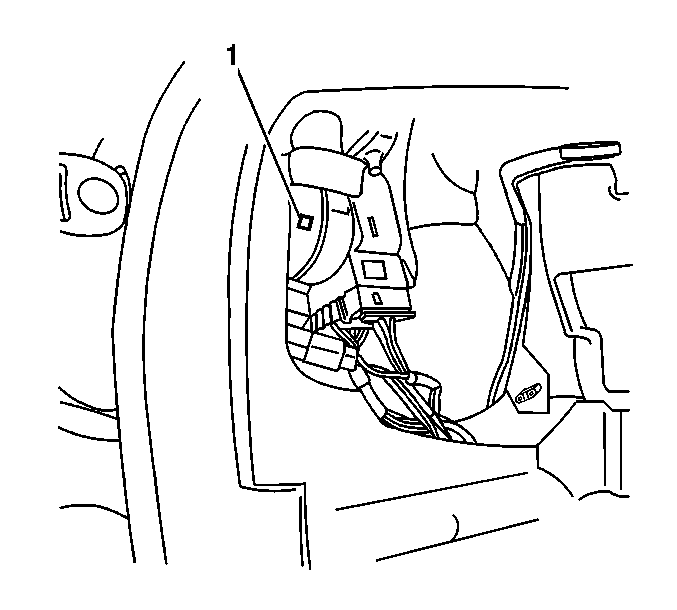
- Look through the radio opening in the I/P
retainer and locate the release button (1) on the side of the ignition switch.
- Depress and hold the ignition lock cylinder retaining tab, located on
the right lower side of the ignition switch, using a flat-bladed tool or other
suitable tool.
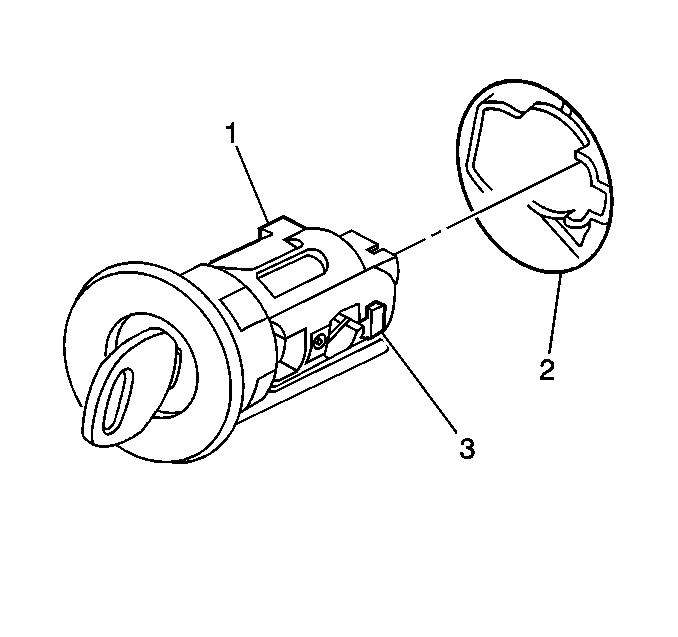
- Pull outward on the ignition cylinder (1)
in order to remove the cylinder from the ignition switch.
- Remove the reader/exciter module from the ignition lock cylinder. Refer
to
Theft Deterrent Exciter Module Replacement
in Theft Deterrent.
Installation Procedure
- Install the reader/exciter module to the ignition lock cylinder. Refer
to
Theft Deterrent Exciter Module Replacement
in Theft Deterrent.
- If ignition lock cylinder was previously seized proceed with steps 2.1
through 2.4, If not go to step 3.
| 2.1. | Turn the new ignition lock cylinder to the run position. |
| 2.2. | Turn the ignition switch to the run position. |
| 2.3. | Slowly push the ignition lock cylinder into the ignition switch until
fully seated. |
It may be necessary to slightly depress the release button as it passes by the 1/4 inch
hole previously drill in the ignition switch housing.
- Position the ignition lock cylinder (1)
with the key installed into the opening in the ignition switch (2).
- Press the ignition lock cylinder into place.
The lock cylinder retaining tab will produce an audible click when fully seated.
- Using light force, pull on the lock cylinder in order to
ensure the lock cylinder is engaged and secured in place.
- Install the HVAC control module assembly. Refer to
HVAC Control Module Replacement
in HVAC Systems Automatic.
- Install the radio. Refer to
Radio Replacement
in Entertainment.
- Install the I/P cluster trim plate bezel. Refer to
Instrument Panel Cluster Trim Plate Bezel Replacement
.
- Install the I/P center trim plate. Refer to
Instrument Panel Center Trim Panel Replacement
.
- Connect the negative battery cable. Refer to
Battery Negative Cable Disconnection and Connection
in Engine Electrical.
- Inspect the ignition switch for proper operation in all positions.
- Release the parking brake.
- Enable the SIR system. Refer to
SIR Disabling and Enabling
in SIR.
