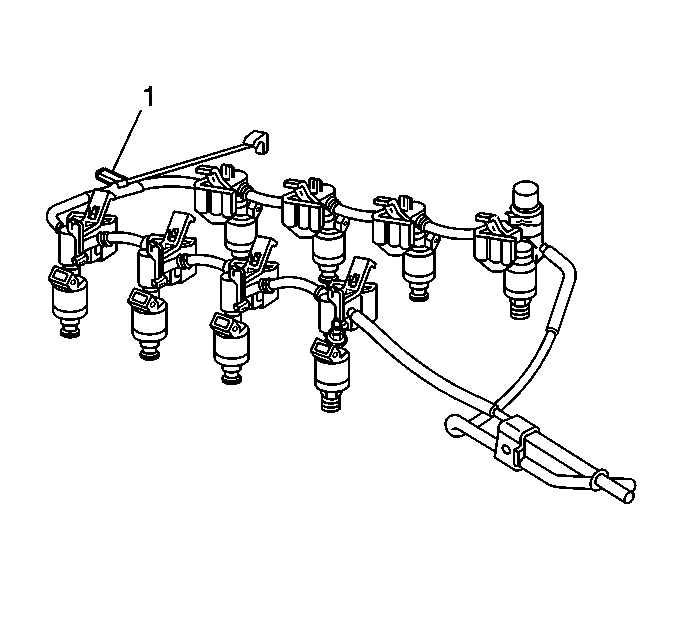
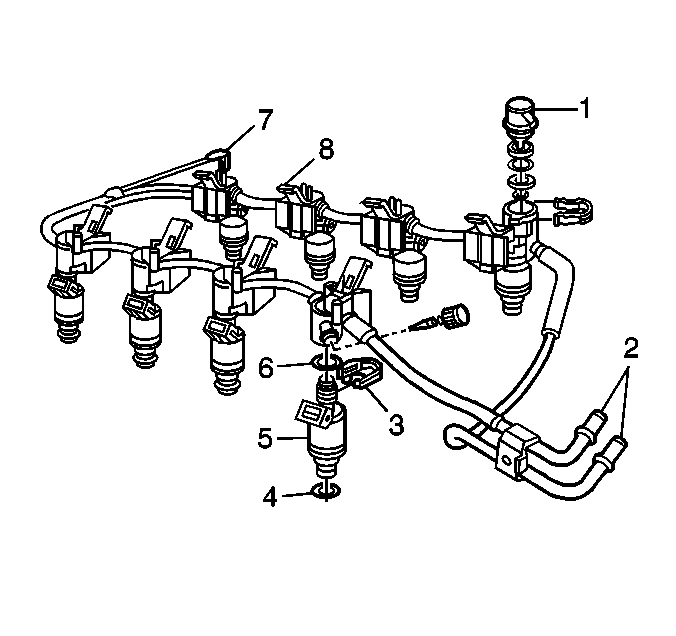
An eight digit identification number (1) is stamped on the fuel rail assembly. The model identification number contains the Julian Date, the year, and the shift. Refer to this model identification number if servicing or part replacement is required.
Removal Procedure
Tools Required
Refer to J 41081 , J 37088-A , Fuel Line Quick Connect Separator
- Relieve fuel system pressure. Refer to Fuel Pressure Relief Procedure .
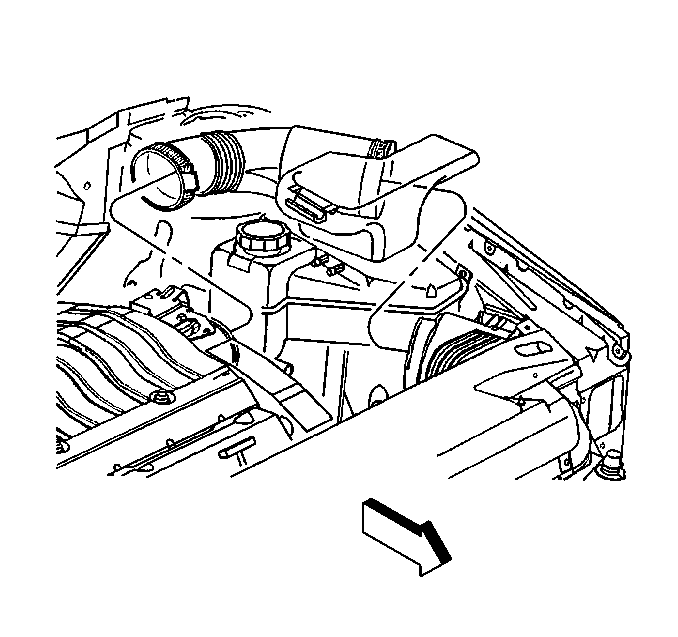
- Remove the intake air duct clamps from the intake air duct.
- Remove the upper intake cover.
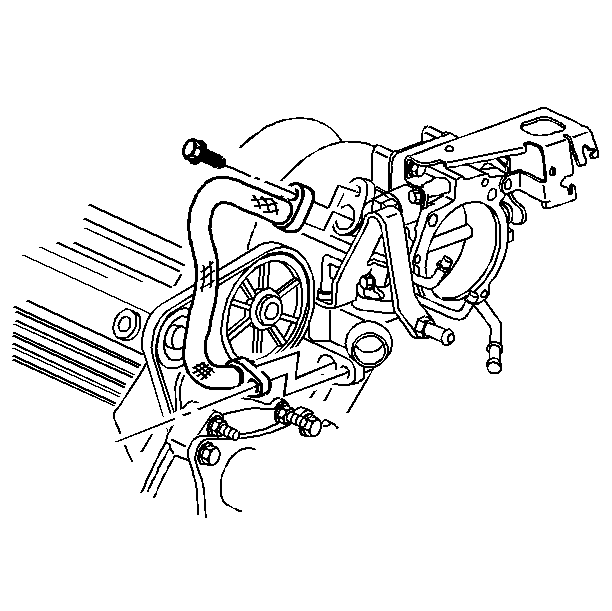
- Remove the EGR pipe at throttle body spacer.
- Remove the brake booster vacuum hose at intake manifold vacuum fitting.
- Remove the front bank spark plug wires.
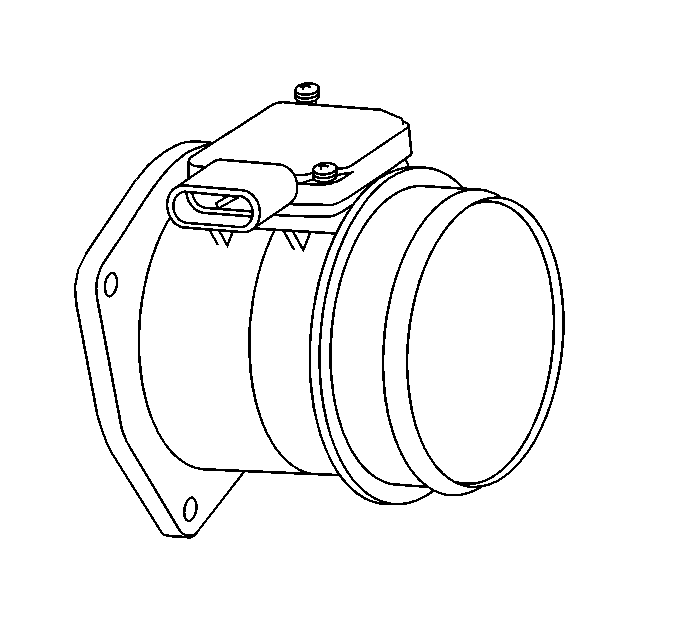
- Remove the MAP sensor electrical connector.
- Remove the injector electrical connectors. Lay harness aside.
- Remove the fuel rail ground wire (7) at rear cylinder head.
- Remove the fuel pressure regulator (1). Refer to Fuel Pressure Regulator Replacement.
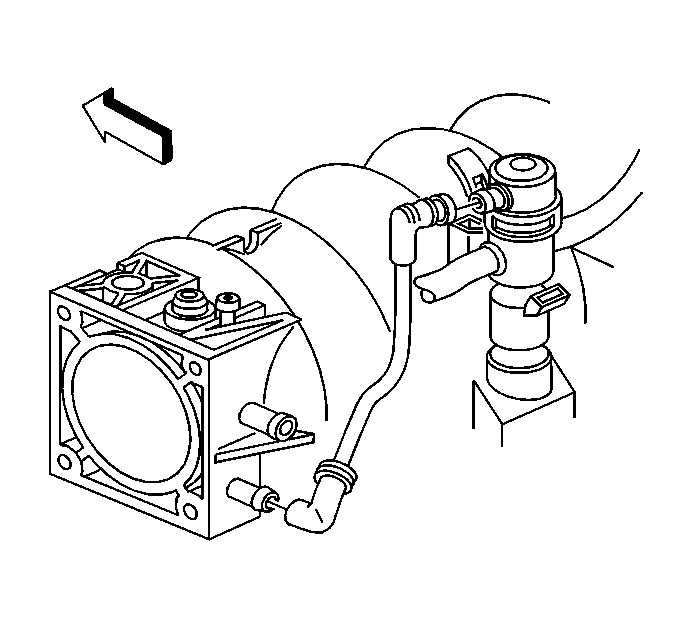
- Remove the crankcase ventilation vacuum lines.
- Remove the quick-connect fittings (2) at the fuel rail.
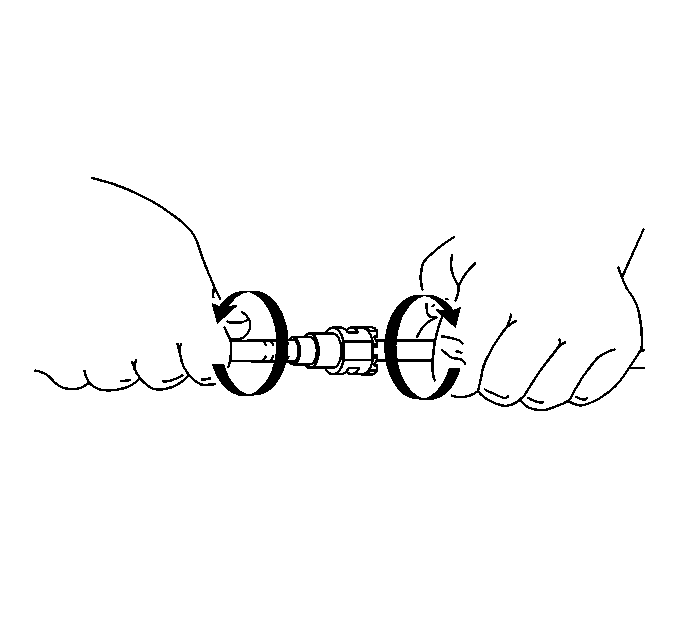
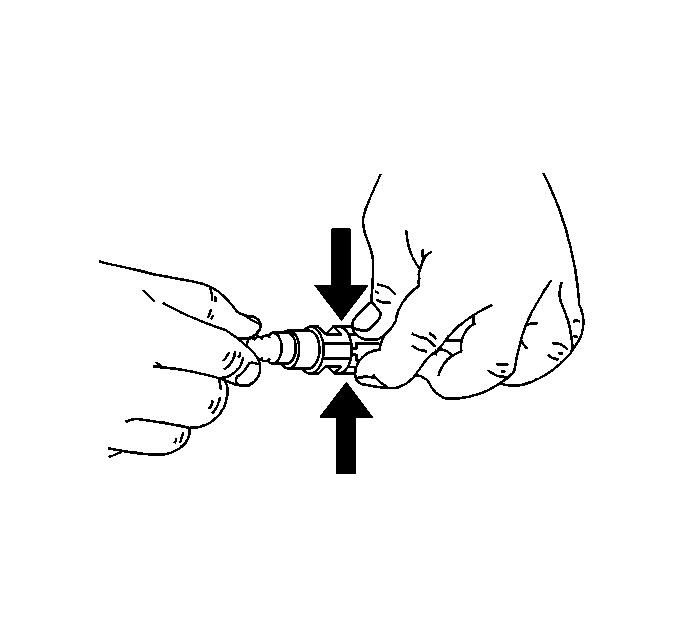
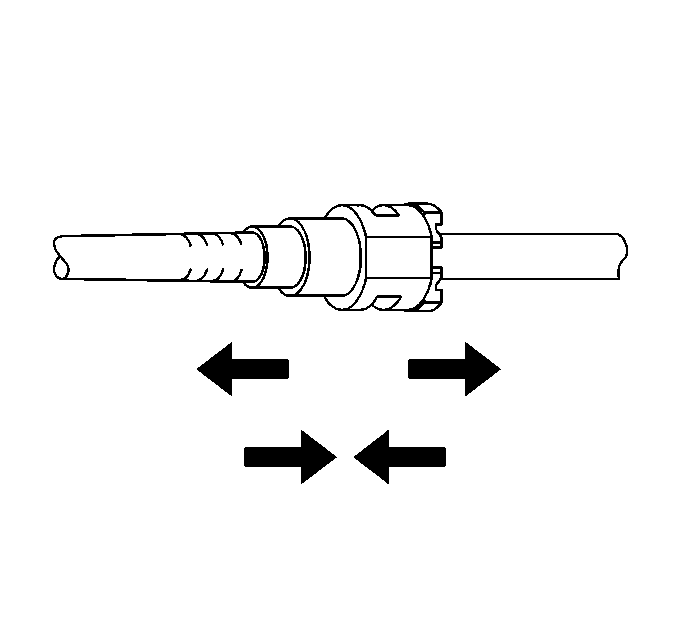
- Grasp both sides of fitting. Twist the female connector 1/4 turn in each direction to loosen any dirt within fitting.
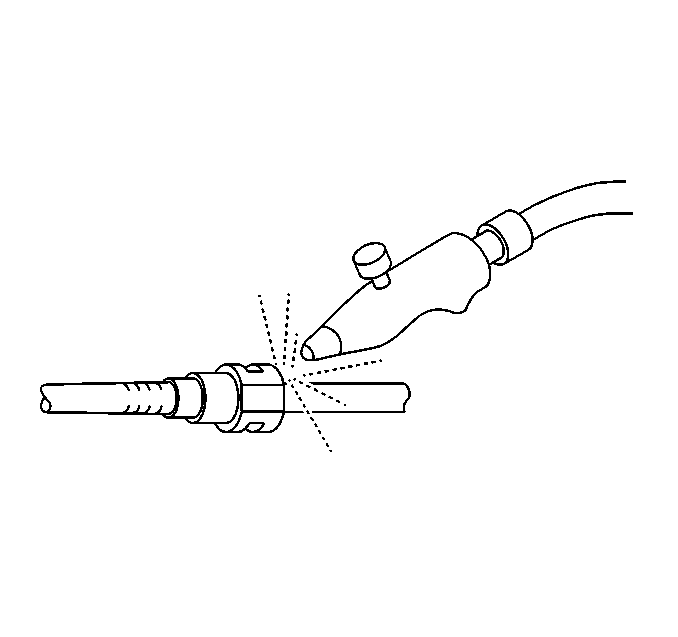
- Blow the dirt out of fitting, using compressed air to prepare the quick connect fittings for removal.
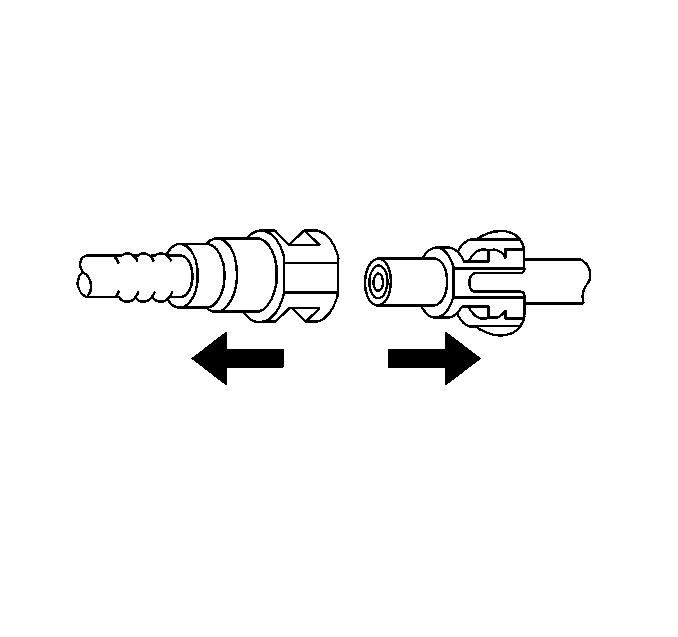
- Squeeze the plastic retainer release tabs.
- Pull the connection apart.
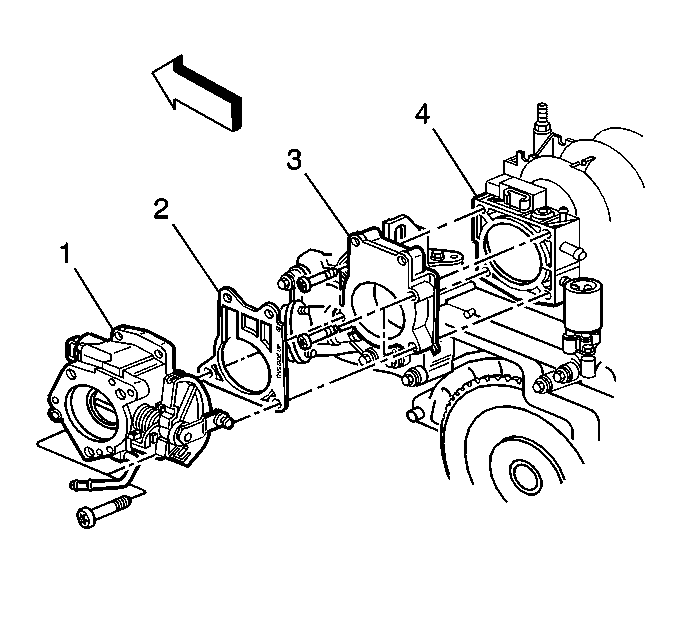
- Remove the throttle body mount bolts.
- Remove the throttle body. Refer to Throttle Body Assembly Replacement (Replacement) .
- Remove the throttle body spacer (3).
- Remove the throttle body O-ring seal.
- Remove the fuel rail hold-down retainer.
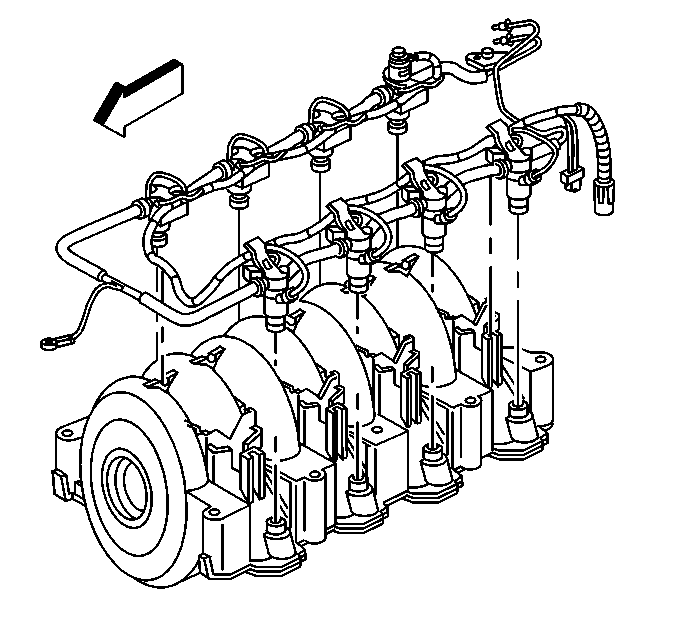
- Release the locking tabs (8) on fuel rail by pushing toward center of intake manifold and pry each injector out of intake manifold using J 41081.
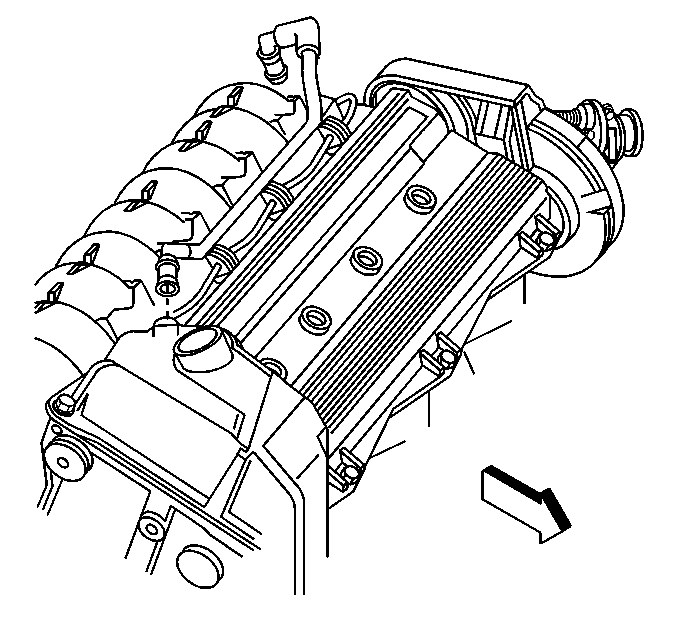
- Lift fuel rail and move towards the left hand side of vehicle until fuel return line clears the intake plenium.
- Remove the fuel rail assembly.
Notice:
• Remove the fuel rail assembly carefully in order to prevent damage
to the injector electrical connector terminals and the injector spray tips.
Support the fuel rail after the fuel rail is removed in order to avoid damaging
the fuel rail components. • Cap the fittings and plug the holes when servicing the fuel system
in order to prevent dirt and other contaminants from entering open pipes and
passages.

Caution: Wear safety glasses when using compressed air in order to prevent eye injury.
Notice: Use an emery cloth in order to remove rust or burrs from the fuel pipe. Use a radial motion with the fuel pipe end in order to prevent damage to the O-ring sealing surface.

Disassemble Procedure
- Remove the injector harness.
- Remove the clips (3) from the injectors (5) on the fuel rail.
- Remove the upper (6) and lower (4) seals from the injectors. Discard seals.


Assemble Procedure
- Lubricate the new upper (6) and lower (4) injector O-rings with clean oil and install on the O-rings unto the injector(s) (5).
- Assemble the injectors to the fuel rail with new retainer clips.
- Assemble the injector harness.


Installation Procedure
- Install the fuel rail with injectors to intake manifold.
- Install the new throttle body spacer seal.
- Install throttle body spacer (3).
- Install the new throttle body O-ring seal.
- Install the throttle body (1). Refer to Throttle Body Assembly Replacement (Replacement) .
- Install the throttle body mount bolts.
- Install the fuel rail retainer.
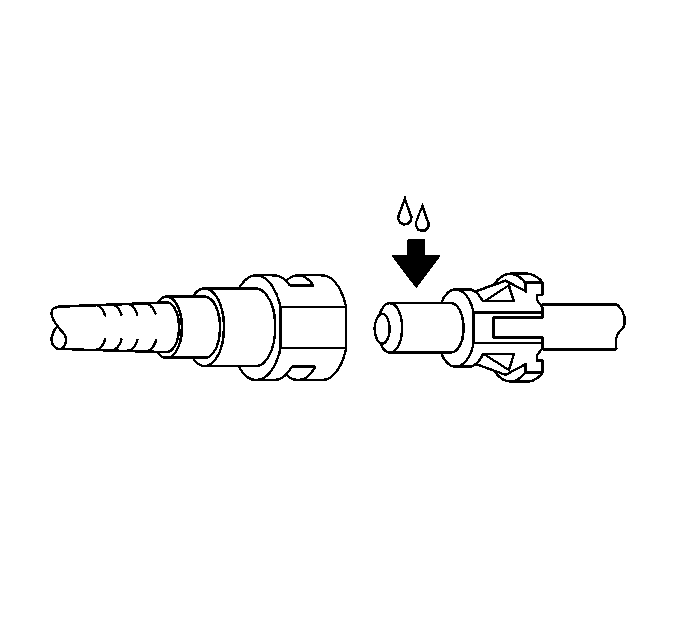
- Apply a few drops of clean engine oil to the male ends of the engine fuel rail inlet and outlet pipes.
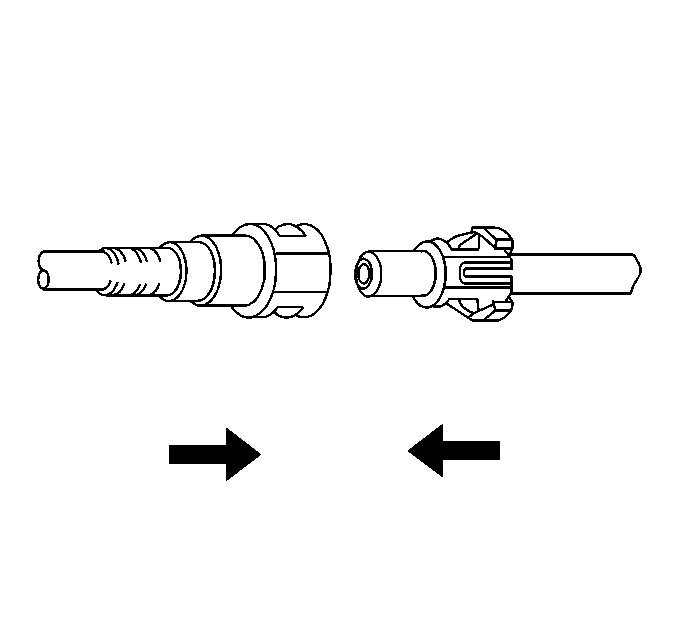
- Install the quick-connect fittings to fuel rail.
- Push both sides of fitting together to cause the retaining tabs/fingers to snap into place.
- Once installed, pull on both sides of fitting to make sure connection is secure.
- Install the fuel pressure regulator. Refer to Fuel Pressure Regulator Replacement.
- Install the crankcase ventilation vacuum lines.
- Install the fuel rail ground wire at rear cylinder head (7).
- Install the injector harness and injector electrical connectors.
- Install the MAP sensor electrical connector.
- Install the front bank spark plug wires.
- Install the brake booster vacuum hose at intake manifold vacuum fitting.
- Install the EGR pipe at throttle body spacer.
- Install the air intake duct.
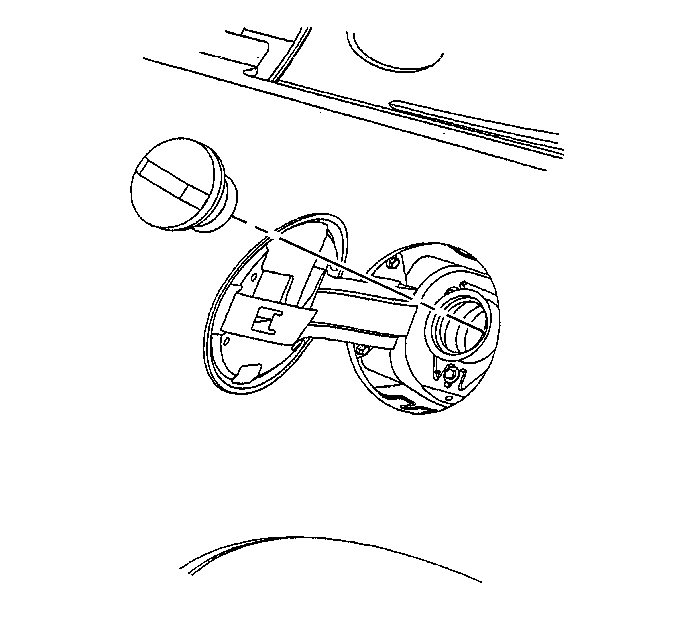
- Tighten fuel filler cap.
- Install the negative battery cable. Refer to Battery.
- Install the rear seat cushion. Refer to Seats and Carpet.
- Install the intake manifold top cover.


Tighten
Tighten the bolts to 12 N·m (106 lb in).
Tighten
Tighten the throttle body mount bolts to 12 N·m (106 lb in).
Tighten
Tighten the bolt to 6 N·m (53 lb in).


Tighten
Tighten the EGR pipe bolt to 28 N·m (21 lb in).

Tighten
Tighten the clamps to 3 N·m 27 lb in).
| 22.1. | Turn ignition switch to the On position for 2 seconds. |
| 22.2. | Turn the ignition switch OFF for 10 seconds. |
| 22.3. | Turn the ignition switch ON. |
| 22.4. | Check for fuel leaks. |
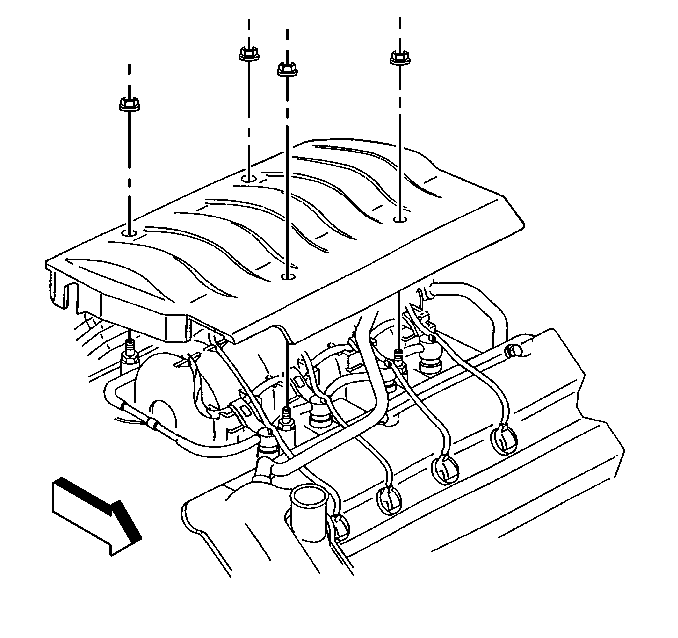
Tighten
Tighten the nuts to 2 N·m (18 lb in).
