For 1990-2009 cars only
Removal Procedure
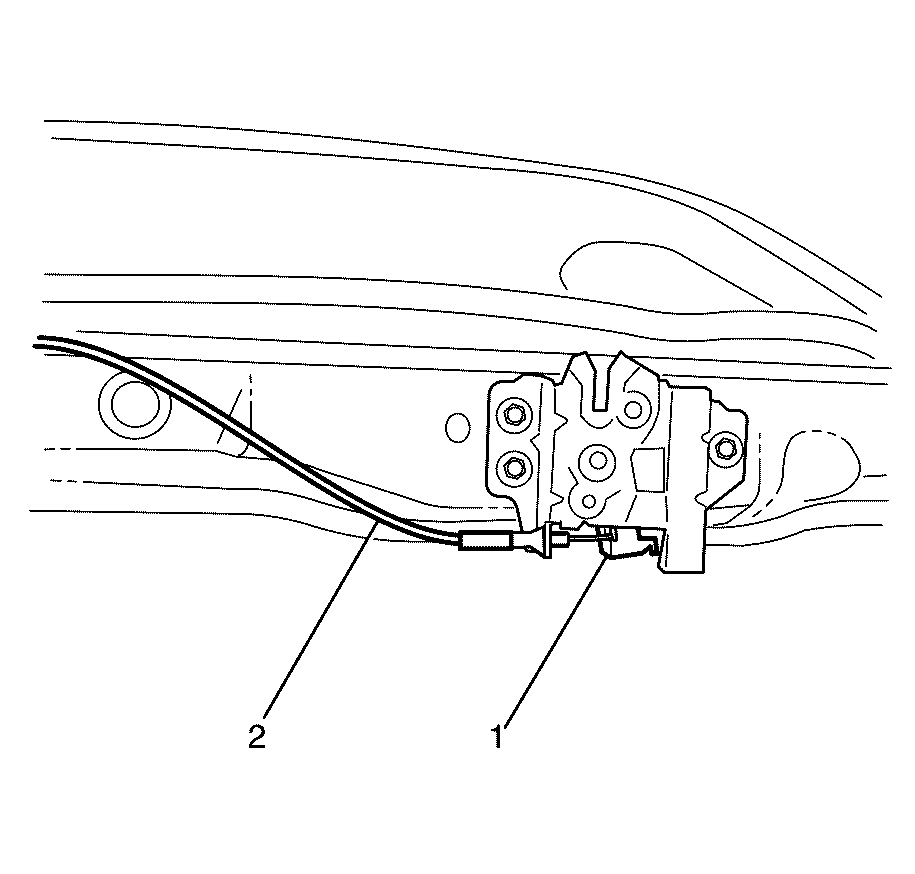
- Remove the hood latch. Refer to Hood Primary and Secondary Latch Replacement.
- Attach a piece of string around the hood release cable (2). This will ease the installation of the hood release cable through the engine compartment.
- Remove the right side hinge pillar trim panel. Refer to Body Hinge Pillar Trim Panel Replacement.
- Remove the right knee bolster. Refer to Knee Bolster Replacement.
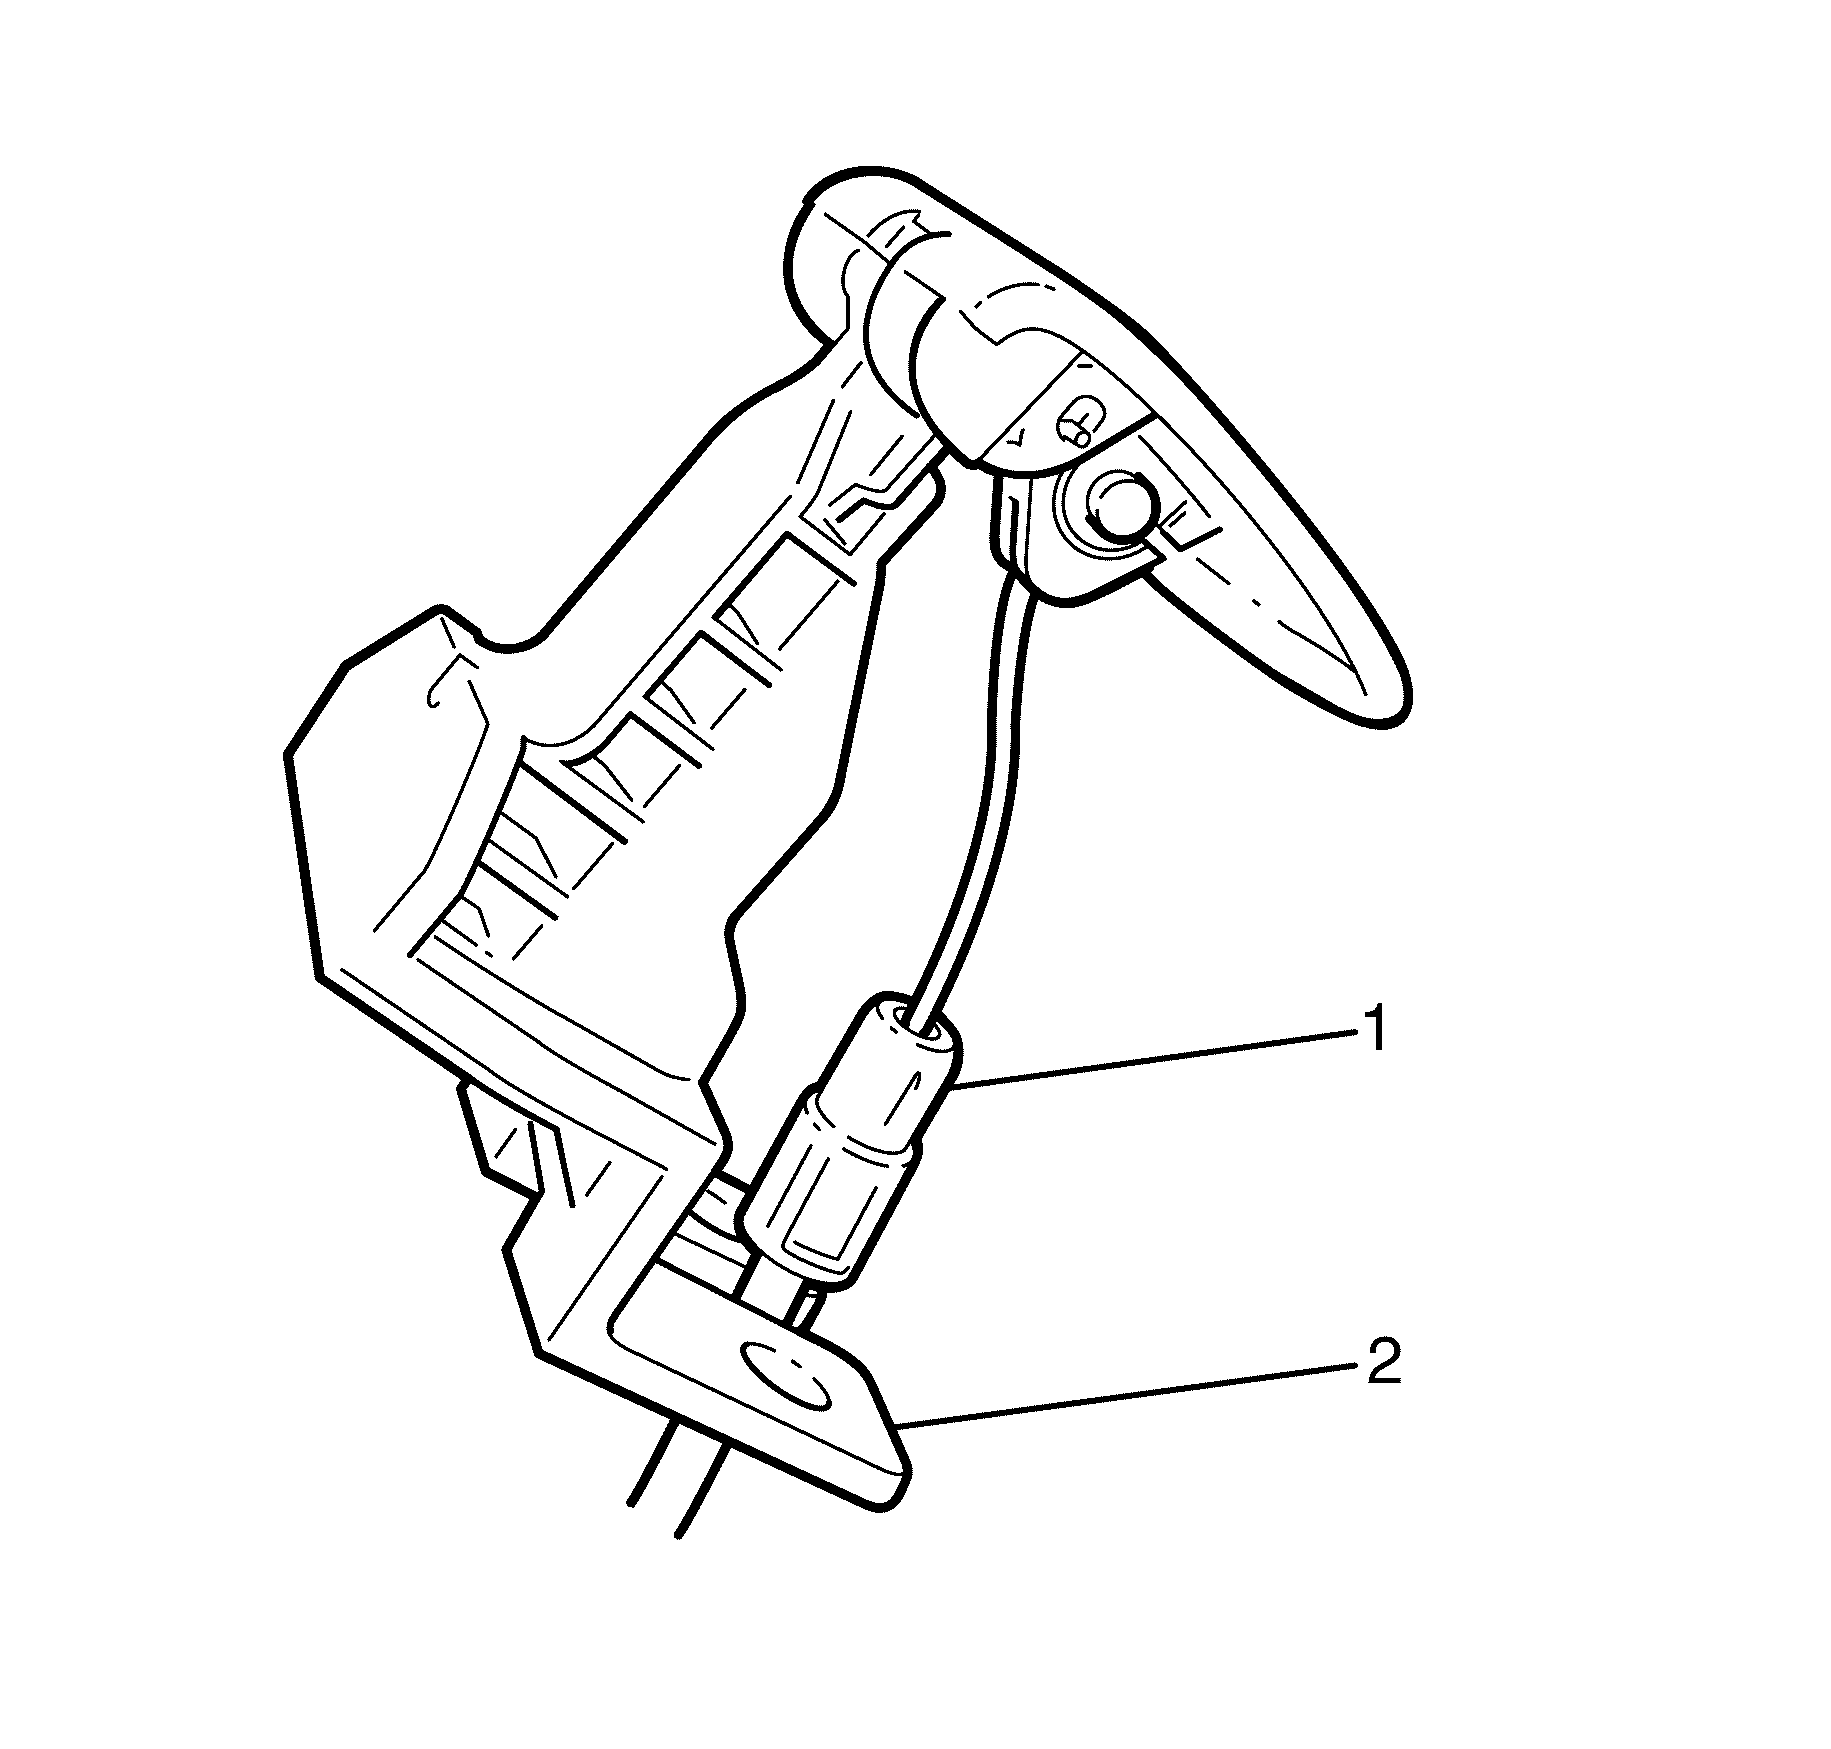
- Disconnect the hood release cable (1) from the hood release handle (2).
- Rotate the hood release cable and detach the hood release cable barrel (2) from the hood release handle (1).
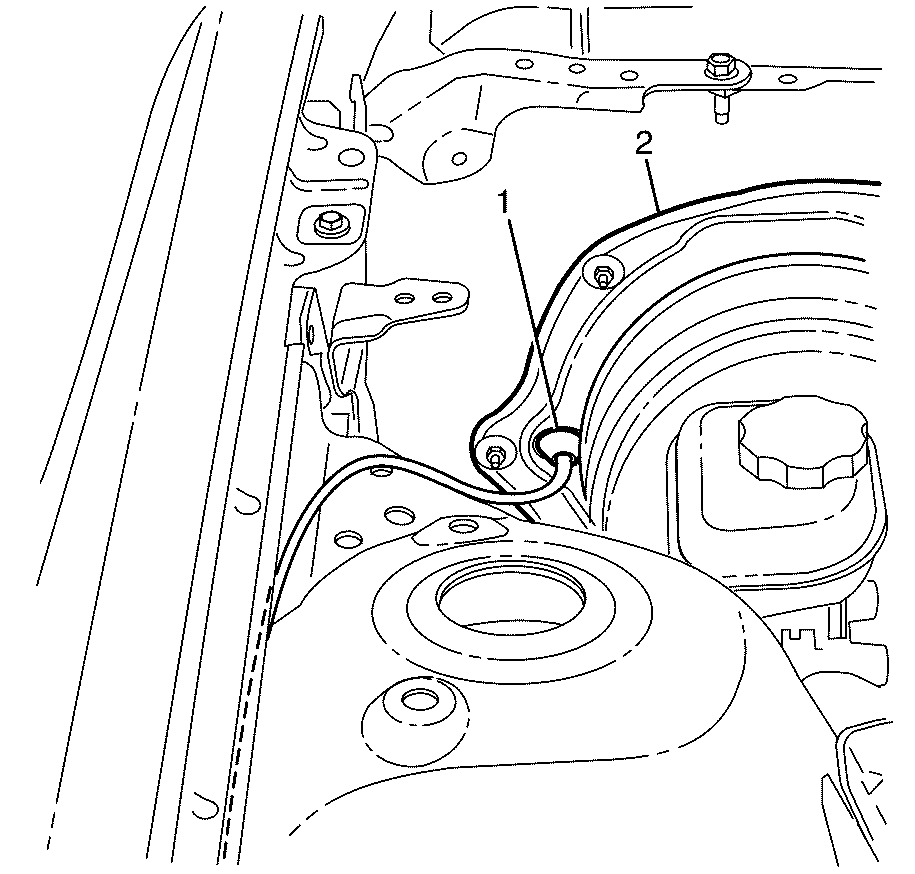
- Remove the hood release cable grommet (1) from the mod plate (2).
- Remove the hood release cable from the vehicle.
Installation Procedure
- Transfer the string to the end of the new hood release cable.
- Route the string and the hood release cable into the passenger compartment.
- Remove the string from the hood release cable.
- Seat the hood release cable grommet (1) into the mod plate (2).
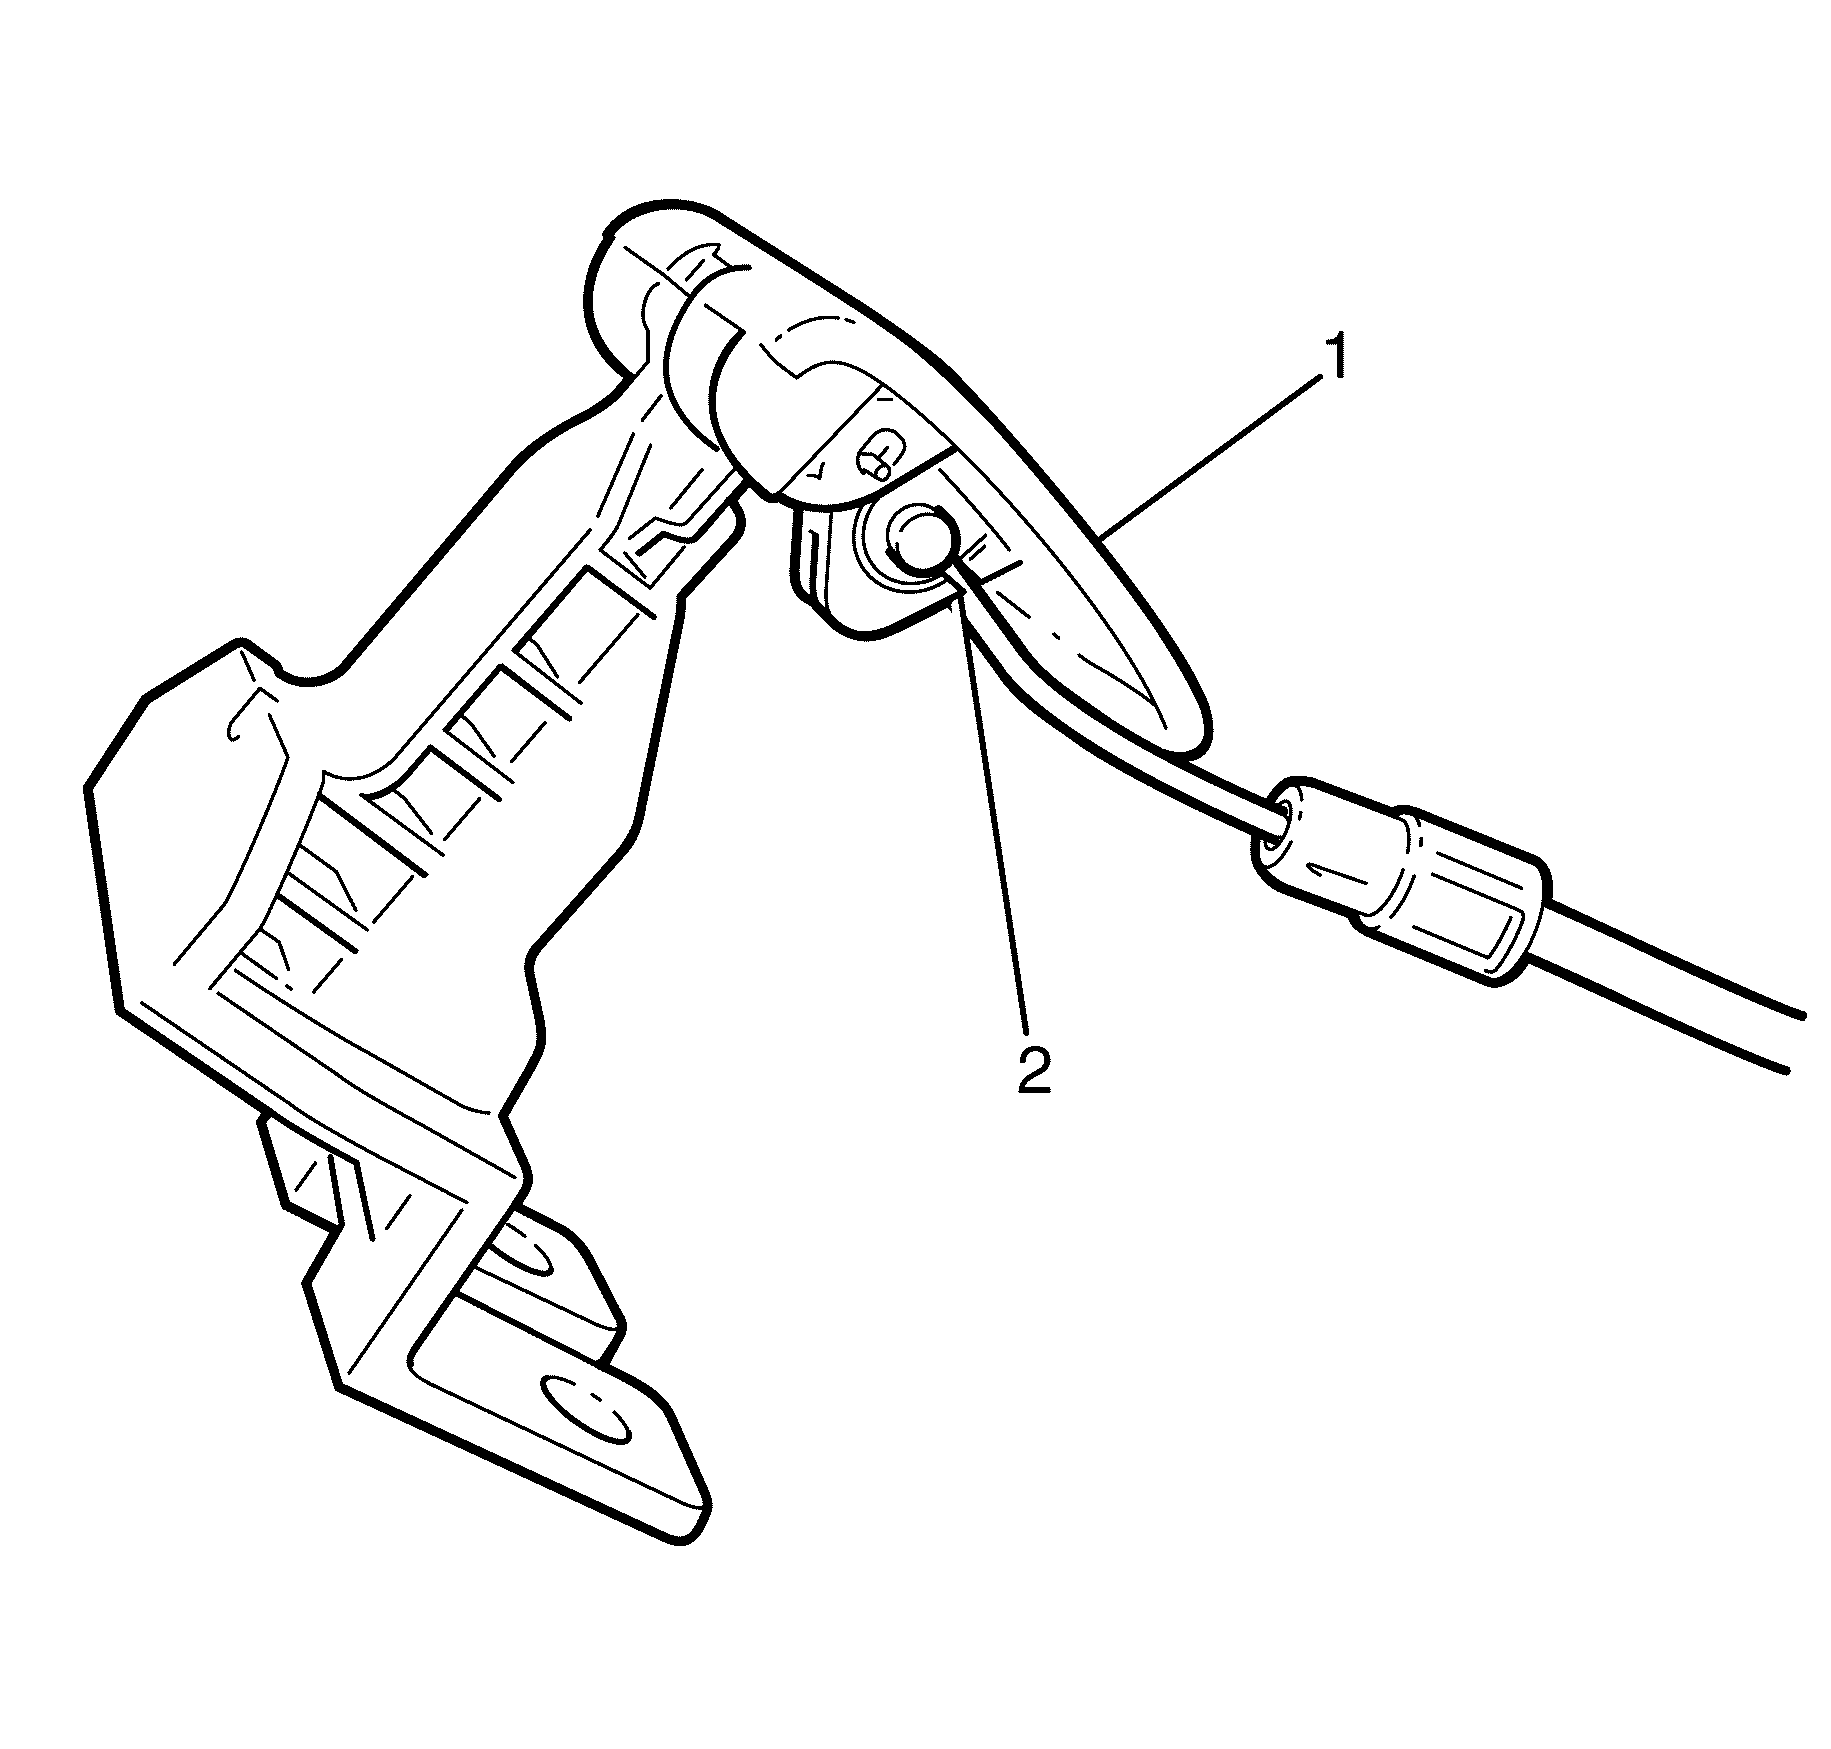
- Attach the hood release cable barrel (2) to the hood release handle (1).
- Rotate and connect the hood release cable (1) to the hood release handle assembly (2).
- Install the right knee bolster. Refer to Knee Bolster Replacement.
- Install the right side hinge pillar trim panel. Refer to Body Hinge Pillar Trim Panel Replacement.
- Install the hood latch. Refer to Hood Primary and Secondary Latch Replacement.
