Removal Procedure
- Open front doors.
- Mark the hinge to pillar and hinge to door location for installation alignment purposes.
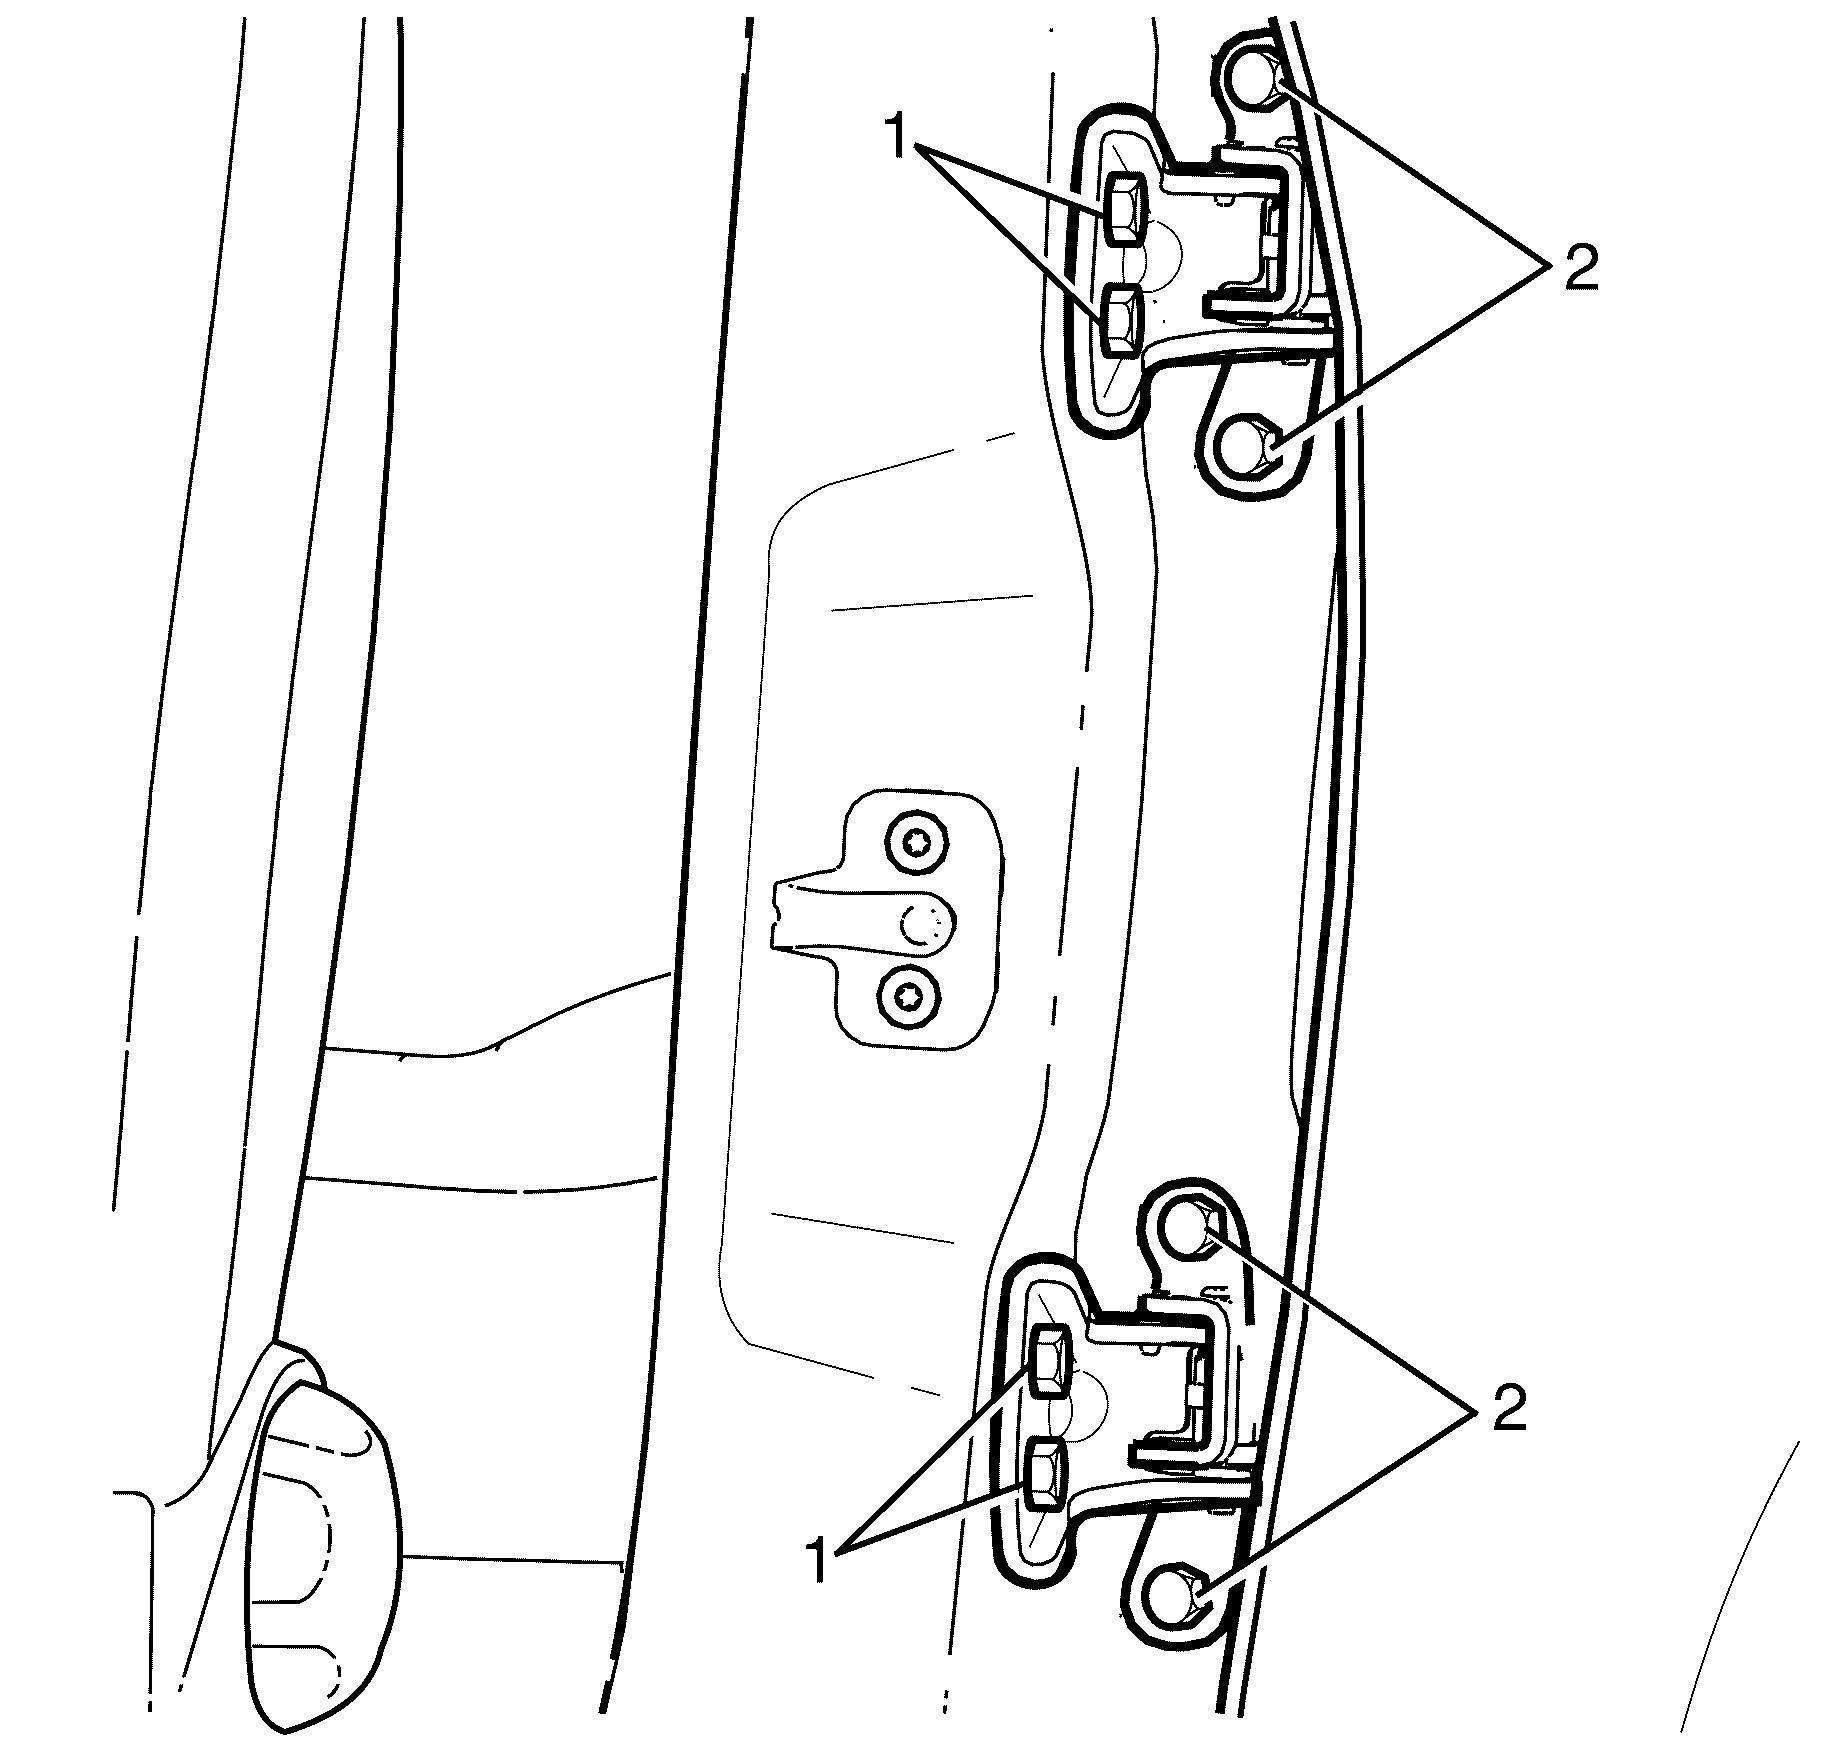
- Remove the hinge to door retaining bolts (2).
- Remove the hinge to pillar retaining bolts (1) and remove the hinges one at a time.

Important: Replace one hinge at a time then repeat procedure for the second hinge if needed.
Important: Remove the door hinge with the door fully latched on the striker.
Installation Procedure
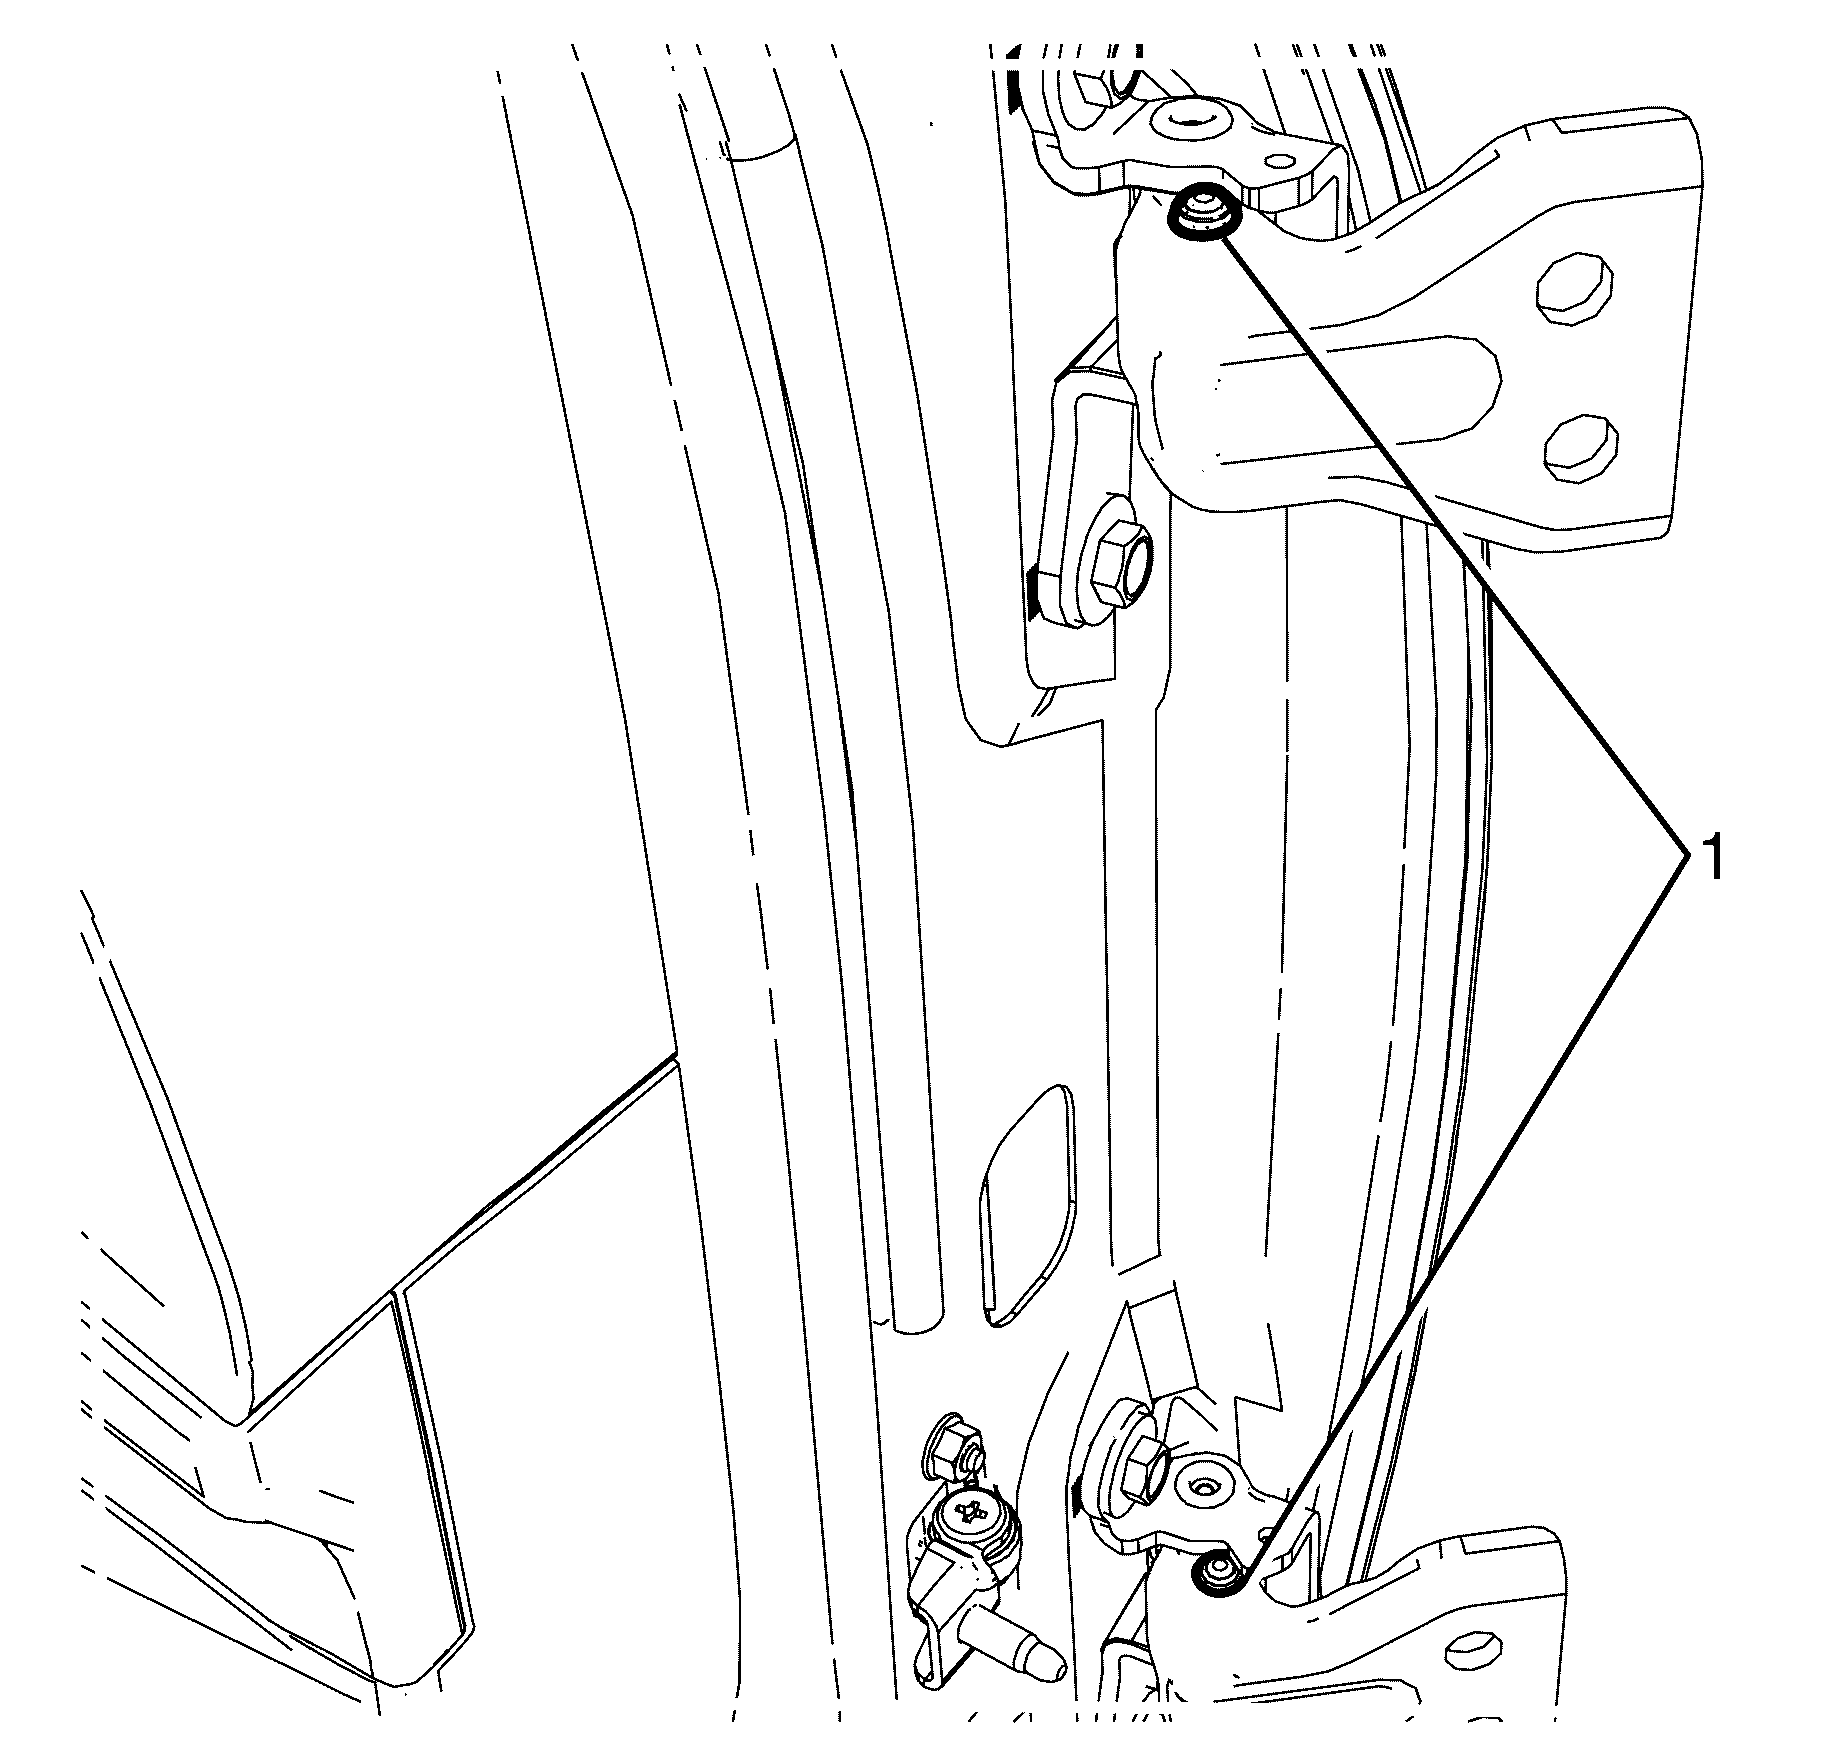
- Remove the paint pins (1) from the NEW door hinges.
- Remove the shipping clips (1) from the NEW door hinges (2).
- Align the hinge to pillar and hinge to door marks made prior to removal.
- Install the hinge to pillar retaining bolts (1).
- Install the hinge to door retaining bolts (2).
- Close the front doors.
- Adjust the door. Refer to Door Adjustment .

Important: Paint pins (1) are installed in NEW hinges and must be removed when fitted.
Important: Use a suitable tool to pry the paint pins (1) from the door hinges.

Important: The shipping clips (1) are only to hold the NEW door hinges (2) together in transit and must be removed when fitted.
Important: Use a suitable tool to remove the shipping clips (1) from the NEW door hinges (2).
Notice: Refer to Fastener Notice in the Preface section.

Tighten
Tighten the bolts to 28 N-m (21 lb ft).
Tighten
Tighten the bolts to 28 N-m (21 lb ft).
Notice: Striker alignment is a crucial part of door latch operation. Do not use the door striker to adjust the door to the vehicle. Failure to properly adjust the striker can result in damage to the door latch and the striker.
