Heated Oxygen Sensor Replacement - Bank 2 Sensor 1 NT3
Removal Procedure
- Ignition Off.
- Raise and support the vehicle. Refer to Lifting and Jacking the Vehicle.
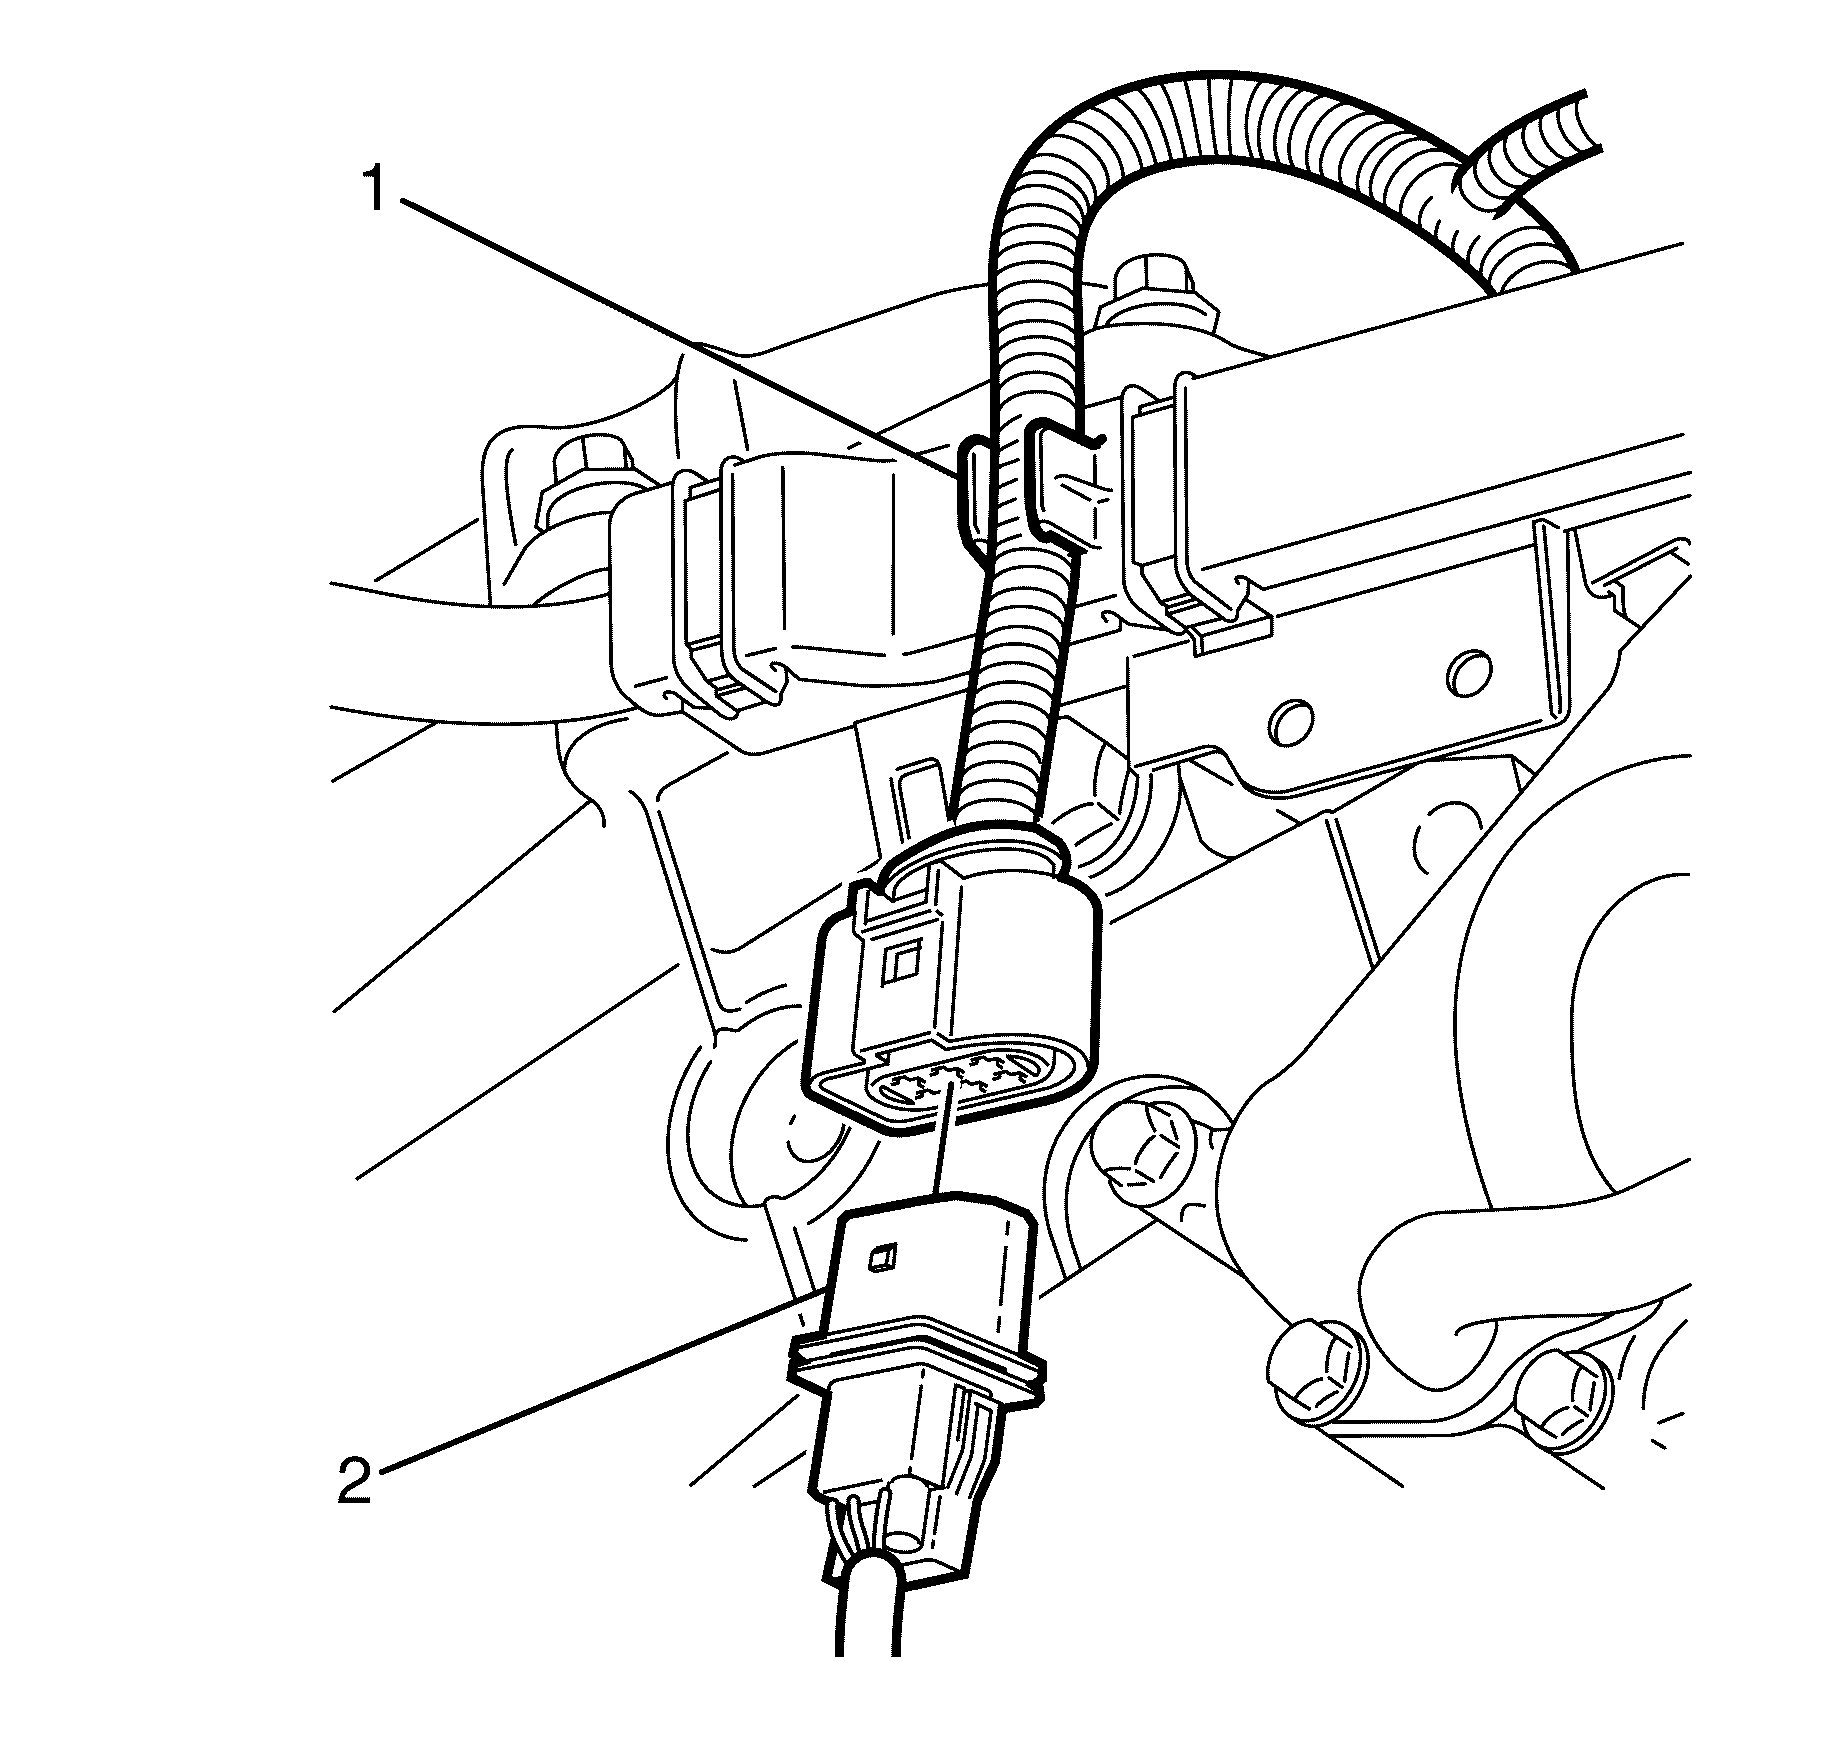
- Remove the HO2S electrical connector from the wiring harness bracket (1).
- Disconnect the heated oxygen sensor (HO2S) electrical connector (2).
- Remove the HO2S (1) from the catalytic converter.
Caution: Refer to Safety Glasses Caution in the Preface section.
Caution: Refer to Vehicle Lifting Caution in the Preface section.
Notice: Refer to Heated Oxygen and Oxygen Sensor Notice in the Preface section.
Installation Procedure
- Install the HO2S (1) to the catalytic converter.
- Connect the HO2S electrical connector (2) to the harness connector.
- Install the HO2S electrical connector to the wiring harness bracket (1).
- Lower the vehicle.
Notice: Refer to Component Fastener Tightening Notice in the Preface section.
Important: New oxygen sensors should have a special anti-seize compound already applied to the sensor threads. If you are installing the original sensor, apply an approved compound to the sensor threads.
Tighten
Tighten the HO2S to 40 N·m (30 lb ft).
Heated Oxygen Sensor Replacement - Bank 2 Sensor 1 NT4
Removal Procedure
- Ignition OFF.
- Disconnect the negative battery cable. Refer to Battery Negative Cable Disconnection and Connection .
- Remove the engine cover. Refer to Engine Cover Replacement.
- Disconnect the heated oxygen sensor (HO2S) electrical connector (1).
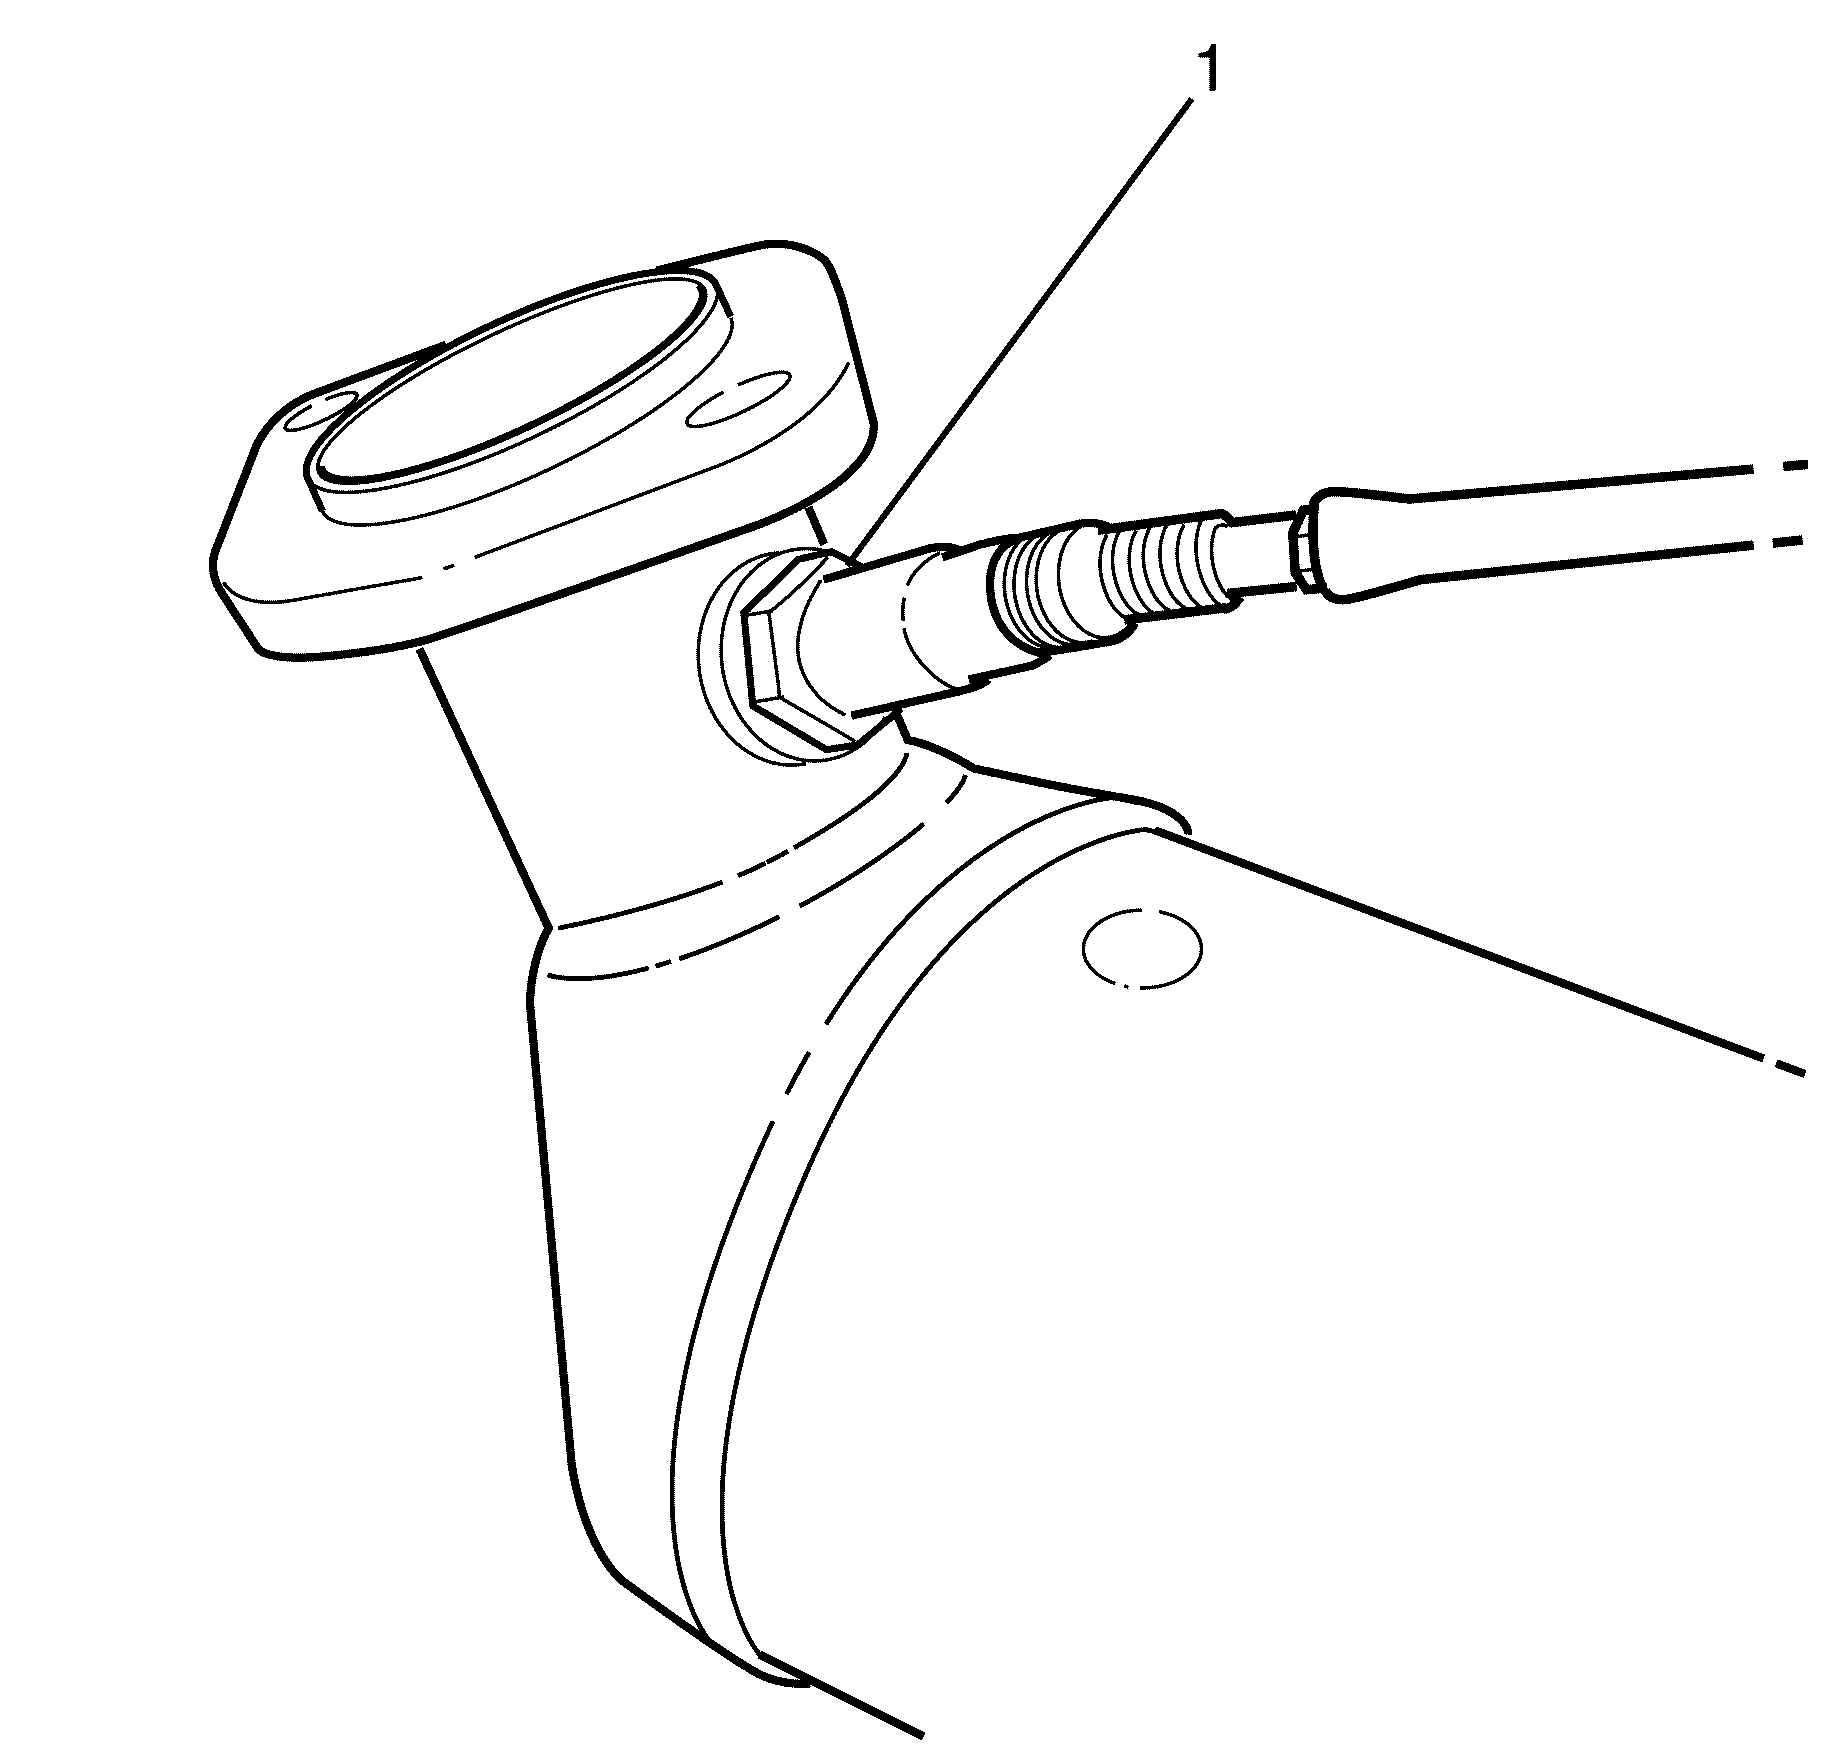
- Remove the HO2S (2) from the exhaust manifold.
Caution: Refer to Battery Disconnect Warning in the Preface section.

Notice: Refer to Heated Oxygen and Oxygen Sensor Notice in the Preface section.
Installation Procedure
- Install the HO2S (2) into the exhaust manifold.
- Connect the HO2S electrical connector (1).
- Install the engine cover. Refer to Engine Cover Replacement.
- Connect the negative battery cable. Refer to Battery Negative Cable Disconnection and Connection .
Notice: Refer to Component Fastener Tightening Notice in the Preface section.
Important: New oxygen sensors should have a special anti-seize compound already applied to the sensor threads. If you are installing the original sensor, apply an approved anti-seize compound to the sensor threads.
Tighten
Tighten the HO2S to 40 N·m (30 lb ft).
