For 1990-2009 cars only
Special Tools
J 42492-A (KM-421-A) Timing Belt Adjuster
- Disconnect the negative battery cable.
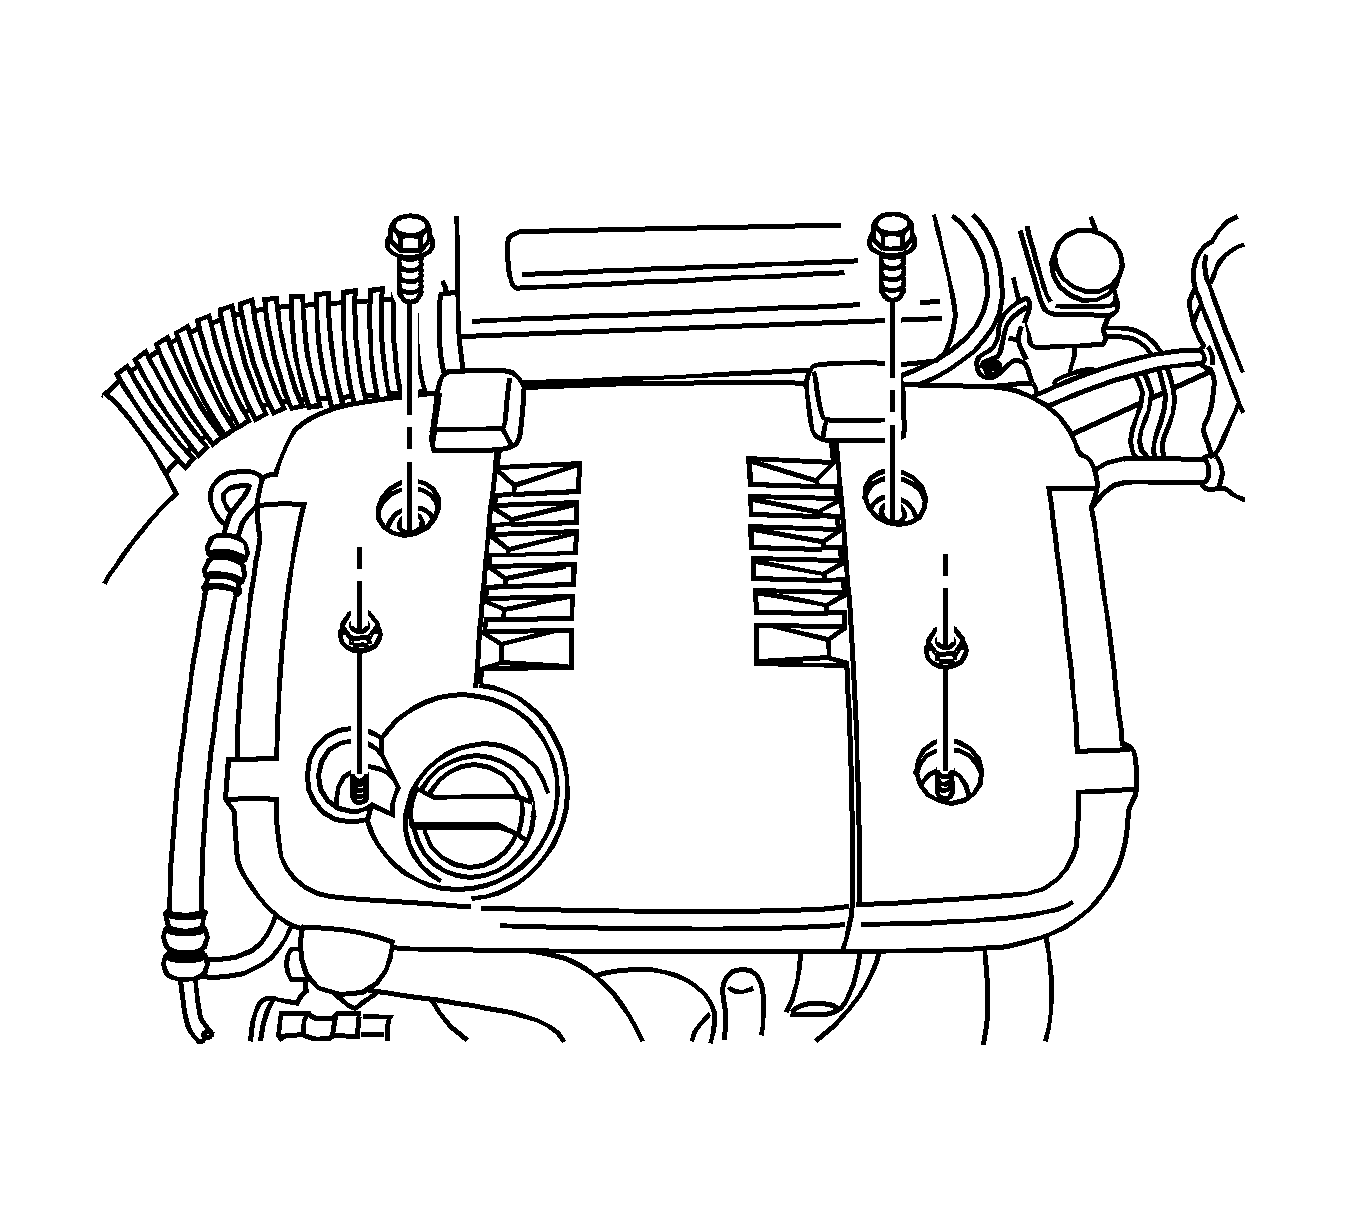
- Remove the engine cover.
- Remove the air cleaner assembly.
- Remove the right front wheel. Refer to Tire and Wheel Removal and Installation.
- Remove the right front wheel well splash shield.
- Remove the serpentine accessory drive belt. Refer to Power Steering Pump Belt Replacement.
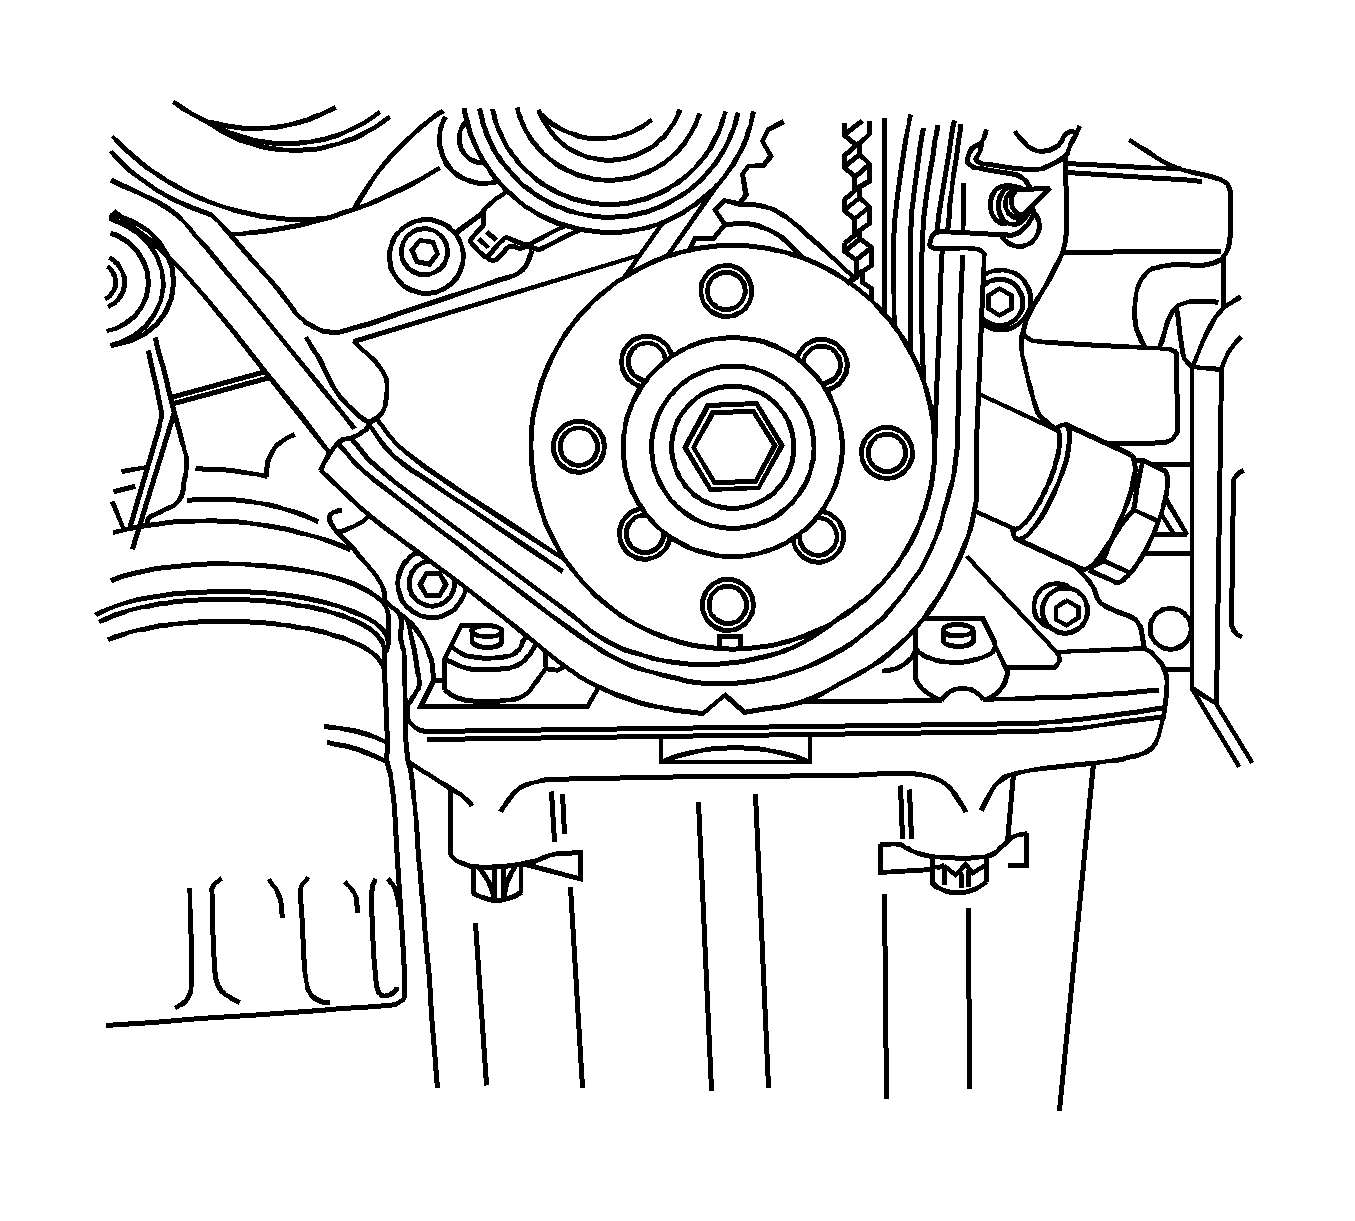
- Remove the crankshaft pulley bolt.
- Remove the crankshaft pulley.
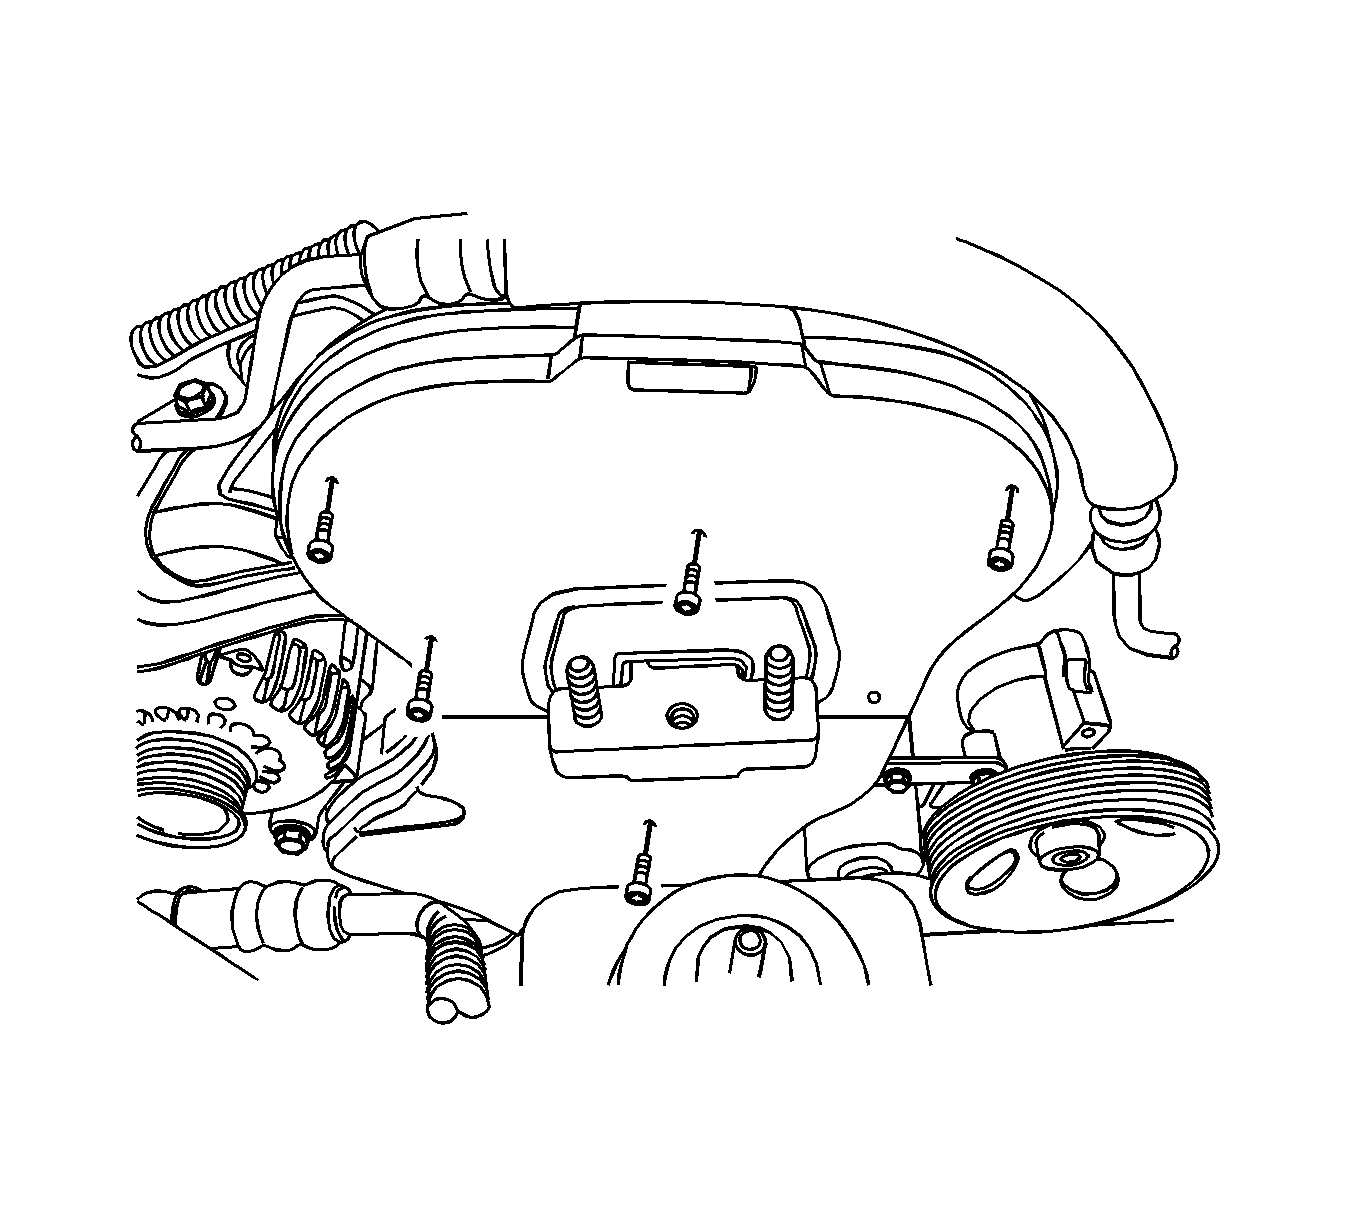
- Remove the right engine mount. Refer to Engine Mount Replacement.
- Remove the upper front timing belt cover bolts.
- Remove the upper front timing belt cover.
- Rotate the crankshaft at least one full turn clockwise using the crankshaft pulley bolt.
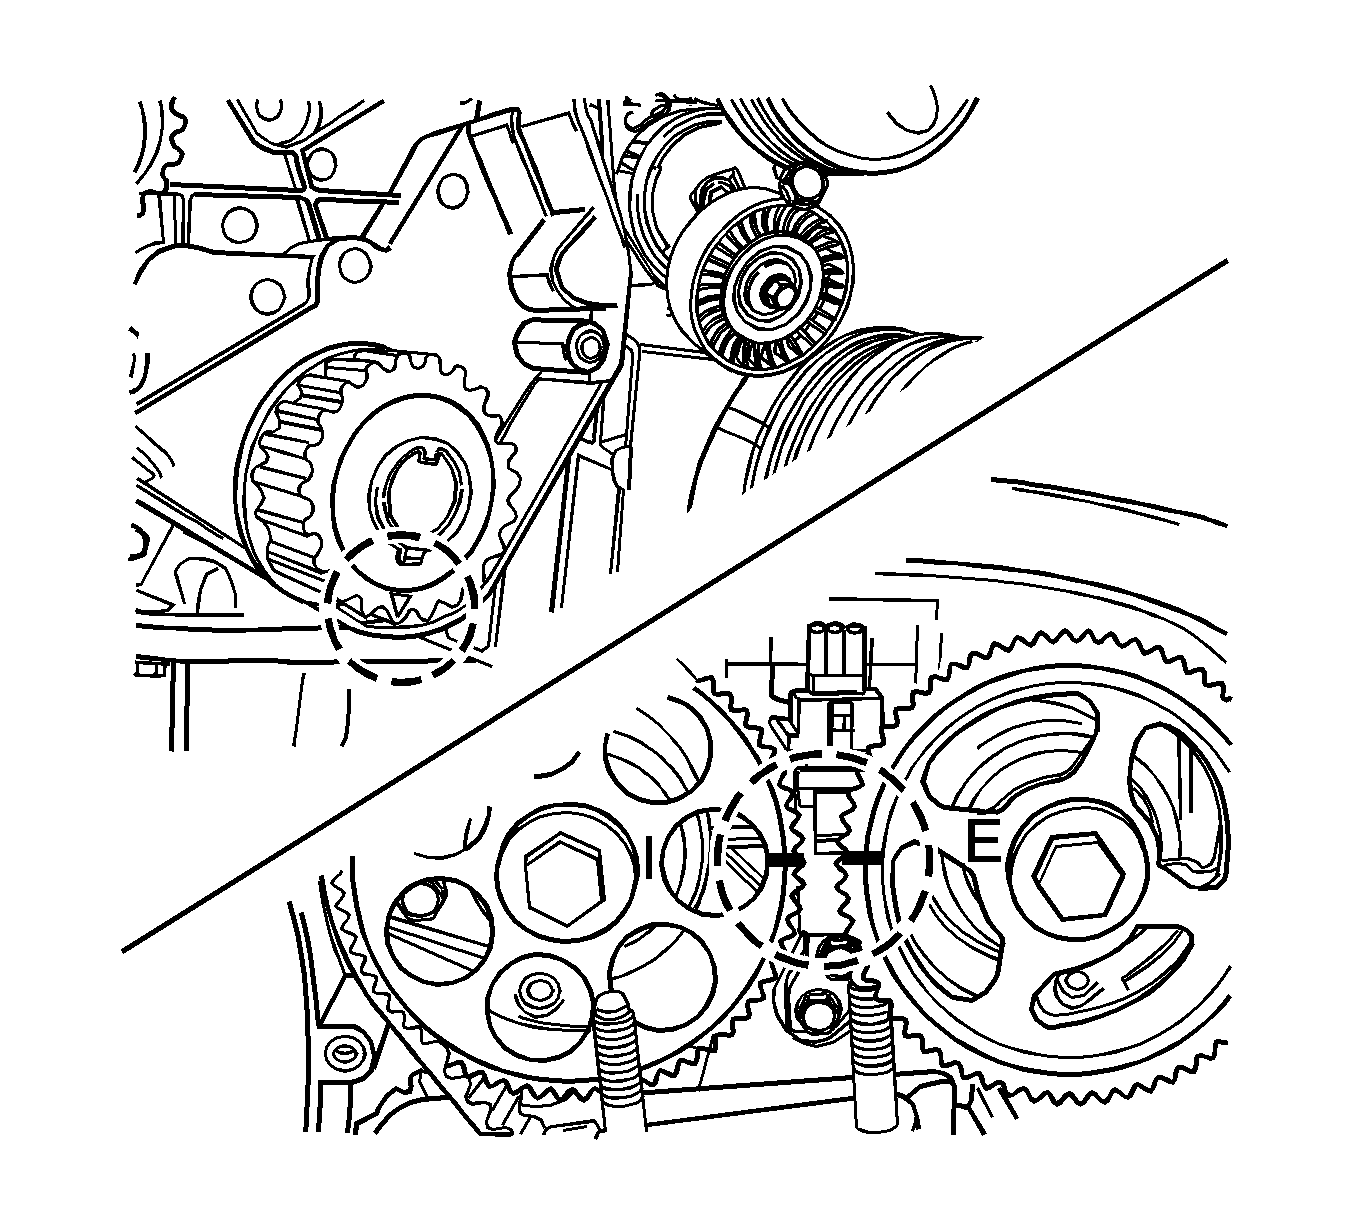
- Align the mark on the crankshaft gear with the notch at the bottom of the rear timing belt cover.
- Align the camshaft gear timing marks.
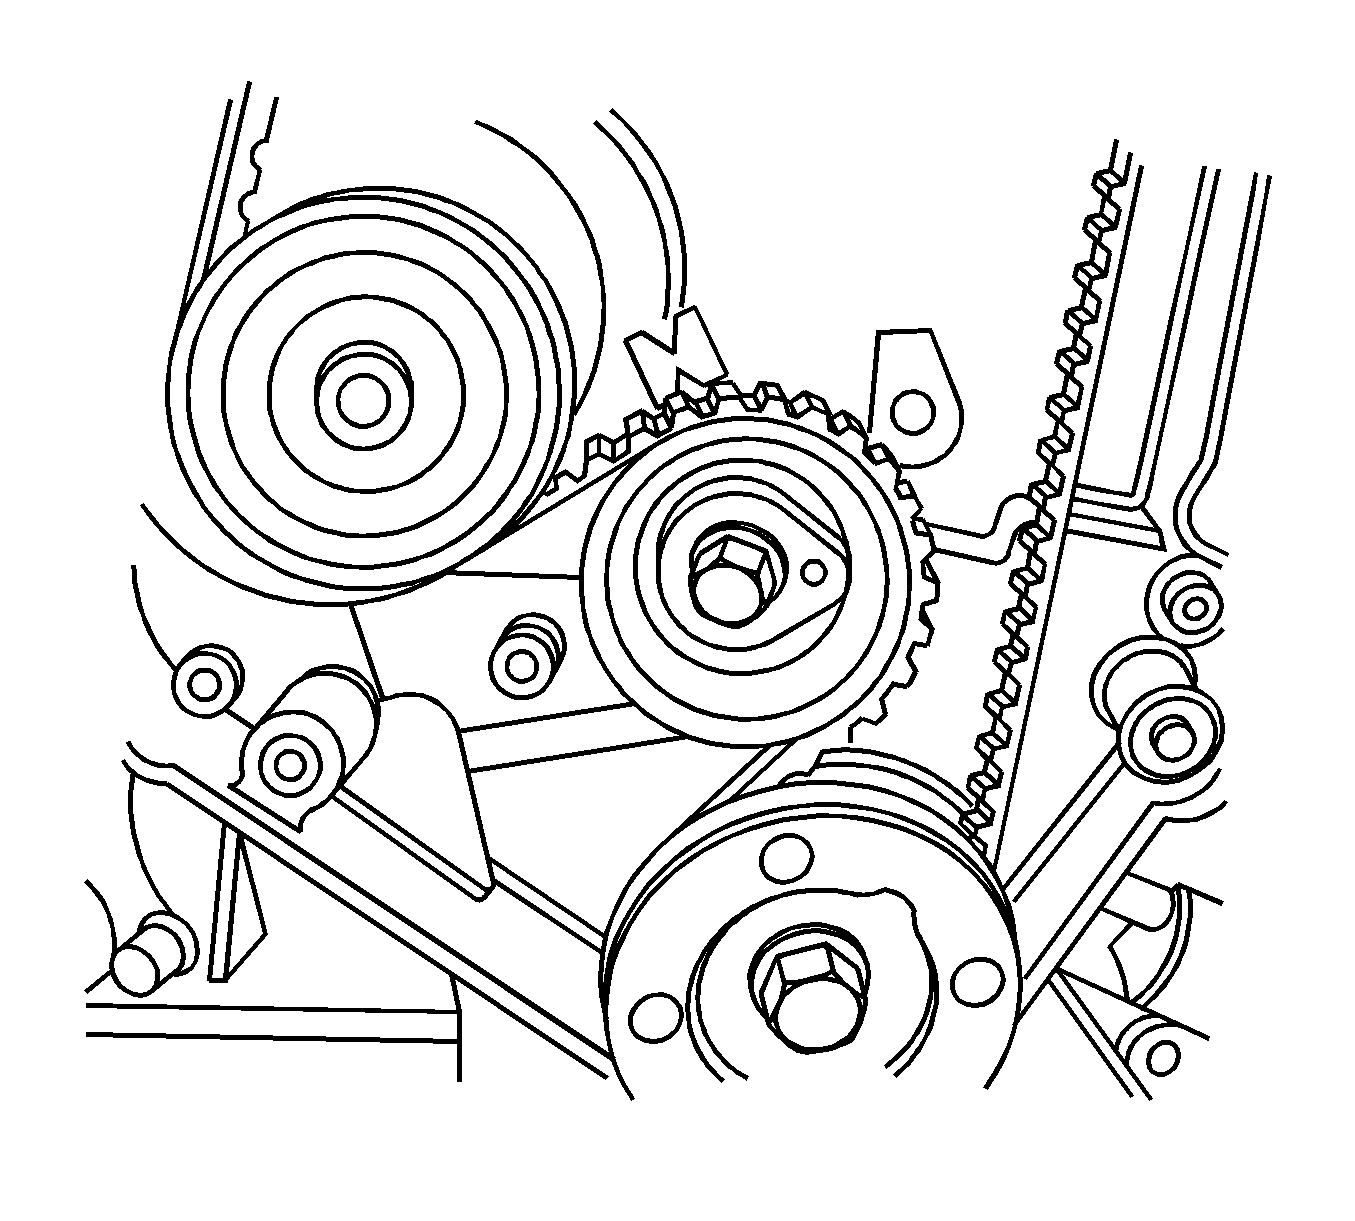
- Loosen the automatic tensioner bolt. To relieve the belt tension, turn the hex-key tab counterclockwise.
- Rotate the automatic tensioner hex-key tab clockwise until the adjust arm pointer of the timing belt automatic tensioner is aligned with the notch in the timing belt automatic tension bracket.
- Tighten the automatic tensioner bolt
- Rotate the crankshaft two full turns clockwise using the crankshaft gear bolt.
- Check the automatic tensioner pointer.
- When the adjust arm pointier of the timing belt automatic tensioner is aligned with the notch on the timing belt automatic tensioner bracket, the belt is tensioned correctly.
- Install the front timing belt cover.
- Install the upper and lower front timing belt cover bolts.
- Install the right engine mount. Refer to Engine Mount Replacement.
- Install the crankshaft pulley.
- Install the crankshaft pulley bolt.
- Install the serpentine accessory drive belt. Refer to Power Steering Pump Belt Replacement.
- Install the right front wheel well splash shield.
- Install the right front wheel. Refer to Tire and Wheel Removal and Installation.
- Install the air cleaner assembly.
- Install the engine cover.
- Connect the negative battery cable.
Warning: Refer to Battery Disconnect Warning in the Preface section.

Caution: Refer to Fastener Caution in the Preface section.
Tighten
Tighten the automatic tensioner bolt to 25 N·m (18 lb in).
Tighten
Tighten the front timing belt cover bolts to 6 N·m (53 lb in).
Tighten
Tighten the crankshaft pulley bolt to 25 N·m (18 lb ft ) and retighten 30 degrees plus 15 degrees.
Warning: Refer to Battery Disconnect Warning in the Preface section.
