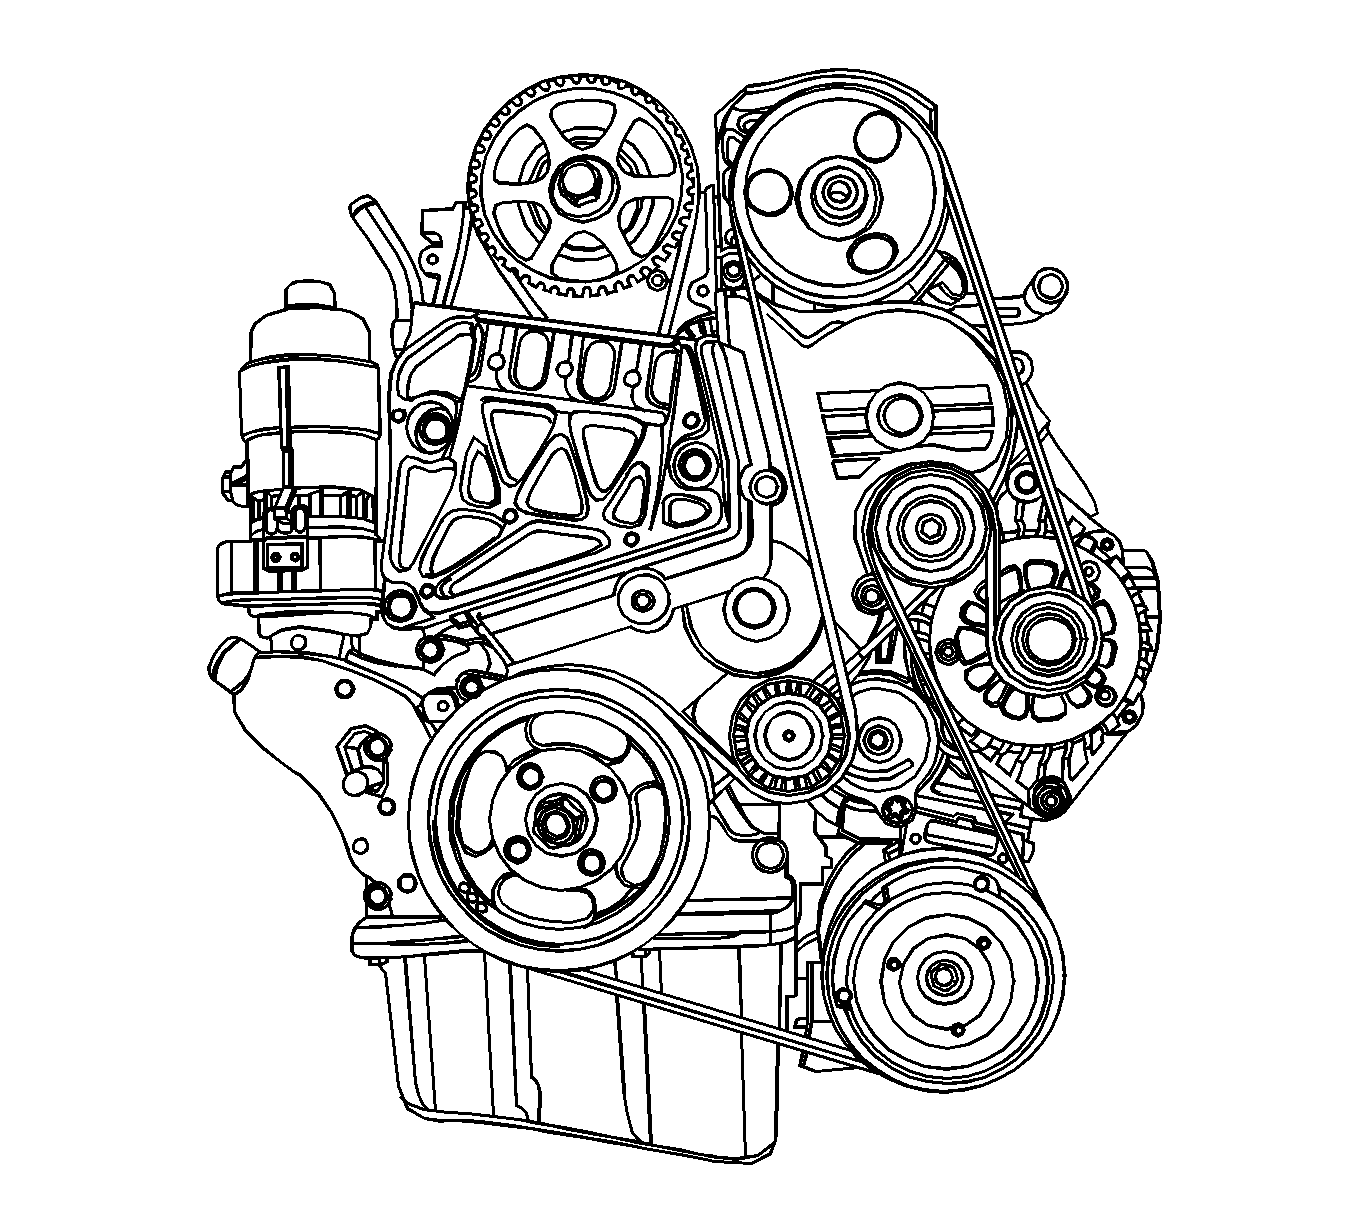
Generator Replacement 1.6L
Removal Procedure
- Disconnect the negative battery cable.
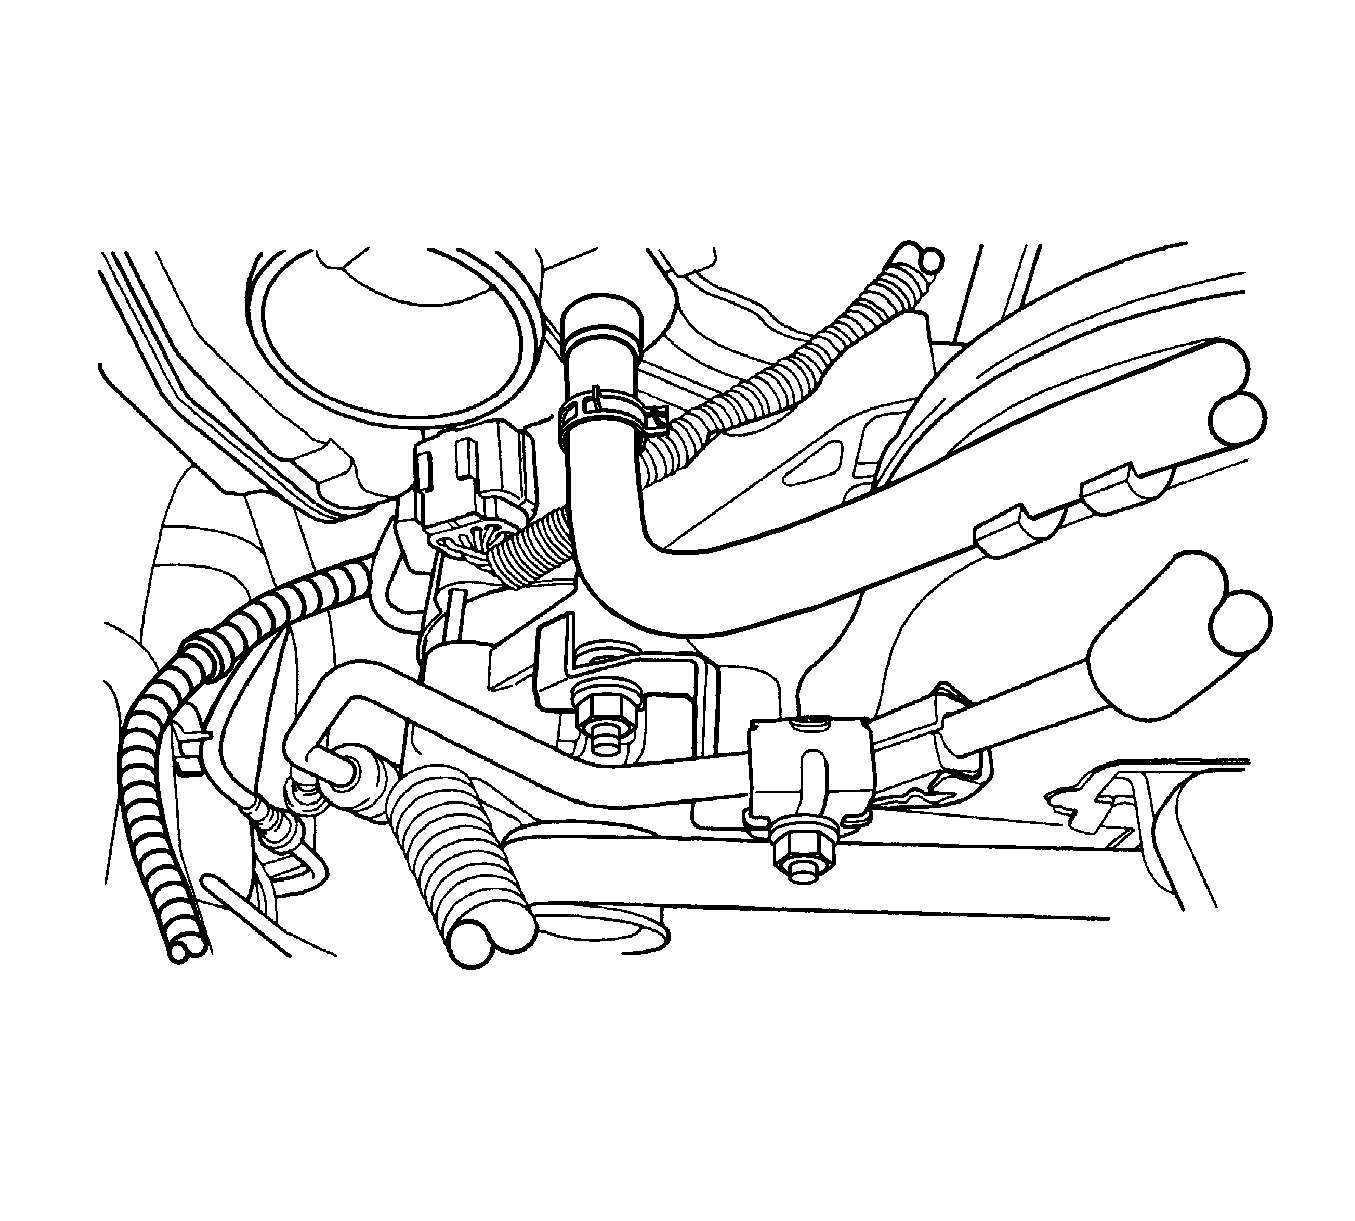
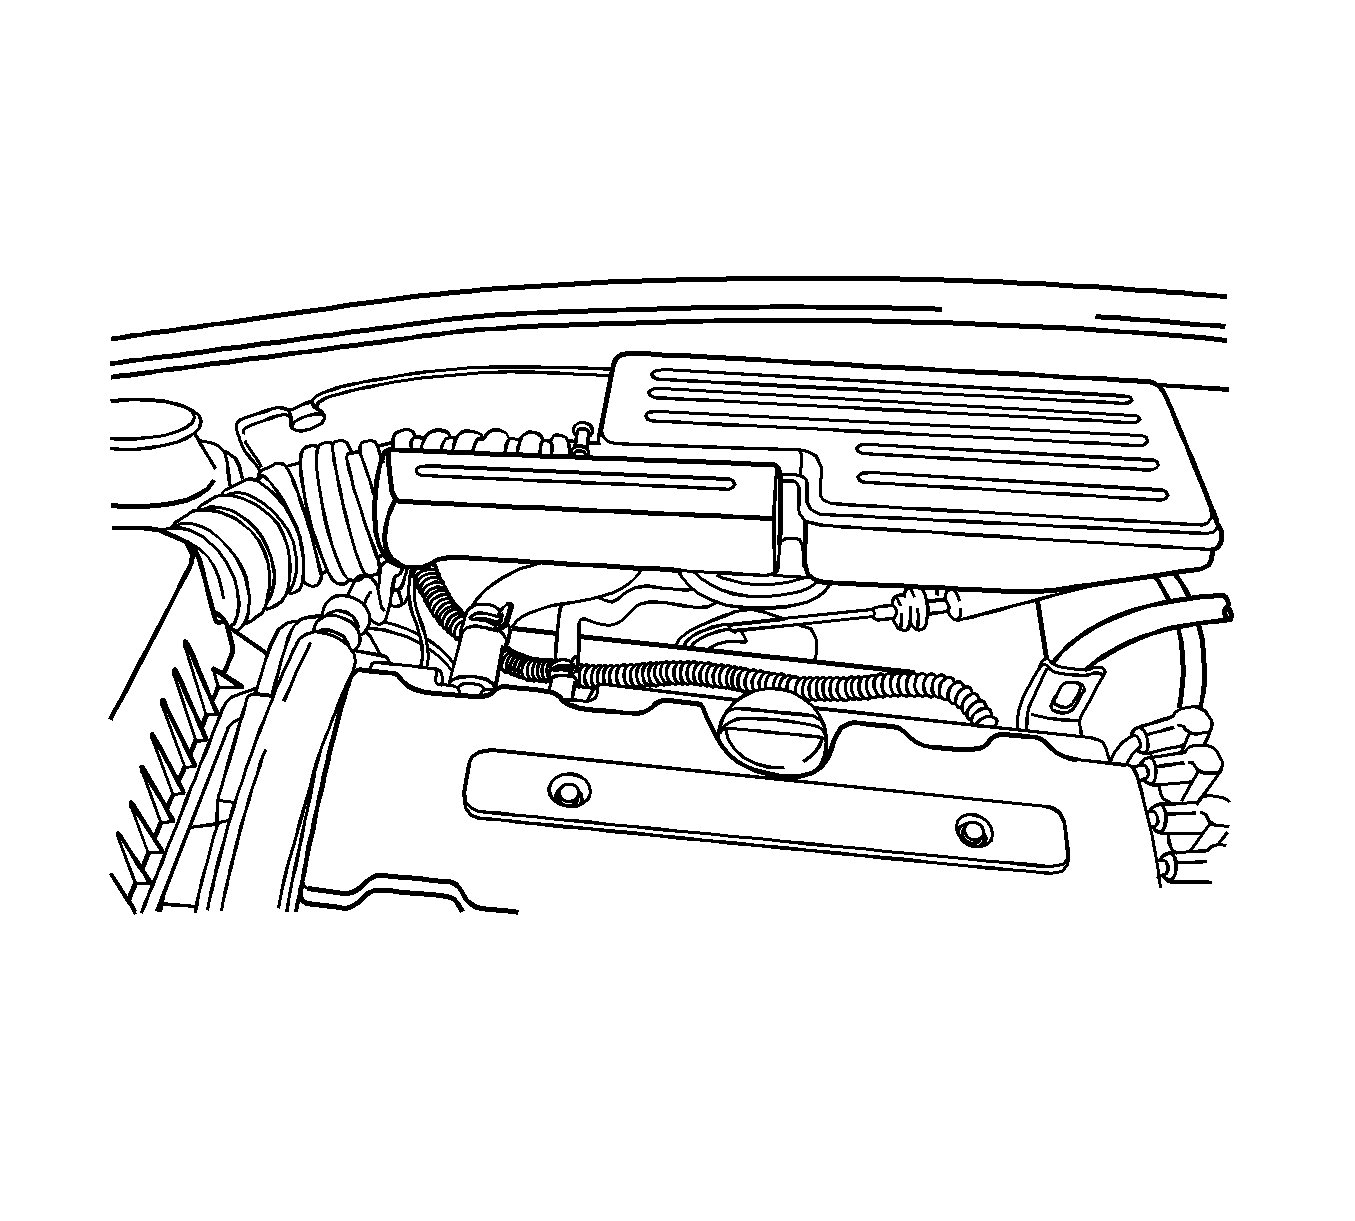
- Disconnect the intake air temperature (IAT) sensor electrical connector from the air intake tube.
- Remove all the clamps from the air cleaner outlet hose and set aside the tube.
- Raise and suitably support the vehicle. Refer to Lifting and Jacking the Vehicle .
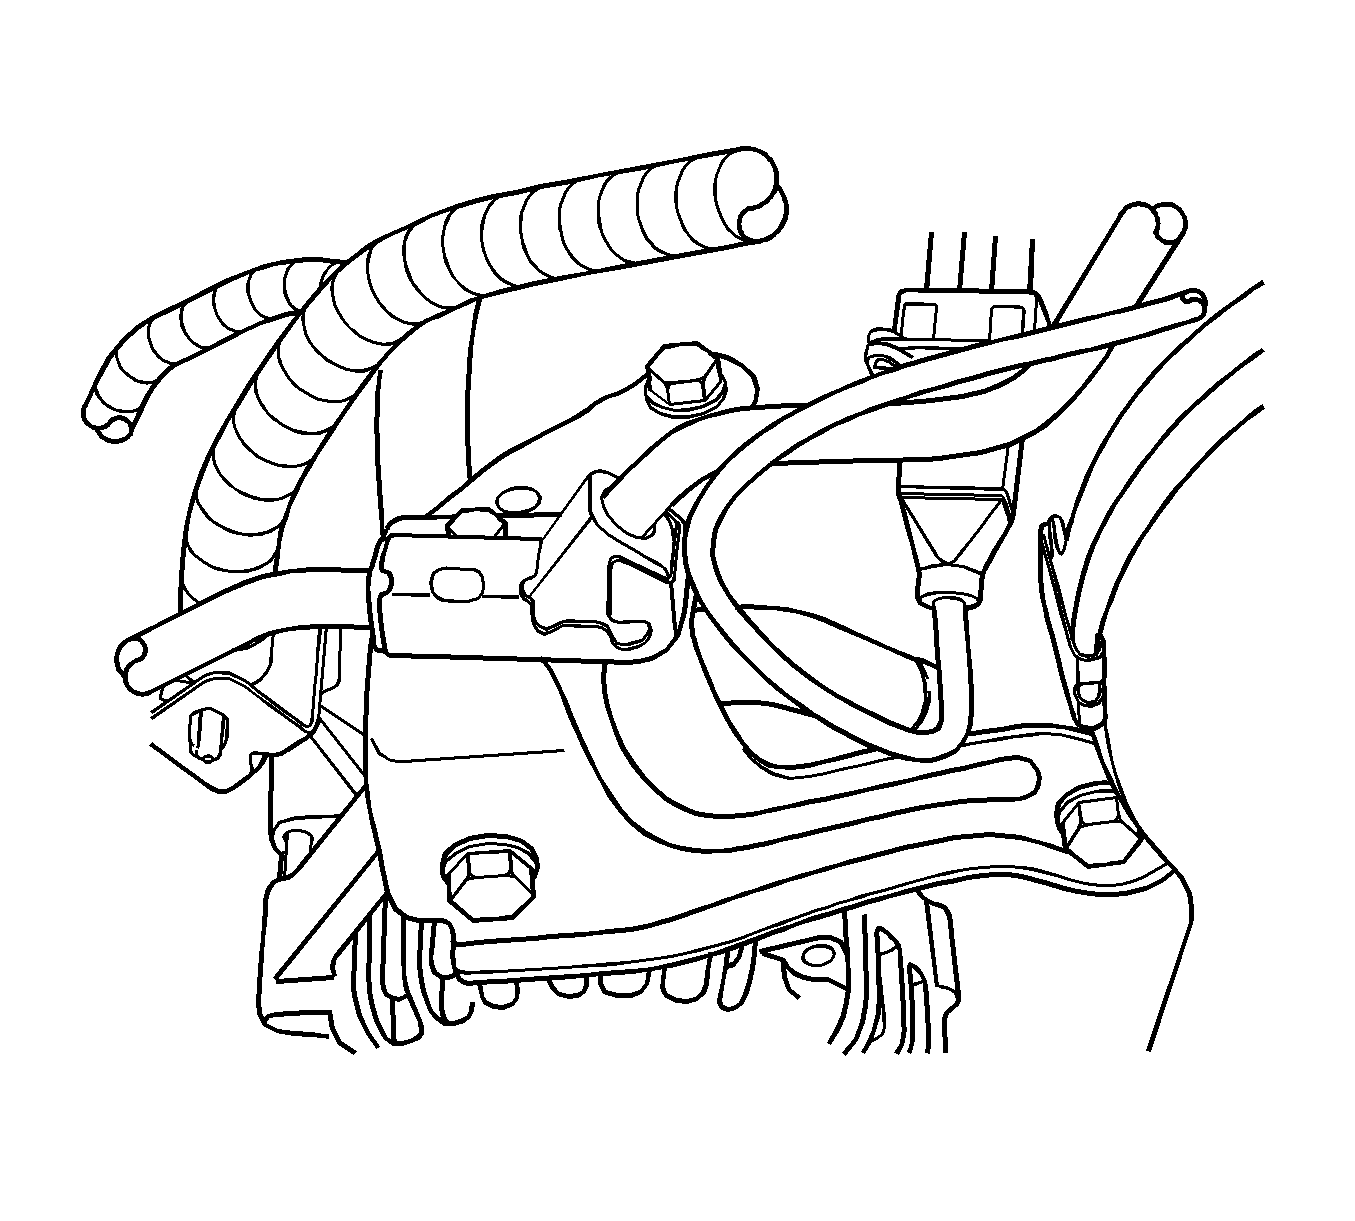
- Disconnect the harness connector from the back of the generator and the generator lead to the battery.
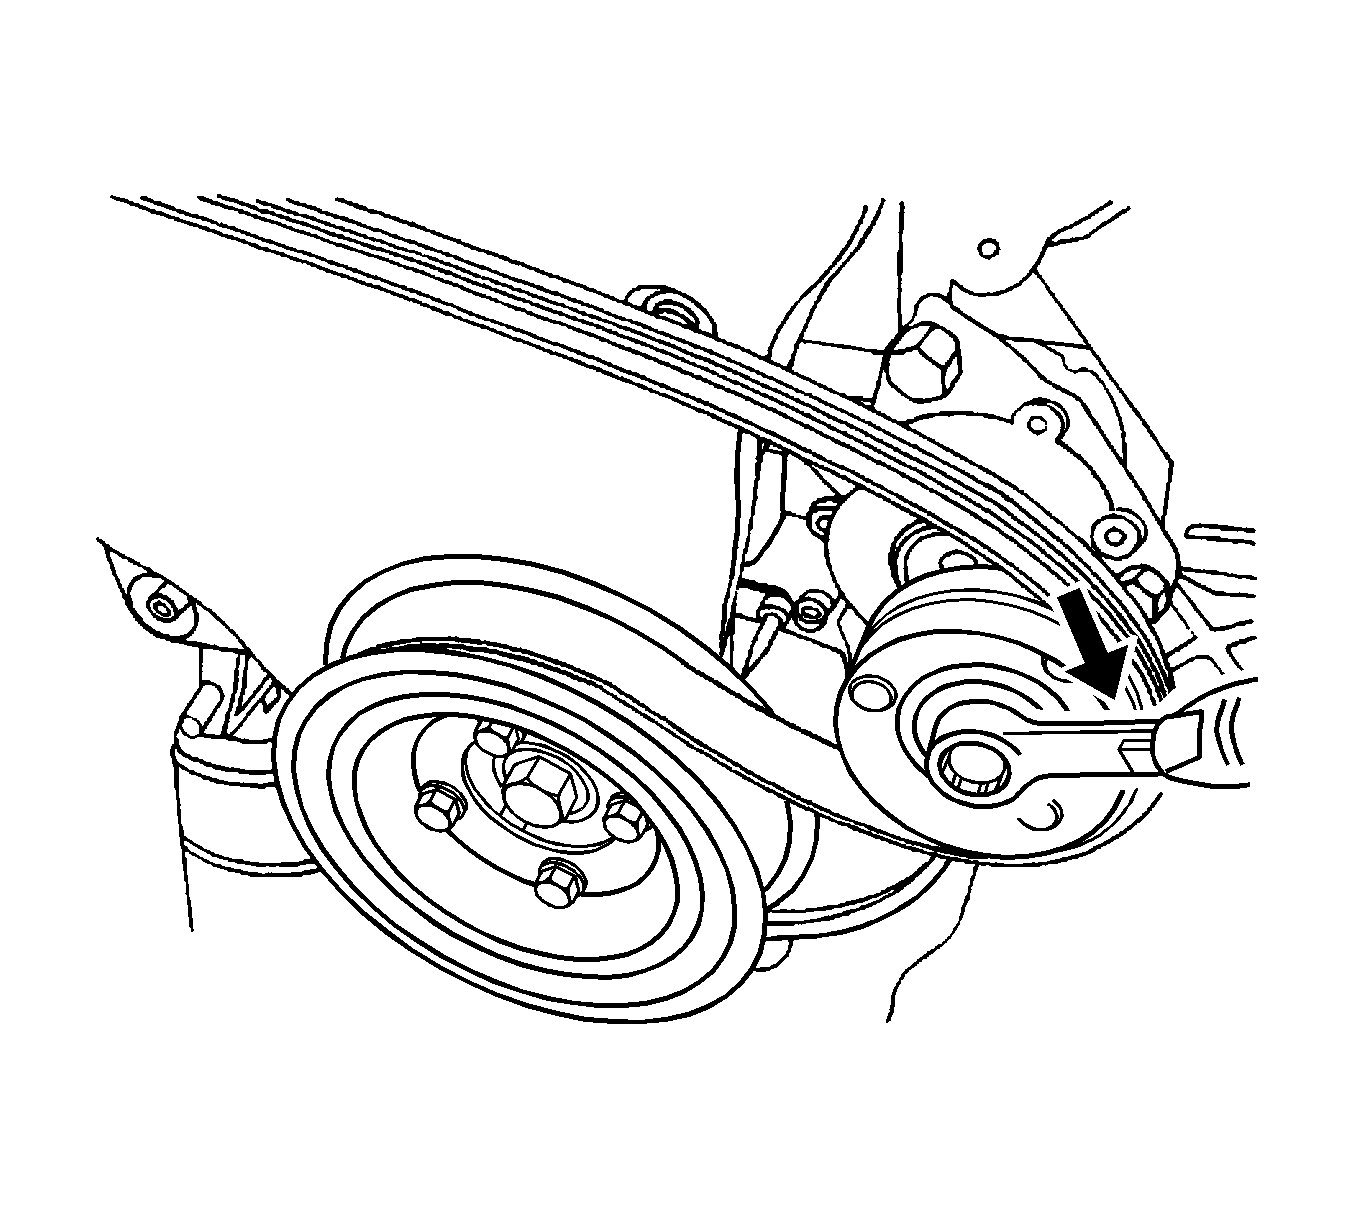
- Remove the power steering pump drive belt by lowering the vehicle and turning the automatic tensioner roller bolt clockwise to relieve tension on the belt. Refer to Power Steering Pump Belt Replacement .
- Push up the power steering reservoir and set it aside.
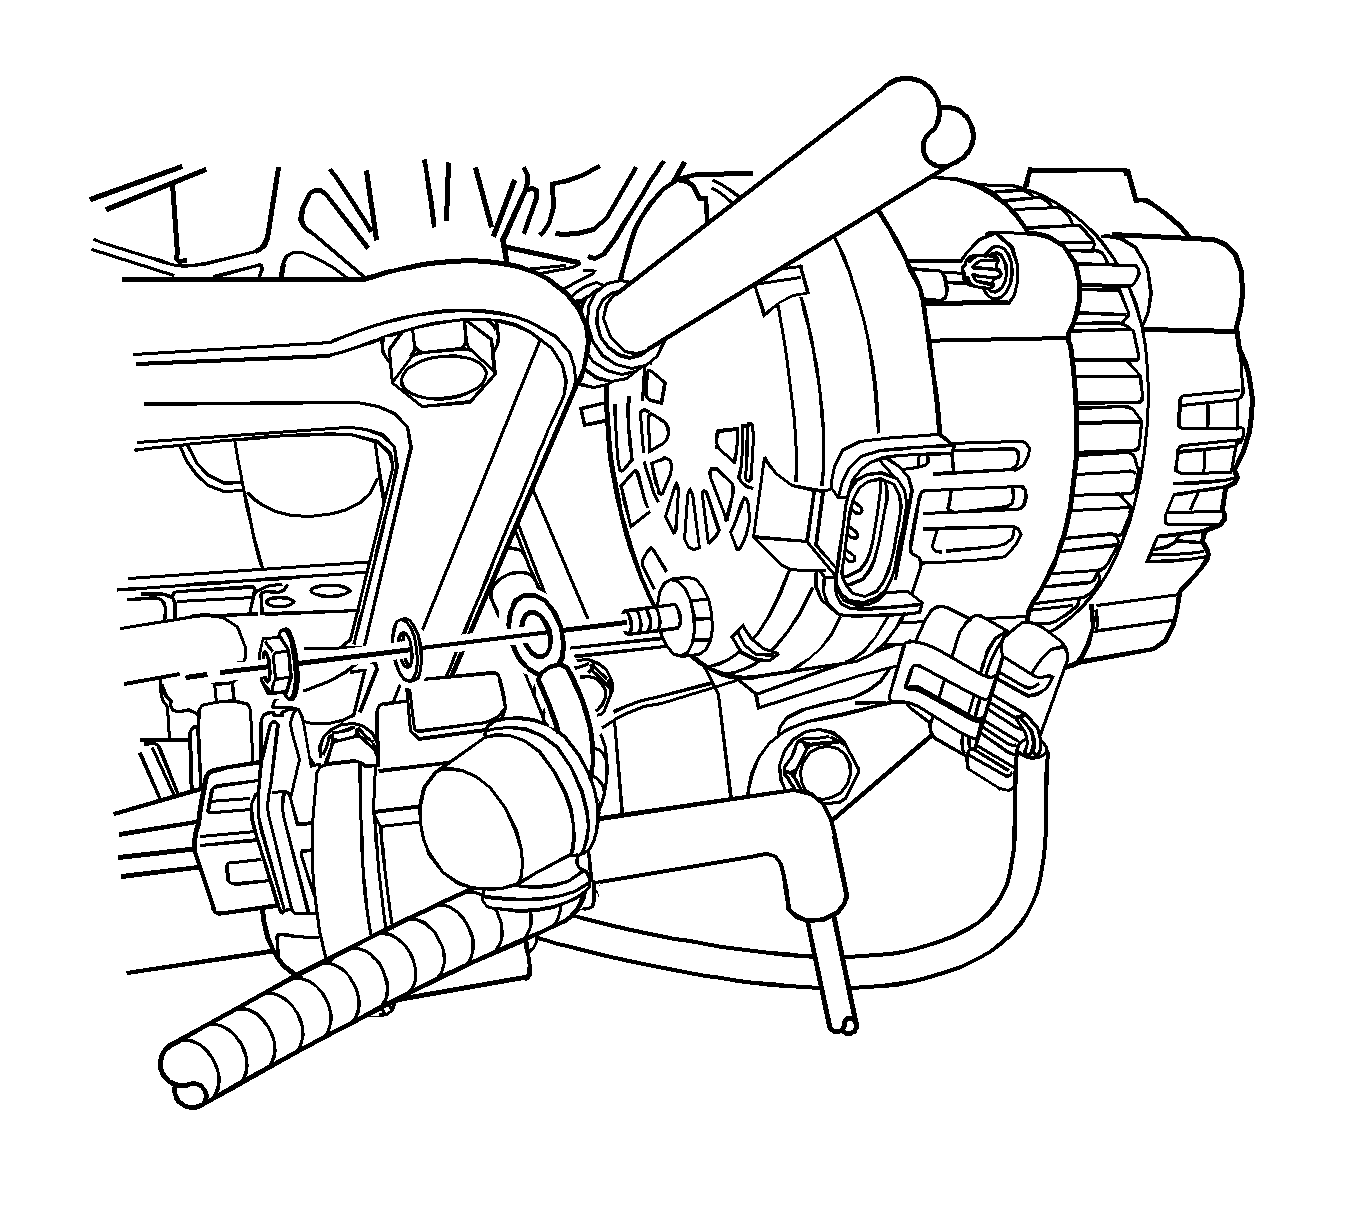
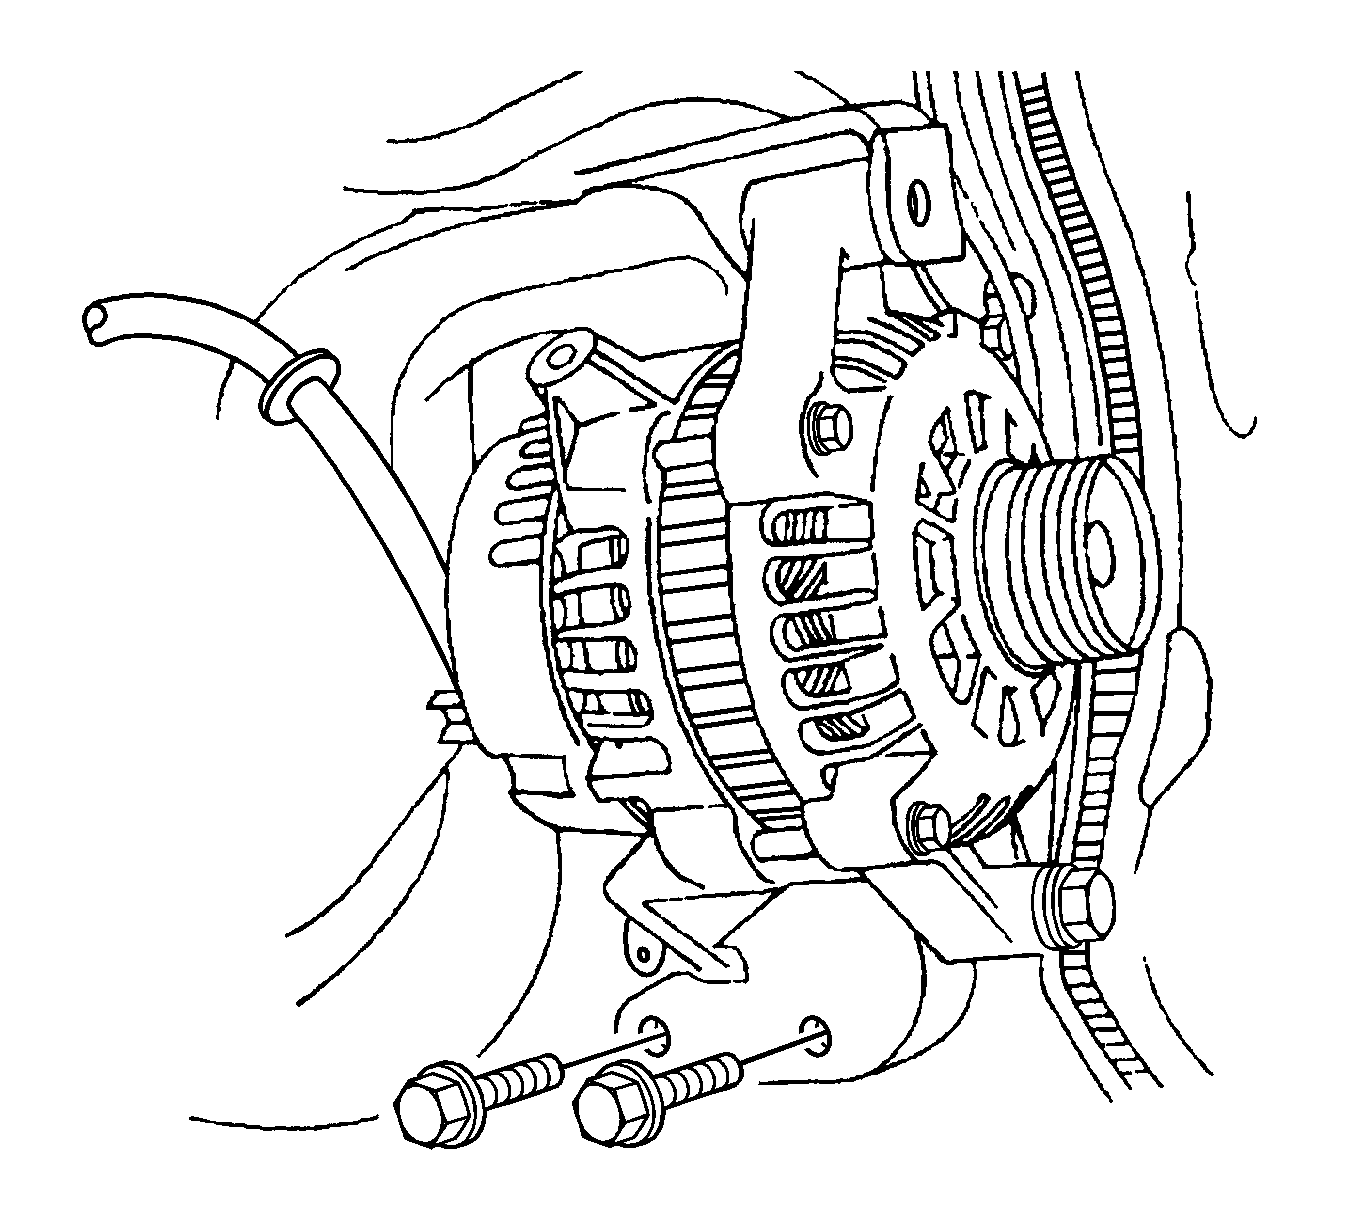
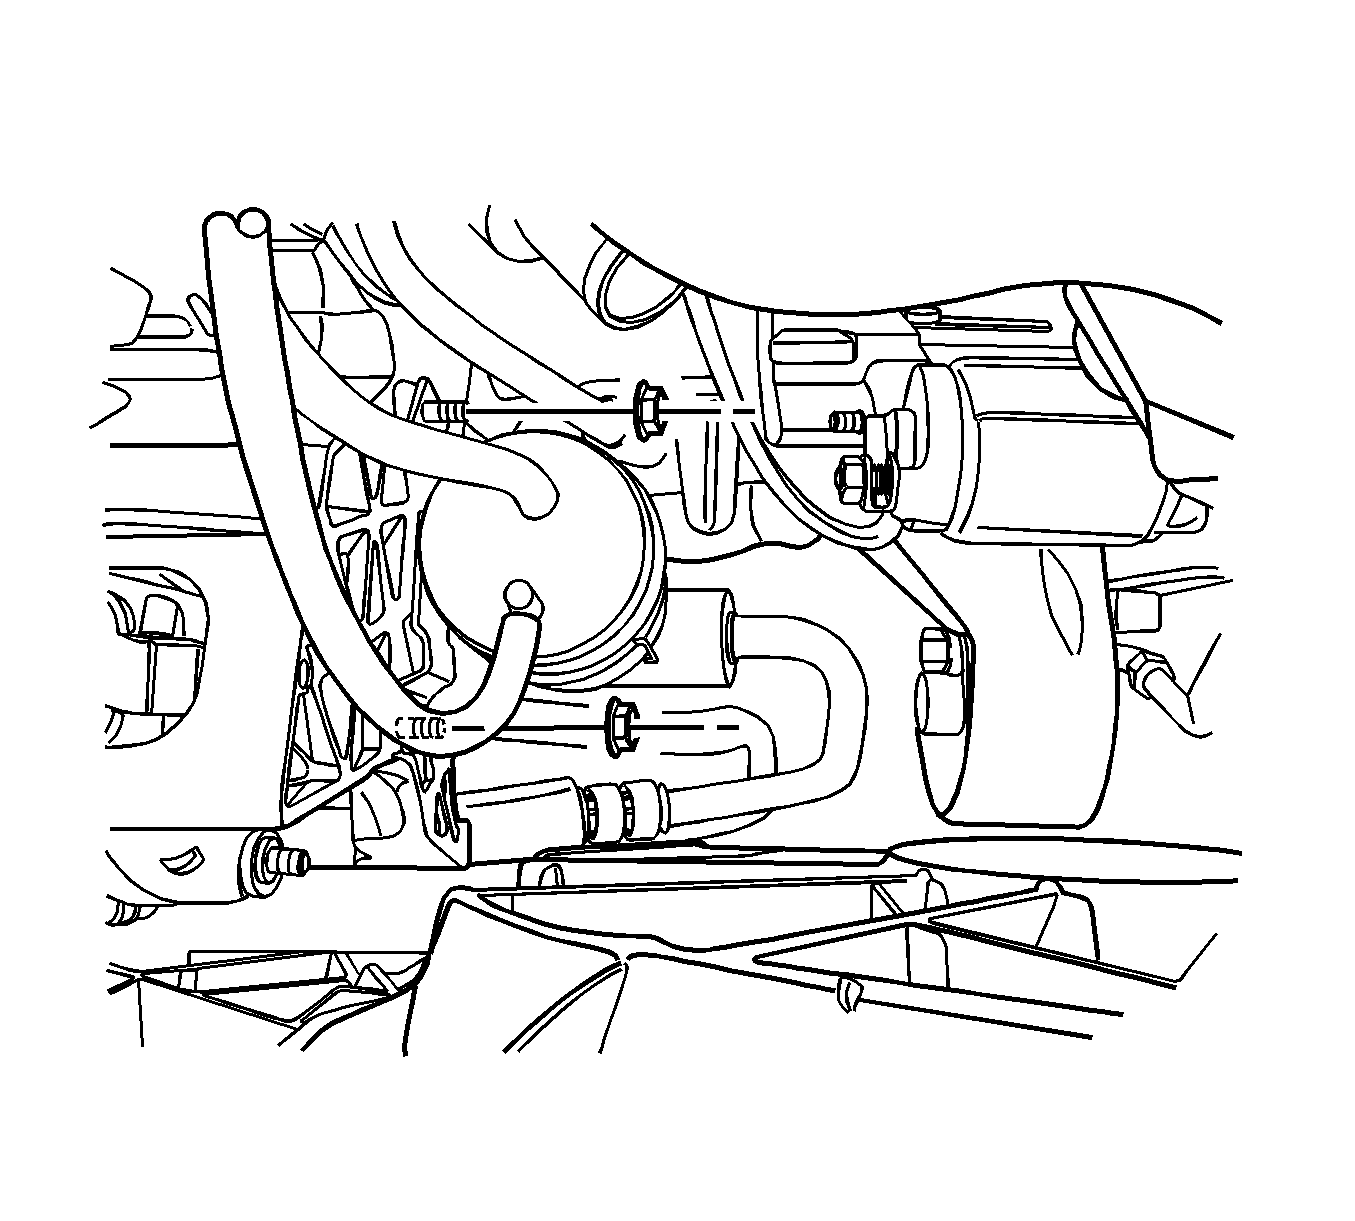
- Remove the bolt of the generator upper engine connecting bracket to the engine.
- Raise and suitably support the vehicle and remove the nut and washers which hold the generator lower bracket-to-generator bolt. Work the bolt loose and remove the generator.
- Remove the generator lower support bracket nut, the bolt, and the washer.
Caution: Refer to Battery Disconnect Caution in the Preface section.
Installation Procedure
- Install the generator to the generator lower bracket and insert the generator bolt.
- Install the nut and washers on the generator lower bracket-to-generator bolt.
- Install the upper generator support bracket bolt and the washer.
- Connect the harness connector to the back of the generator and the generator lead to the battery.
- Route the power steering pump drive belt. Refer to Power Steering Pump Belt Replacement .
- Relieve the tension on the belt by first applying downward pressure on the automatic tension roller bolt and releasing pressure once the belt is in place.
- Install the power steering reservoir.
- Install the air cleaner outlet hose and connect the IAT electrical connector.
- Connect the negative battery cable.
Notice: Refer to Fastener Notice in the Preface section.
Tighten
Tighten the generator lower bracket-to-generator nut to 25 N·m (18 lb ft).
Tighten
Tighten the generator upper support bracket bolt to 20 N·m (15 lb ft).
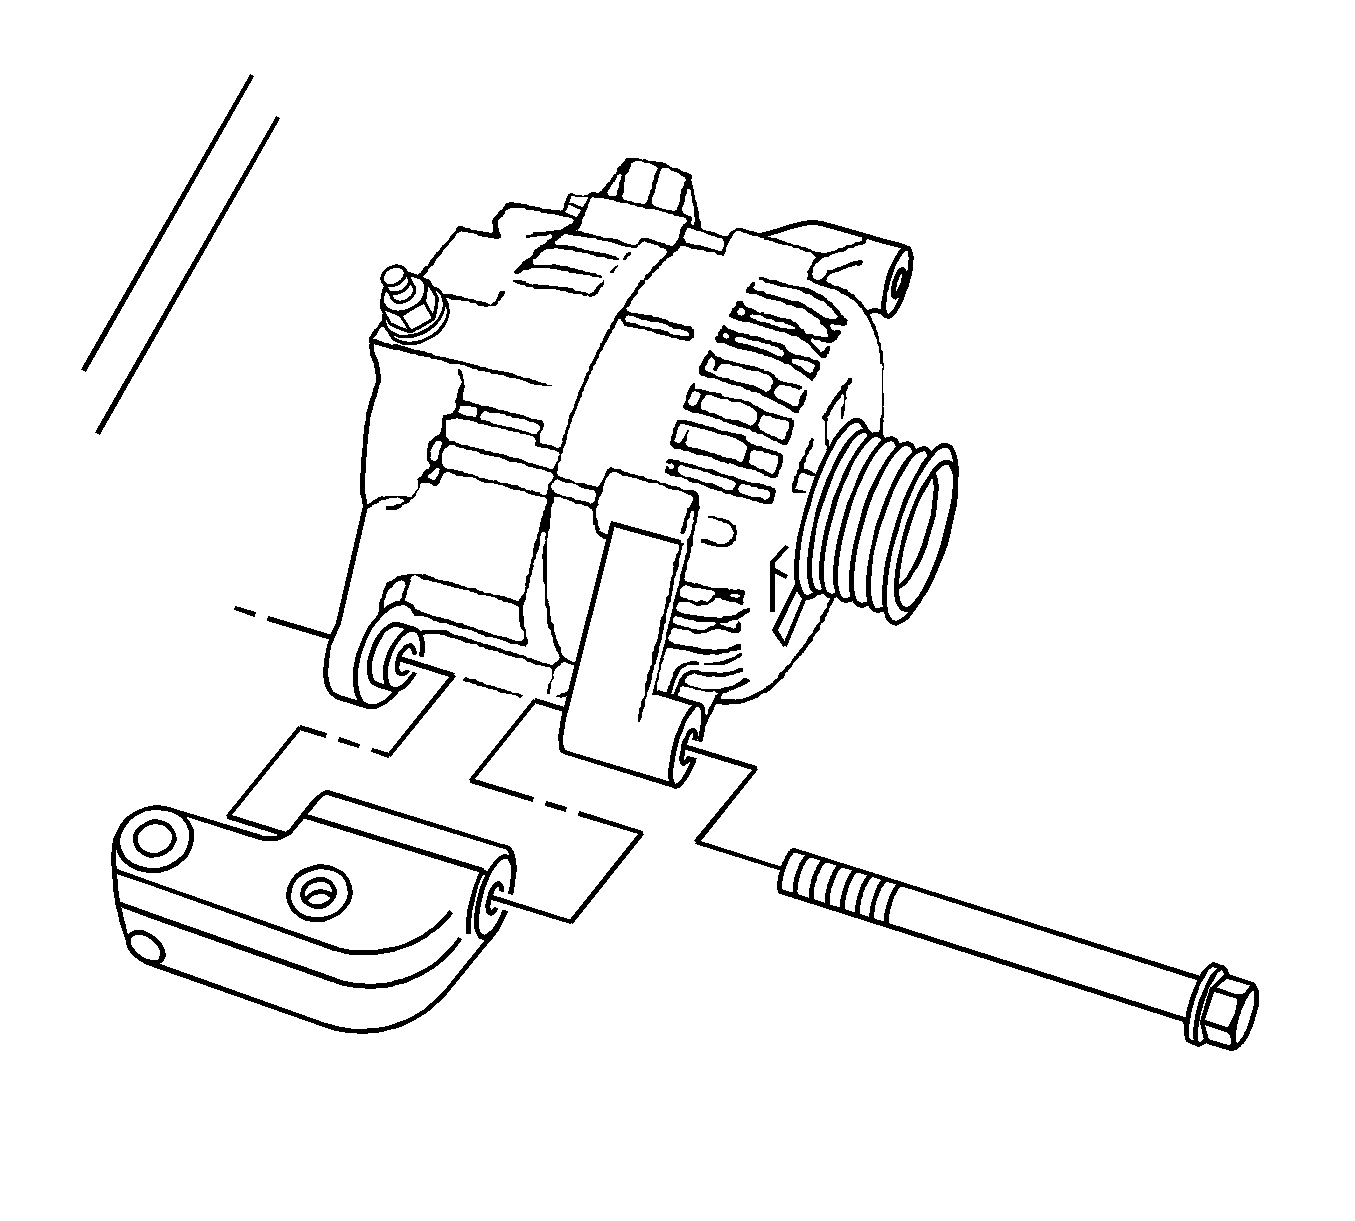
Generator Replacement 1.8L/2.0L
Removal Procedure
- Disconnect the negative battery cable.
- Disconnect the intake air temperature (IAT) sensor electrical connector from the air intake tube.
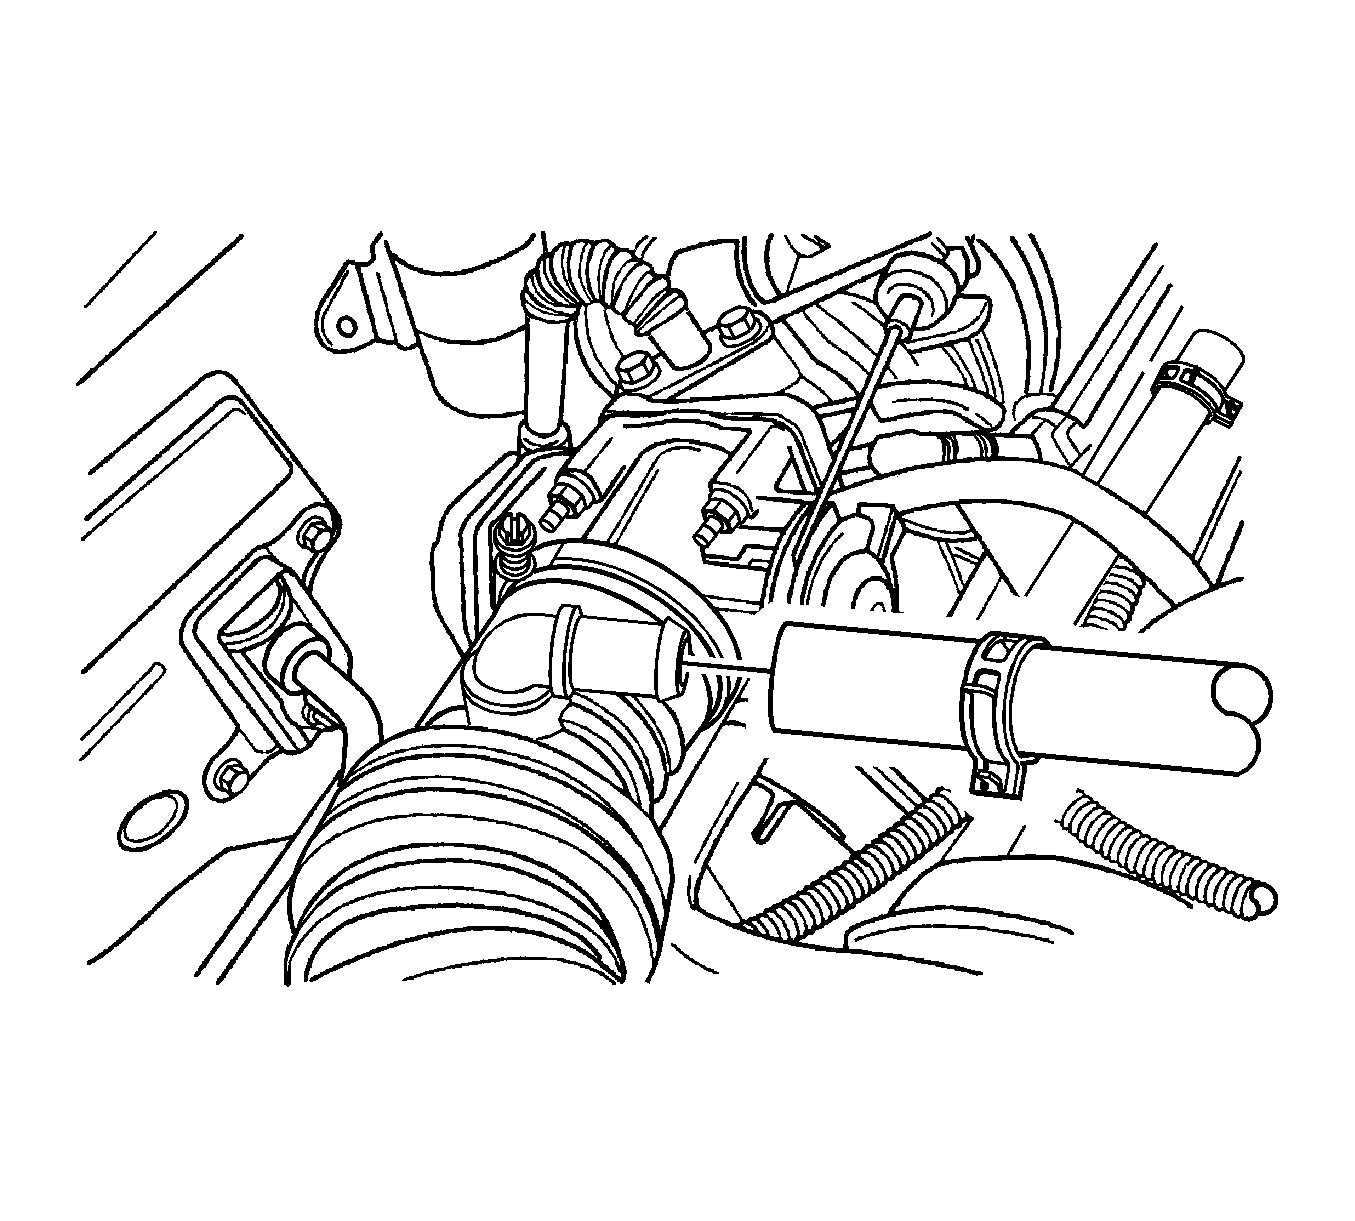
- Remove all the clamps from the air cleaner outlet hose, and set aside the tube.
- Raise and suitably support the vehicle. Refer to Lifting and Jacking the Vehicle .
- Disconnect the harness connector from the back of the generator and the generator lead to the battery.
- Remove the power steering pump drive belt by lowering the vehicle and turning the automatic tensioner roller bolt clockwise to relieve tension on the belt. Refer to Power Steering Pump Belt Replacement .
- Push up the power steering reservoir and set it aside.
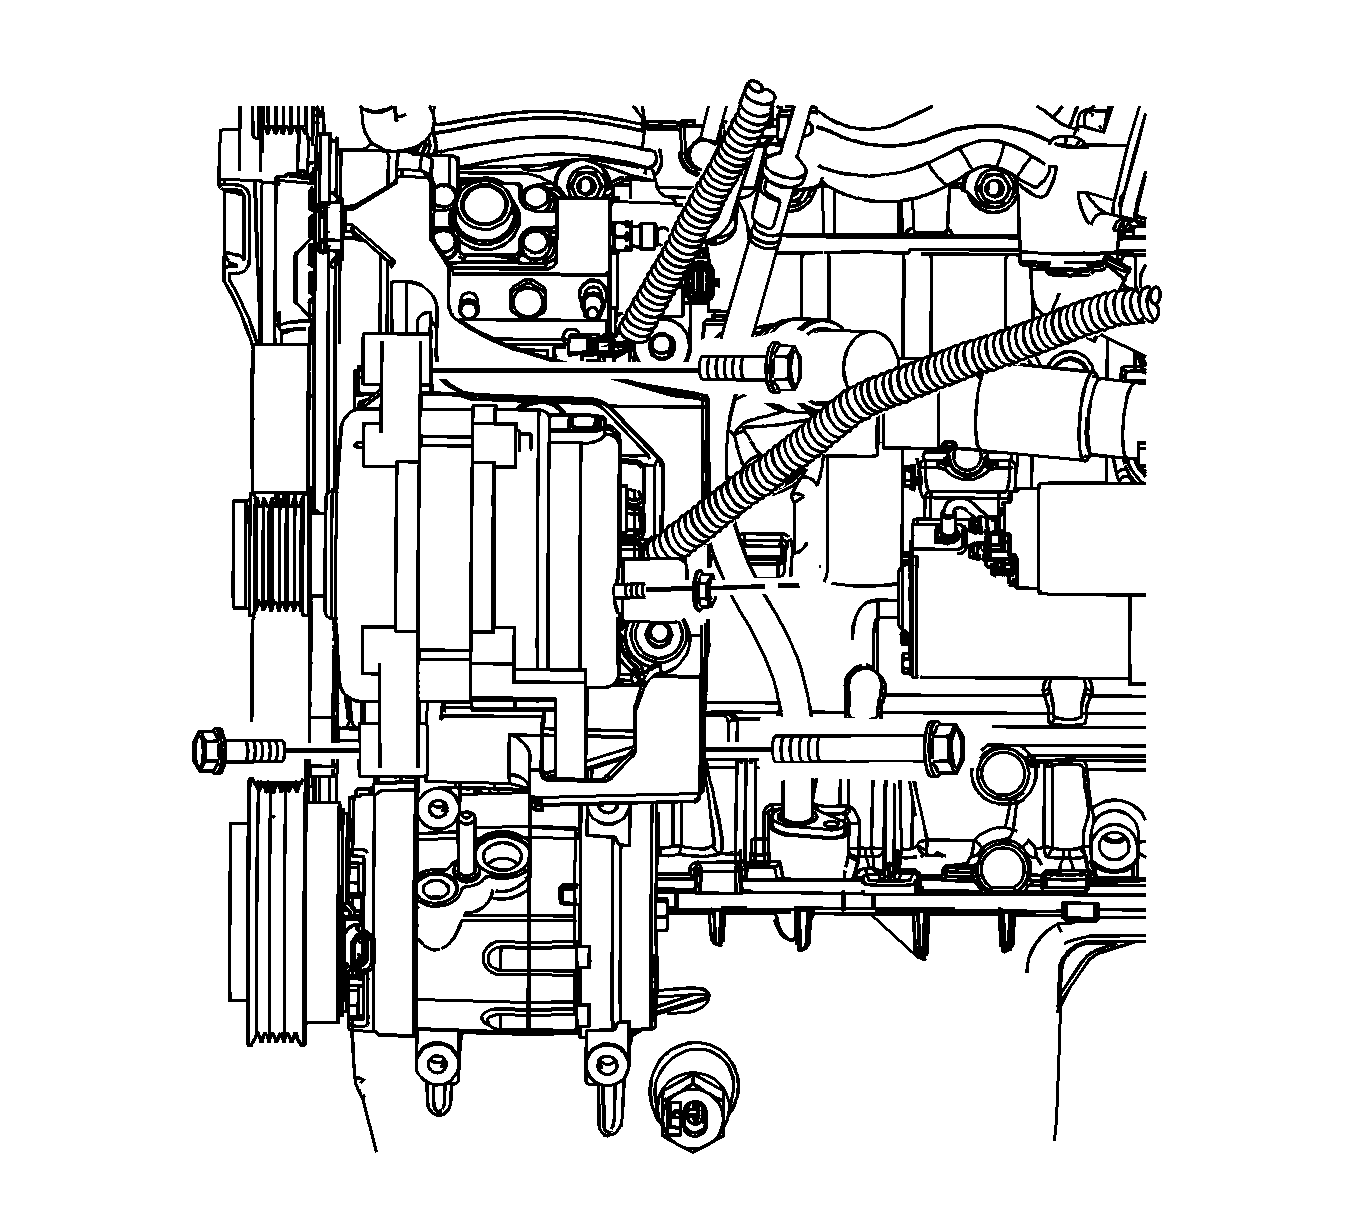
- Remove the generator upper mounting bolts to the intake manifold/cylinder head support bracket, the intake manifold strap bracket, and the intake manifold-to-cylinder body strap bracket.
- Raise and suitably support the vehicle and remove the nut and washers which hold the generator lower bracket-to-generator bolt. Work the bolt loose and remove the generator.
- Remove the generator lower support bracket bolts.
- Carefully remove the generator with the lower bracket attached.
- Remove the generator lower support bracket nut, the bolt, and the washer.
Caution: Refer to Battery Disconnect Caution in the Preface section.
Installation Procedure
- Install the generator to the generator lower bracket and insert the generator bolt.
- Install the generator and the lower support bracket assembly to the engine block.
- Install the generator-to-intake manifold and cylinder head support bracket bolts.
- Install the generator-to-intake manifold strap bracket bolts and the intake manifold-to-cylinder body strap bracket bolts over the starter.
- Connect the harness connector to the back of the generator, and the generator lead to the battery.
- Route the power steering pump drive belt. Refer to Power Steering Pump Belt Replacement .
- Relieve tension on the belt by first applying downward pressure on the automatic tension roller bolt and releasing pressure once the belt is in place.
- Install the power steering reservoir.
- Install the air cleaner outlet hose and connect the IAT electrical connector.
- Connect the negative battery cable.
Notice: Refer to Fastener Notice in the Preface section.
Tighten
Tighten the generator lower bracket-to-generator nut to 25 N·m (18 lb ft).
Tighten
Tighten the generator and the lower bracket-to-engine block bolts to 37 N·m (27 lb ft).
Tighten
Tighten the generator-to-intake manifold and cylinder head support bracket bolts to 37 N·m (27 lb ft).
Tighten
Tighten the generator-to-intake manifold strap bracket bolt and the intake manifold-to-cylinder body strap bracket bolts to 22 N·m (16 lb ft).
Generator Replacement 2.0L Diesel Engine
Removal Procedure
- Disconnect the battery negative cable.
- Remove the engine cover. Refer to Engine Cover Replacement .
- Remove the charge air cooler inlet hoses. Refer to Charge Air Cooler Inlet Pipe and Outlet Pipe Replacement .
- Remove the accessory belt. Refer to Drive Belt Replacement .
- Remove the EGR vacuum tank.
- Disconnect the generator connector.
- Remove the generator B+ wiring harness.
- Remove the generator.
Caution: Refer to Battery Disconnect Caution in the Preface section.

Installation Procedure
- Install the generator.
- Install the generator lead-to-starter motor wire retaining nut.
- Install the EGR vacuum tank.
- Install the accessory drive belt. Refer to Drive Belt Replacement.
- Install the charge air cooler inlet hoses. Refer to Charge Air Cooler Inlet Pipe and Outlet Pipe Replacement.
- Install the engine cover. Refer to Engine Cover Replacement.
- Connect the negative battery cable.
Notice: Refer to Fastener Notice in the Preface section.
Tighten
| • | Tighten the generator bolt to 30 N·m (22.1 lb ft). |
| • | Tighten the generator B+ wiring harness retaining nut to 25 N·m (18.4 lb ft). |
