For 1990-2009 cars only
Removal Procedure
- Raise and support the vehicle. Refer to Lifting and Jacking the Vehicle .
- Remove the drain plug and drain fluid. Allow at least 5 minutes for the fluid to drain completely.
- Remove the gasket from the drain plug and discard.
Installation Procedure
- Install the new gasket on the drain plug.
- Install the drain plug.
- Make sure vehicle is level .
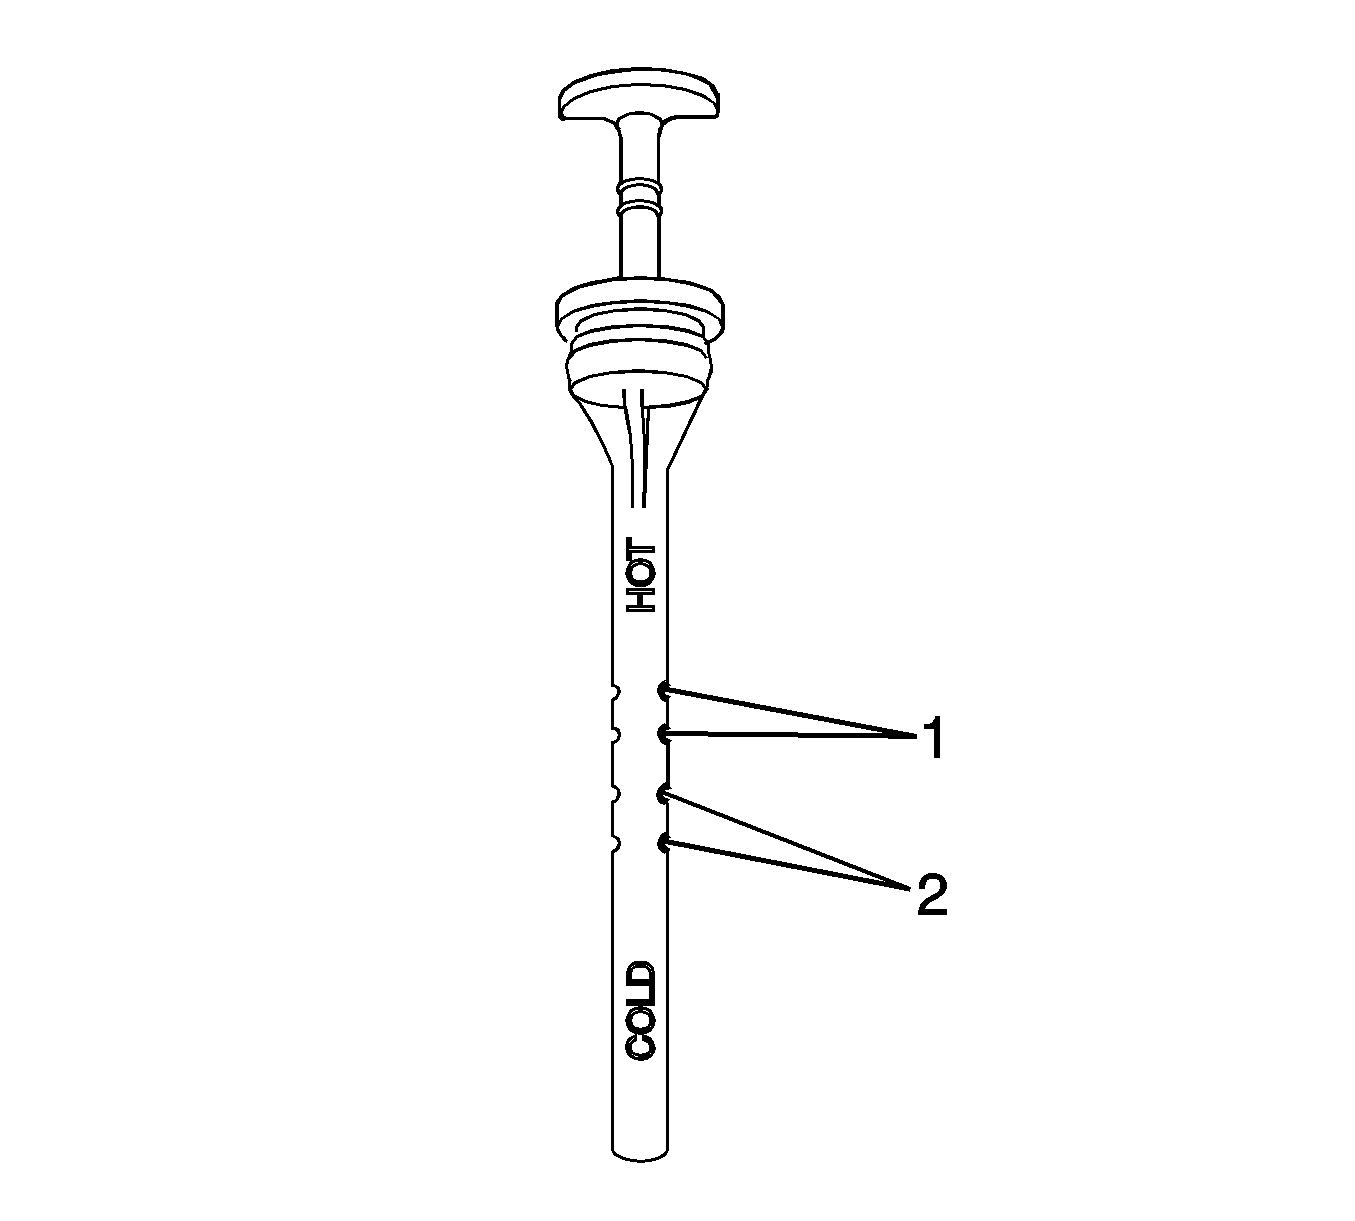
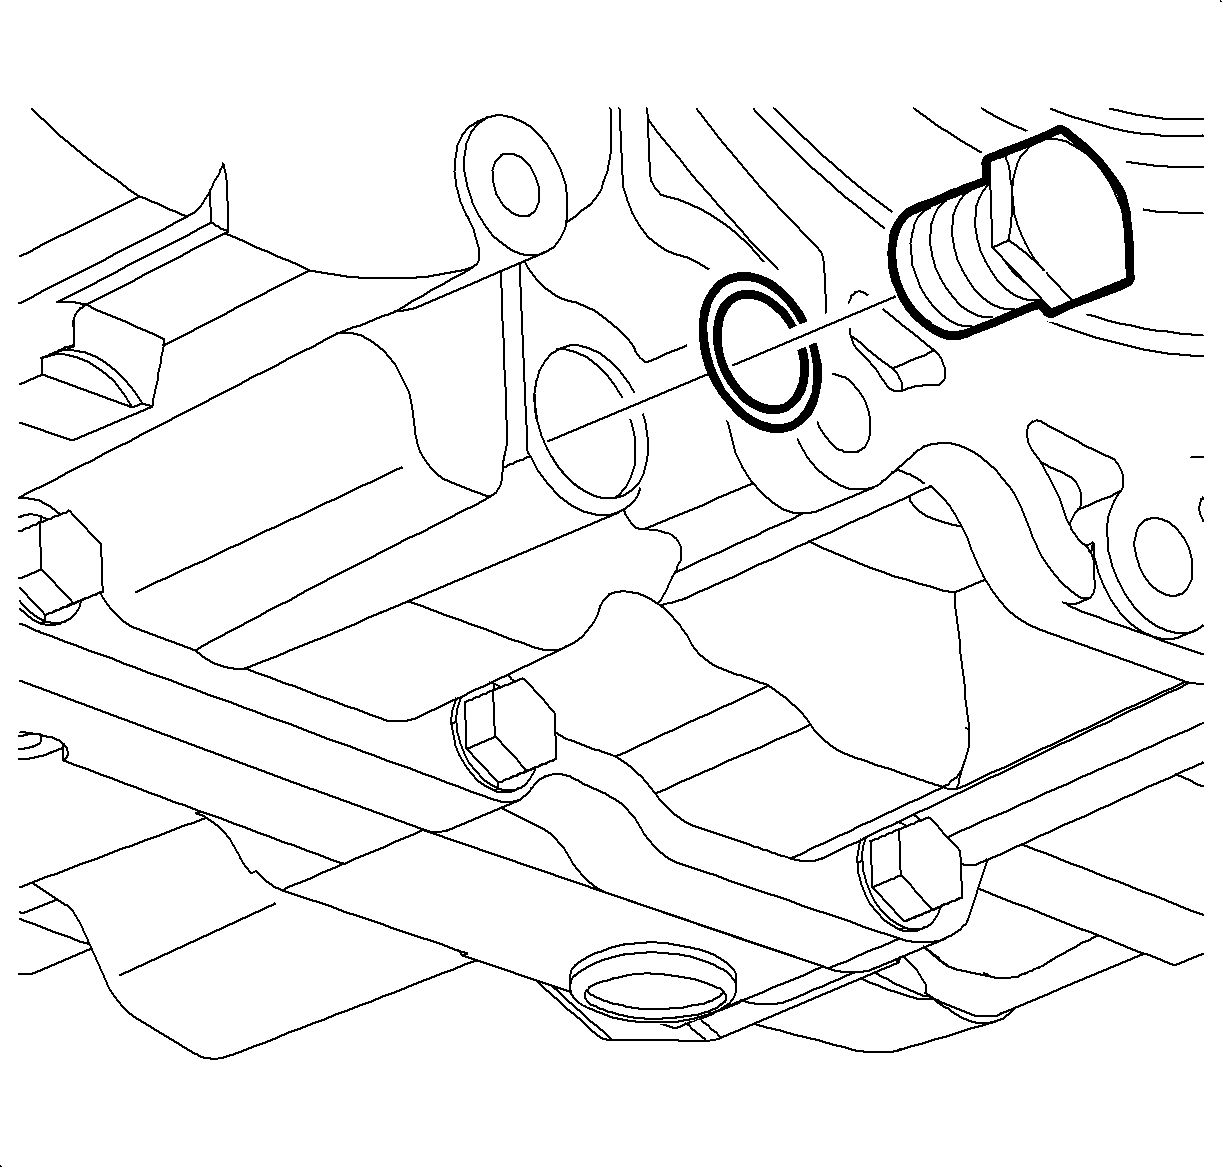
- Remove the fluid level indicator bolt and indicator.
- Add the transaxle fluid to the transaxle, using the fluid level indicator location.
- Start engine and operate vehicle until transaxle fluid temperature reaches 70-80°C (158-176°F).
- Apply parking brake.
- Depress brake pedal and move shift lever slowly through all gear ranges from park (P) to low range, pausing for about 3 seconds in each range. Return shift lever to park (P) range at idle condition.
- Pull level gauge out again and check if fluid level is within the HOT range.
- Install the fluid level indicator.
Notice: Refer to Fastener Notice in the Preface section.
Tighten
Tighten the drain plug to 40 N·m (30 lb ft).
Important: Always use ESSO JWS 3309 US ATF.
Important: Do not remove the anchor bolt located on top of the transaxle for checking fluid or adding fluid. Removing the bolt will dislocate internal components and require the transaxle to be removed from the vehicle and disassembled for repair.
Notice: Do not remove the 3rd gear anchor band bolt located on top of the transmission for checking fluid or adding fluid. Removing the bolt will dislocate internal components and require the transmission to be removed from the vehicle and disassembled for repair.