For 1990-2009 cars only
Removal Procedure
- Remove the knee Bolster. Refer to Knee Bolster Replacement .
- Remove the upper steering wheel cover. Refer to Steering Column Trim Covers Replacement .
- Remove the instrument cluster trim panel. Refer to Instrument Cluster Trim Panel Replacement .
- Lower the steering column.
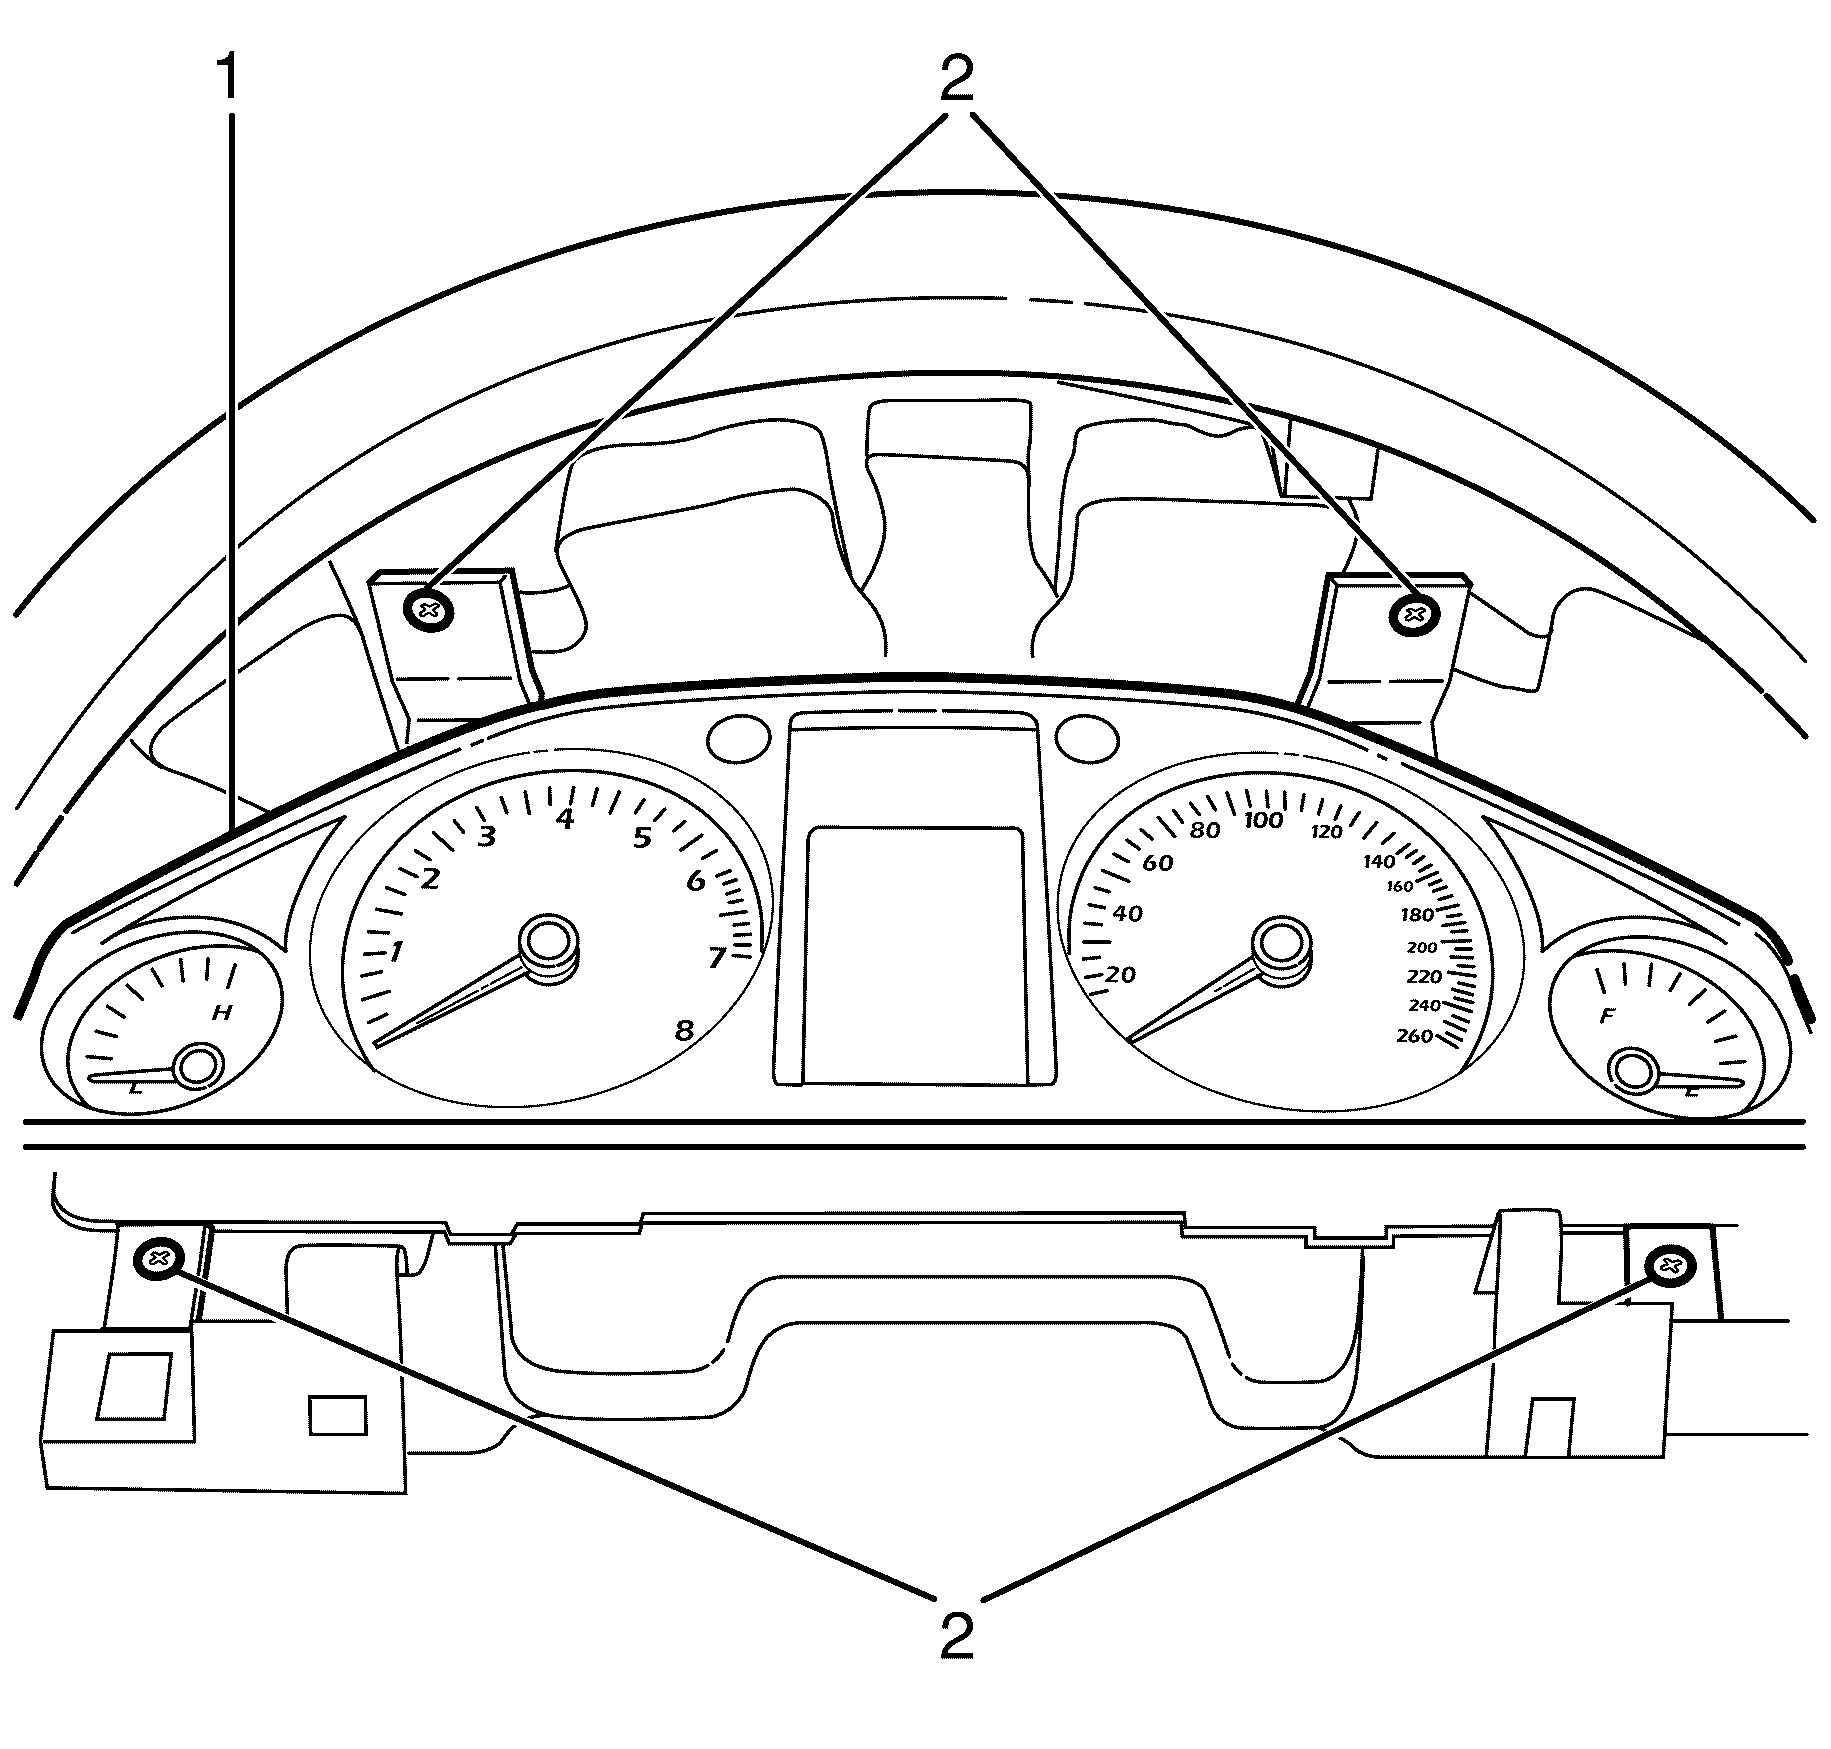
- Remove the instrument cluster (1) to I/P trim pad retaining screws (2).
- Carefully remove the instrument cluster (1) from the instrument panel trim pad.
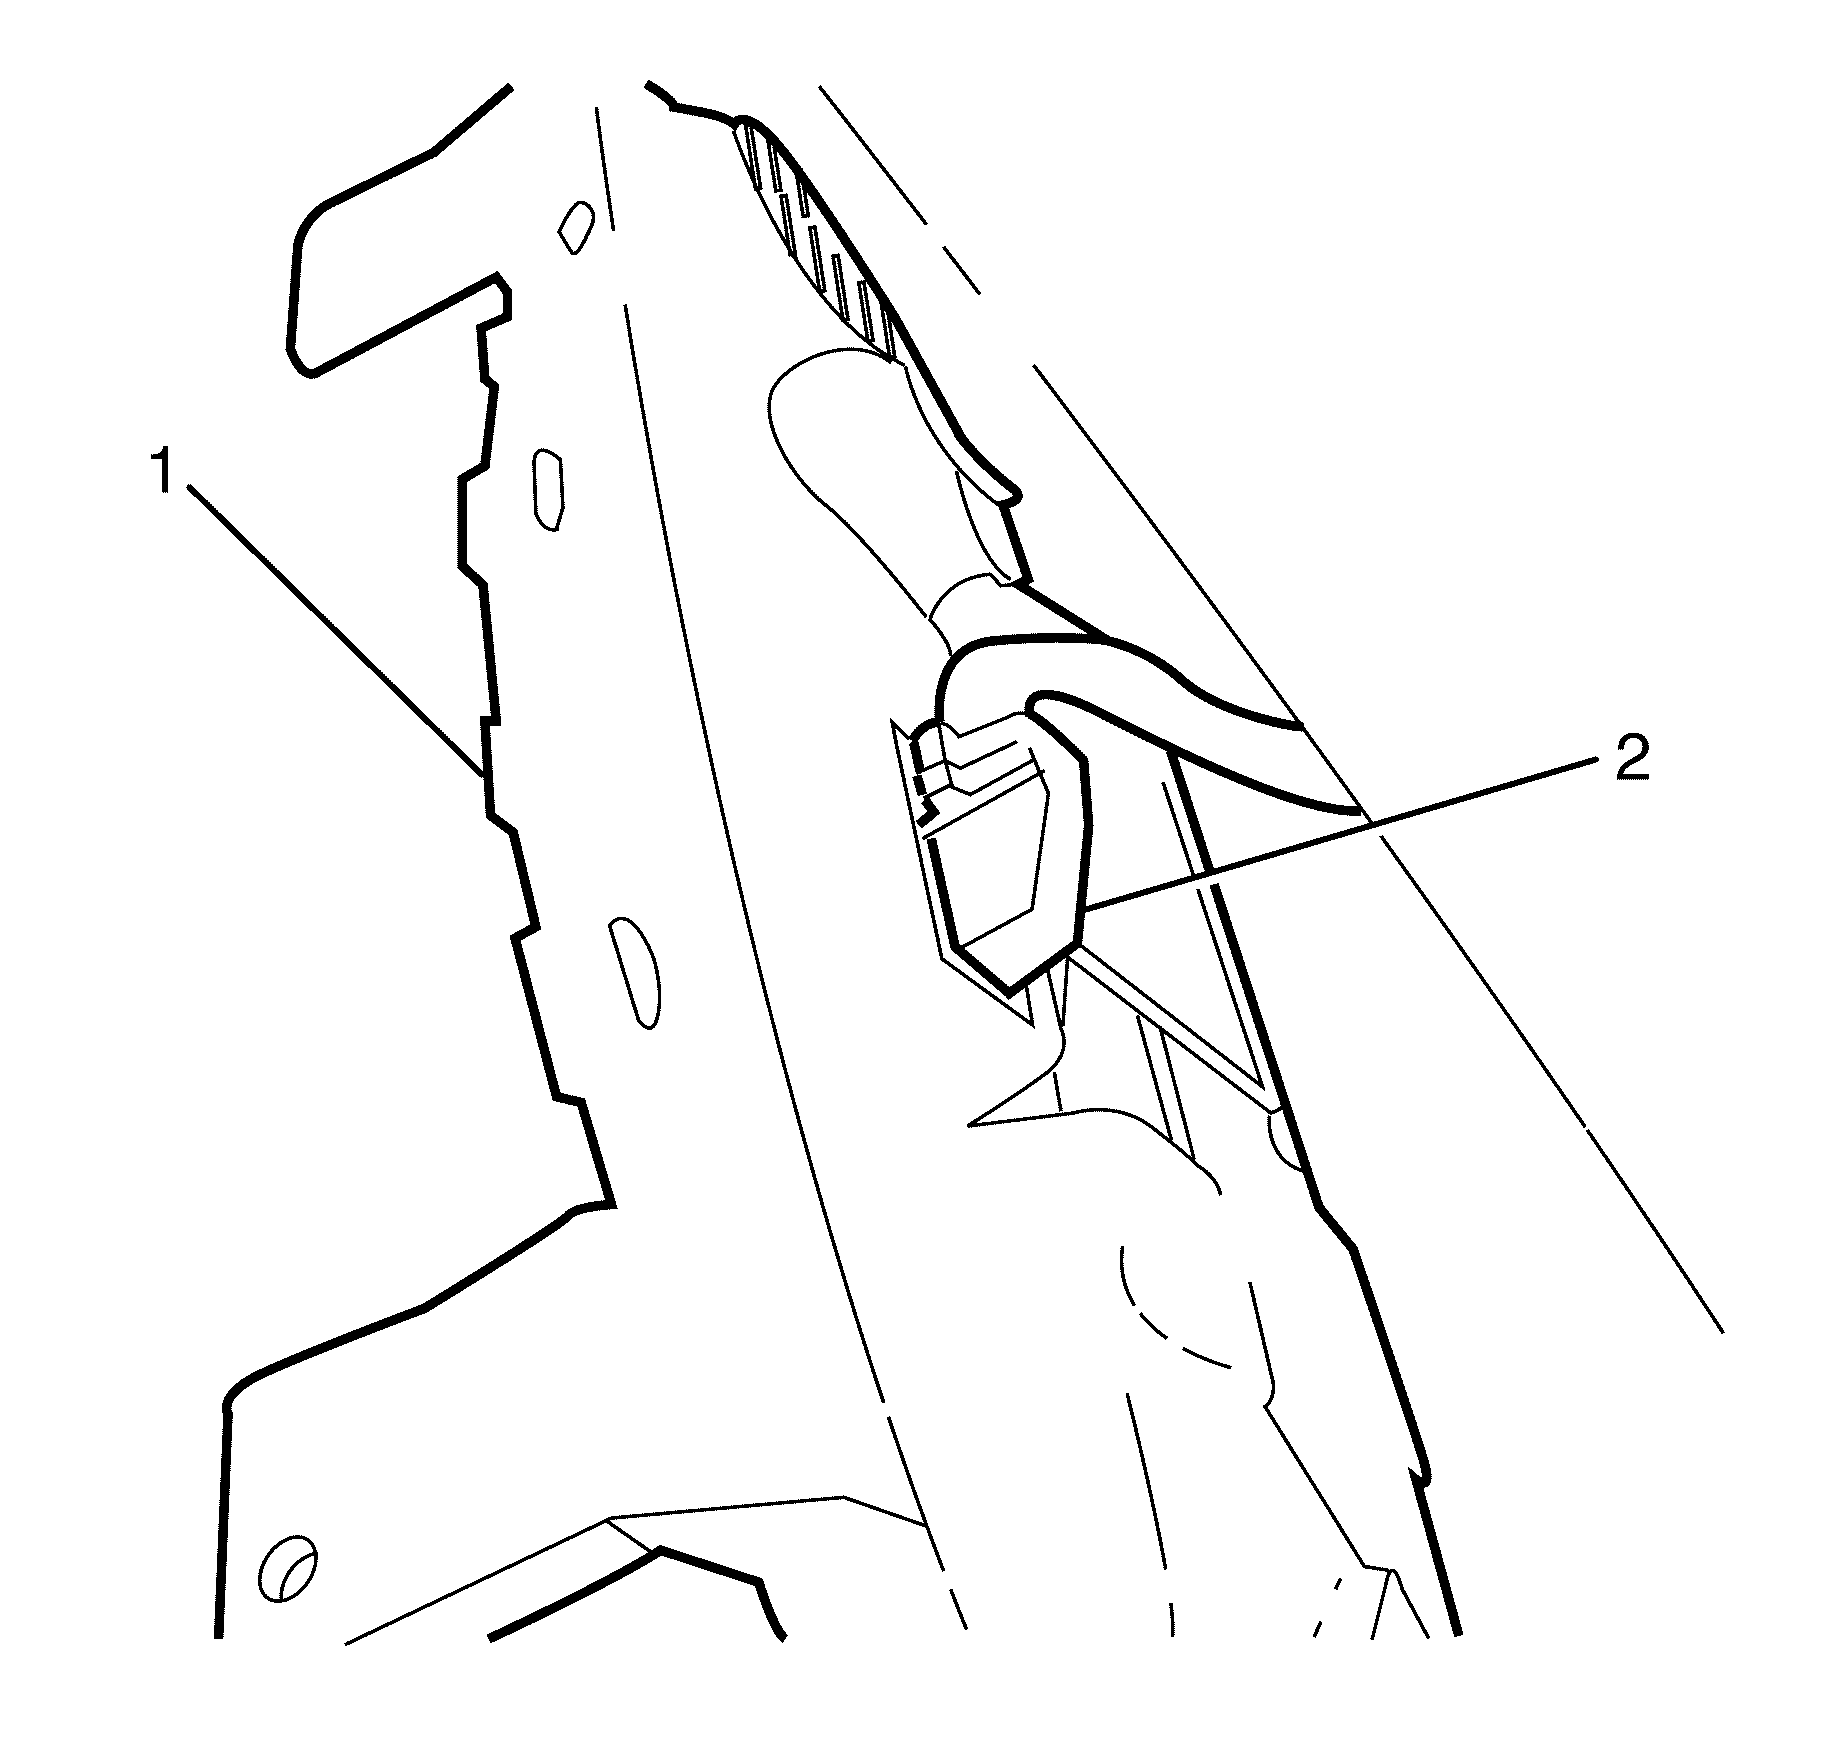
- Disconnect the instrument cluster (1) electrical connector (2).
- Remove the instrument cluster (1).
Important: If the IPC is being replaced due to mechanical damage only, store the data on Tech 2 so the new IPC can be relearned using the stored info on the Tech 2.
Important: When removing the instrument cluster, take care not scratch or damage the instrument cluster screen.
Installation Procedure
- Connect the electrical connector (2) to the Instrument cluster (1).
- Install the instrument cluster.
- Install the instrument cluster (1) retaining screws (2).
- Install the instrument panel (I/P) trim panel. Refer to Instrument Cluster Trim Panel Replacement .
- Install the steering wheel upper trim cover. Refer to Steering Column Trim Covers Replacement .
- Install the knee bolster. Refer to Knee Bolster Replacement .
- Re-programme the instrument cluster. Refer to Instrument Cluster Programming and Setup .
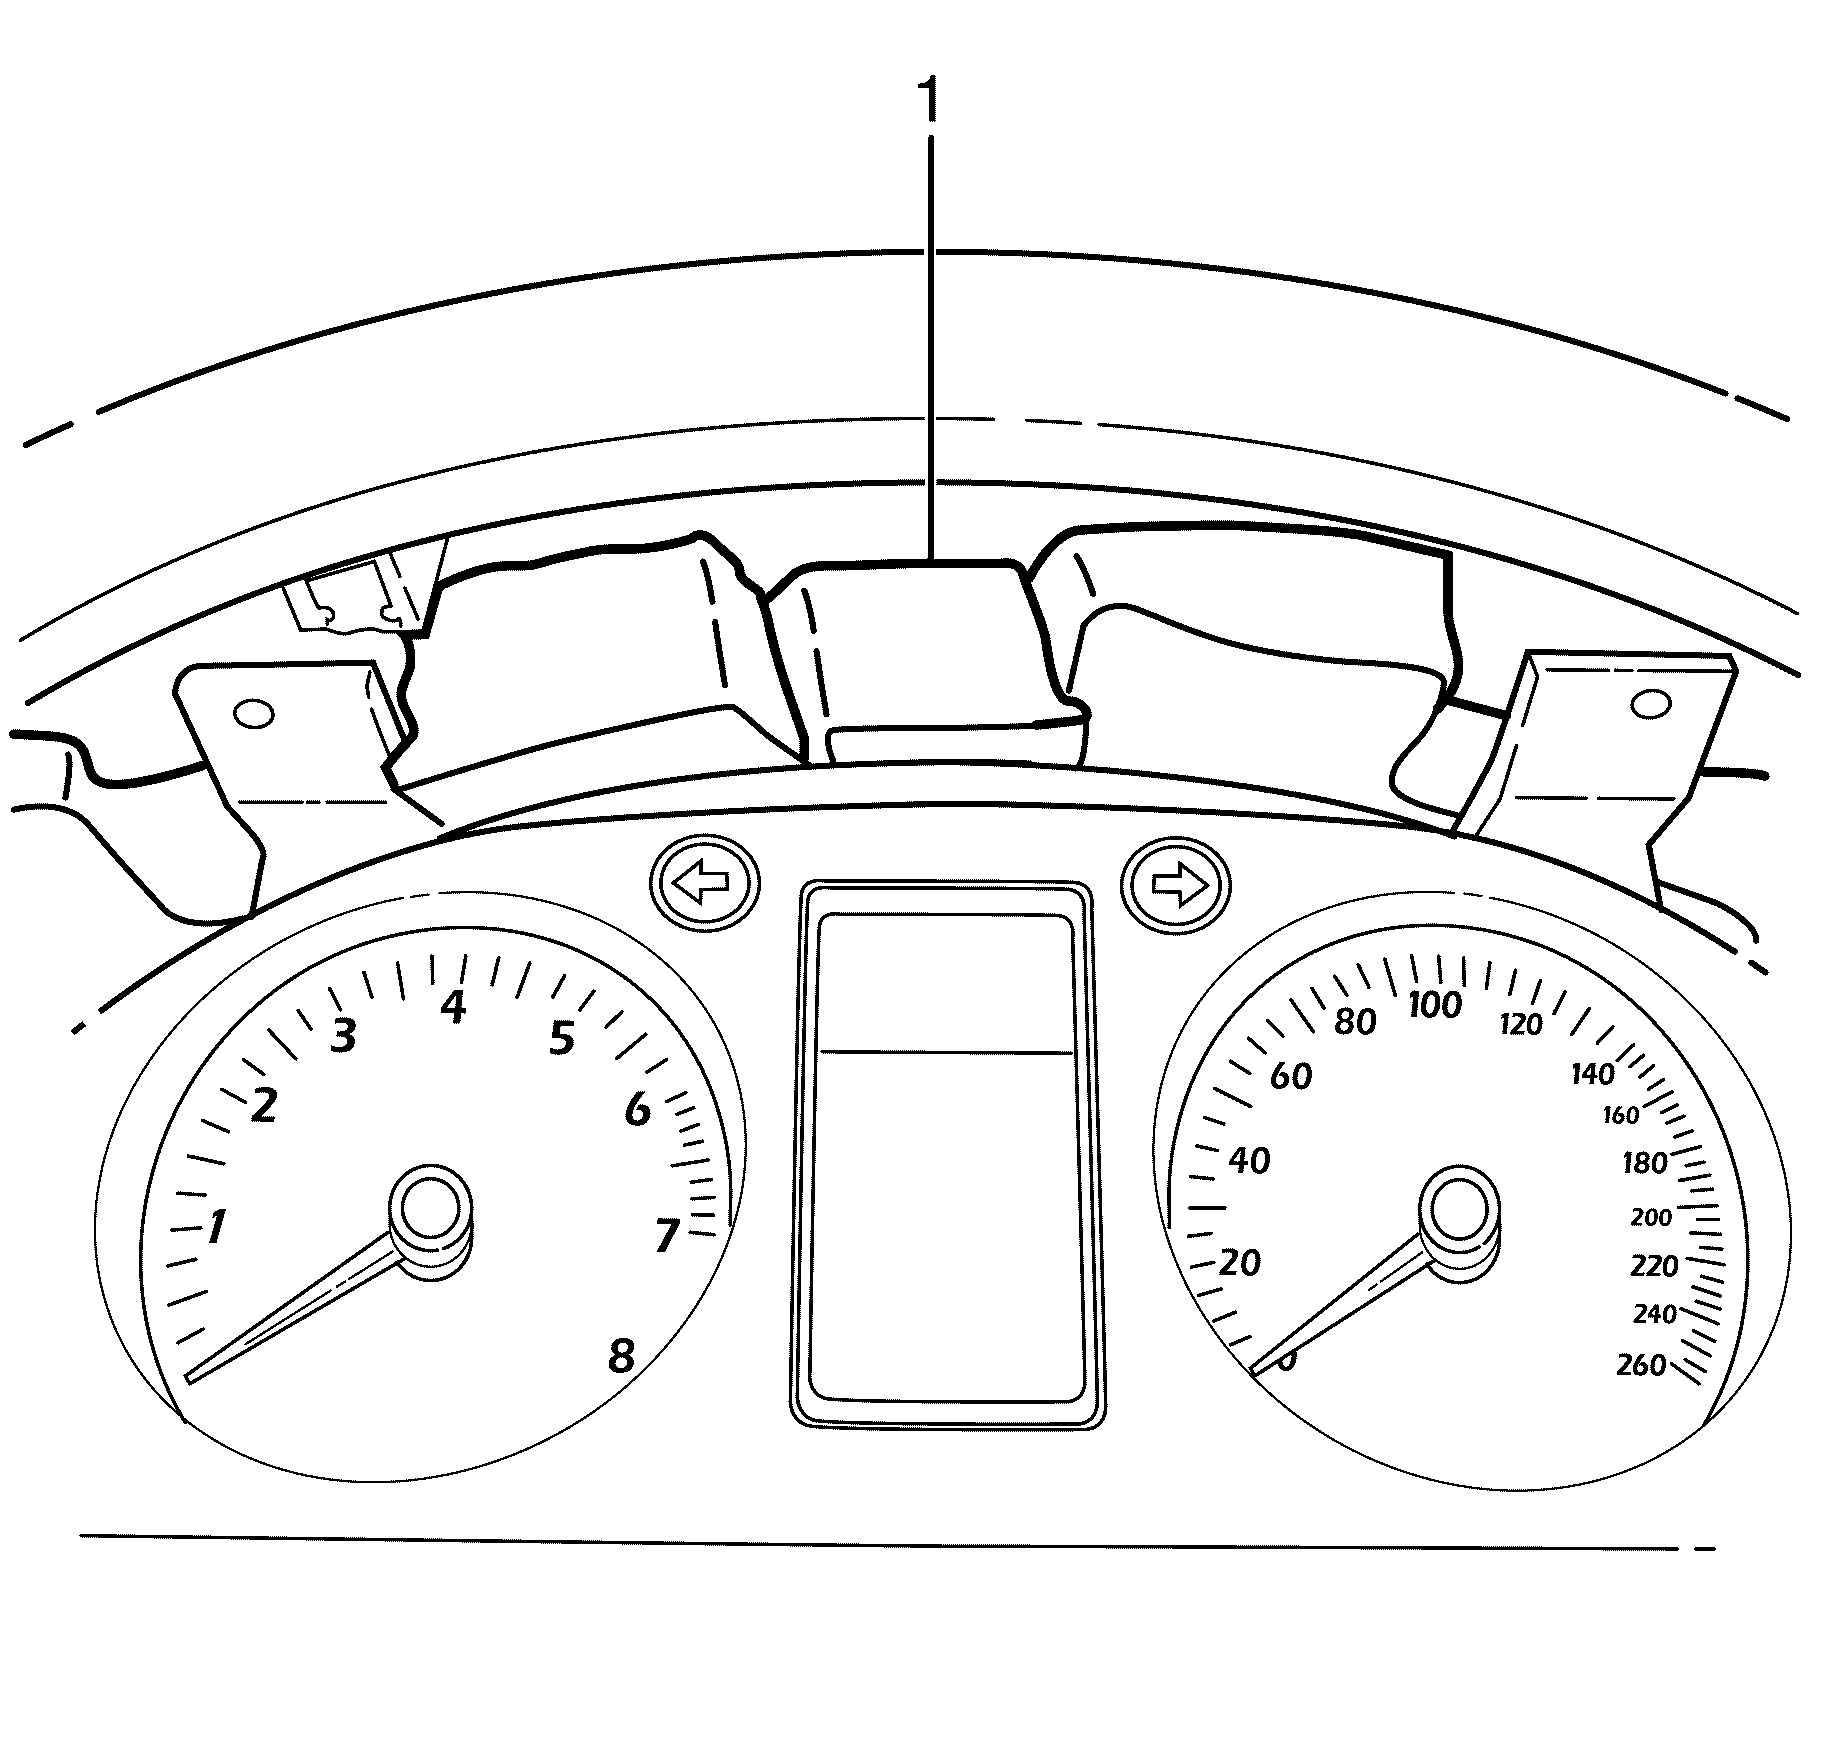
Important: When installing the instrument cluster, make sure the anti-rattle foam (1) is between the I/P trim pad and instrument cluster.
Notice: Refer to Fastener Notice in the Preface section.
Tighten
Tighten the screws (2) to 2 N·m (18 lb in).
