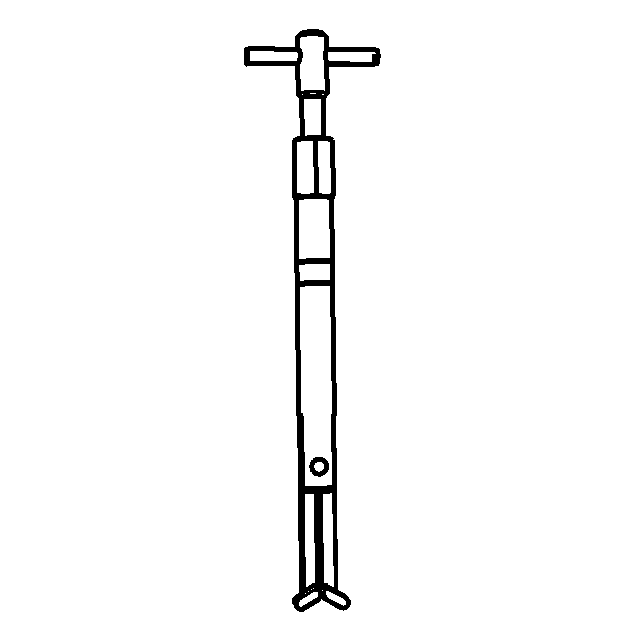
Tools Required
| • |
| • |
| • |
Removal Procedure
- Remove the engine covers. Refer to Engine Cover Replacement.
- Remove the upper intake manifold with the lower intake manifold. Refer to Lower Intake Manifold Replacement.
- Remove the left side camshaft cover. Refer to Camshaft Cover Replacement - Left Side.
- Remove the camshaft position sensors. Refer to (if fitted) Camshaft Position Sensor Replacement - Bank 2 (Left Side) Exhaust and Camshaft Position Sensor Replacement - Bank 2 (Left Side) Intake.
- Remove the camshaft position (CMP) actuator solenoids. Refer to (if fitted) Camshaft Position Actuator Solenoid Valve Solenoid Replacement - Bank 2 (Left Side) Exhaust and Camshaft Position Actuator Solenoid Valve Solenoid Replacement - Bank 2 (Left Side) Intake.
- Remove the crankshaft balancer. Refer to Crankshaft Balancer Removal.
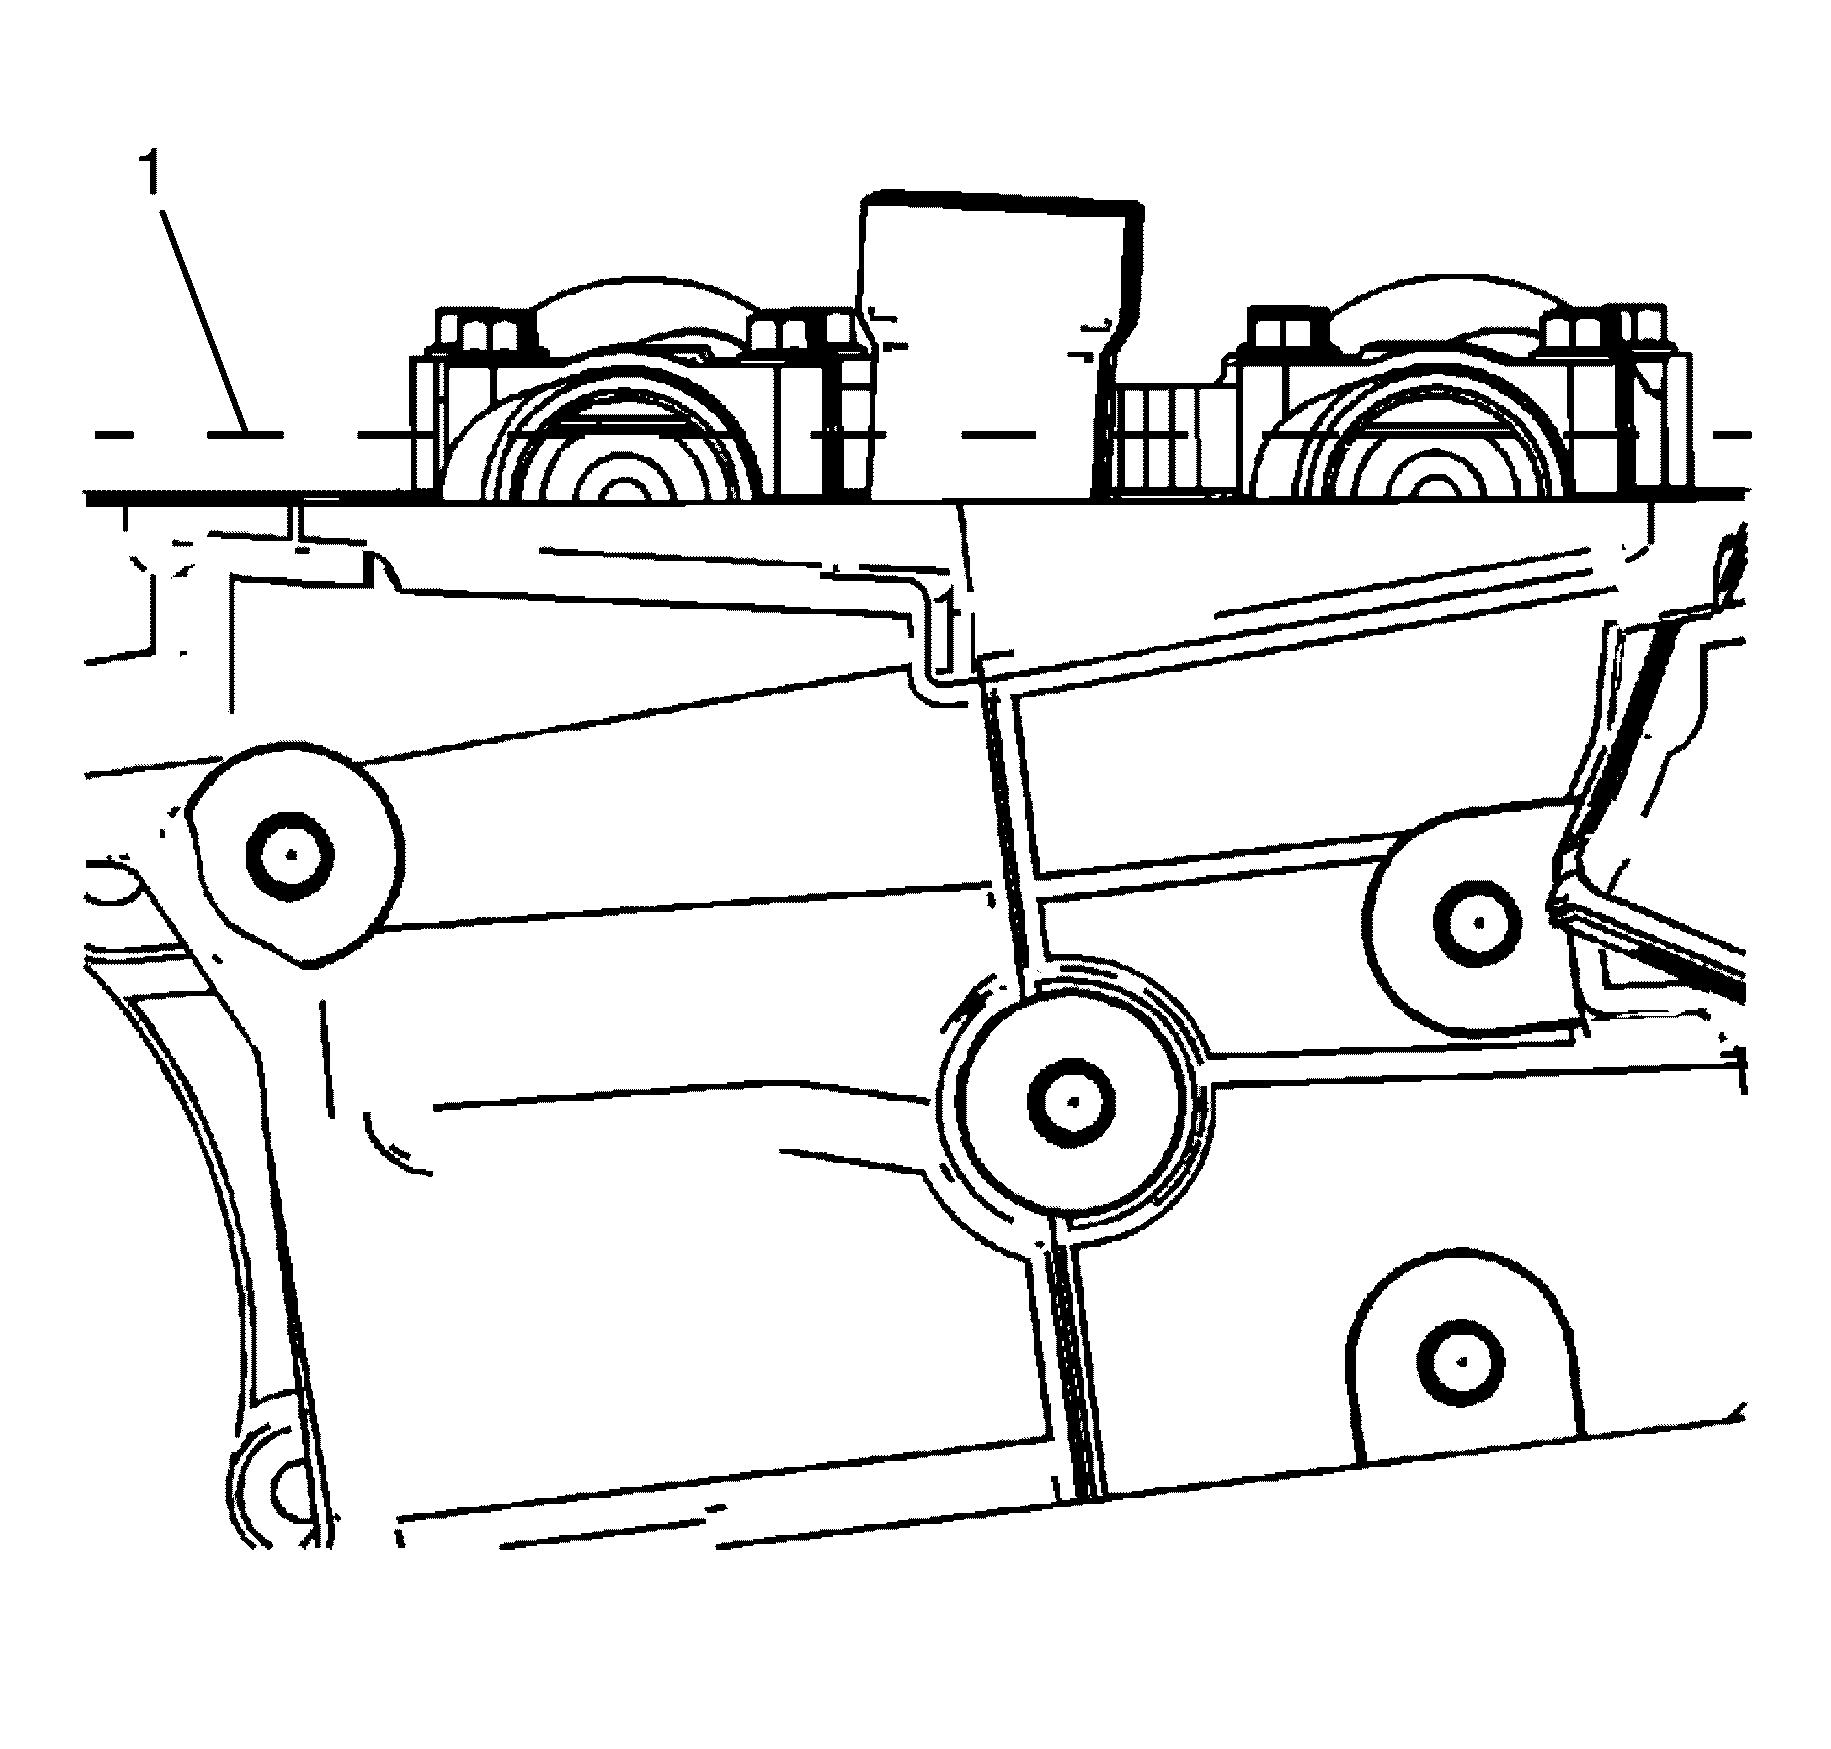
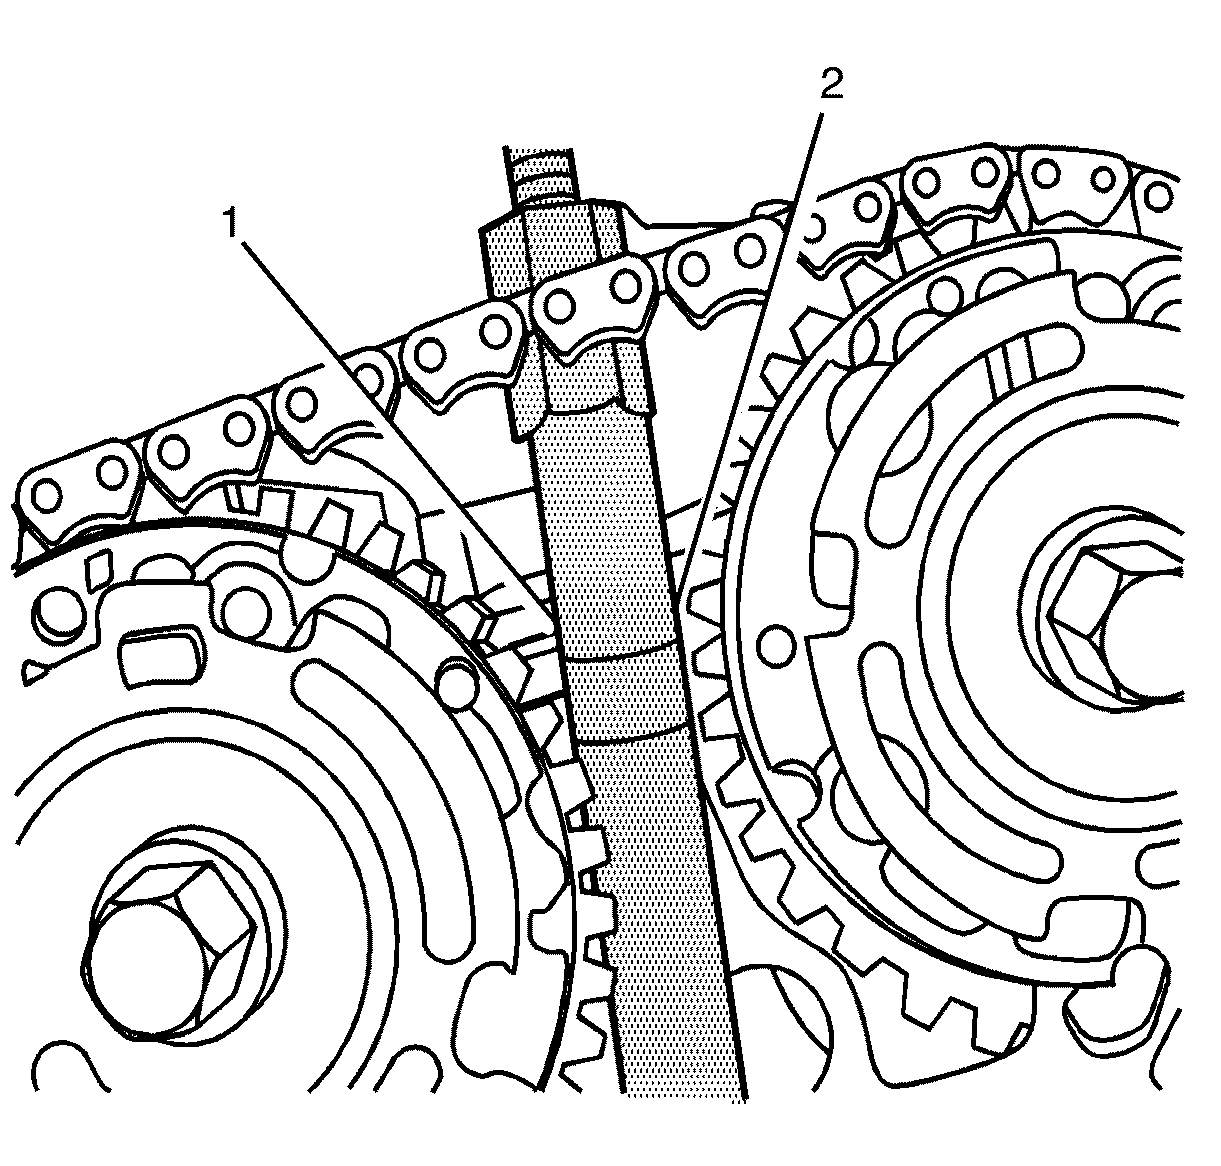
- Rotate the crankshaft with the EN 46111 until the camshafts are in a neutral (low tension) position. The camshaft flats will be parallel with the camshaft cover rail (1).
- Install the EN 46105 (2) onto the rear of the left side camshafts (1).
- Loosen the left side exhaust camshaft position actuator to camshaft retaining bolt.
- Loosen the EN-48313 so that the legs are retracted.
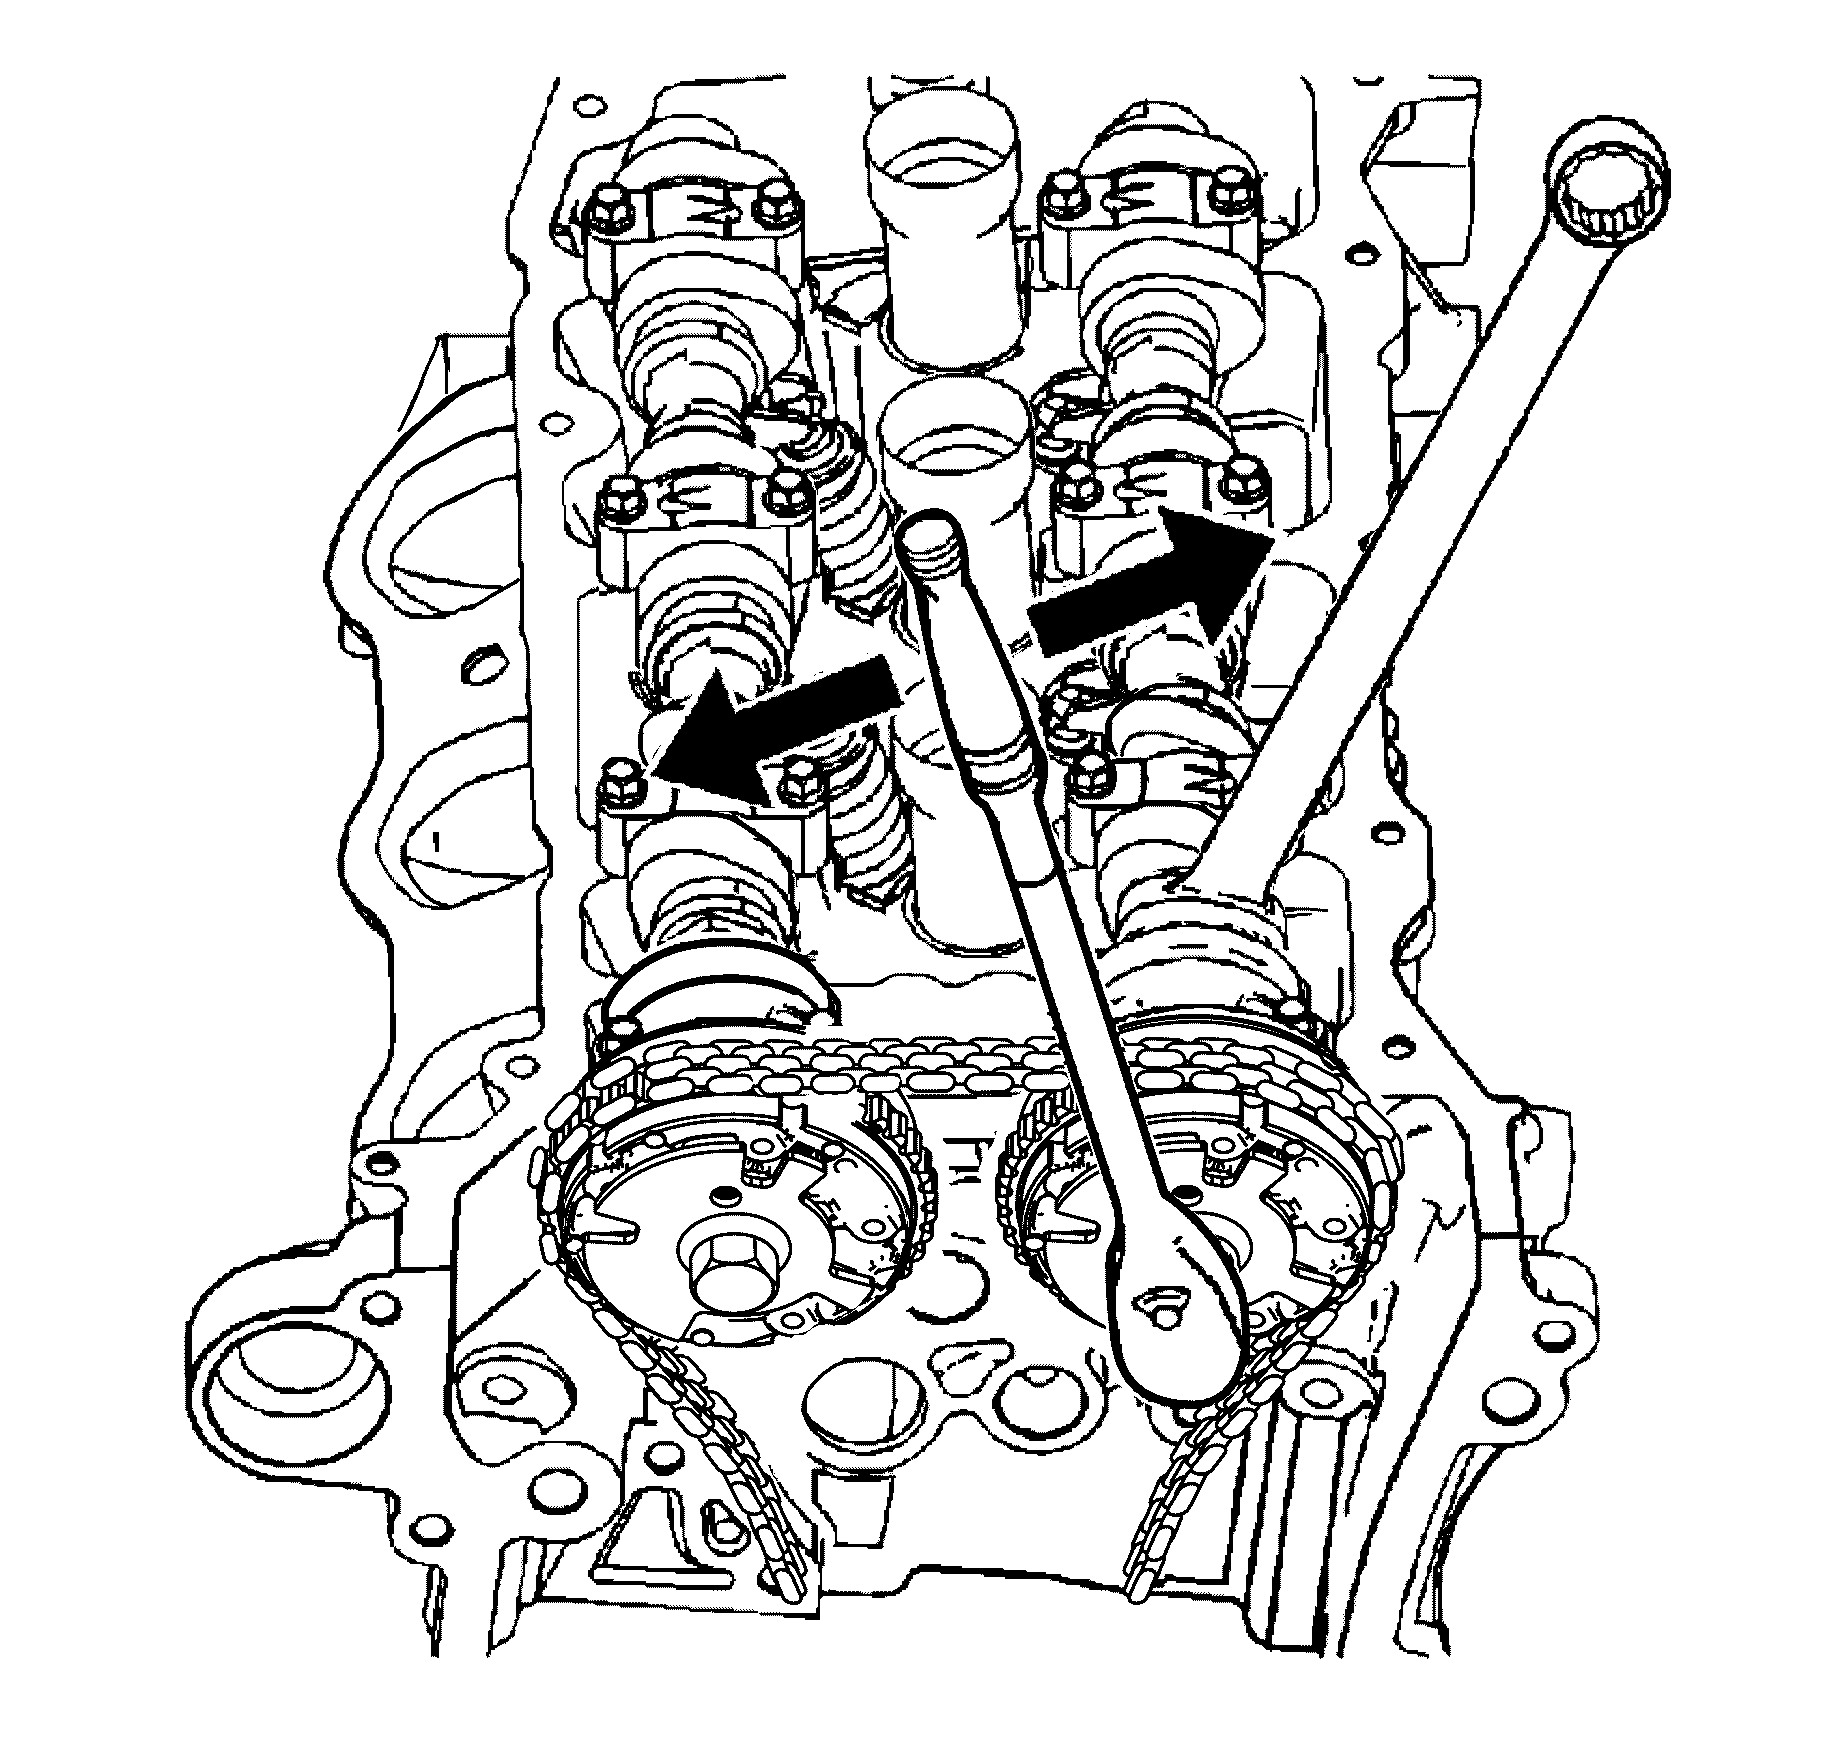
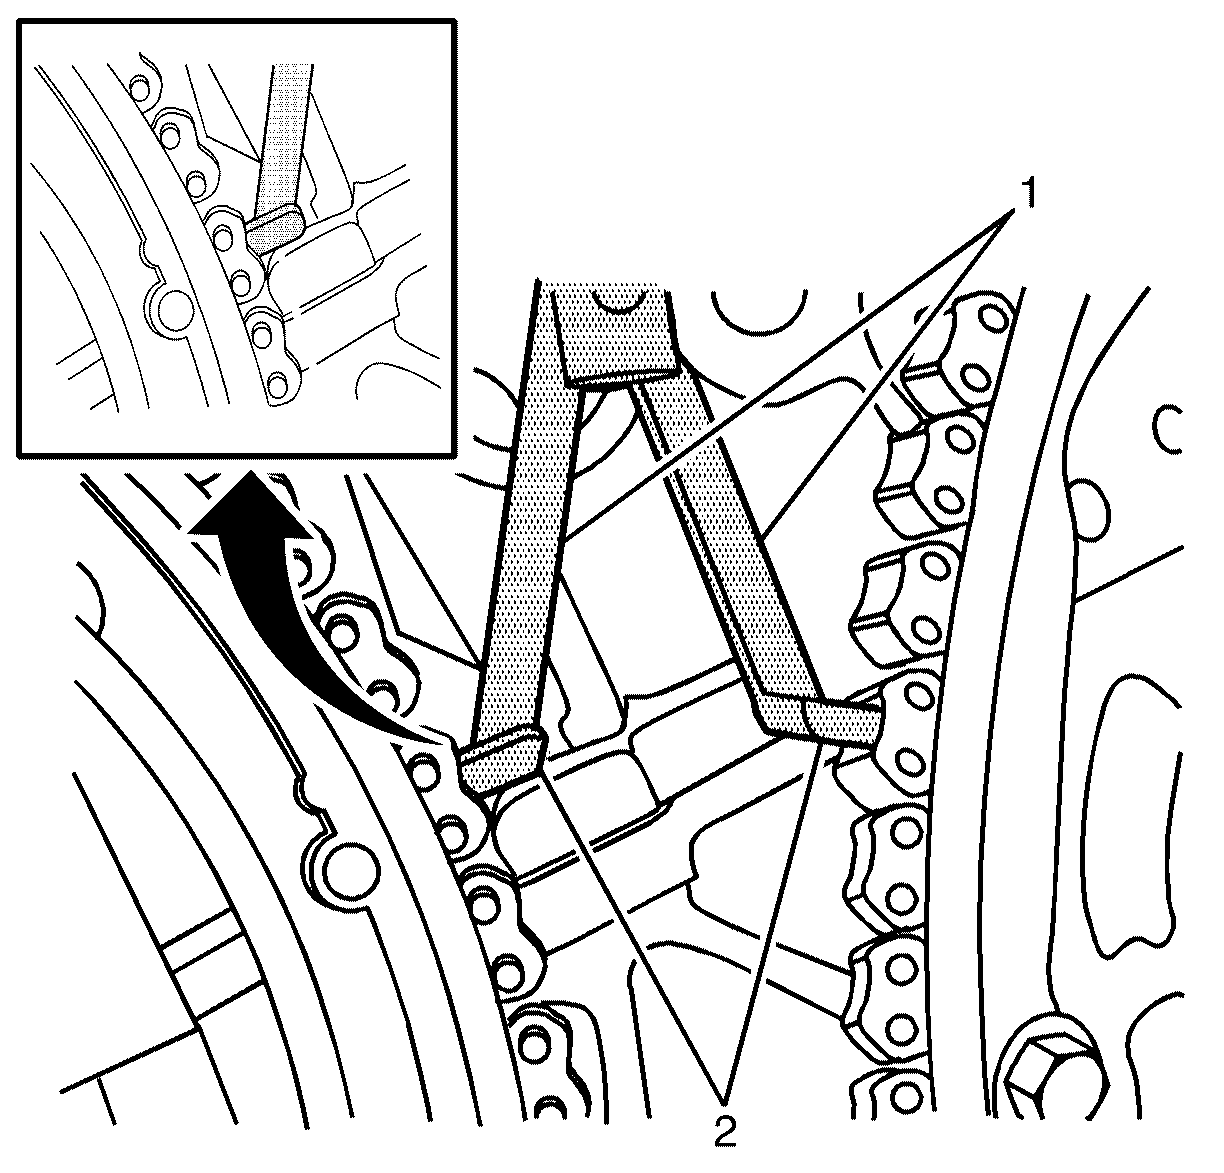
- Insert the EN-48313 between the camshaft actuators, rearward of the timing chain until the top line that is scribed in the body of the tool (1) is adjacent to the top surface of the cylinder head (2). This is the approximate installed position.
- Make sure that the feet (2) on the legs (1) of the EN-48313 are facing the front of the engine.
- Partially expand the legs (1) of EN-48313 by turning the T-shaped handle clockwise.
- Continue expanding the EN-48313 until the feet (2) contact the timing chain.
- Hand tighten the EN-48313 .
- Use an open-end wench on the hex cast into the body of the EN-48313 and hand tighten the T-handle.
- Use an open-end wrench on the hex cast of the left side intake and exhaust camshafts and rotate the camshafts towards each other in order create slack in the chain between the actuators.
- The EN-48313 is now correctly installed to hold the timing chain in position.
- Mark the timing chain and the camshaft position actuators.
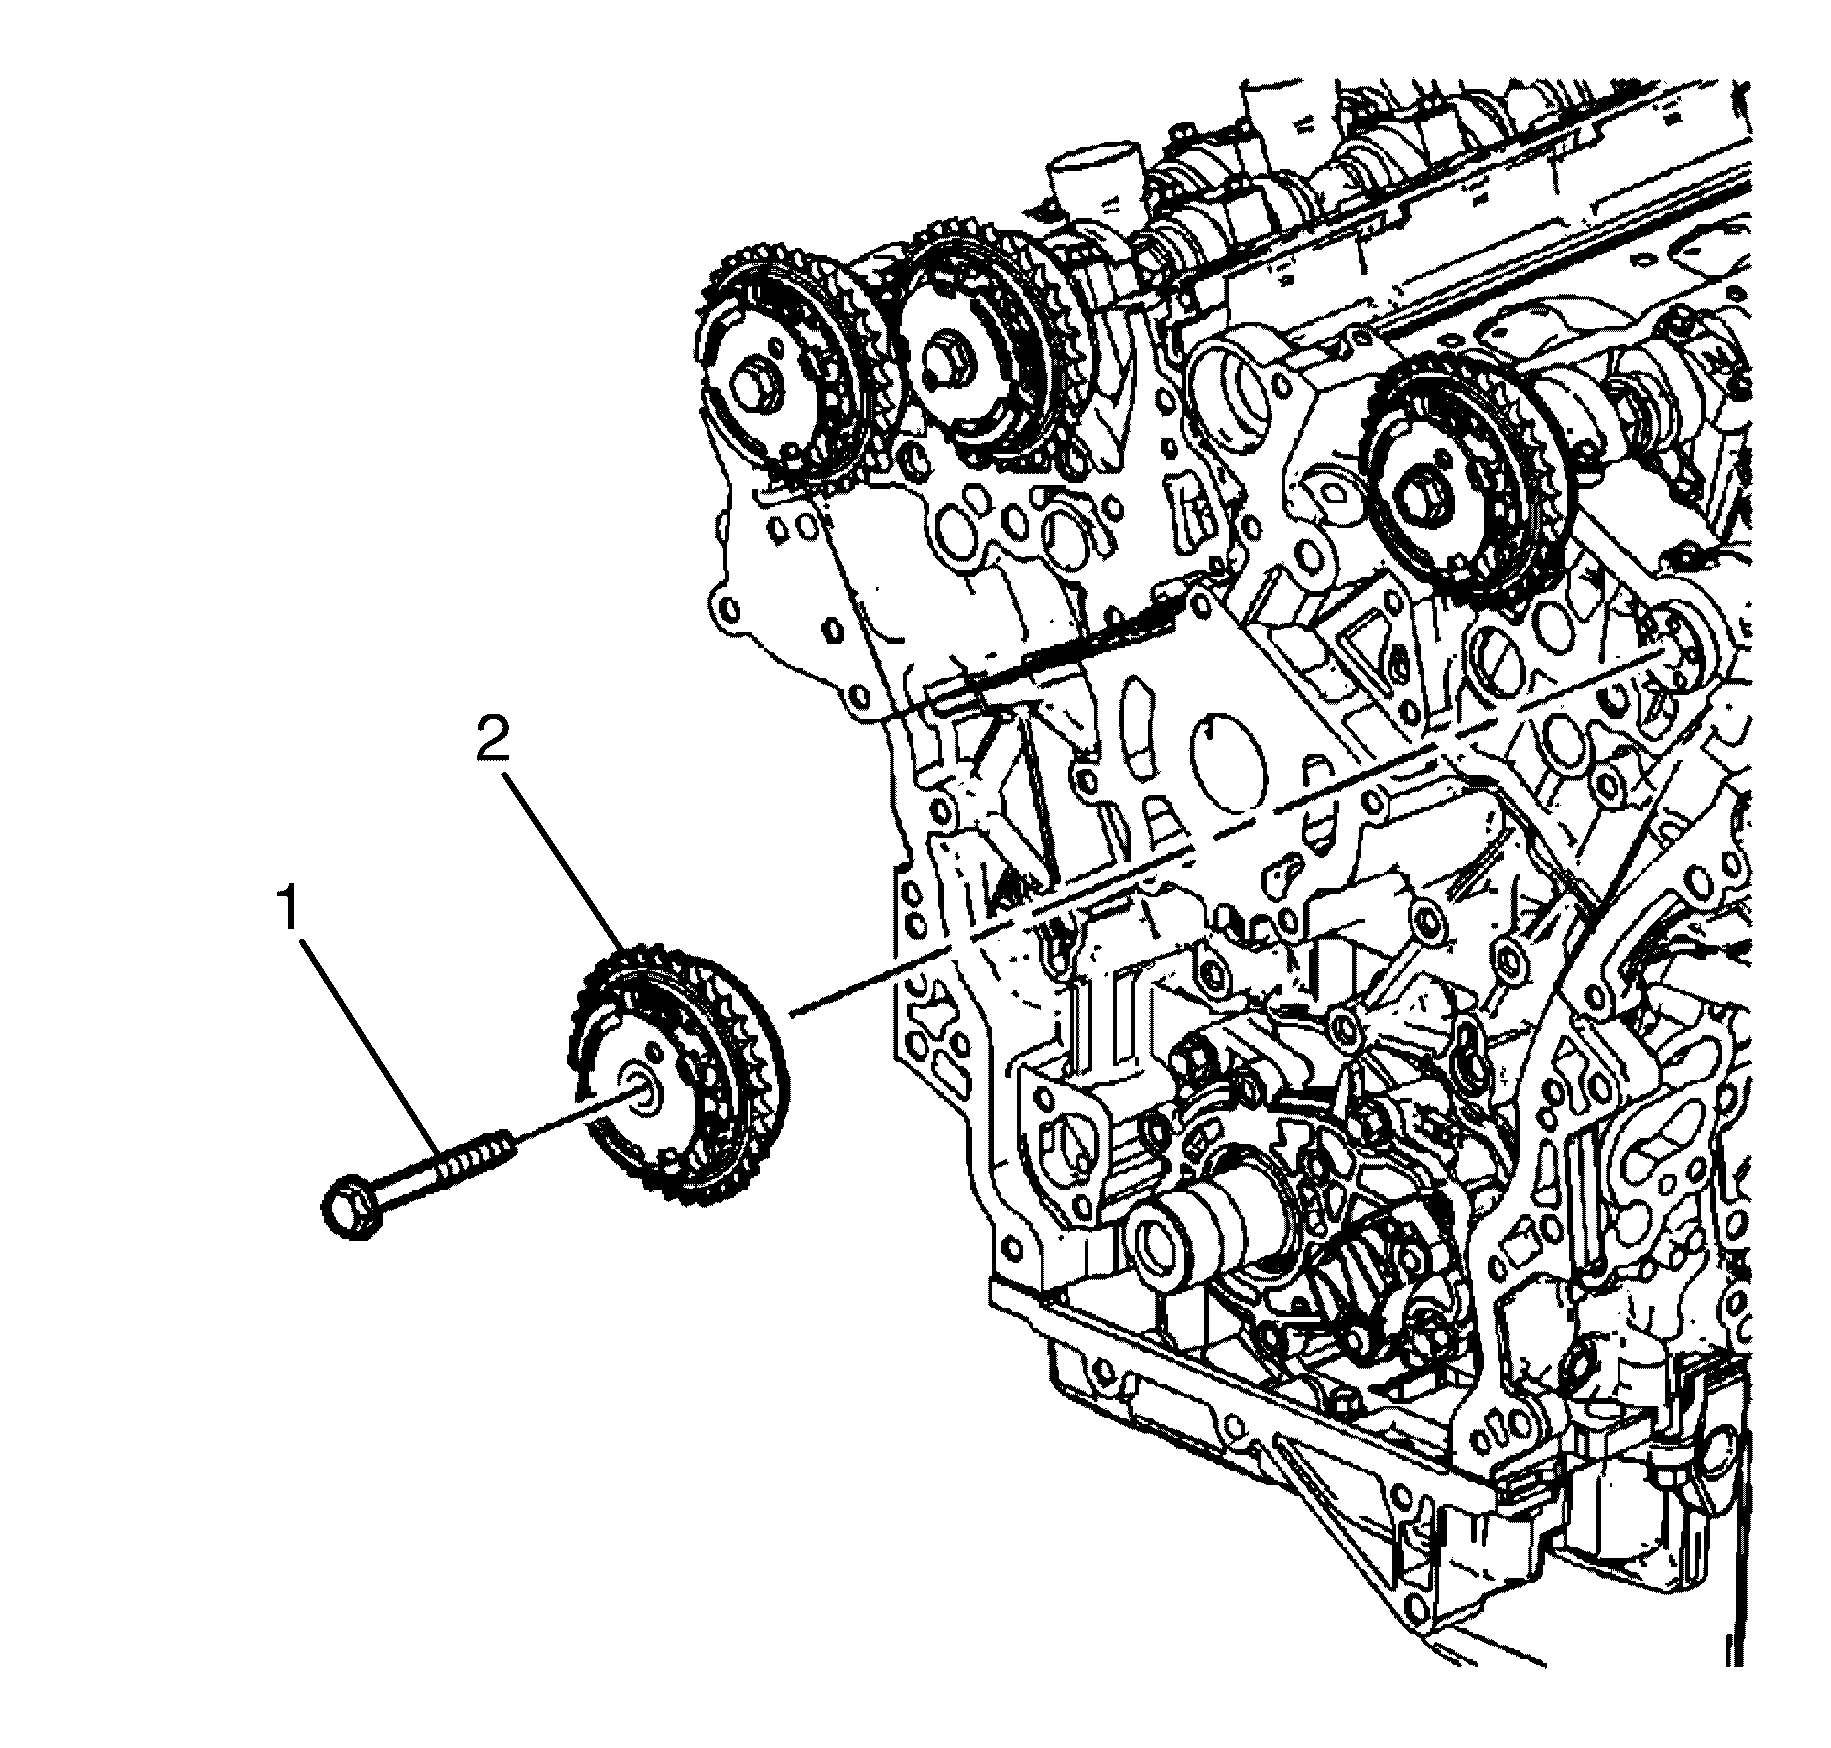
- Remove the left side exhaust camshaft position actuator to camshaft retaining bolt (1).
- Remove the left side exhaust camshaft position actuator (2).

Notice: Refer to Torque Reaction Against Timing Drive Chain Notice in the Preface section.
Important:
• Use an open-end wrench at the camshaft hex to prevent camshaft/engine
rotation. • DO NOT remove the camshaft position actuator to camshaft retaining bolt
at this time.
Important: The front engine cover is removed in the following graphics for illustration purposes and is not required to perform the procedure.
Important: DO NOT tighten the EN-48313 at this stage.
Important: Make sure that the feet (2) of the EN-48313 are correctly engaged into one of the link pockets to prevent chain slipping during tightening.
Notice: Refer to Torque Reaction Against Timing Drive Chain Notice in the Preface section.
Important: DO NOT allow the body of the EN-48313 to rotate when tightening the T-handle.
Important: Make sure that the camshaft timing chain and the camshaft position actuators are marked for correct assembly.
Installation Procedure
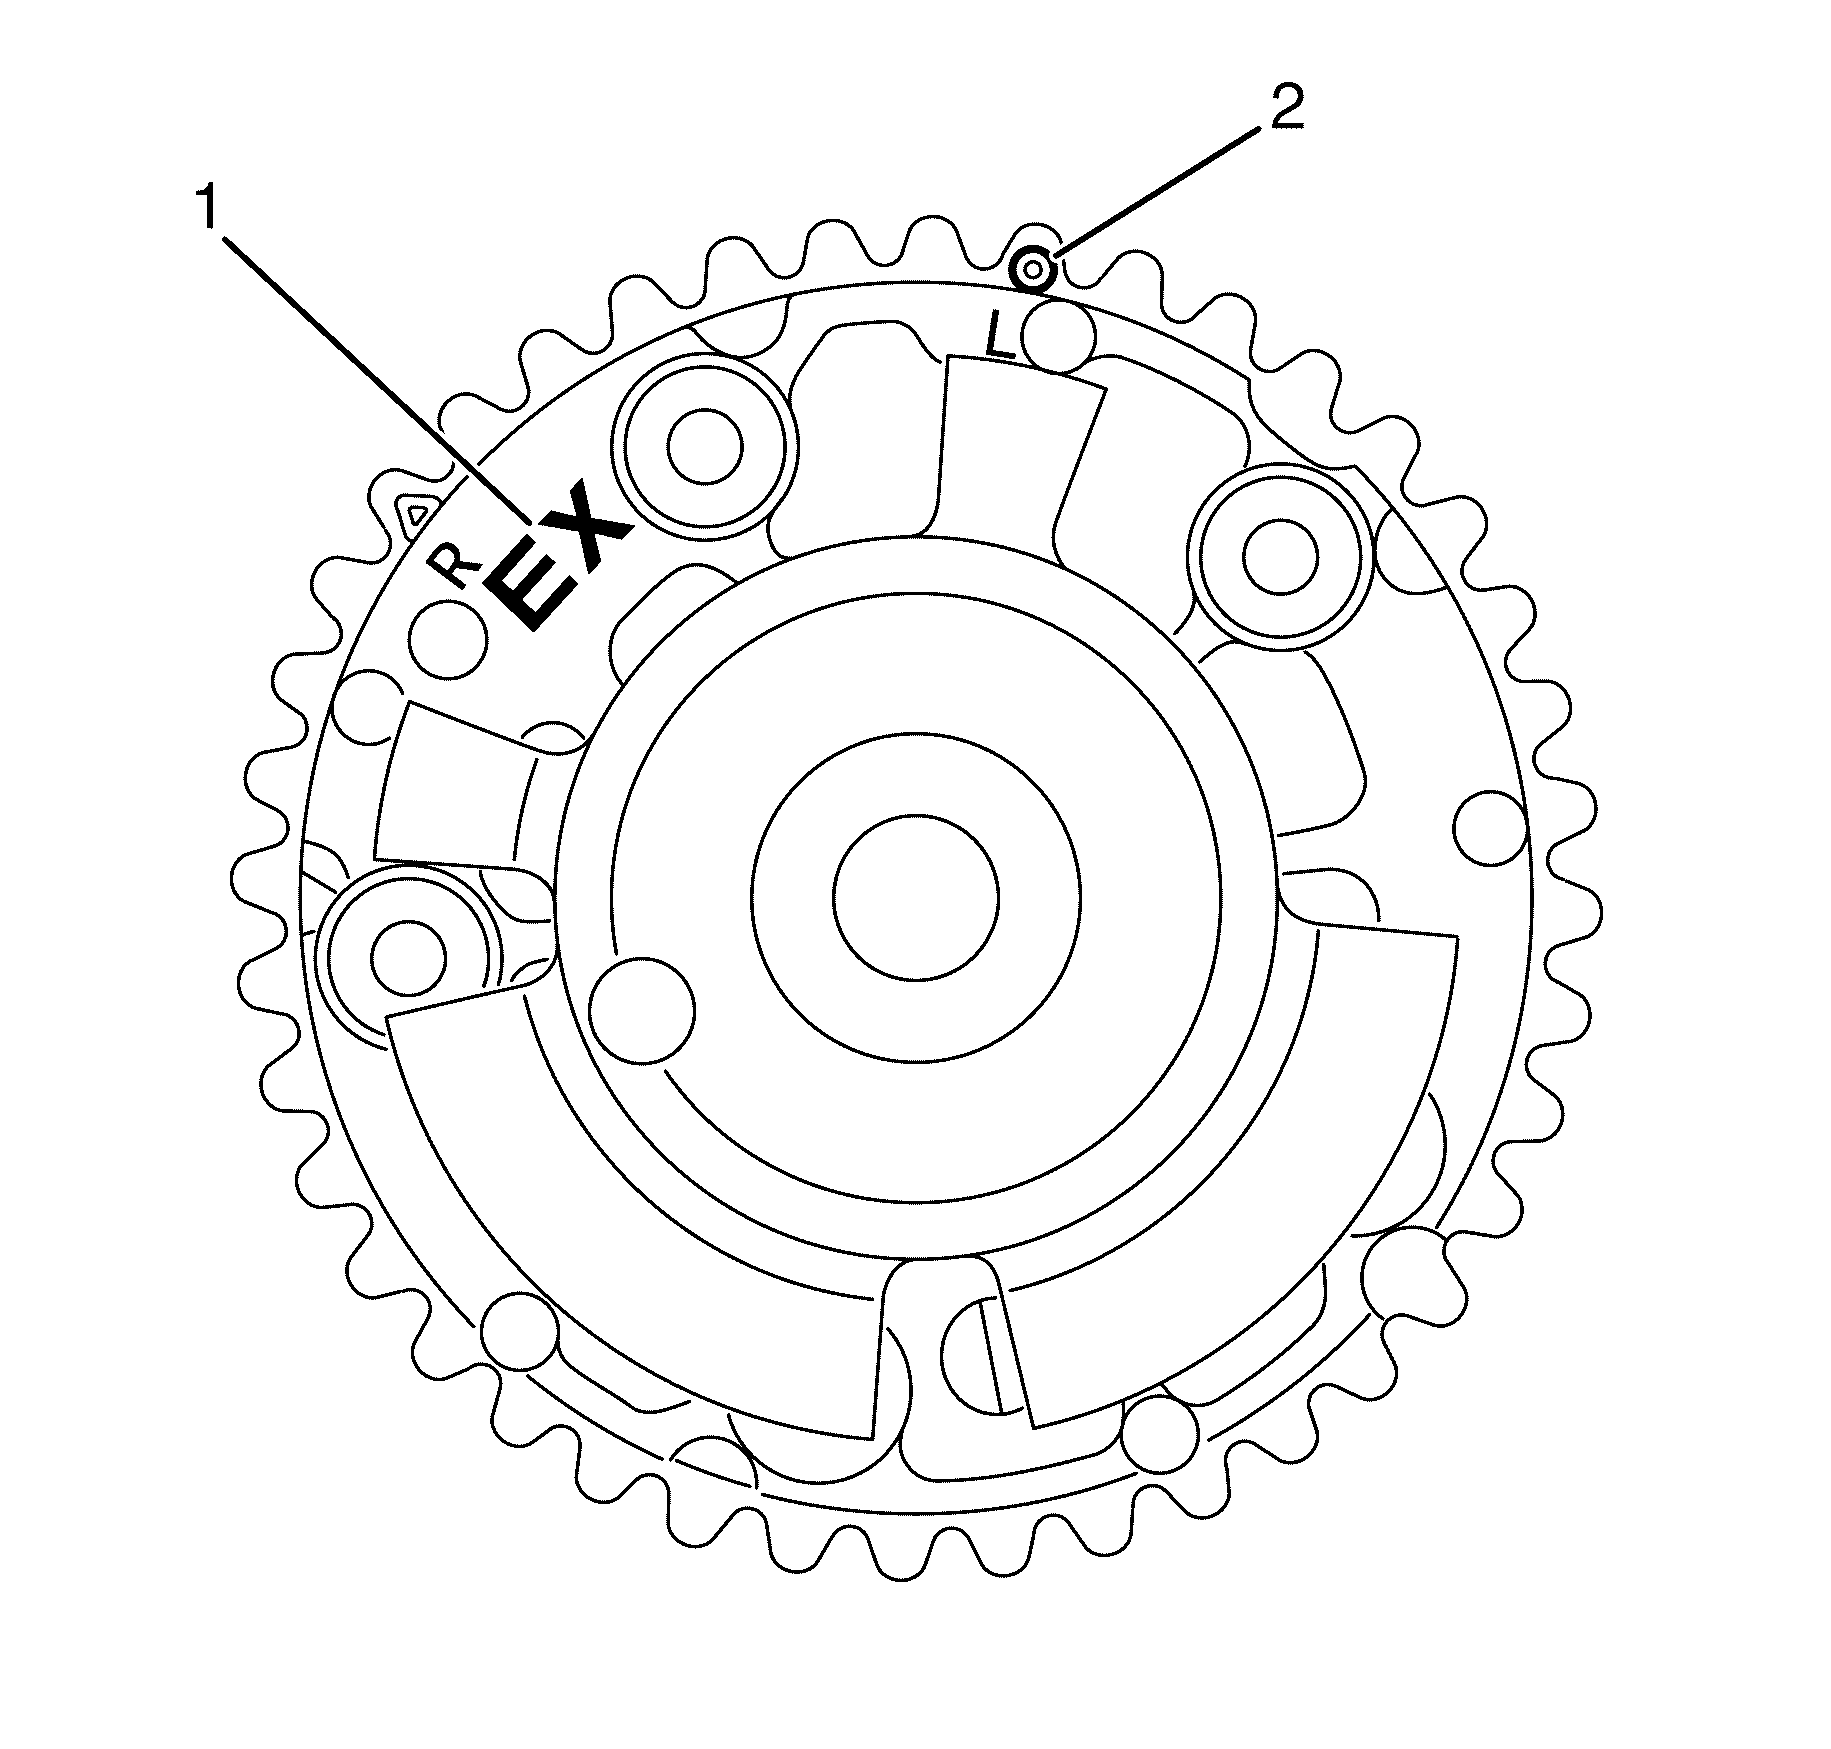
- Make sure the correct camshaft position actuator is installed. Observe the body of the camshaft position actuator for the "EX" marking (1). The marking is for an exhaust camshaft position actuator.
- Make sure the correct timing mark is used. Observe the outer ring of the camshaft position actuator for the "L" and circle marking (2). The marking is for alignment to the highlighted timing chain link on the left side of the engine.
- Install the left side exhaust camshaft position actuator (2).
- Install the camshaft position actuator to camshaft retaining bolt (1).
- Remove EN-48313 .
- Tighten the camshaft position actuator to camshaft retaining bolt.
- Remove the EN 46105 (2) from the rear of the left side camshafts (1).
- Install the camshaft position (CMP) actuator solenoids. Refer to (if fitted) Camshaft Position Actuator Solenoid Valve Solenoid Replacement - Bank 2 (Left Side) Exhaust and Camshaft Position Actuator Solenoid Valve Solenoid Replacement - Bank 2 (Left Side) Intake
- Install the camshaft position sensors. Refer to (if fitted) Camshaft Position Sensor Replacement - Bank 2 (Left Side) Exhaust and Camshaft Position Sensor Replacement - Bank 2 (Left Side) Intake.
- Install the crankshaft balancer. Refer to Crankshaft Balancer Installation.
- Install the left bank camshaft cover. Refer to Camshaft Cover Replacement - Left Side.
- Install the upper intake manifold with the lower intake manifold. Refer to Lower Intake Manifold Replacement.
- Install the engine covers. Refer to Engine Cover Replacement.
Important:
• Make sure that the marks on the camshaft position actuators and the timing
chain are aligned. • DO NOT tighten the left side exhaust camshaft position actuator to camshaft
retaining bolt (1) at this time.
DO NOT fully tighten at this stage.
Notice: Refer to Torque Reaction Against Timing Drive Chain Notice in the Preface section.
Notice: Refer to Fastener Notice in the Preface section.
Important: Use an open-end wrench at the camshaft hex to prevent camshaft/engine rotation.
Tighten
Tighten the bolt to 58 N·m (43 lb ft).
