Hydraulic Clutch Bleeding 3.6L Engine
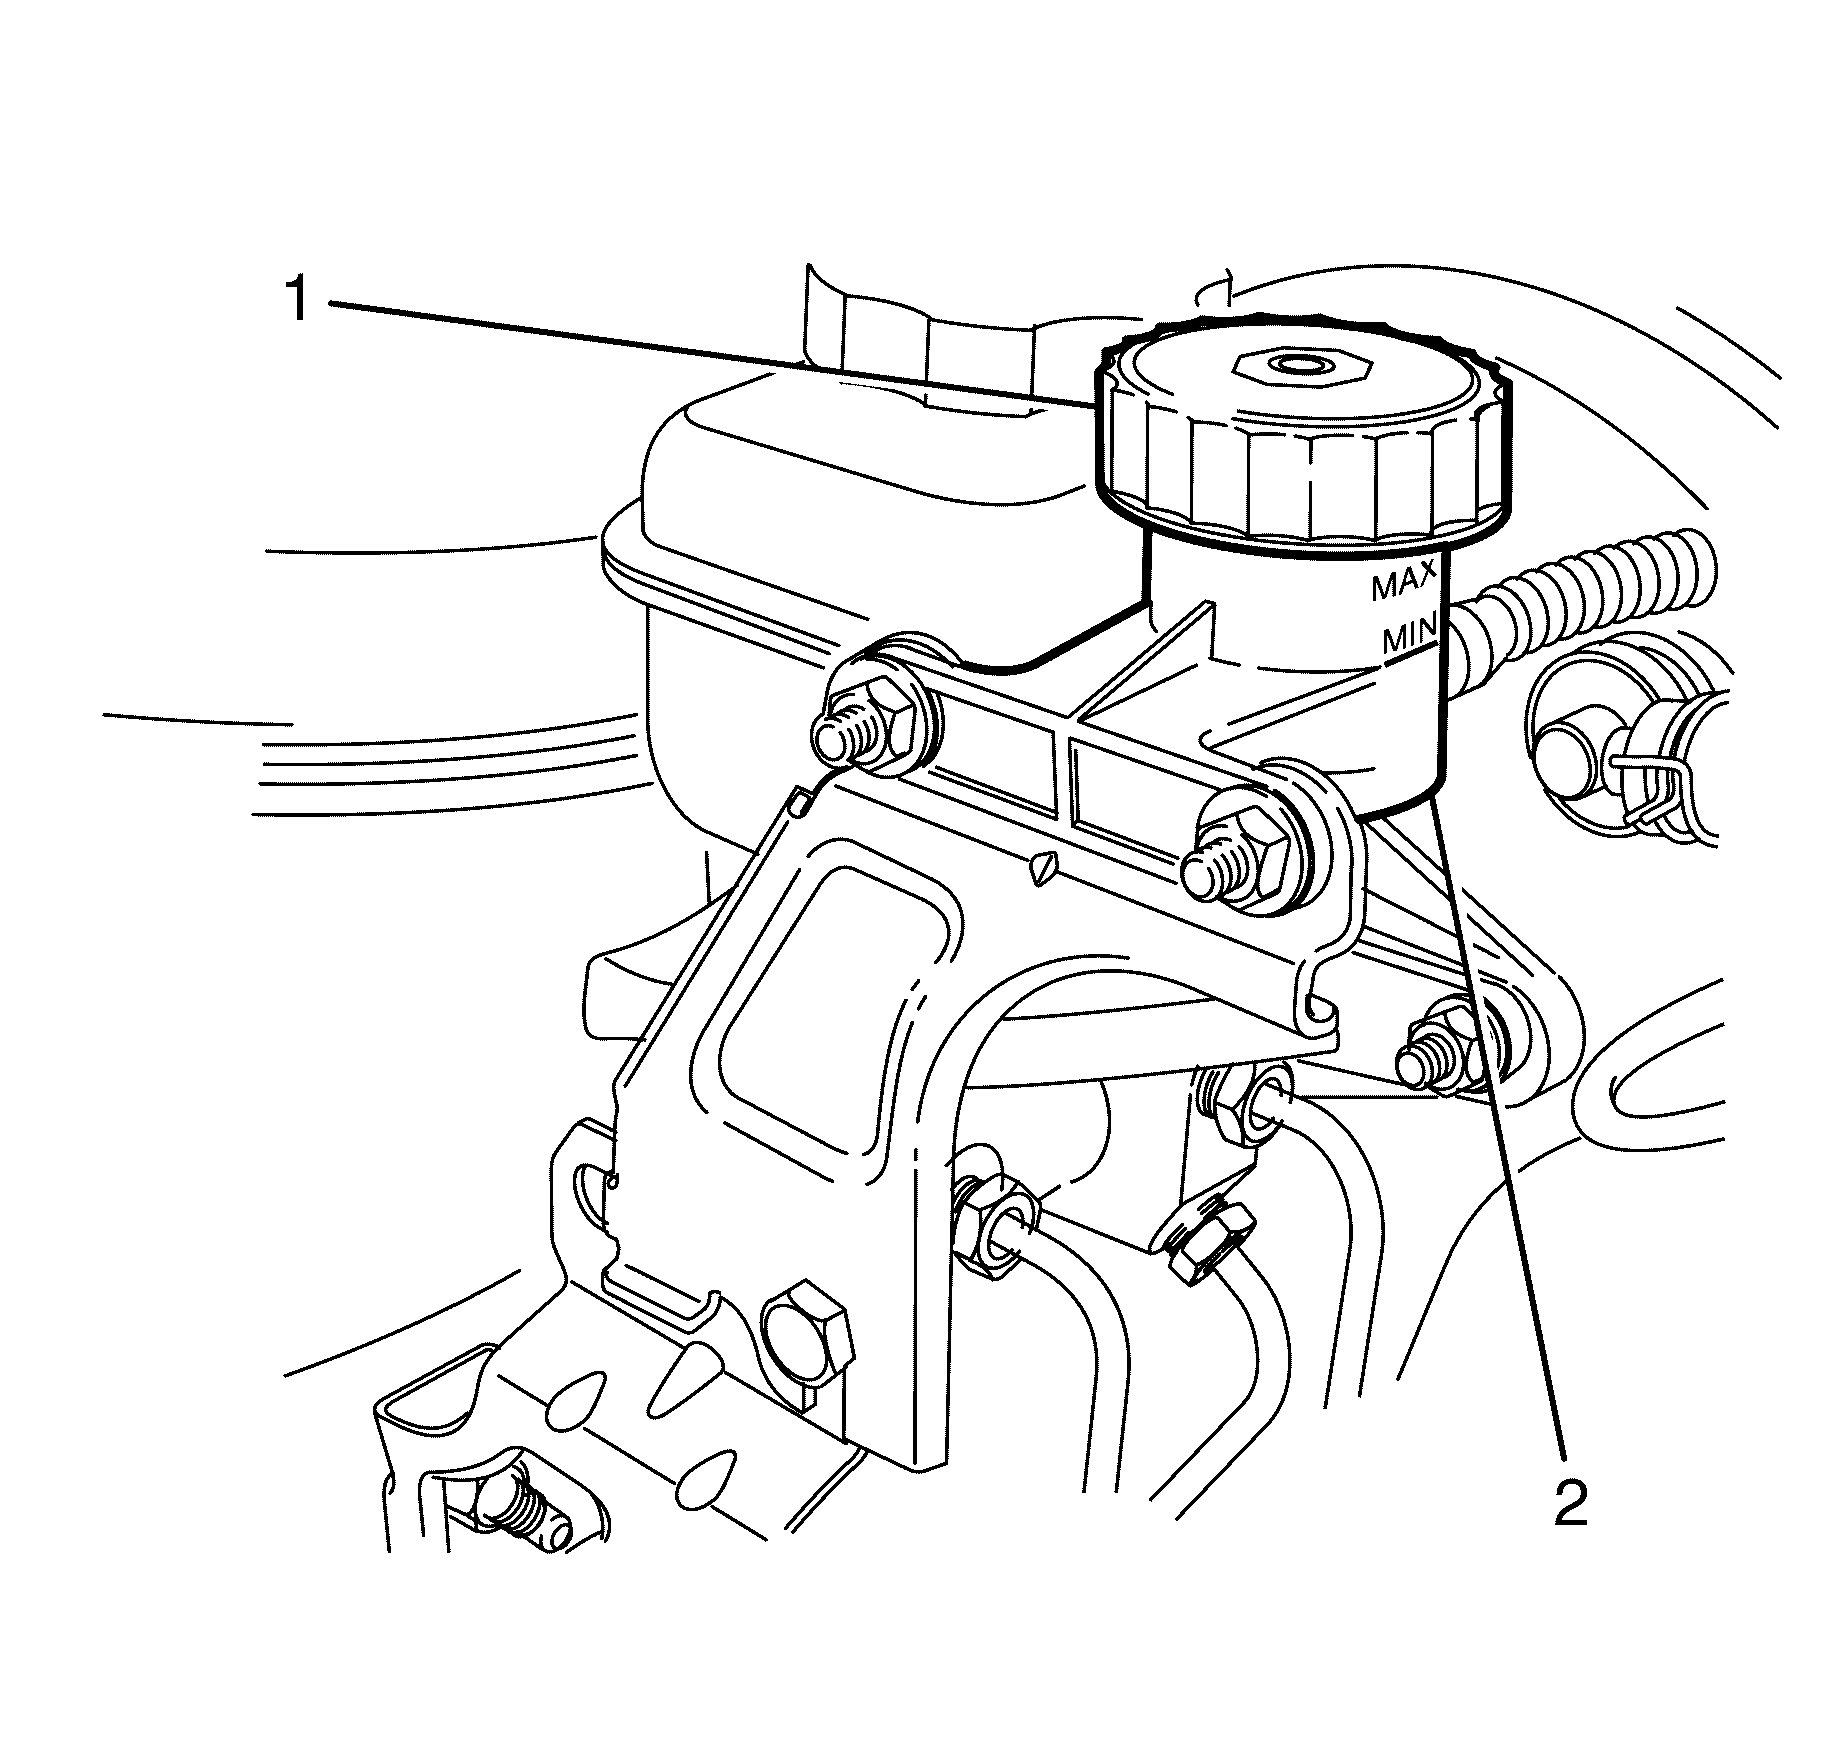
- Clean any dirt from around the clutch fluid reservoir cap (1).
- Remove the clutch fluid reservoir cap (1) and ensure the clutch fluid reservoir (2) is filled to the fill line with new hydraulic fluid. Add fluid if required from a clean sealed container. For clutch fluid specifications, refer to General Specifications.
- Stroke the clutch pedal from the up stop to the down stop position at least 15 times slowly to avoid aeration of fluid.
- Raise and support vehicle. Refer to Lifting and Jacking the Vehicle.
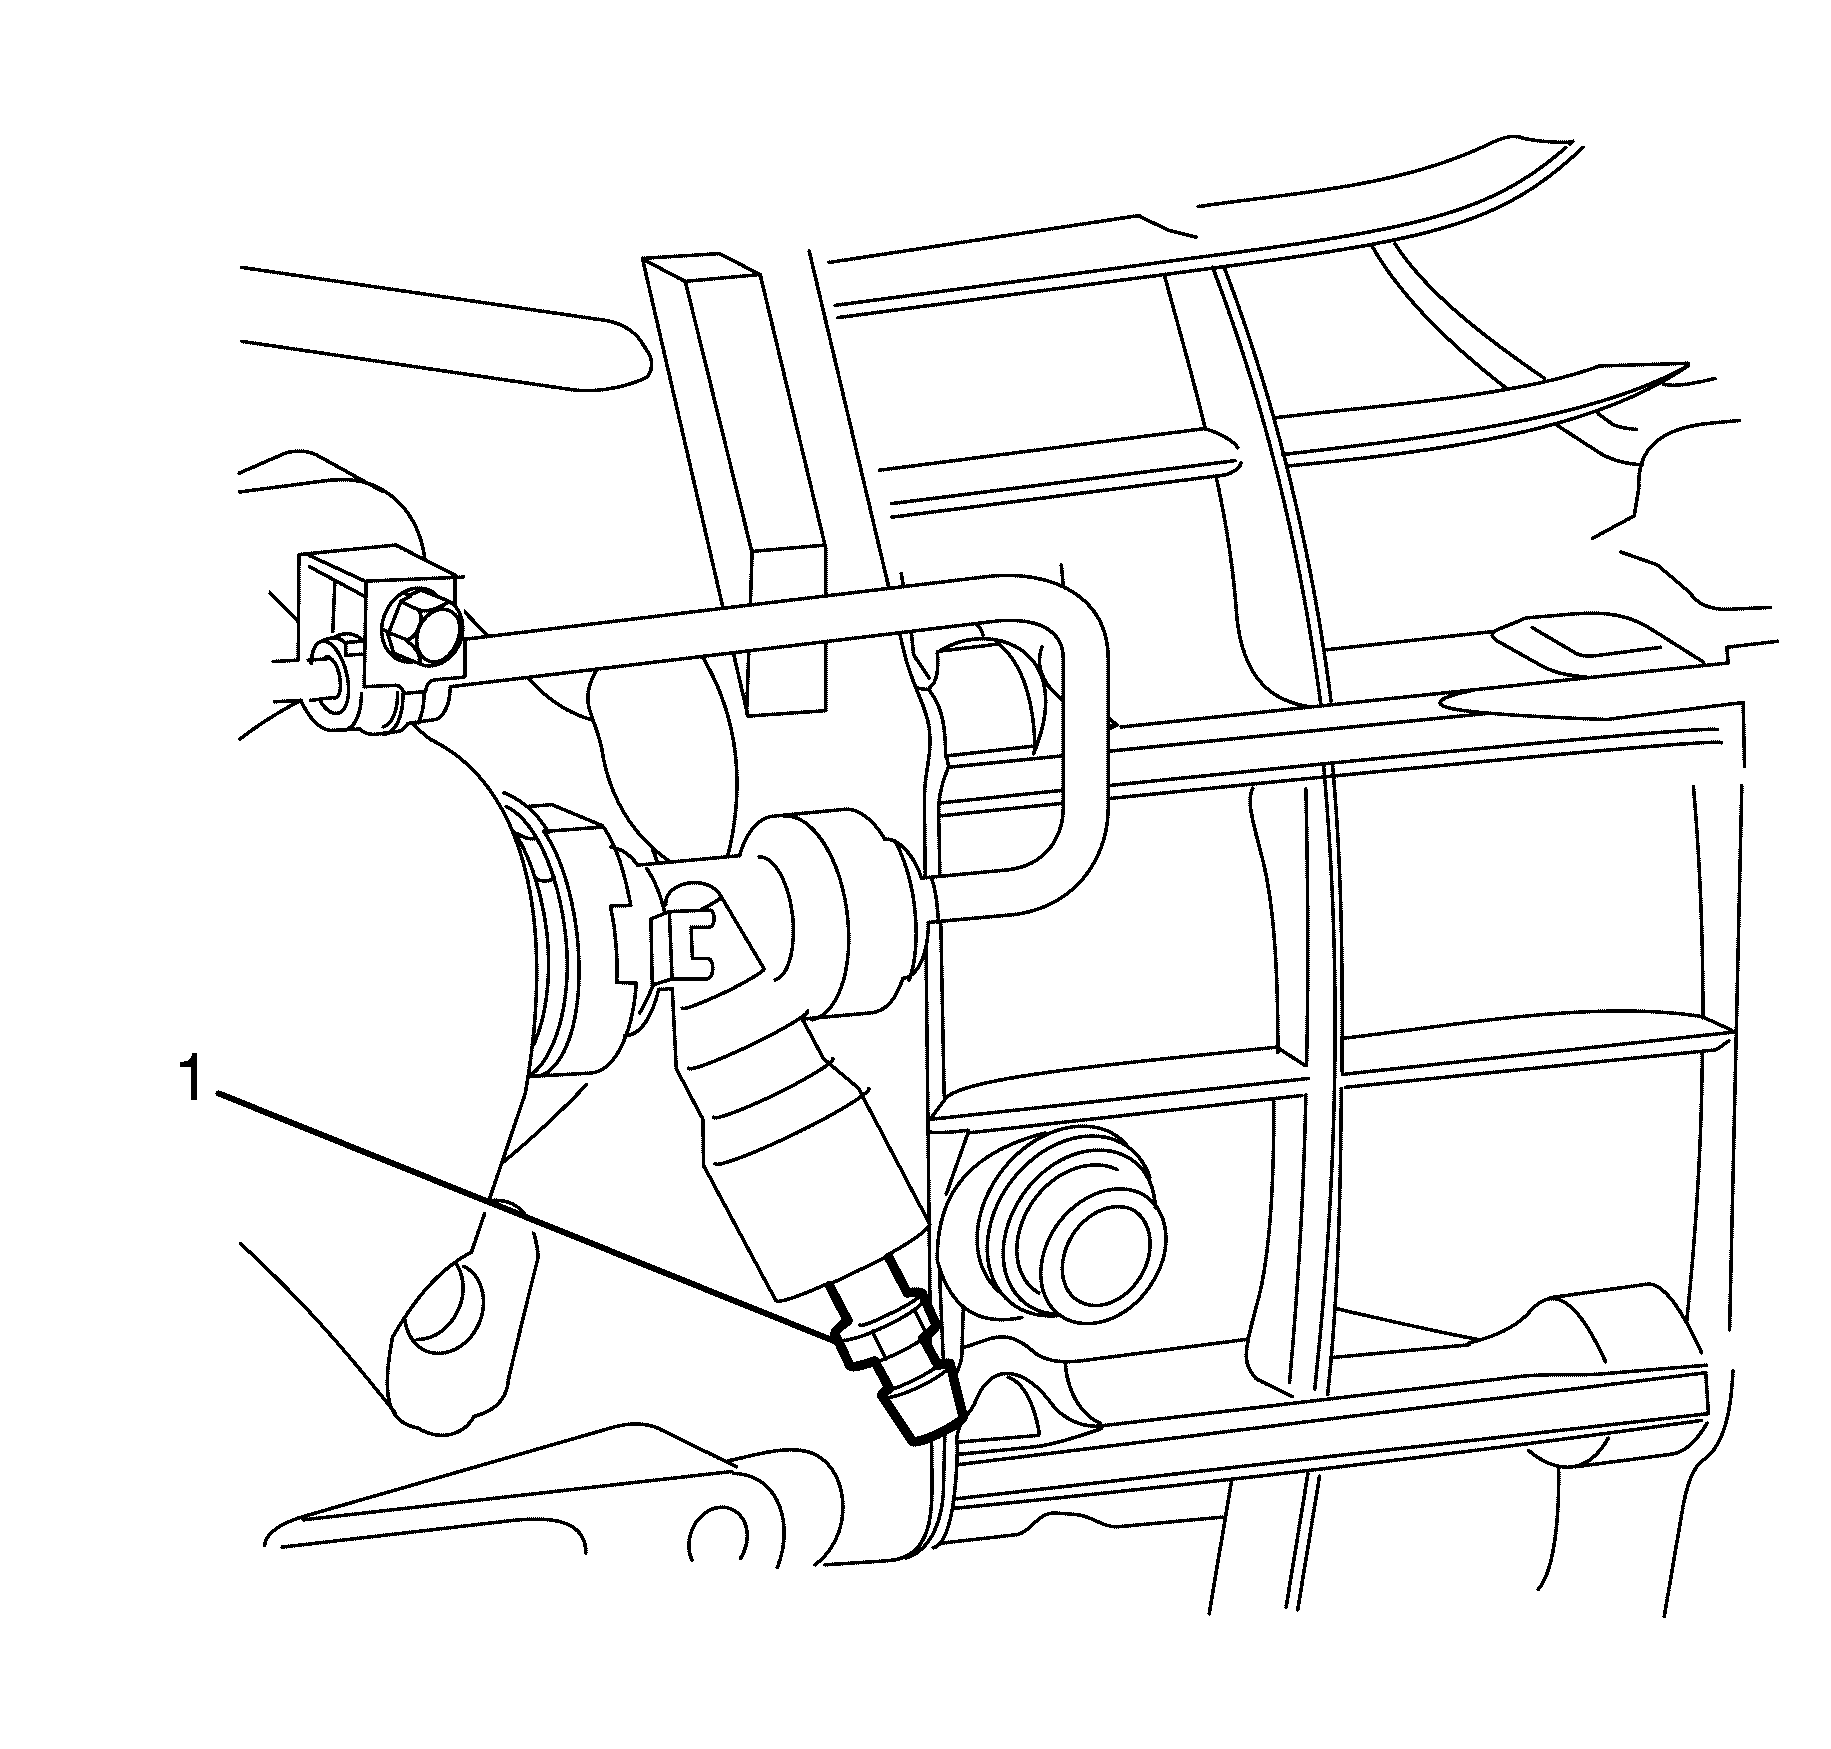
- Loosen the bleeder assembly bleed nipple (1).
- Tighten the bleeder assembly bleed nipple (1), using only light finger force.
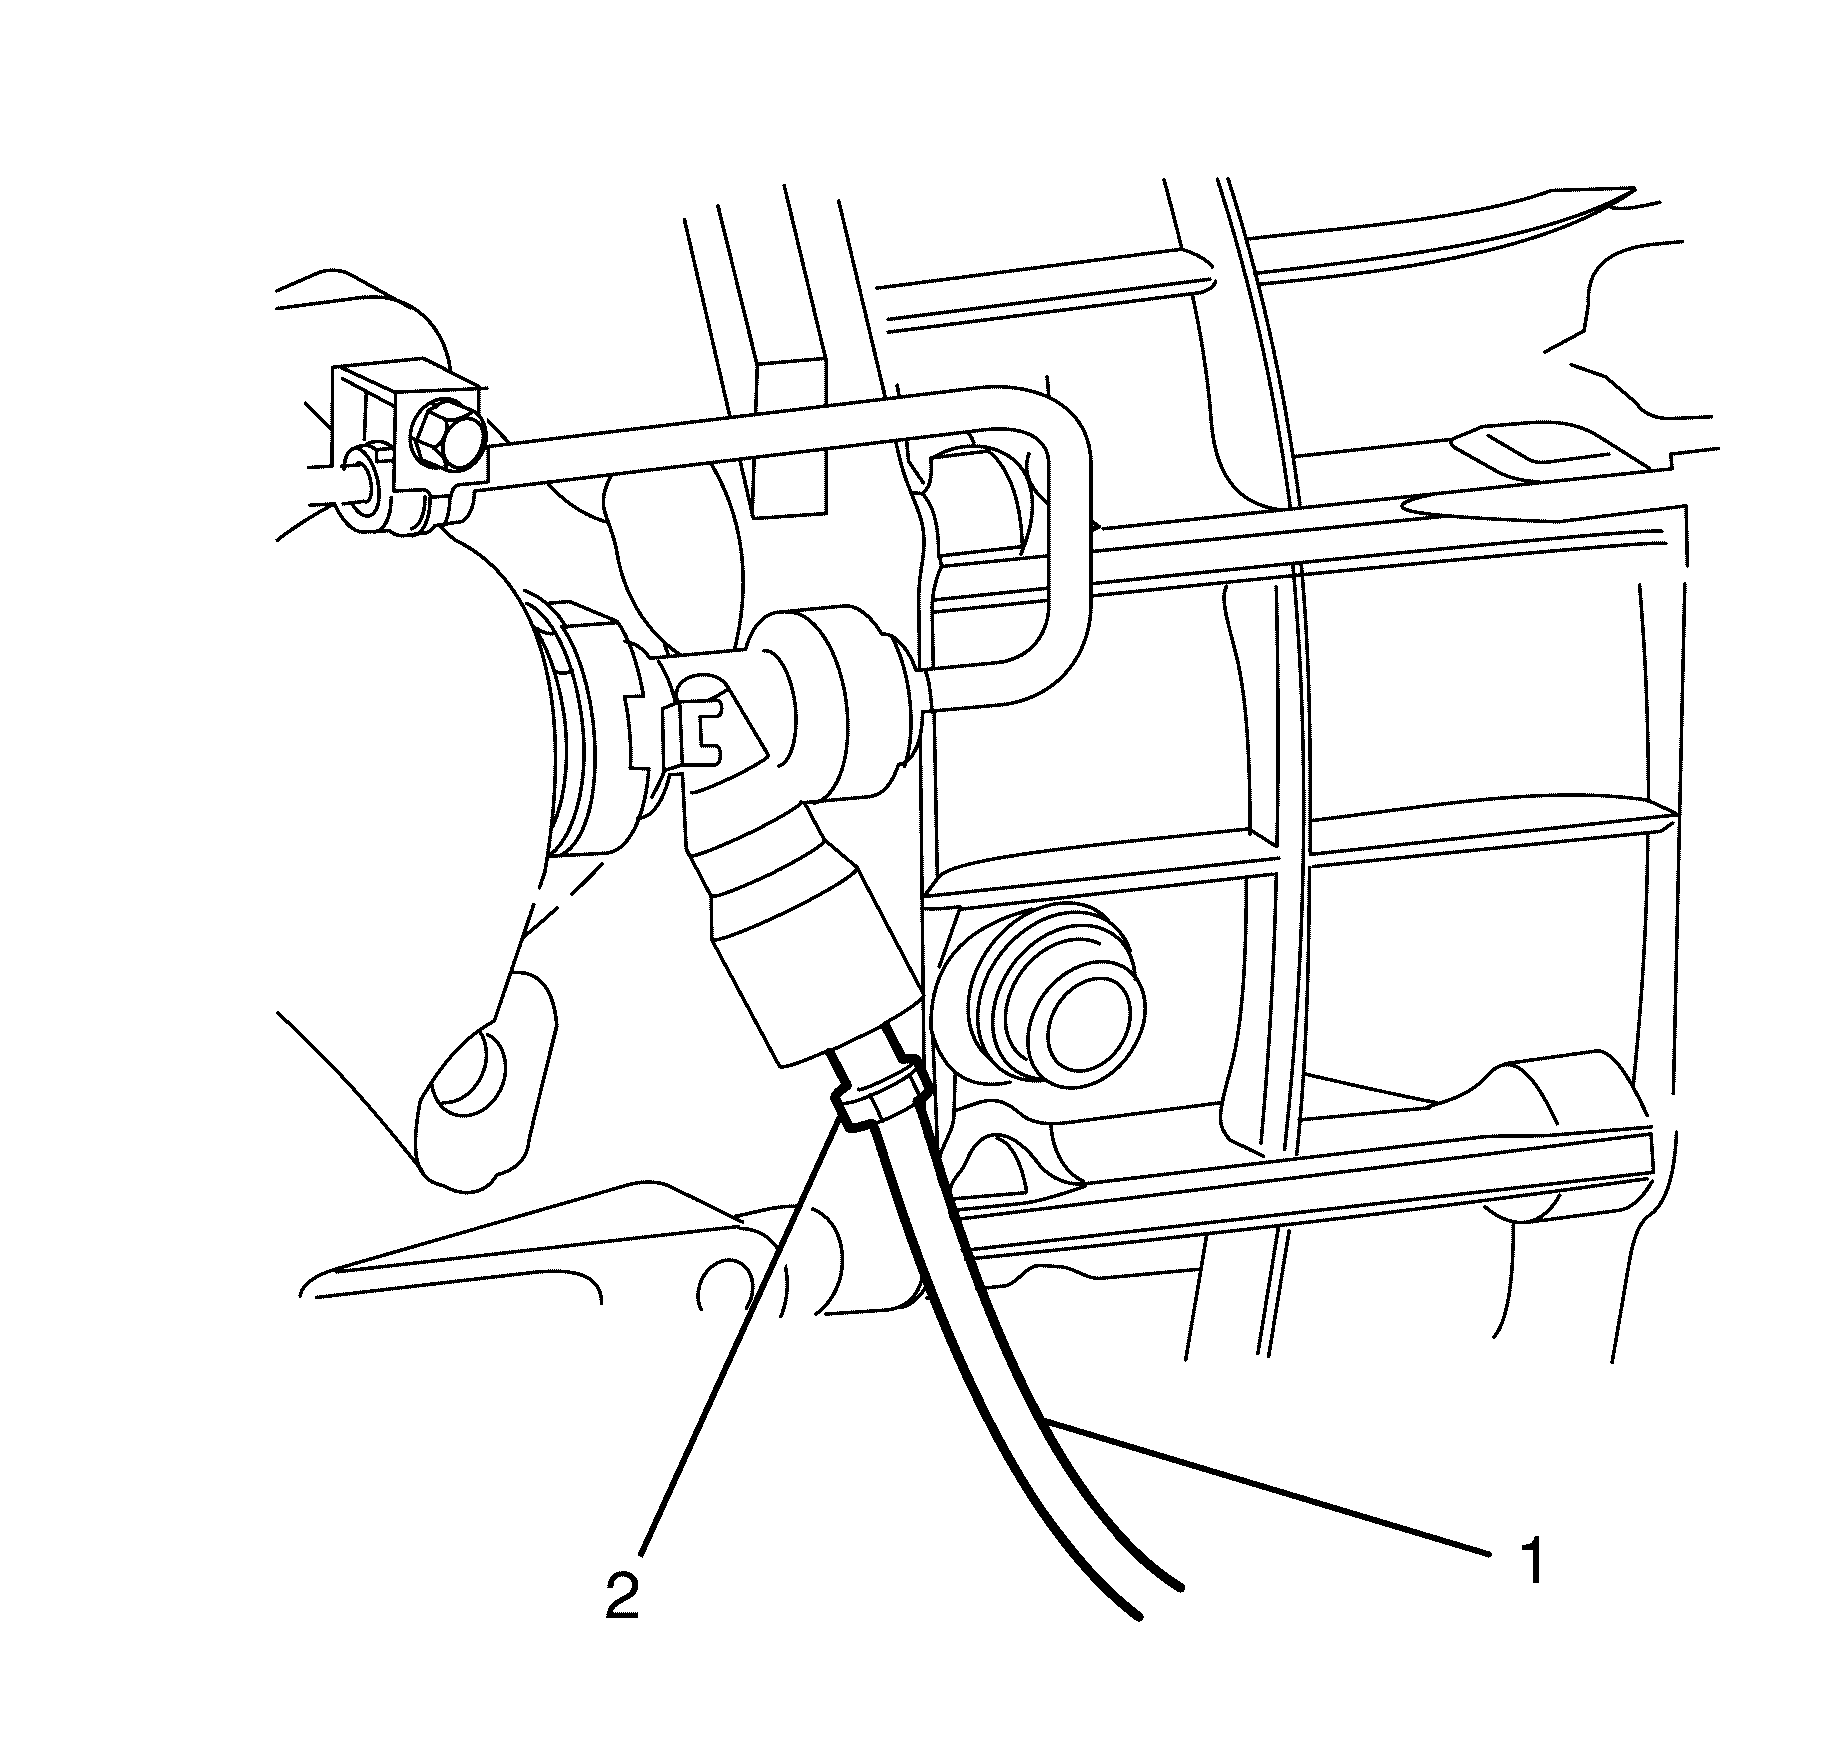
- Connect one end of a rubber tube (1) to the bleeder assembly bleed nipple (2).
- Insert the other end of the rubber tube (1) into a clean container filled with clean brake fluid.
- Using an assistant, slowly depress the clutch pedal to the down stop position.
- Open the bleeder assembly bleed nipple (2) 1/4 turn to release trapped air.
- Close the bleeder assembly bleed nipple (2) and slowly return the clutch pedal to the up stop position.
- Open the bleeder assembly bleed nipple (2) and slowly depress the clutch pedal from the up stop to the down stop position until fluid escapes through the bleeder assembly.
- Close the bleeder assembly bleed nipple (2).
- Return the clutch pedal to the up stop position.
- Depress the clutch pedal from the up stop to the down stop position.
- Open the bleeder assembly bleed nipple (2) and allow fluid with air bubbles to escape through the bleeder assembly.
- Close the bleeder assembly bleed nipple (2).
- Repeat steps 14-17 until fluid without air bubbles escapes through the bleeder assembly (1).
- Tighten the bleeder assembly bleed nipple (3), with the clutch pedal still depressed.
- Lower the vehicle.
- Make sure fluid level is correct.
- Road test vehicle for correct clutch operation.
Caution: Refer to Brake Fluid Irritant Caution in the Preface section.
Notice: Refer to Brake Fluid Effects on Paint and Electrical Components Notice in the Preface section.
Notice: DO NOT use fluid which has been bled from a hydraulic clutch system, in order to fill the clutch master cylinder reservoir, due to the possibility that the fluid may be aerated, have too much moisture content, or be contaminated and may cause system or vehicle damage.
Caution: Refer to Safety Glasses Caution in the Preface section.
Caution: Refer to Vehicle Lifting Caution in the Preface section.
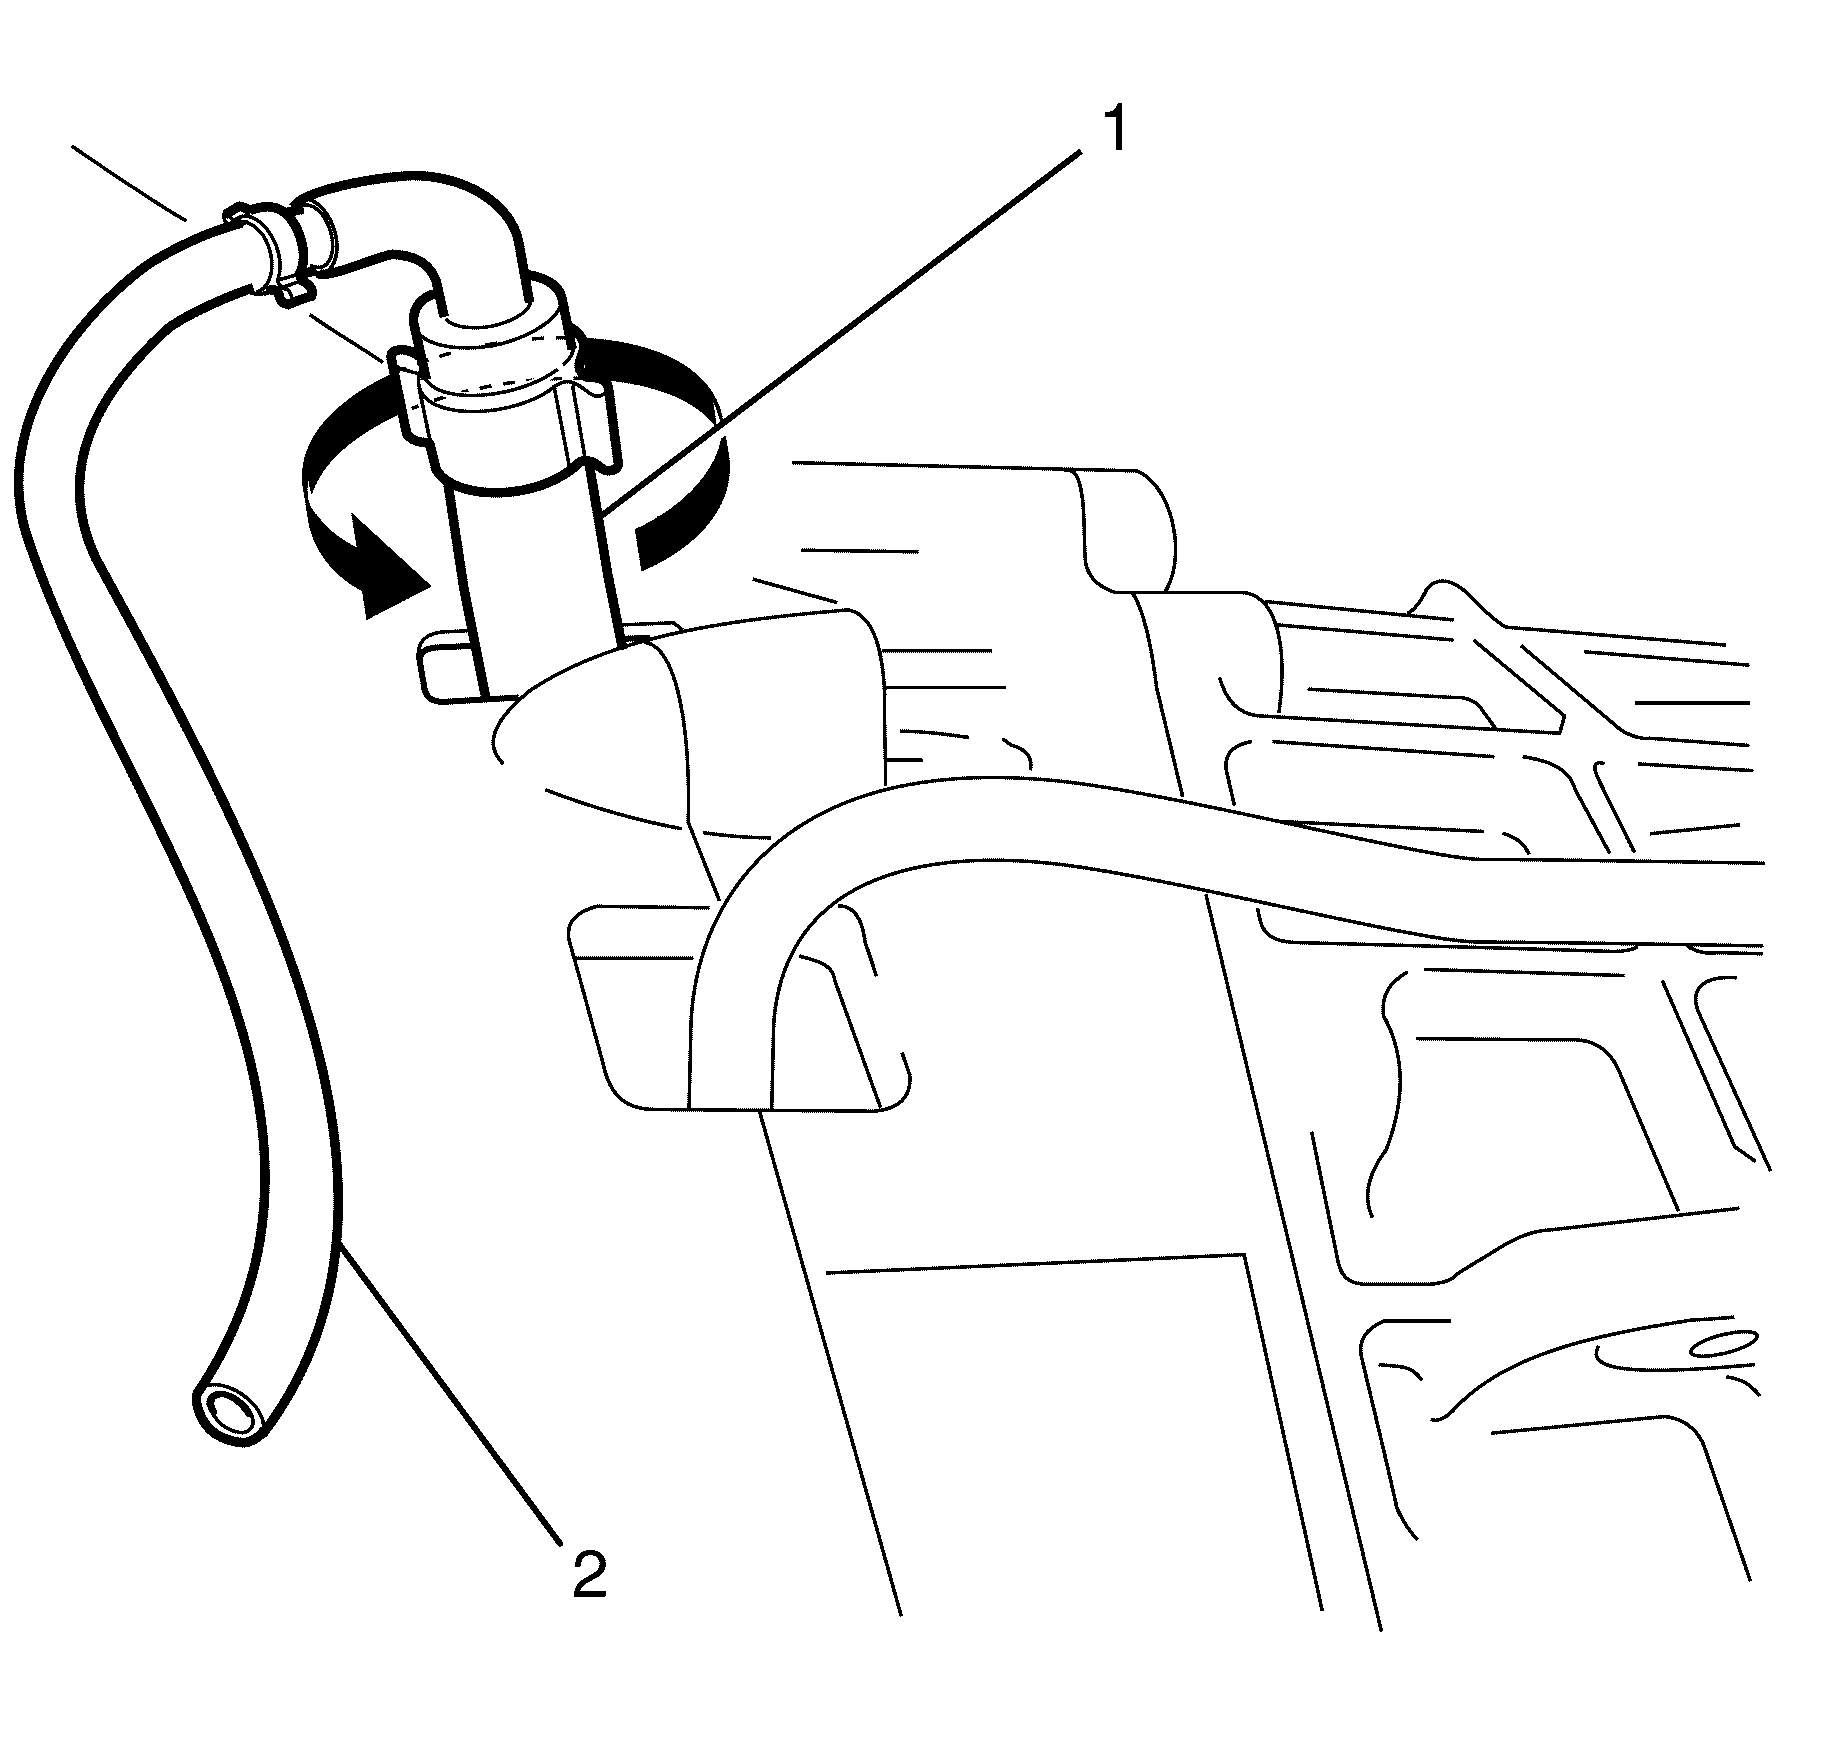
Important: Make sure that the end of the rubber tube (1) always stays submerged in a suitable container.
Important: Do not pump the clutch pedal repeatedly as entrapped air will cause fluid to foam.
Important: Always make sure that the clutch fluid reservoir remains filled with new clean hydraulic fluid.
Notice: Refer to Fastener Notice in the Preface section.
Tighten
Tighten the bleed nipple to 18 N·m
(13 lb ft).
Hydraulic Clutch Bleeding 6.0L Engine
- Clean any dirt from around the clutch fluid reservoir cap (1).
- Remove the clutch fluid reservoir cap (1) and ensure the clutch fluid reservoir (2) is filled to the fill line with new hydraulic fluid. Add fluid if required from a clean sealed container. For clutch fluid specifications, refer to General Specifications.
- Stroke the clutch pedal from the up stop to the down stop position at least 15 times slowly to avoid aeration of fluid.
- Raise and support the vehicle. Refer to Lifting and Jacking the Vehicle.
- Loosen the concentric actuator cylinder bleeder screw (1).
- Connect one end of a rubber tube (2) to the concentric actuator cylinder bleed screw (1).
- Insert the other end of the rubber tube (2) into a clean container filled with clean brake fluid.
- Using an assistant, slowly depress the clutch pedal to the down stop position.
- Open the concentric actuator cylinder bleed screw (1) 1/4 turn to release trapped air.
- Close the concentric actuator cylinder bleed screw (1) and slowly return the clutch pedal to the up stop position.
- Open the concentric actuator cylinder bleed screw (1) and slowly depress the clutch pedal from the up stop to the down stop position until fluid escapes through the bleeder assembly (1).
- Close the concentric actuator cylinder bleed screw (1).
- Return the clutch pedal to the up stop position.
- Depress the clutch pedal from the up stop to the down stop position.
- Open the concentric actuator cylinder bleed screw (1) and allow fluid with air bubbles to escape.
- Close the concentric actuator cylinder bleed screw (1).
- Repeat steps 14-17 until fluid without air bubbles escapes into the container.
- Tighten the concentric actuator cylinder bleed screw (1), with the clutch pedal still depressed.
- Lower the vehicle to the ground.
- Make sure fluid level is correct.
- Road test vehicle for correct clutch operation.
Caution: Refer to Brake Fluid Irritant Caution in the Preface section.
Notice: Refer to Brake Fluid Effects on Paint and Electrical Components Notice in the Preface section.
Notice: DO NOT use fluid which has been bled from a hydraulic clutch system, in order to fill the clutch master cylinder reservoir, due to the possibility that the fluid may be aerated, have too much moisture content, or be contaminated and may cause system or vehicle damage.
Caution: Refer to Safety Glasses Caution in the Preface section.
Caution: Refer to Vehicle Lifting Caution in the Preface section.
Important: Make sure that the end of the rubber tube (2) always stays submerged in a suitable container.
Important: Do not pump the clutch pedal repeatedly as entrapped air will cause fluid to foam.
Important: Always make sure that the clutch fluid reservoir remains filled with new clean hydraulic fluid.
Notice: Refer to Fastener Notice in the Preface section.
Tighten
Tighten the bleeder screw to 18 N·m
(13 lb ft).
