Tools Required
EN 46111
Crankshaft Rotation
Socket
- Ensure that the crankshaft is in the stage one timing drive assembly position
using the
EN 46111
. Refer to
Camshaft Timing Drive Chain Alignment Diagram
.
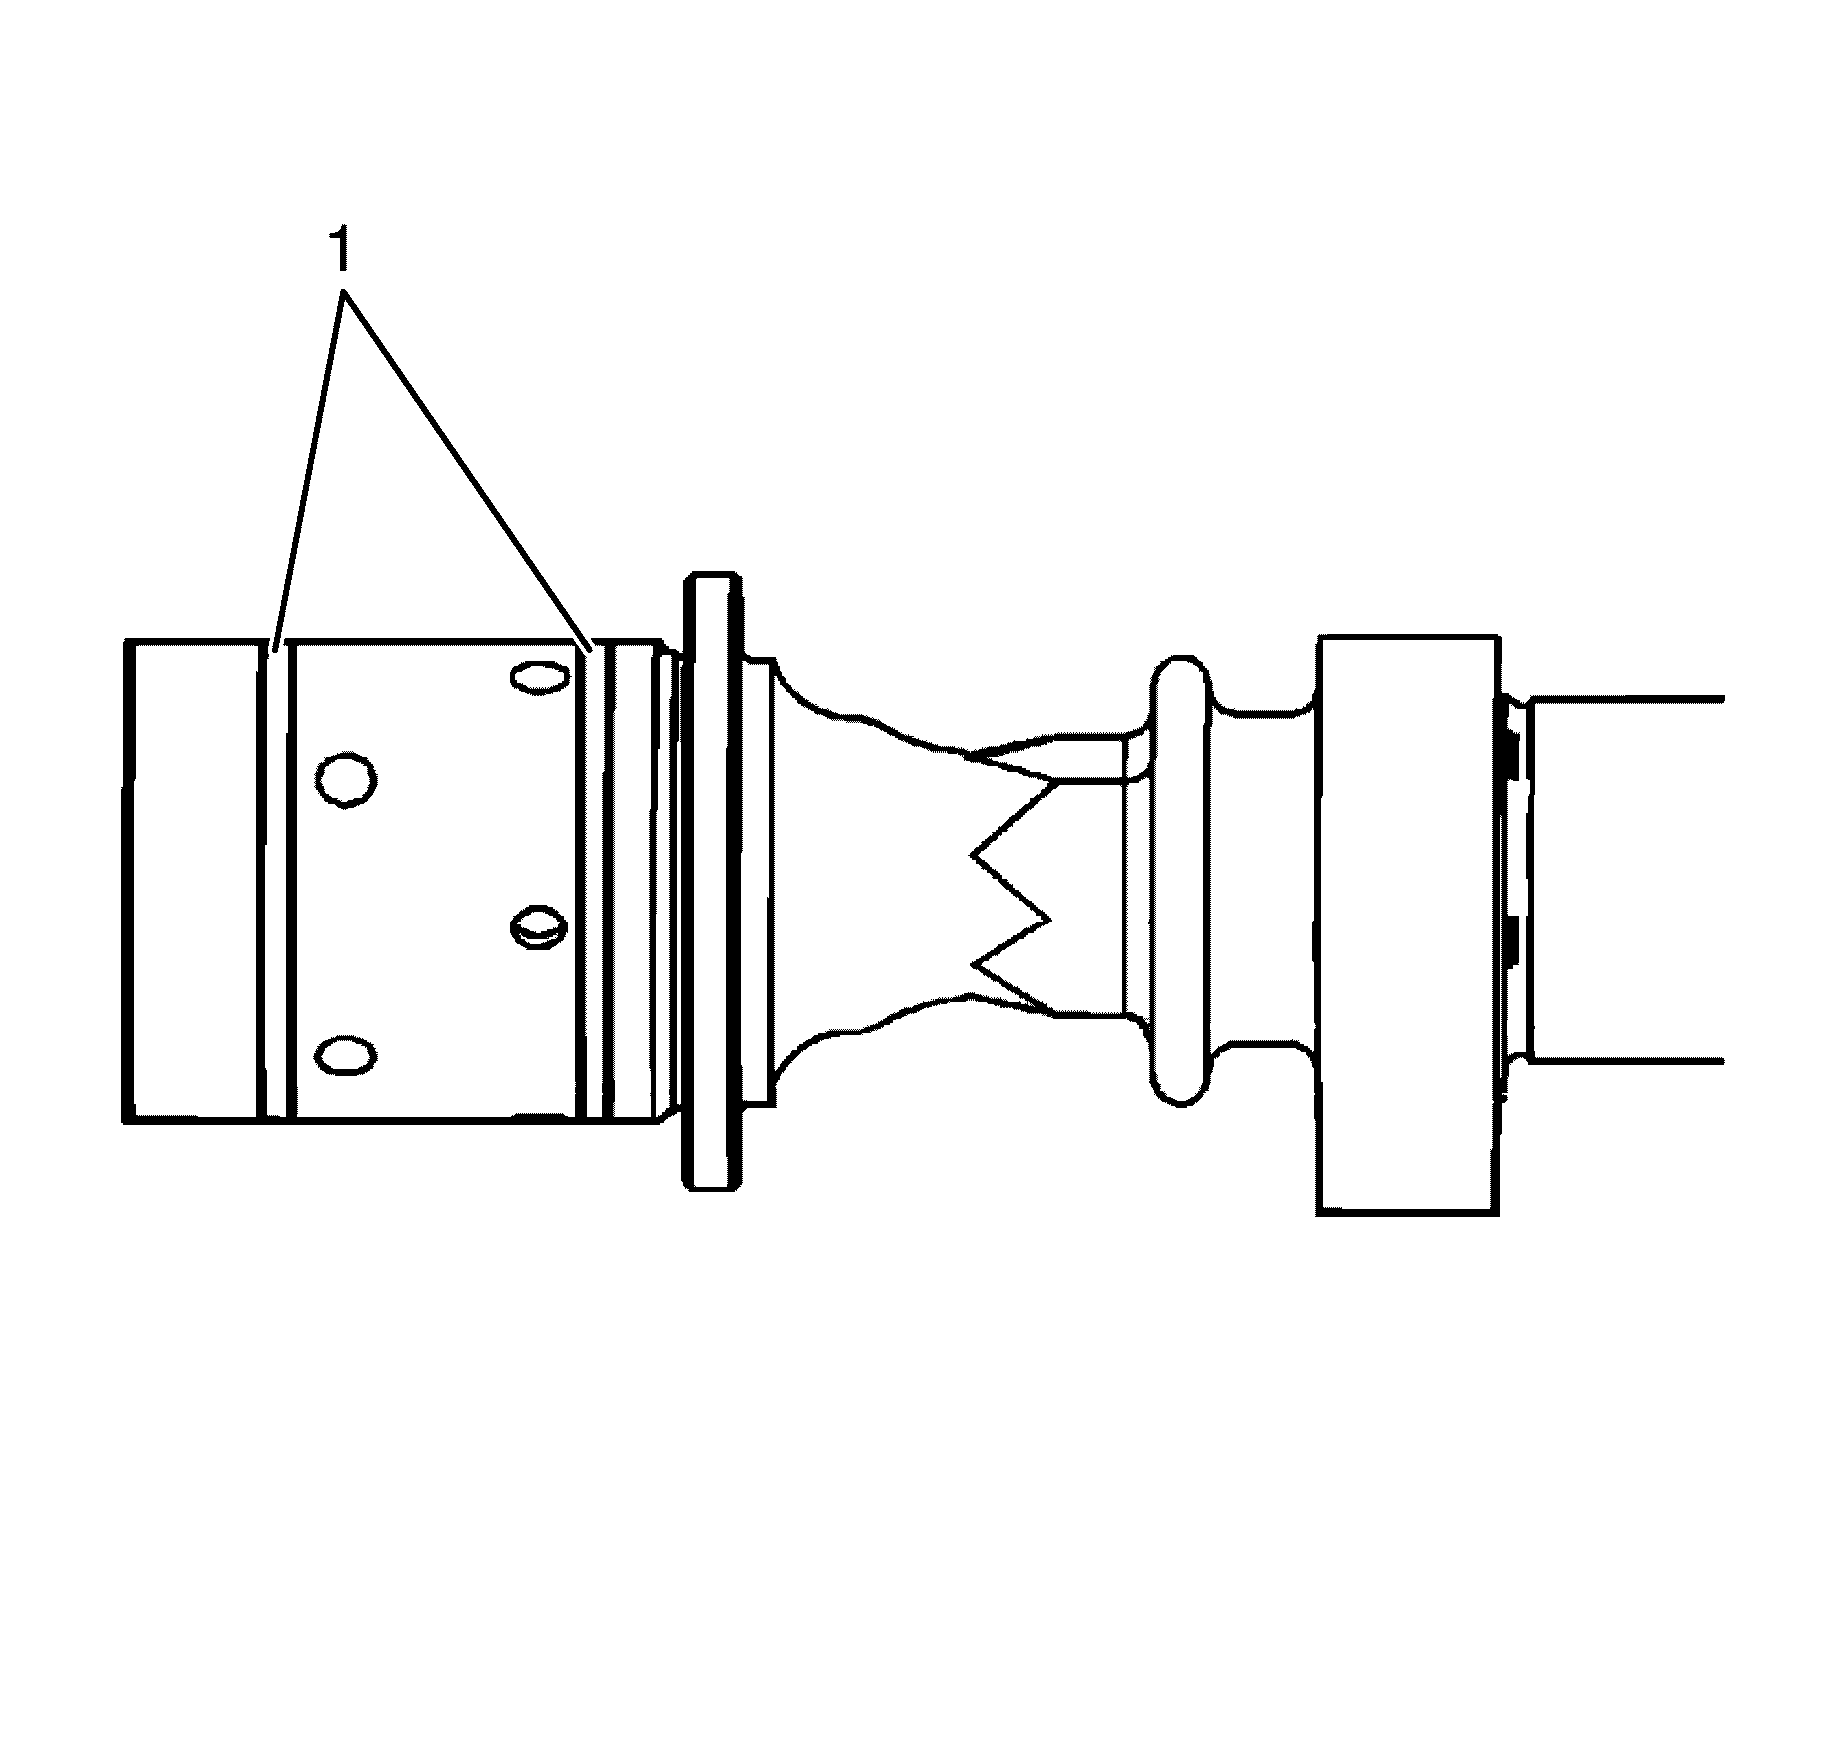
- Make sure that the camshaft sealing rings (1) are in place in the camshaft
grooves.
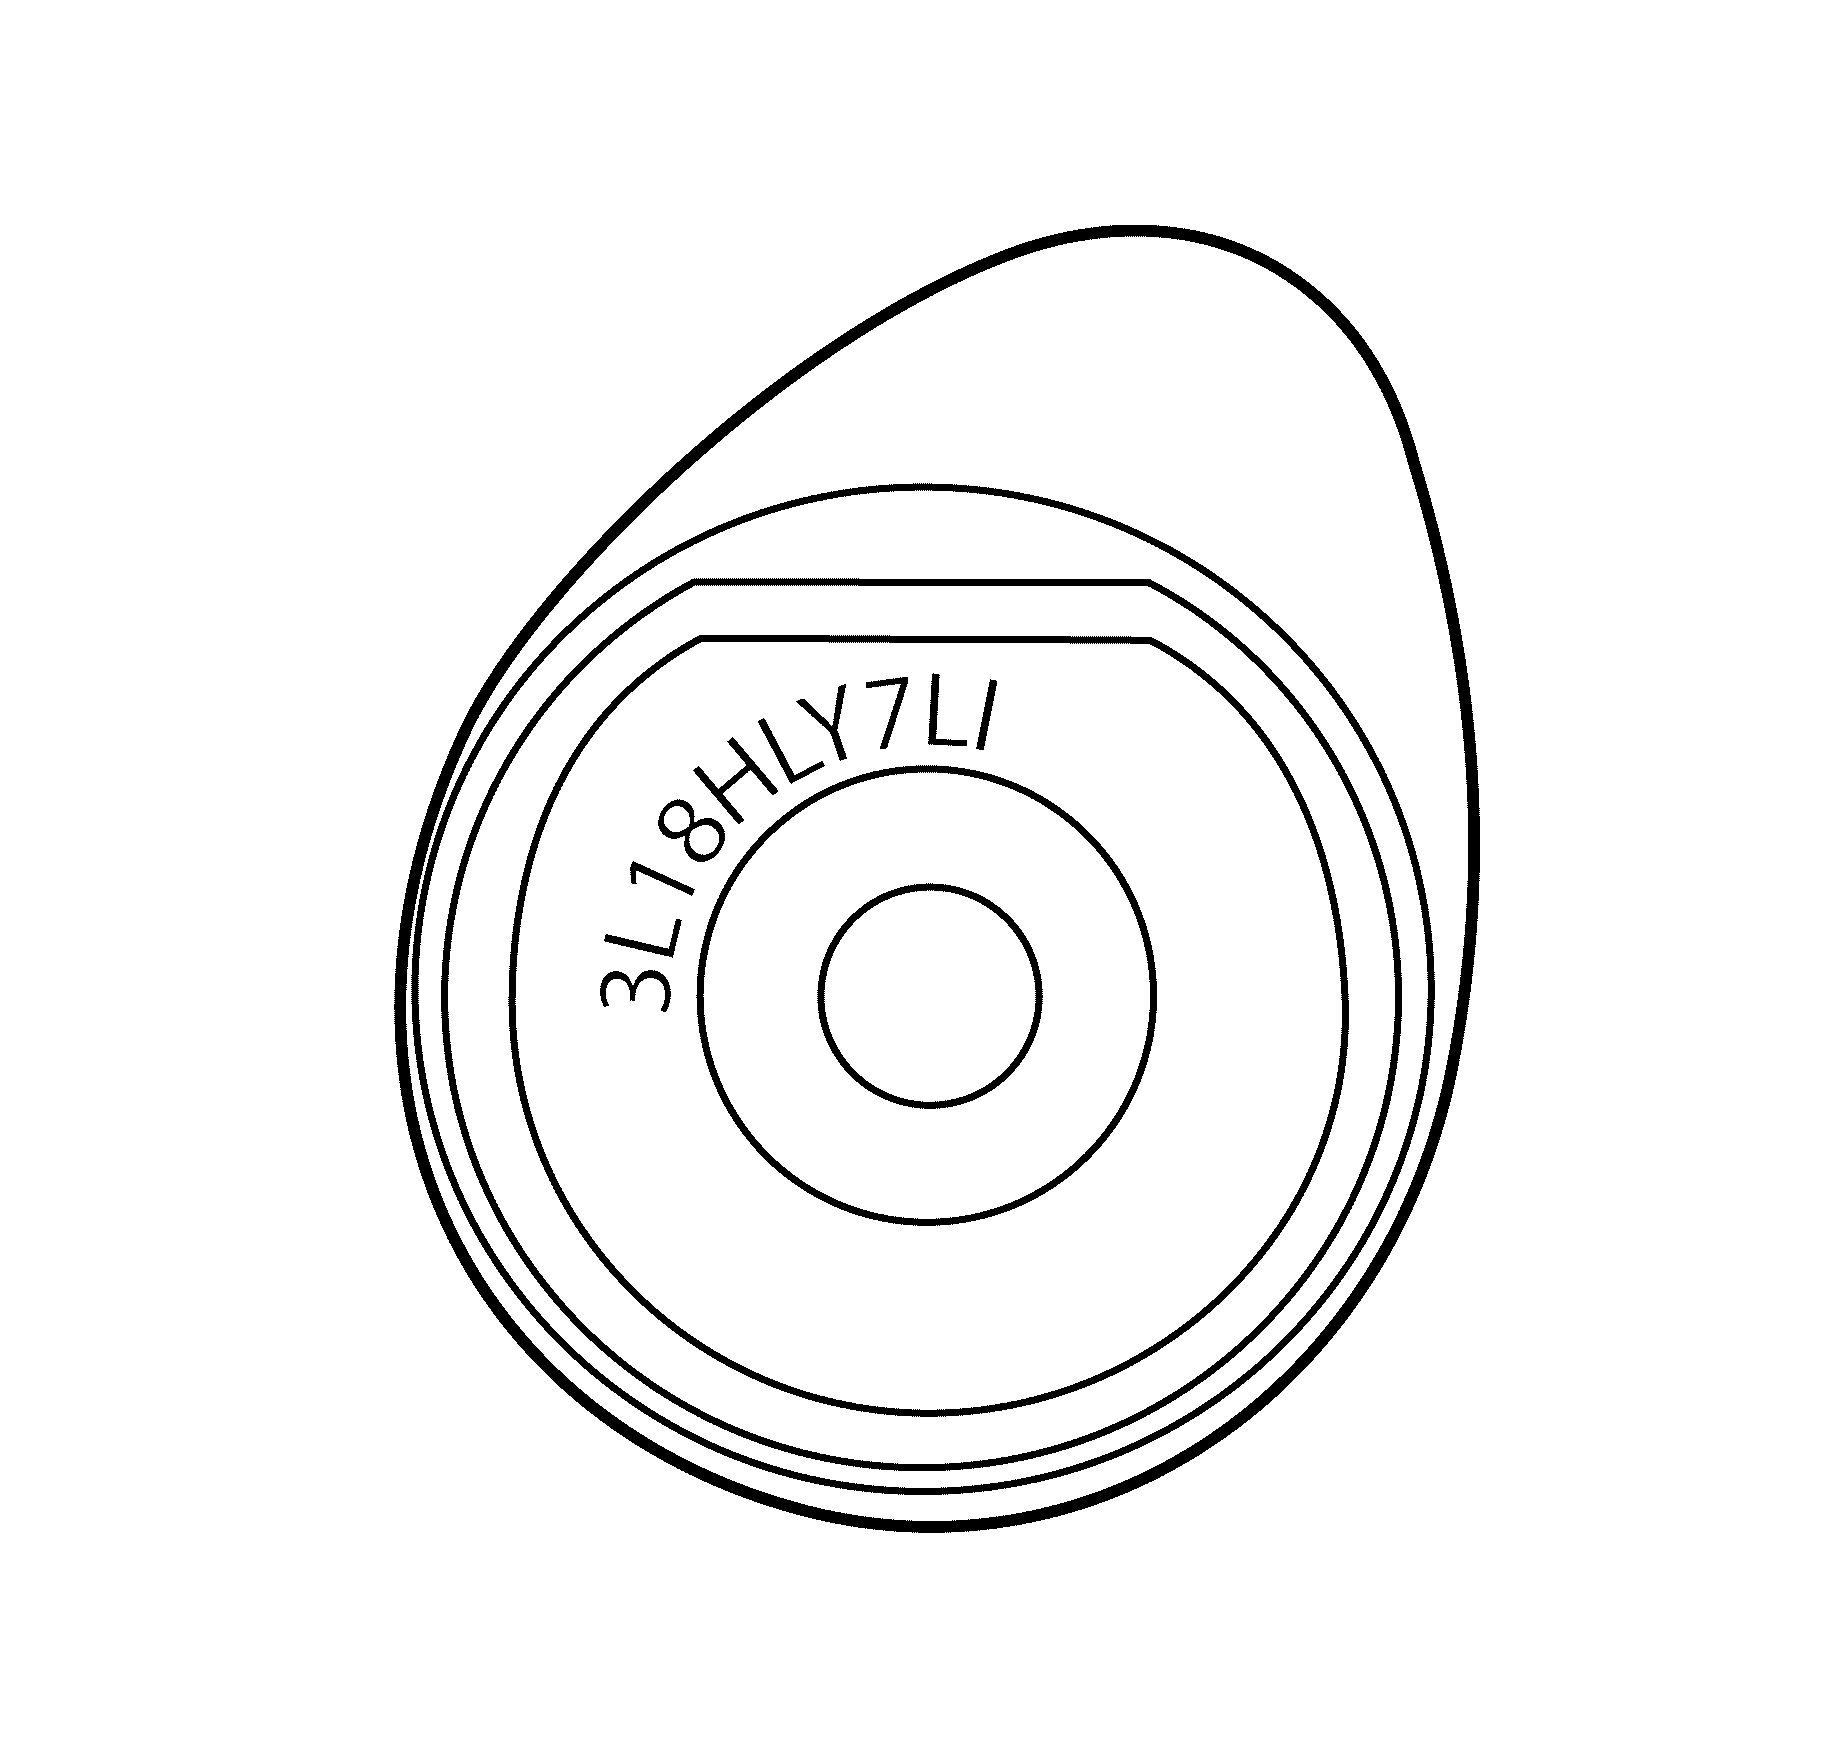
- Select the proper camshaft for the particular installation location. ID markings
are on the rear end of each camshaft. The ID markings are defined as follows:
| 3.1. | The first five digits refer to the date and time of production. |
Example: 3L18H.
| 3.2. | Digits 6-9 refer to the production code. |
LY7 -
High Feature V6
| 3.3. | The last two digits refer to the camshaft position. |
| - | RE - Right Bank Exhaust |
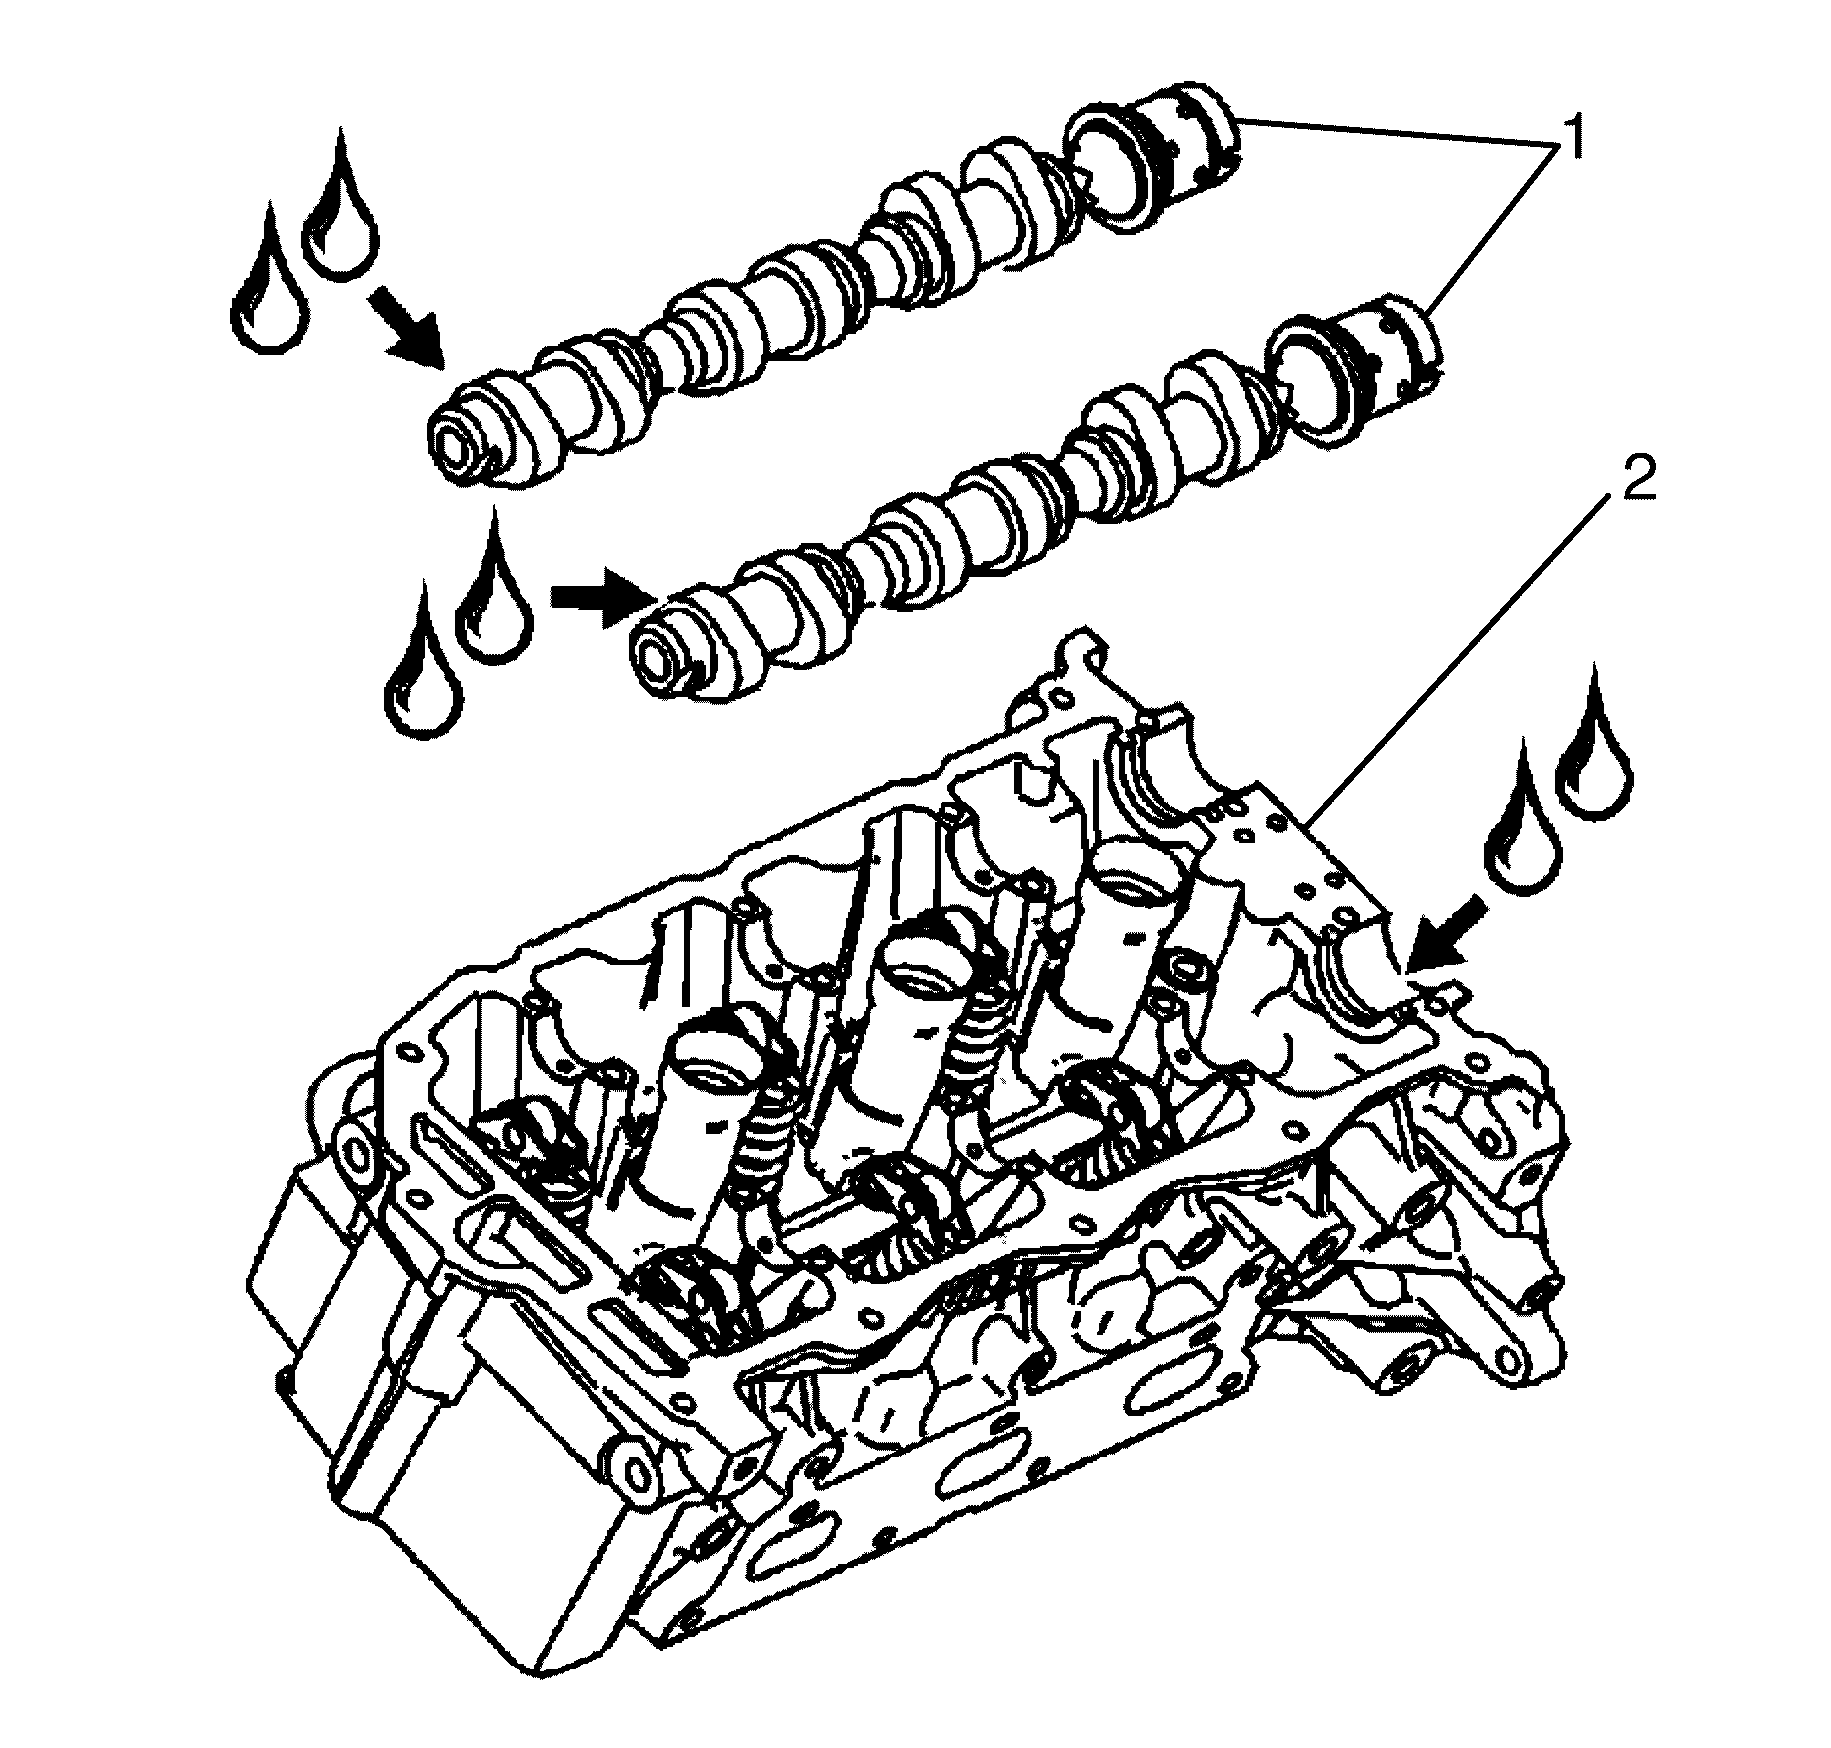
- Apply a liberal amount of engine oil to the camshaft (1) journals and
the right cylinder head (2) camshaft carriers.
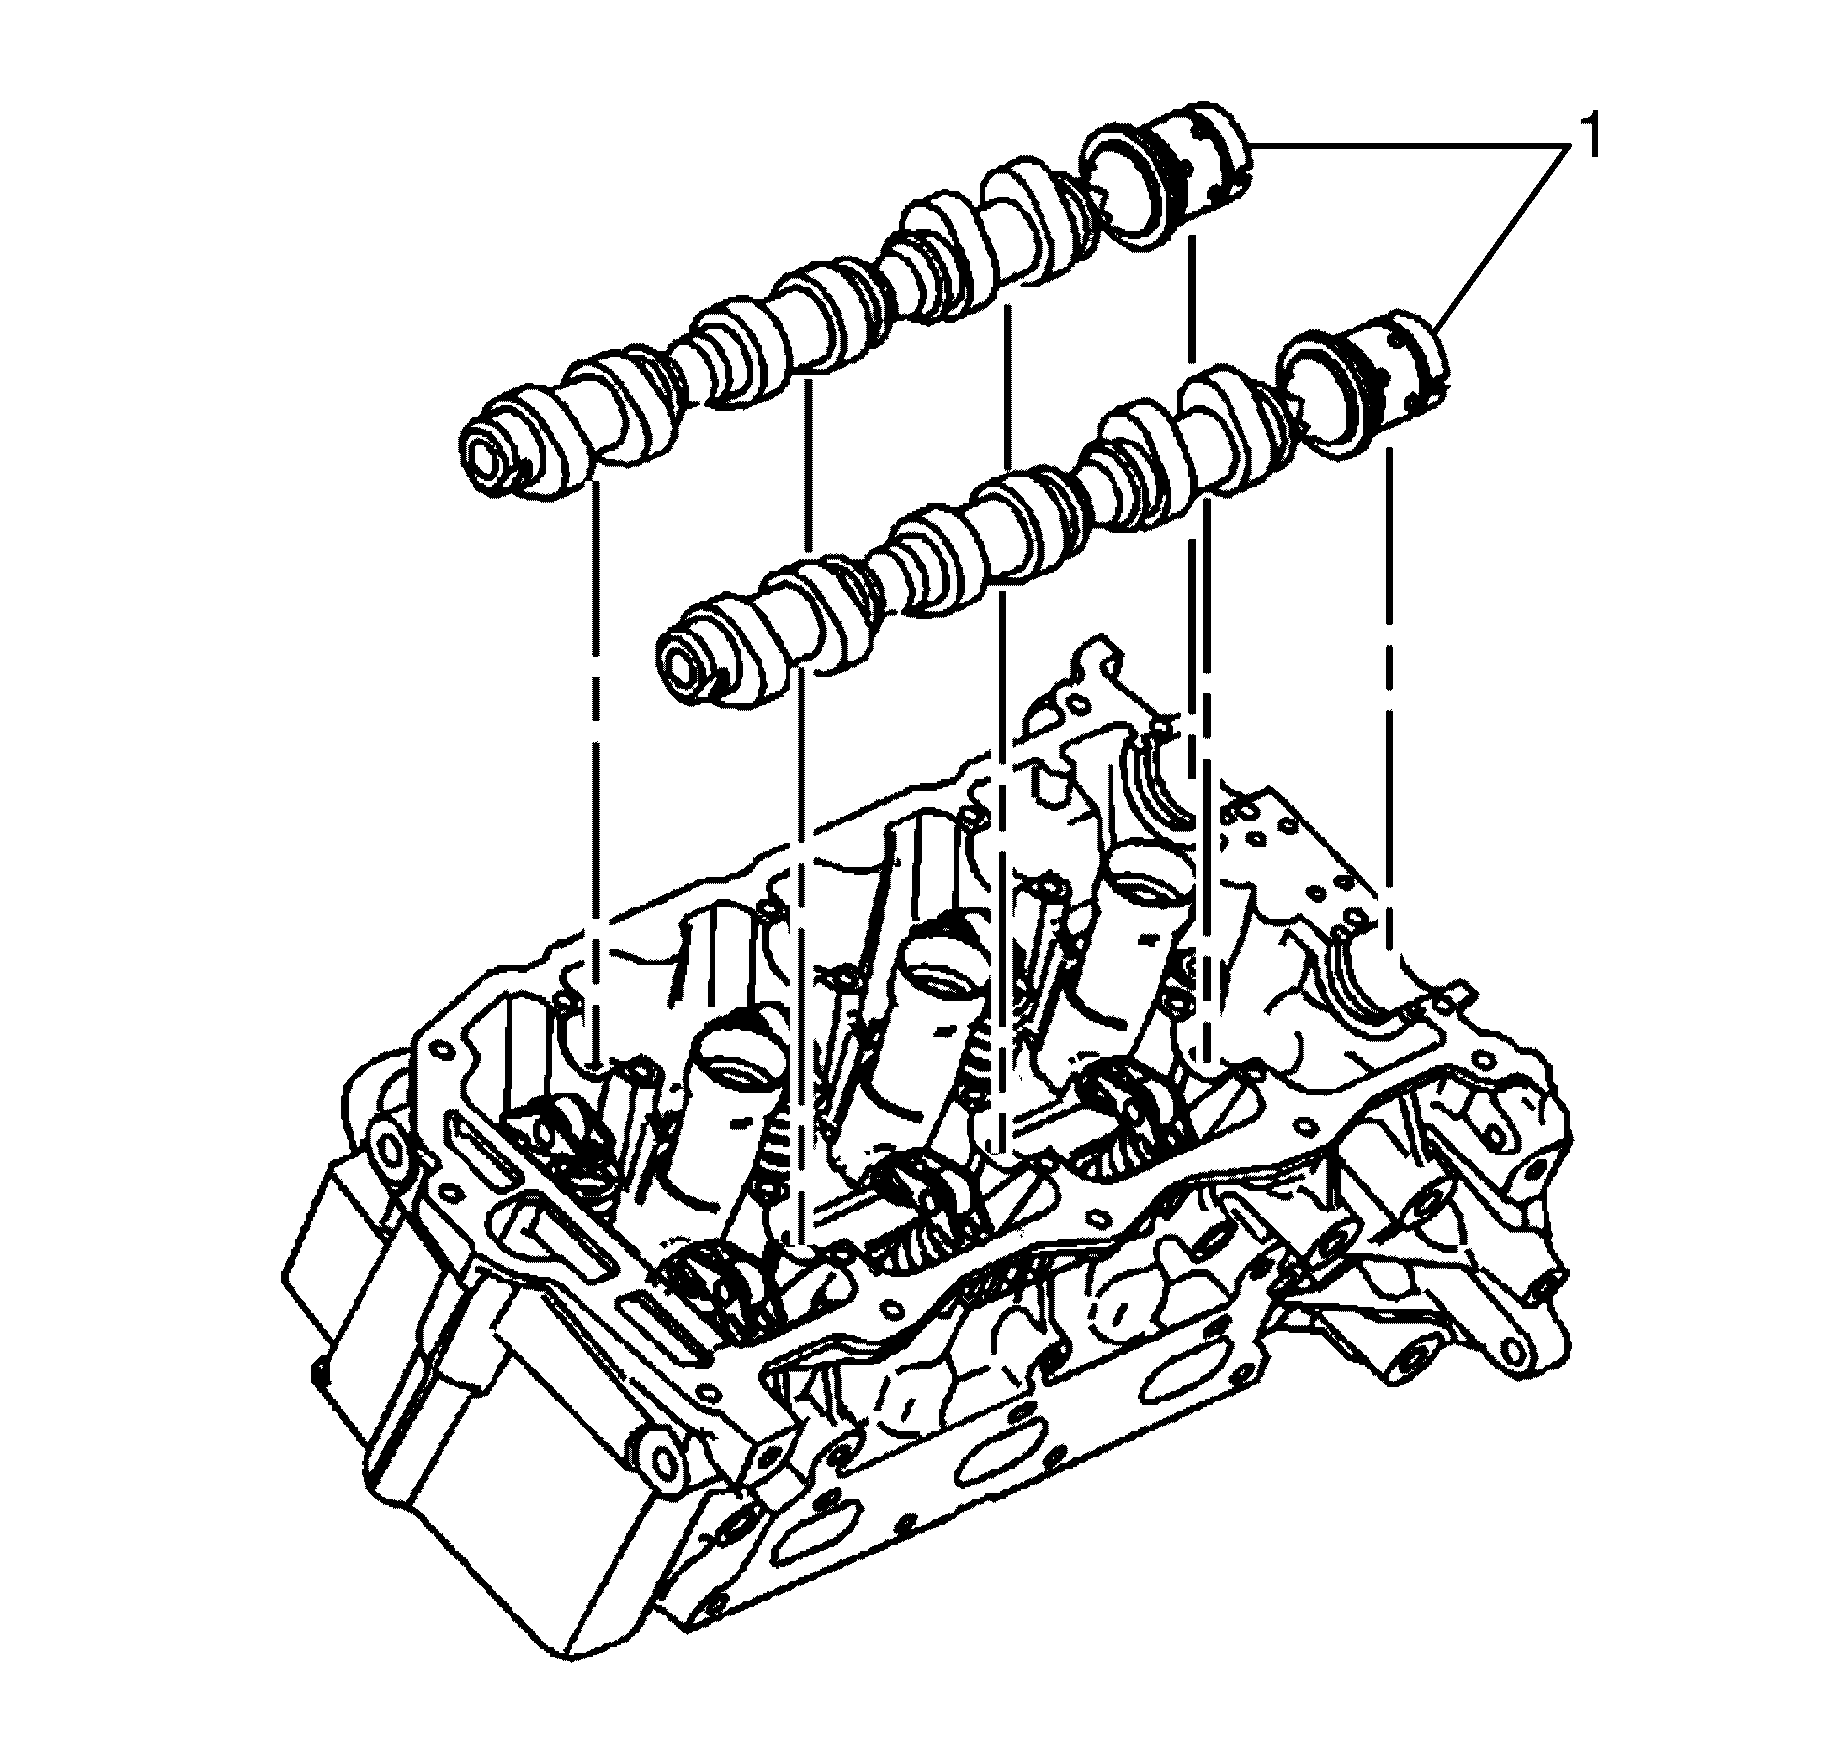
- Place the camshafts (1) in position in the right cylinder head (2).
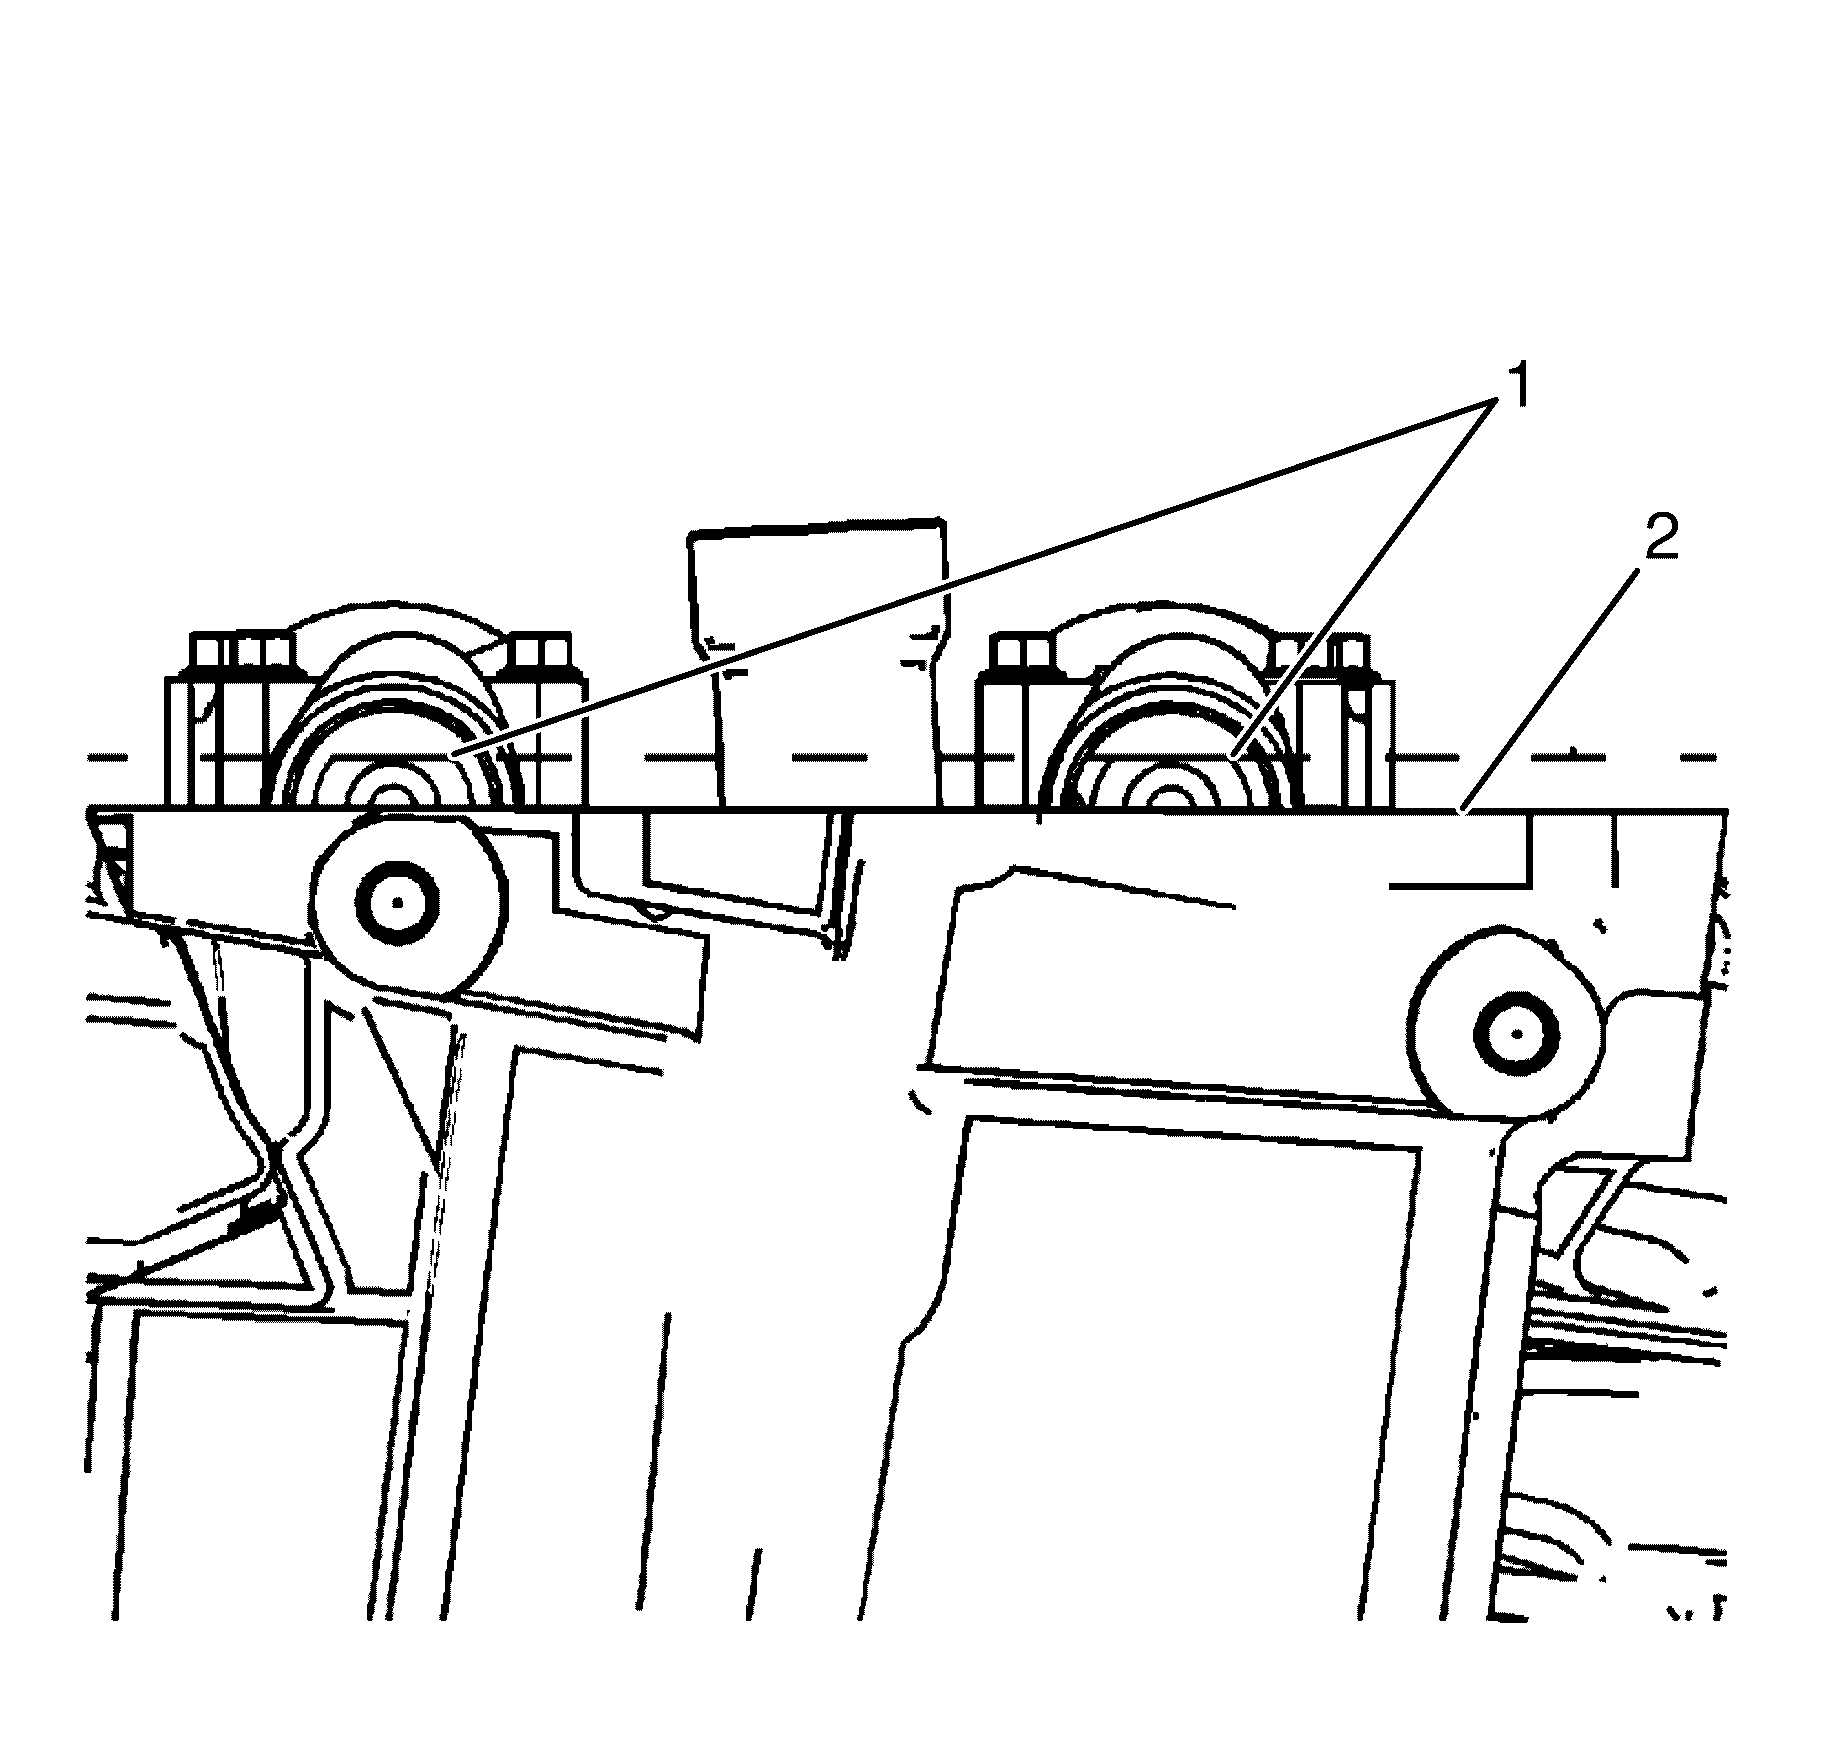
- Position the camshaft lobes in a neutral position with the flats on the back
of the camshafts up and parallel (1) with the right cylinder head camshaft
cover rail.
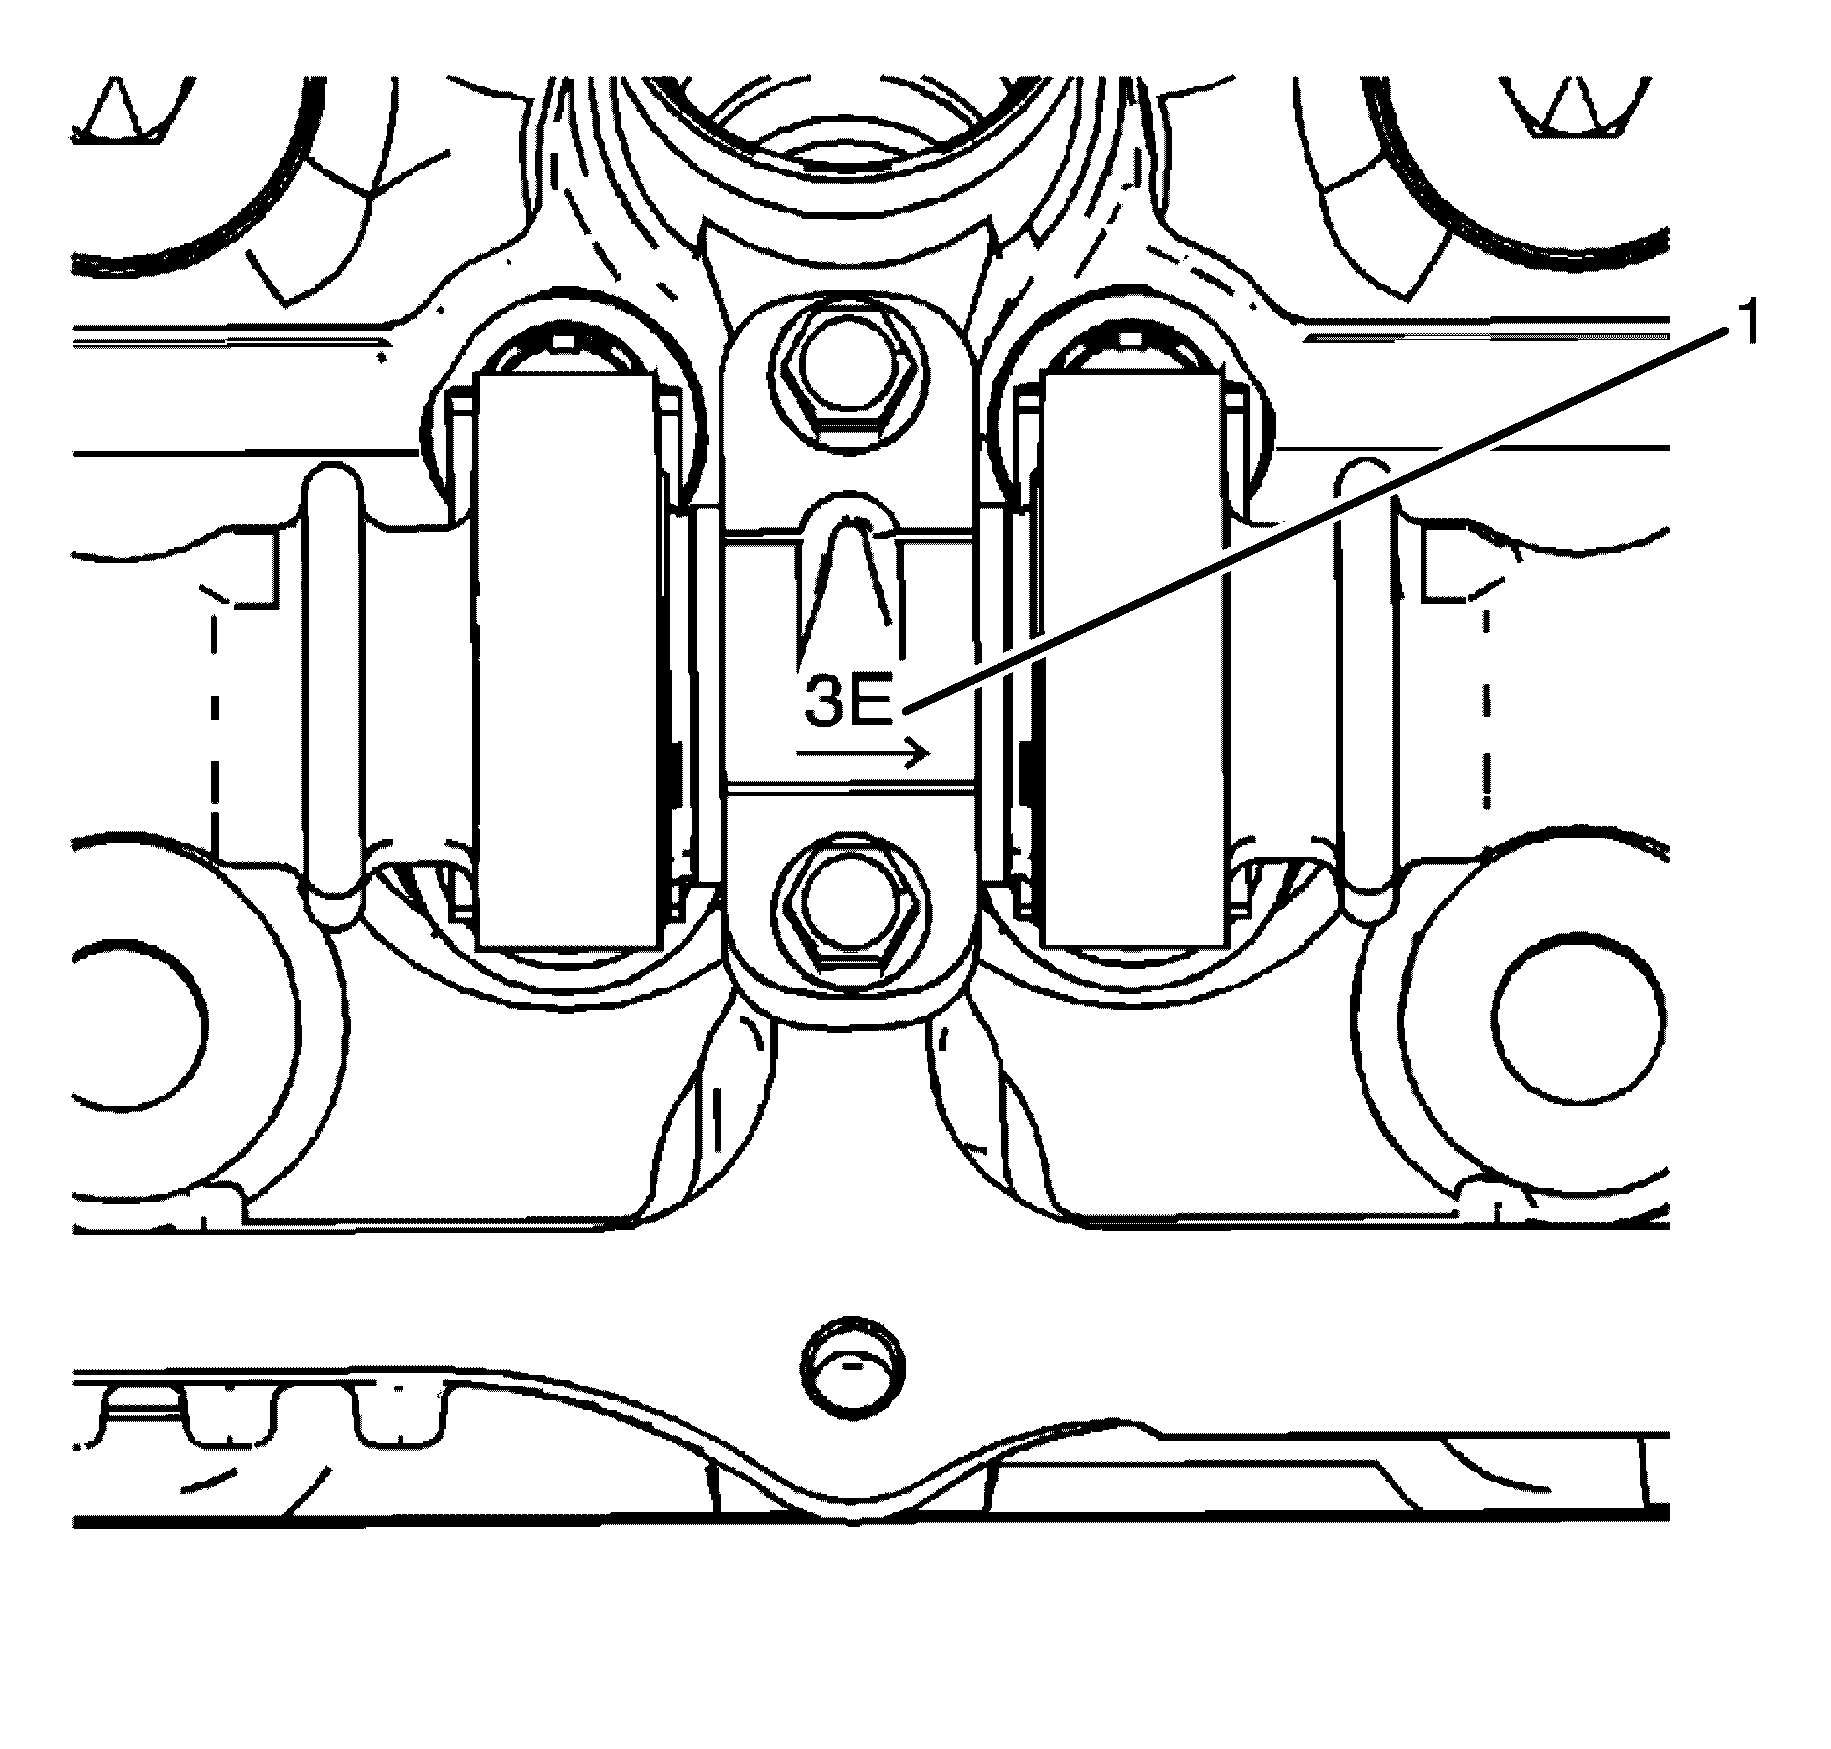
- Observe the markings on the right cylinder head camshaft bearing caps. Each
bearing cap is marked (1) in order to identify its location. The markings have
the following meanings:
| • | The raised feature must always be oriented toward the center of the cylinder
head. |
| • | The I indicates the intake camshaft. |
| • | The E indicates the exhaust camshaft. |
| • | The number 1, 3, 5 indicates the cylinder position from the front of the
cylinder block. |
- Apply a liberal amount of engine oil to the camshaft bearing caps.
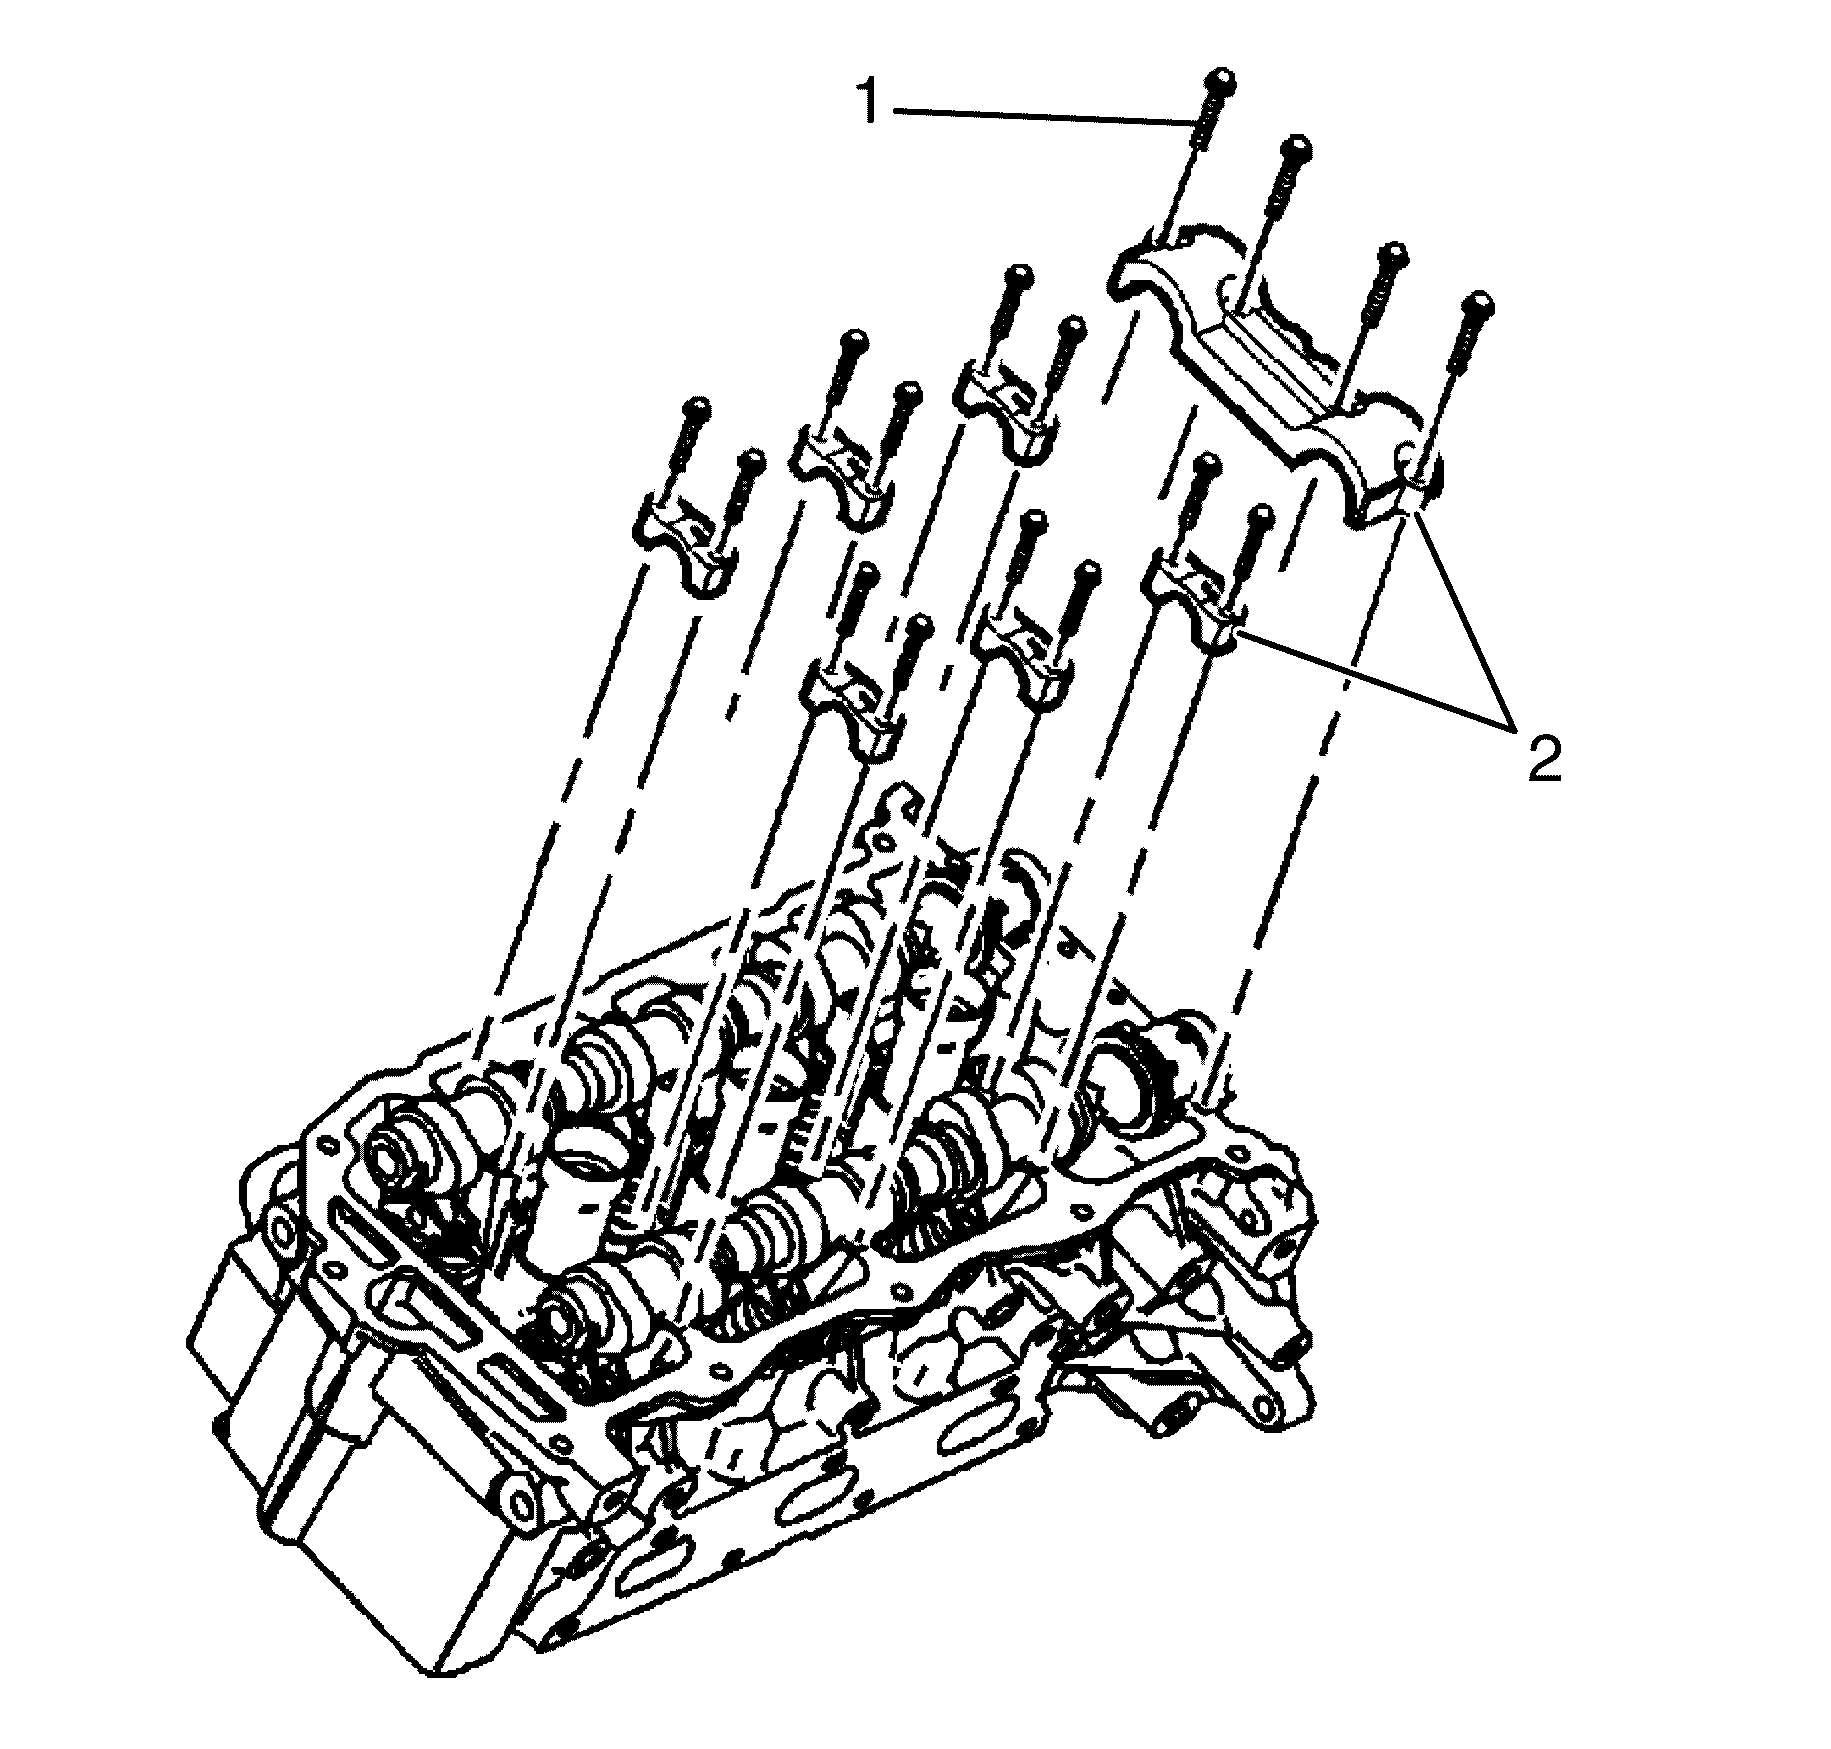
- Install the camshaft bearing thrust cap (2) in the first journal of the
right cylinder head.
- Install the remaining bearing caps (2) with their orientation mark toward
the center of the cylinder head.
- Hand start all the camshaft bearing cap to cylinder head retaining bolts (1).
Notice: Refer to Fastener Notice in the Preface section.
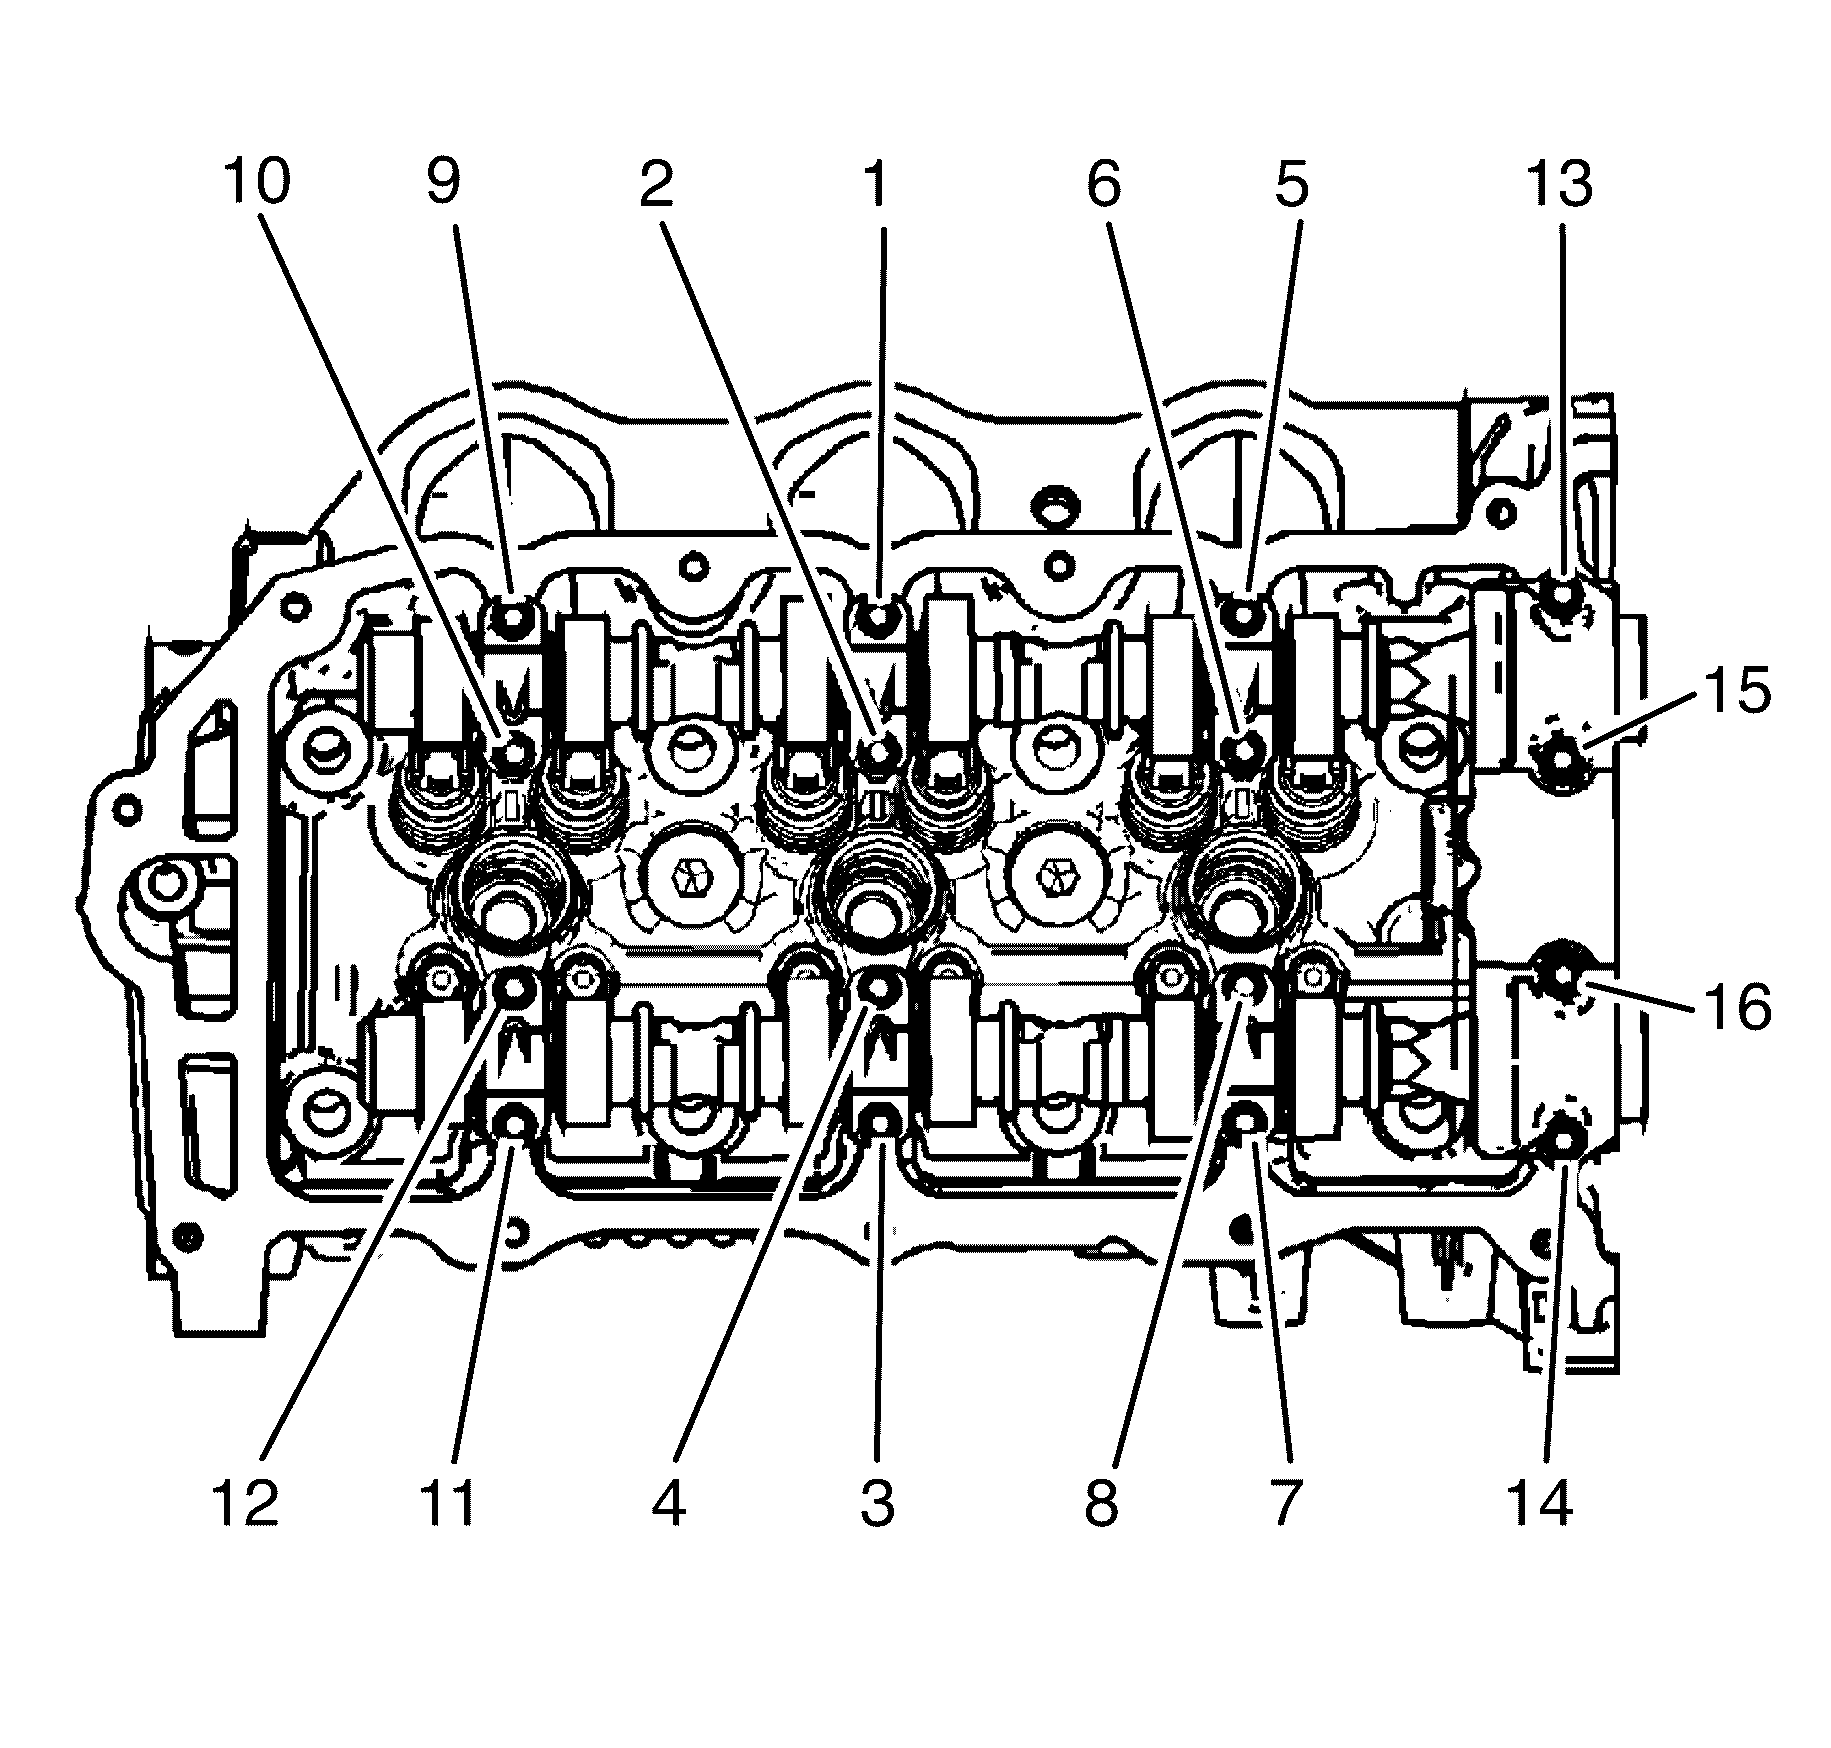
- Tighten the camshaft bearing cap to cylinder head retaining bolts in the sequence
shown.
Tighten
Tighten the bolts in sequence to 10 N·m
(89 lb in).
- Loosen the center intake camshaft bearing cap to cylinder head retaining
bolts (1, 2) and the center exhaust camshaft bearing cap to cylinder head retaining
bolts (3, 4).
- Retighten the center camshaft bearing cap to cylinder head retaining bolts (1,
2, 3, 4).
Tighten
Retighten the bolts to 10 N·m (89 lb in).
