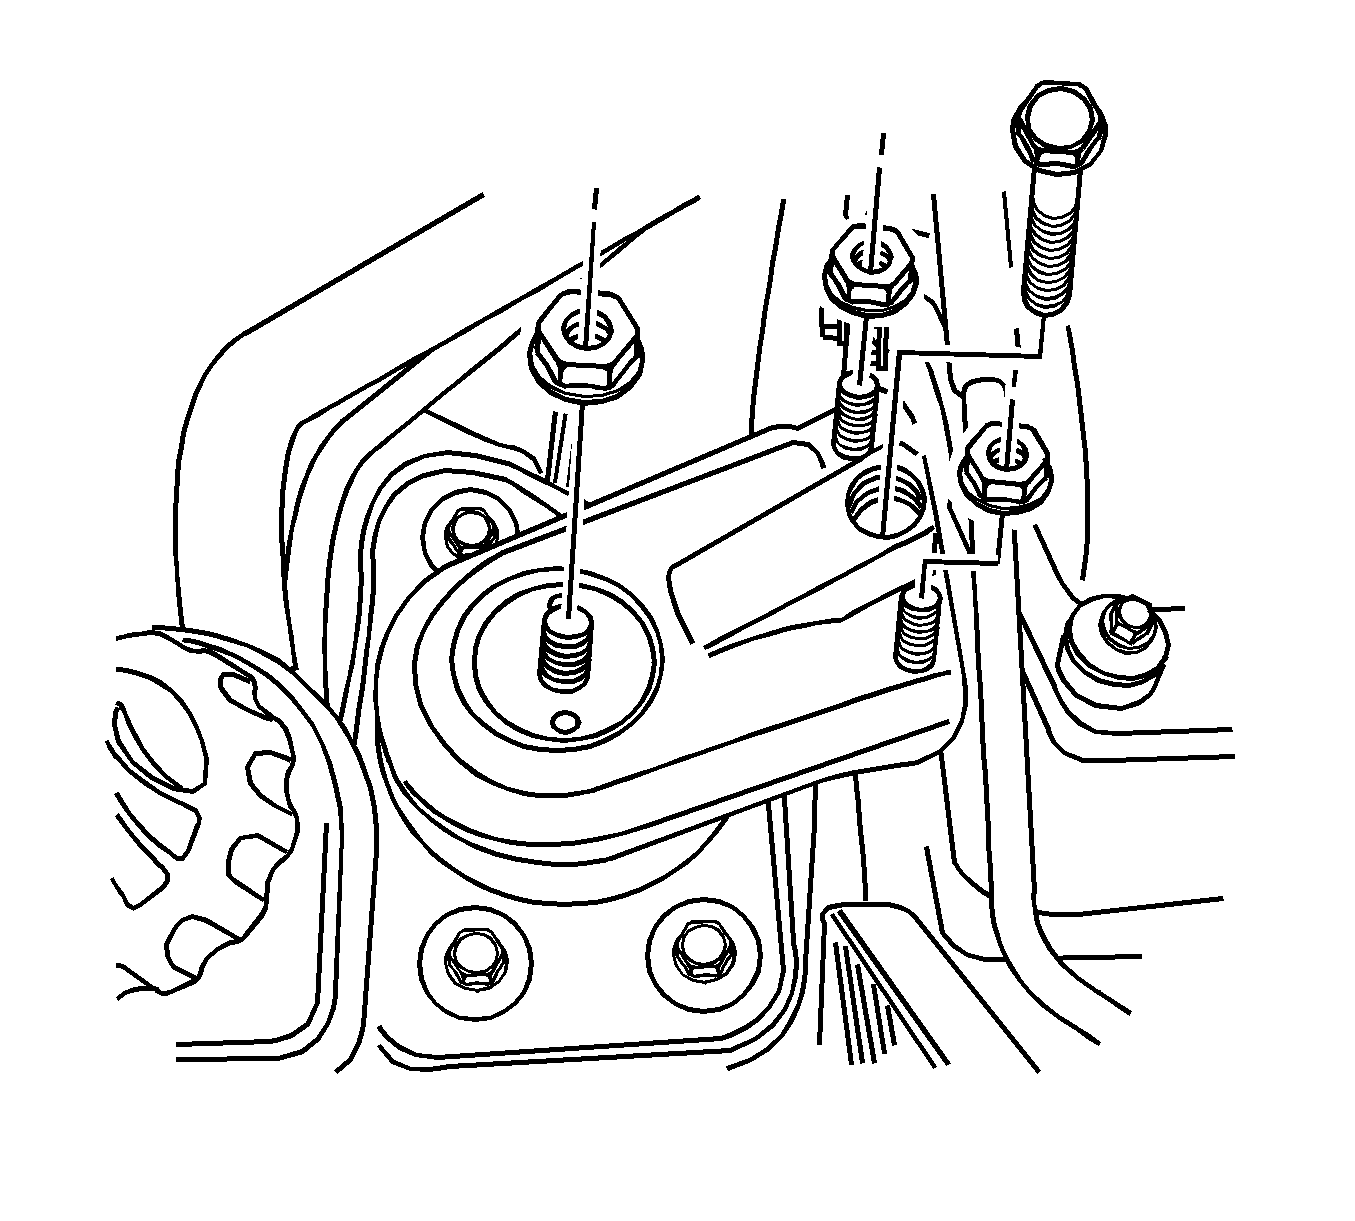
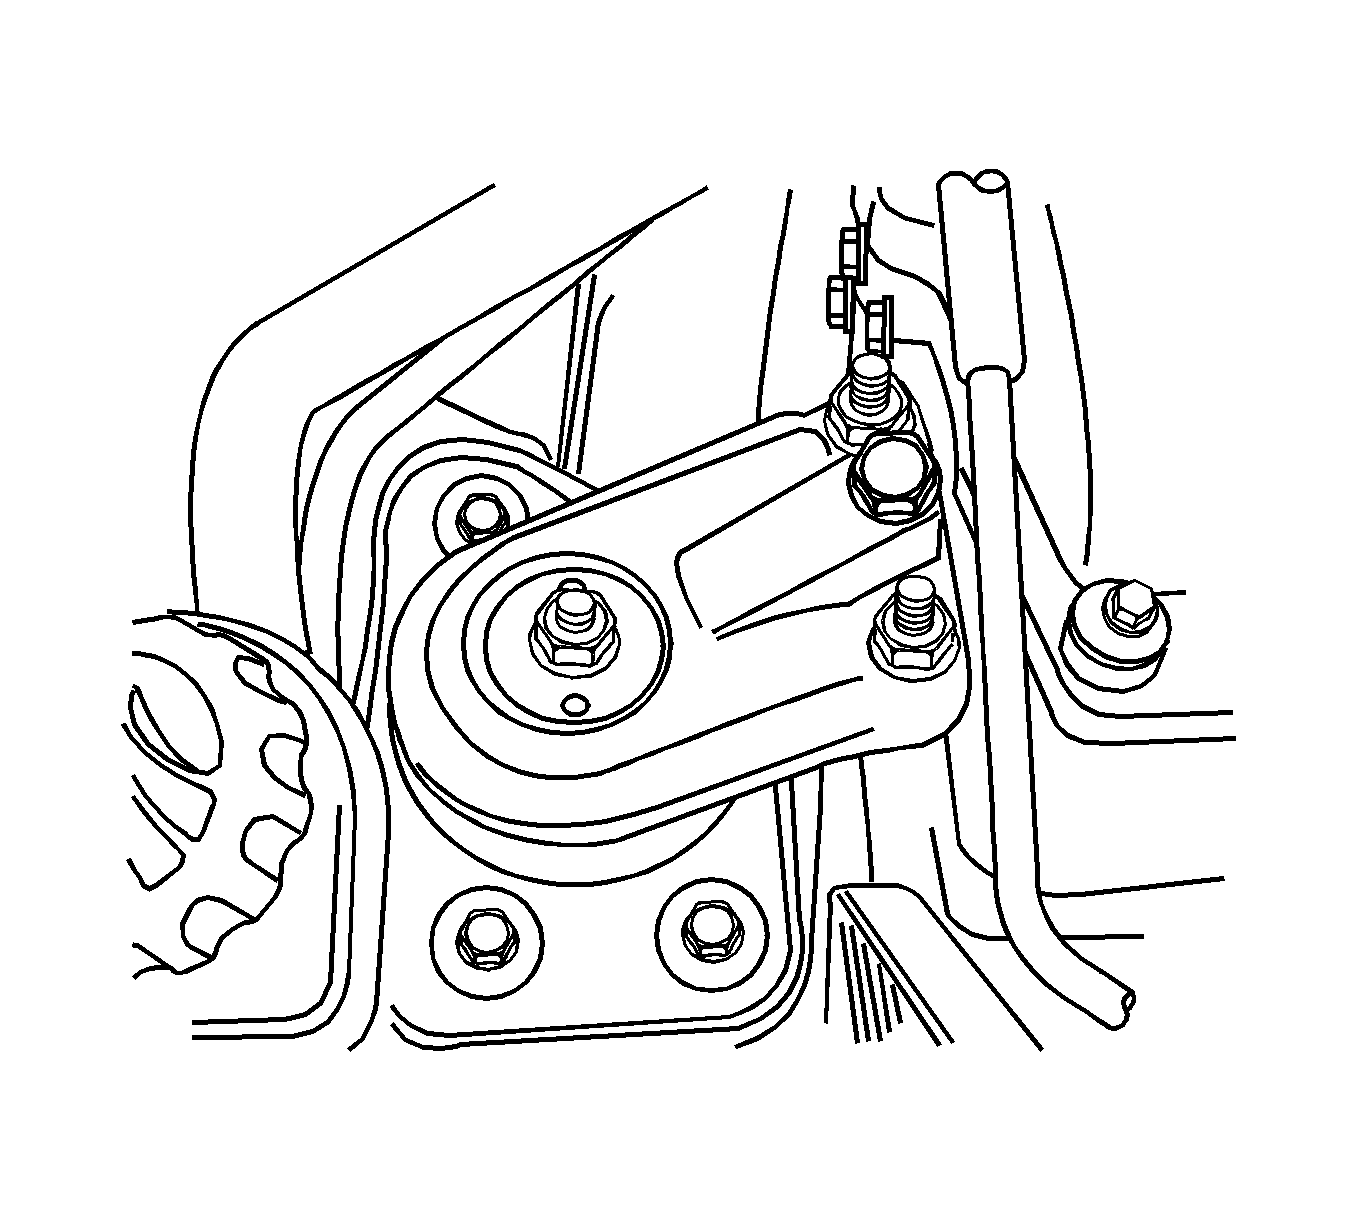
Engine Mount Replacement Right Side
Tools Required
J 28467-B , DW-117 (DW 110-060) Universal Engine Support Fixture
Removal Procedure
- Disconnect the negative battery cable.
- Support the engine assembly using the J 28467-B .
- Remove the engine mount bracket-to-hydro mount nut and engine mount bracket nuts/bolt.
- Remove the engine mount bracket.
Caution: Refer to Battery Disconnect Caution in the Preface section.
Notice: Refer to Engine Mounting Notice in the Preface section.
Notice: When raising or supporting the engine for any reason, do not use a jack under the oil pan, any sheet metal, or crankshaft balancer. Jacking against the oil pan may cause it to crack or break.
Installation Procedure
- Install the engine mount bracket and nuts.
- Remove the J 28467-B .
- Connect the negative battery cable.
Notice: Refer to Fastener Notice in the Preface section.
Tighten
| • | Tighten the engine mount bracket-to-hydro mount nut to 63 N·m (46 lb ft). |
| • | Tighten the engine mount bracket bolt to 51 N·m (38 lb ft). |
| • | Tighten the 2 engine mount bracket nuts to 51 N·m (38 lb ft). |
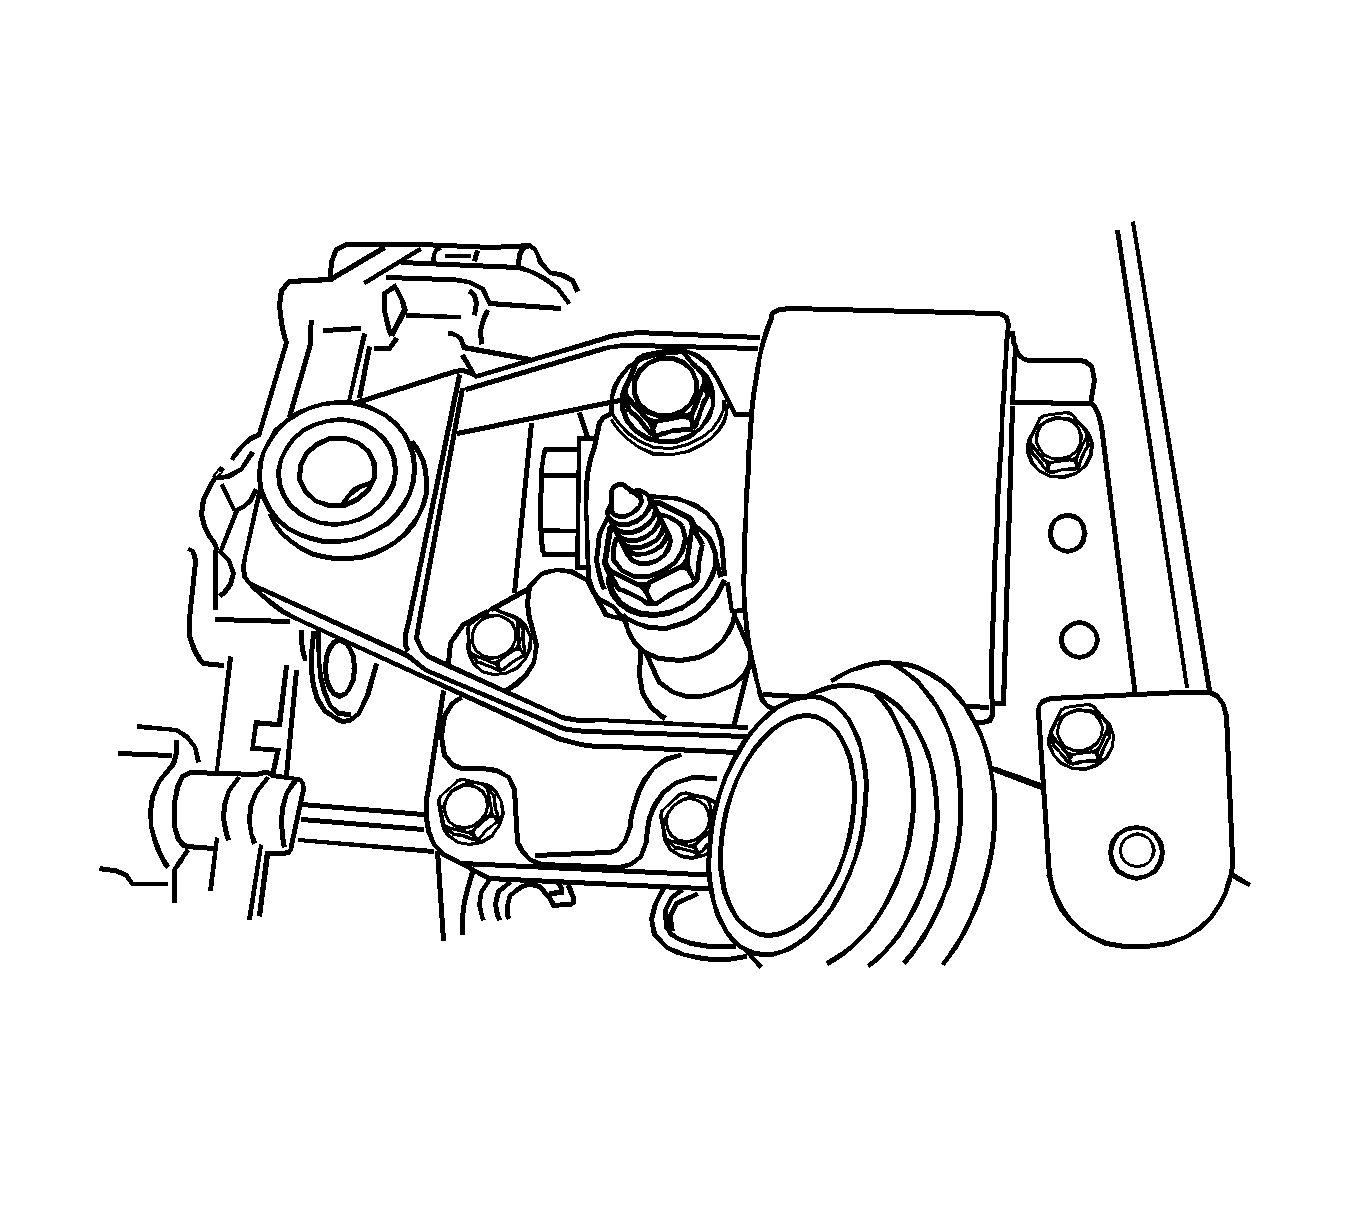
Engine Mount Replacement Left Side
Tools Required
J 28467-B , DW-117 (DW 110-060) Universal Engine Support Fixture
Removal Procedure
- Disconnect the negative battery cable.
- Support the engine assembly using the J 28467-B .
- Remove the transaxle mount cage nut/bolts.
- Remove the mount.
Caution: Refer to Battery Disconnect Caution in the Preface section.
Notice: Refer to Engine Mounting Notice in the Preface section.

Notice: When raising or supporting the engine for any reason, do not use a jack under the oil pan, any sheet metal, or crankshaft balancer. Jacking against the oil pan may cause it to crack or break.
Installation Procedure
- Install the engine mount (LH).
- Remove the J 28467-B .
- Connect the negative battery cable.
Notice: Refer to Fastener Notice in the Preface section.
Tighten
| • | Tighten the 4 transaxle mount cage-to-longitudinal member bolts to 63 N·m (46 lb ft). |
| • | Tighten the transaxle mount cage-to-transaxle mount bracket bolt to 63 N·m (46 lb ft). |
| • | Tighten the transaxle mount cage-to-transaxle mount bracket nut to 63 N·m (46 lb ft). |
| • | Tighten the transaxle mount cage through bolt to 110 N·m (81 lb ft). |
