For 1990-2009 cars only
Removal Procedure
- Raise and support the vehicle. Refer to Lifting and Jacking the Vehicle .
- Remove the exhaust front pipe.
- Remove the propeller shaft.
- Remove the right drive axle.
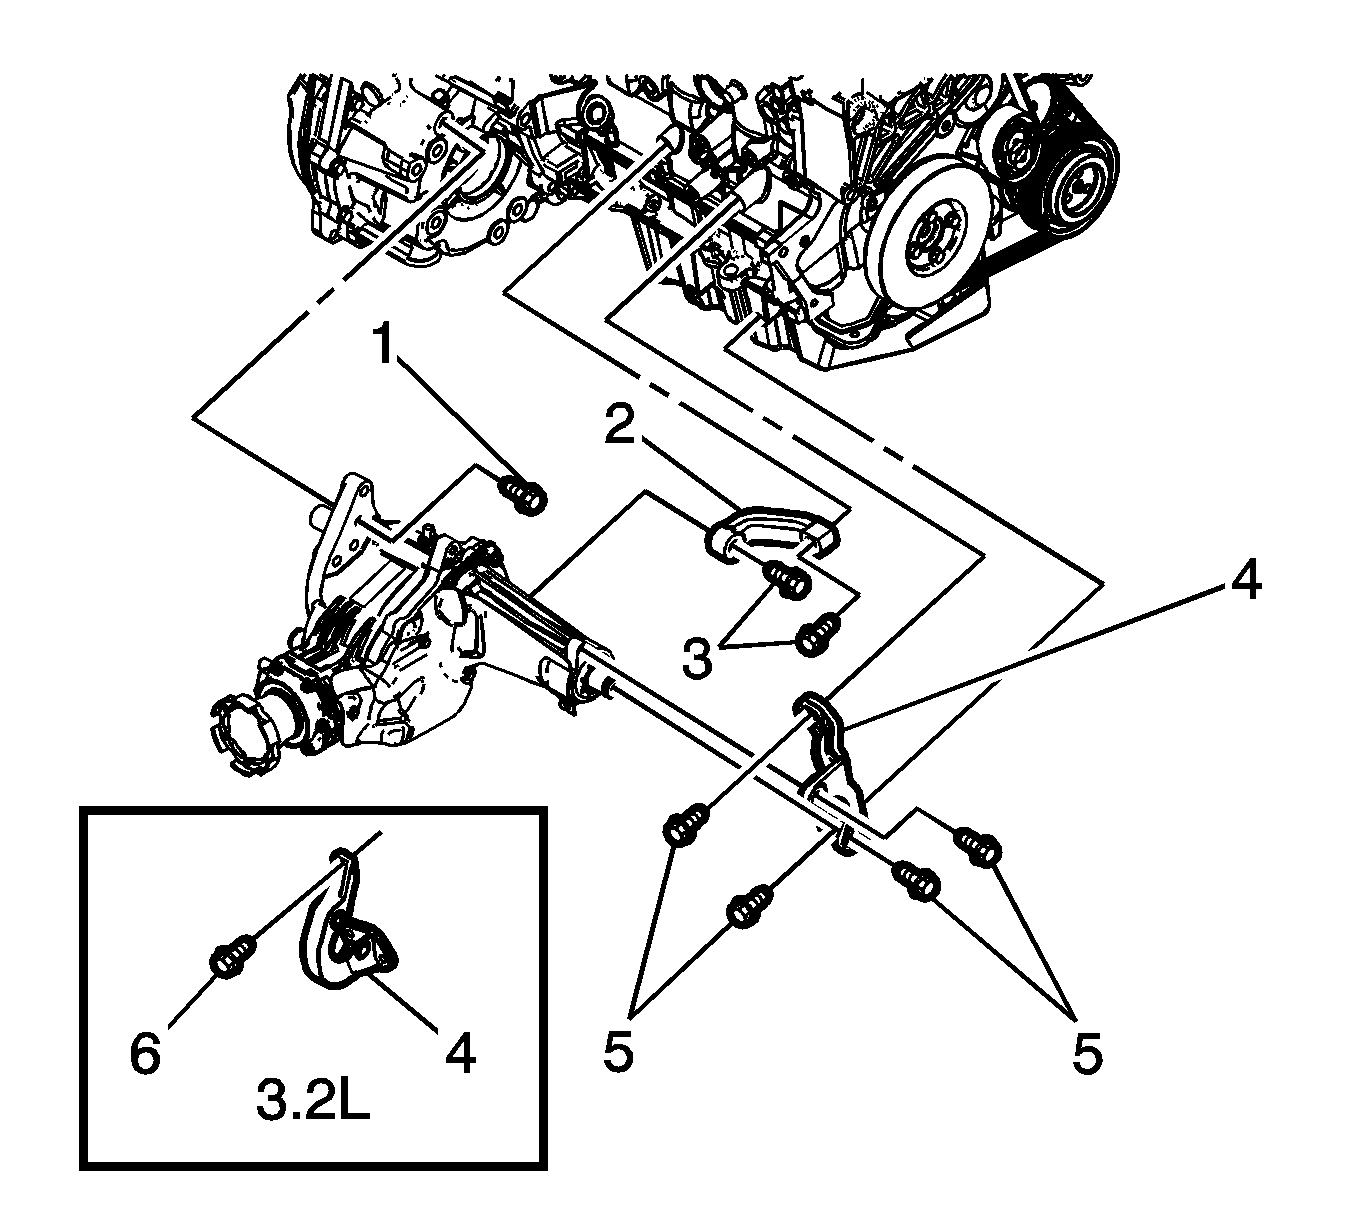
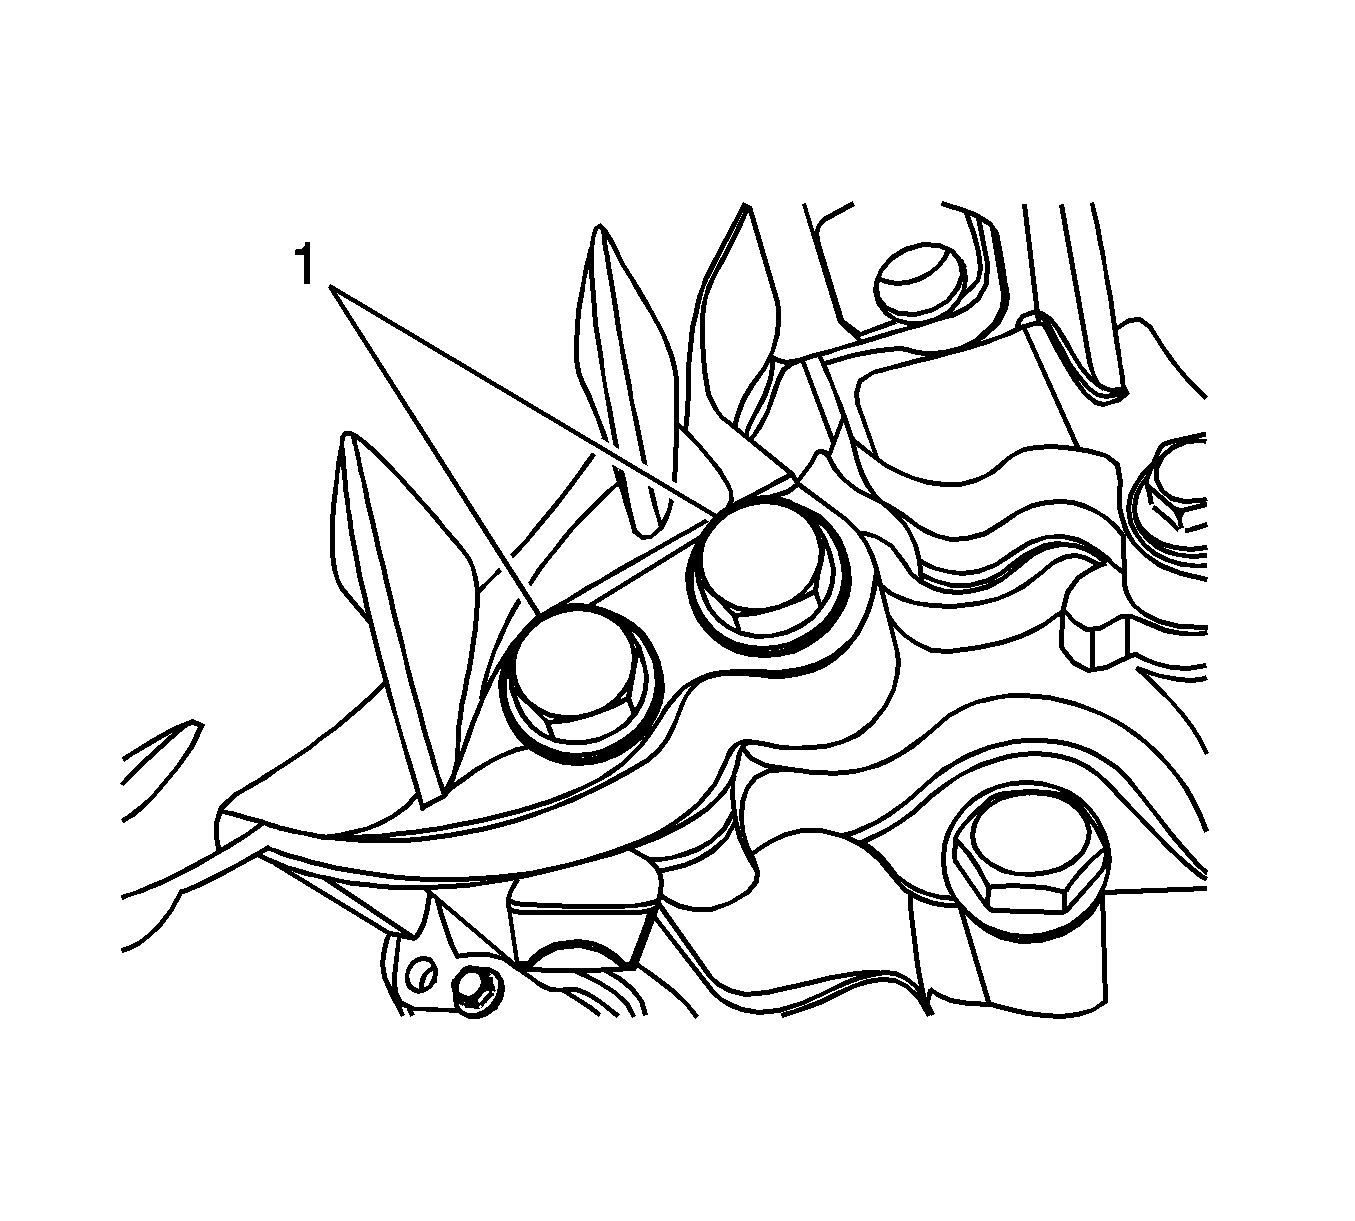
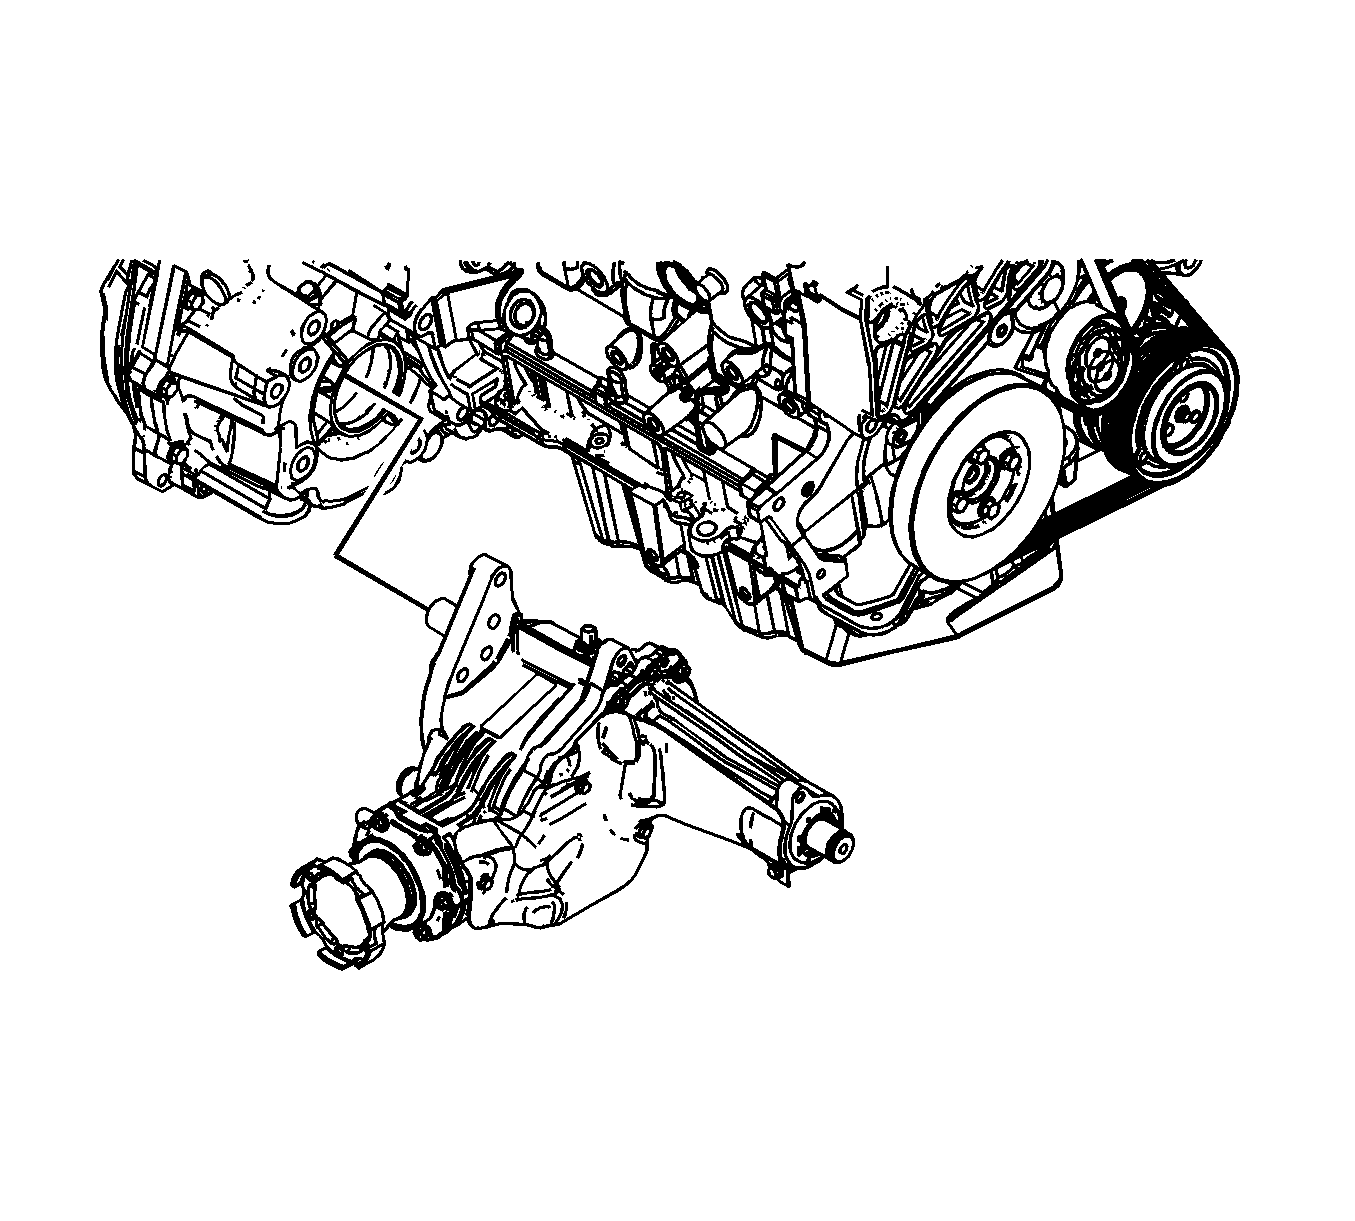
- Remove the upper transfer case bolt 910.
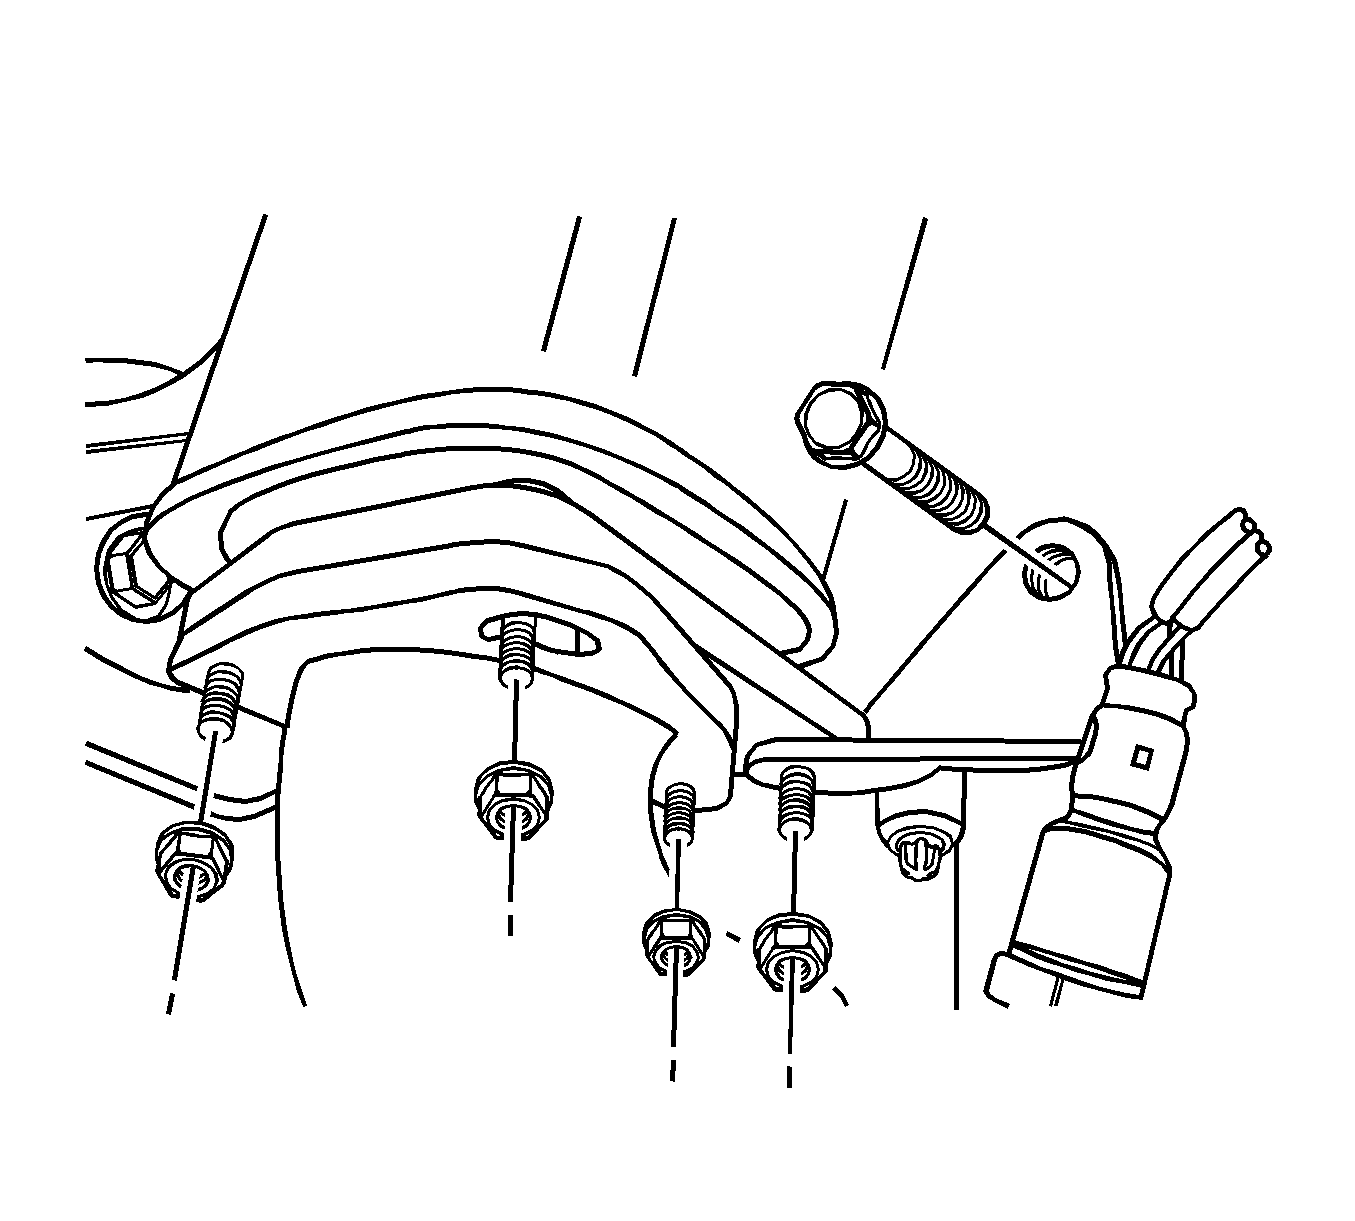
- Remove the transfer case brace bolts (3) and the brace (2).
- Remove the transfer case bracket bolts (5, 6) and the bracket (4).
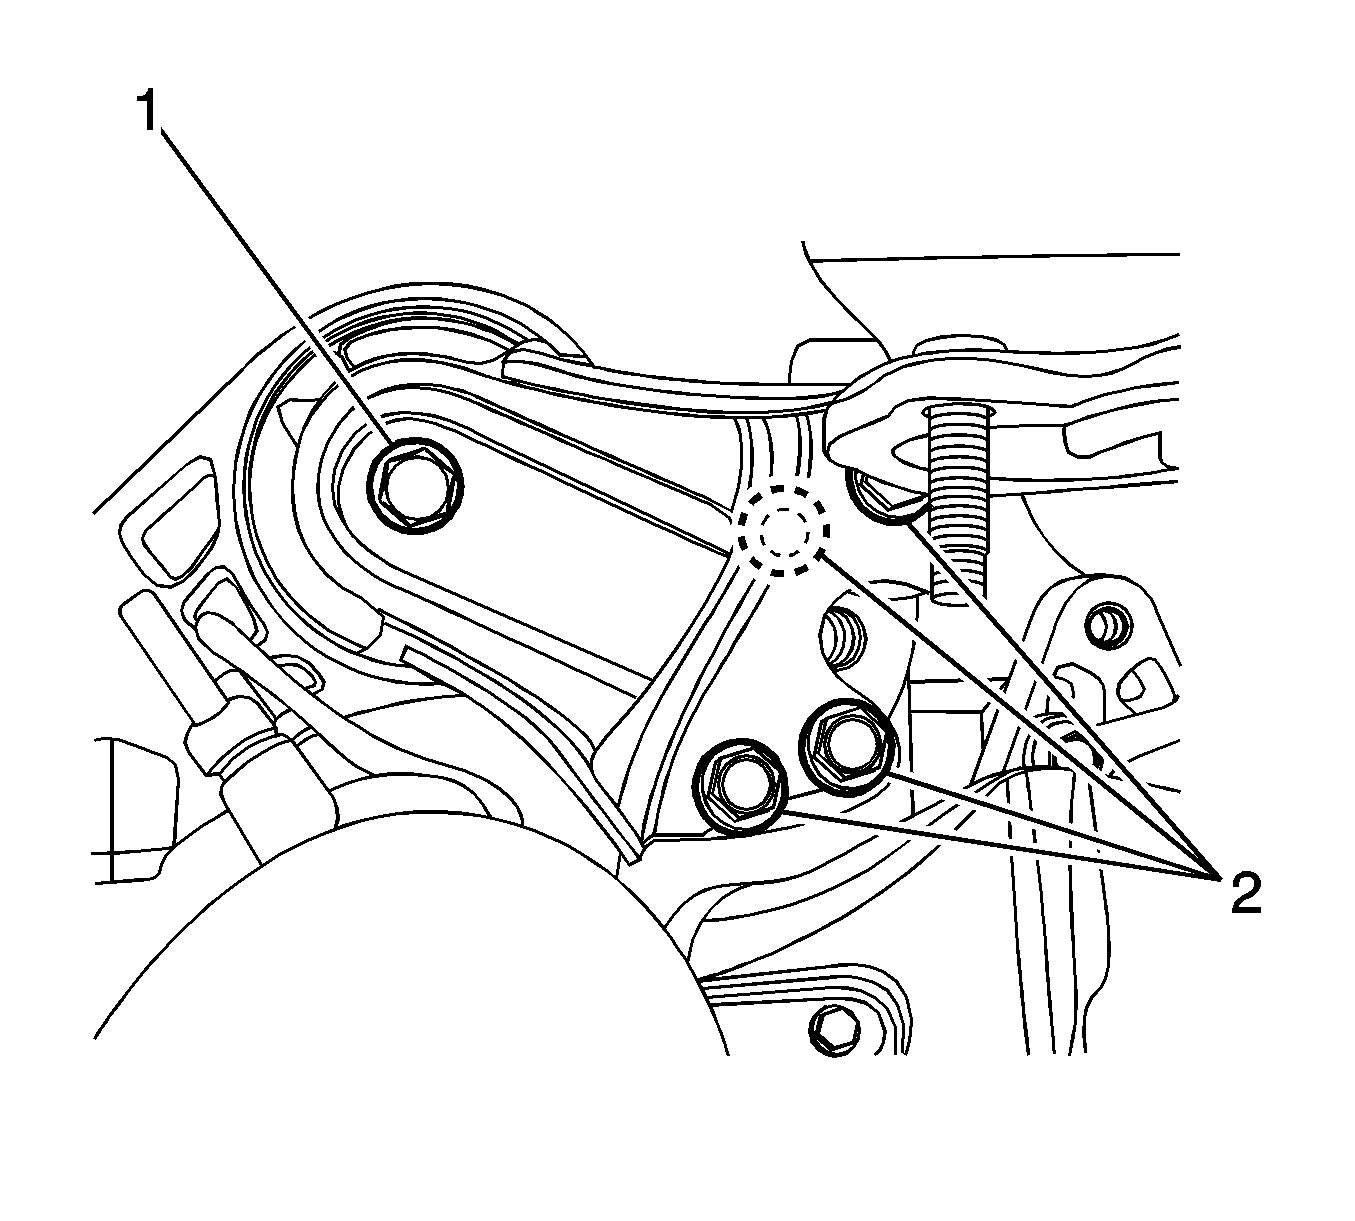
- Remove the lower transfer case bolts (1).
- Support the transfer case using the supporting jack.
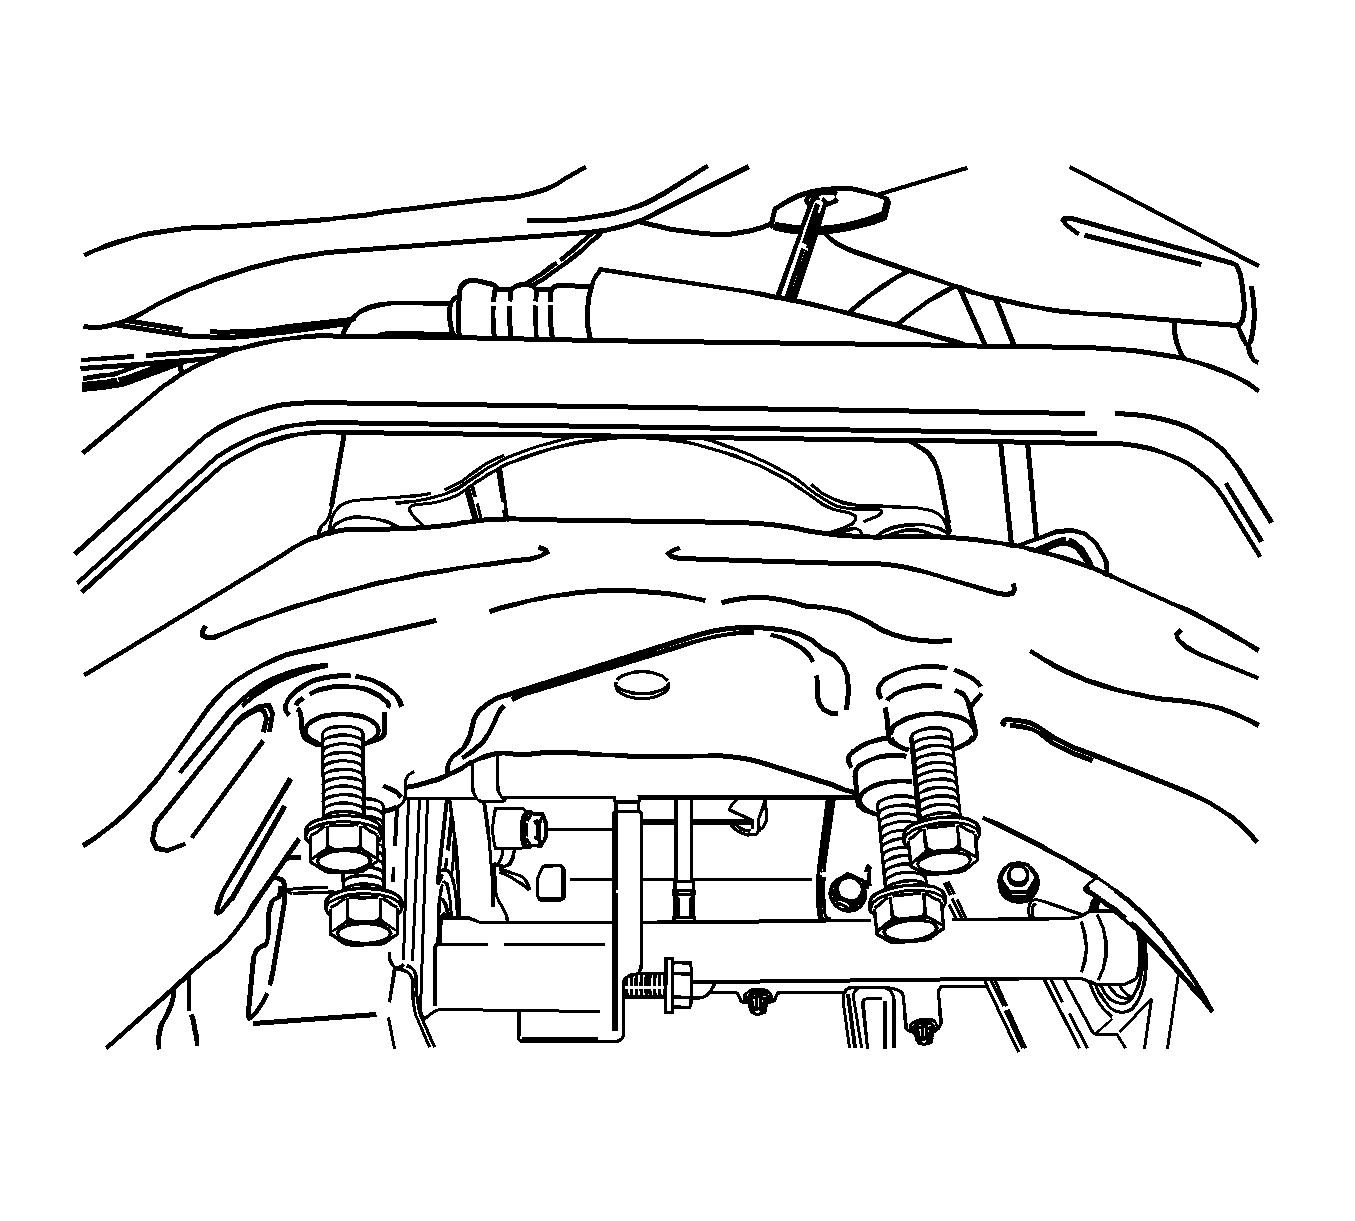
- Remove the transaxle rear mount-to-bracket through bolt (1).
- Remove the rear transaxle bracket mounting bolts and nuts (2).
- Remove the transaxle rear mount retaining bolts from the cradle.
- Remove the rear transaxle bracket.
- Remove the transfer case from the transaxle.
- Plug the transaxle to minimize the transaxle fluid loss.
Installation Procedure
- Install the transfer case from the transaxle.
- Install the rear transaxle bracket.
- Install the transaxle rear mount retaining bolts from the cradle.
- Install the transaxle rear mount-to-bracket through bolt (1).
- Install the rear transaxle bracket mounting bolts and nuts (2).
- Install the lower transfer case bolts (1).
- Install the upper transfer case bolt (1).
- Install the transfer case brace (2) and bolts (3).
- Install the transfer case bracket (4) and bolts (5).
- If the vehicle is equipped with a 3.2L engine, install the transfer case bracket bolt (6) and the other 4 bolts (5)
- Install the right drive axle.
- Install the propeller shaft.
- Install the exhaust front pipe.
- Lower the vehicle.
- Check the transaxle oil level and fill as required.
Notice: Refer to Fastener Notice in the Preface section.
Tighten
Tighten the transaxle rear mount retaining bolts to 90 N·m (66 lb ft).
Tighten
Tighten the rear mount-to-bracket through bolt (1) to 90 N·m (66 lb ft).
Tighten
Tighten the rear transaxle bracket mounting bolts and nuts (2) to 90 N·m (66 lb ft).
Tighten
Tighten the lower transfer case bolts (1) to 75 N·m (55 lb ft).
Tighten
Tighten the upper transfer case bolt (1) to 75 N·m (55 lb ft).
Tighten
Tighten the transfer case brace (2) and bolts (3) to 60 N·m (44 lb ft).
Tighten
Tighten the transfer case bracket (4) and bolts (5) to 60 N·m (44 lb ft).
Tighten
| • | Tighten the transfer case bracket bolt (6) to 40 N·m (30 lb ft). |
| • | Tighten the other 4 bolts (5) to 60 N·m (44 lb ft). |

