For 1990-2009 cars only
Tools Required
| • | EN-48279 Main Fuel Pump Locking Ring Remover/Installer |
| • | EN-48278 Sub Fuel Pump Locking Ring Remover/Installer |
Removal Procedure
- Disconnect the negative battery cable. Refer to Battery Negative Cable Disconnection and Connection .
- Fold the rear seat.
- Lift up the carpet and the insulation.
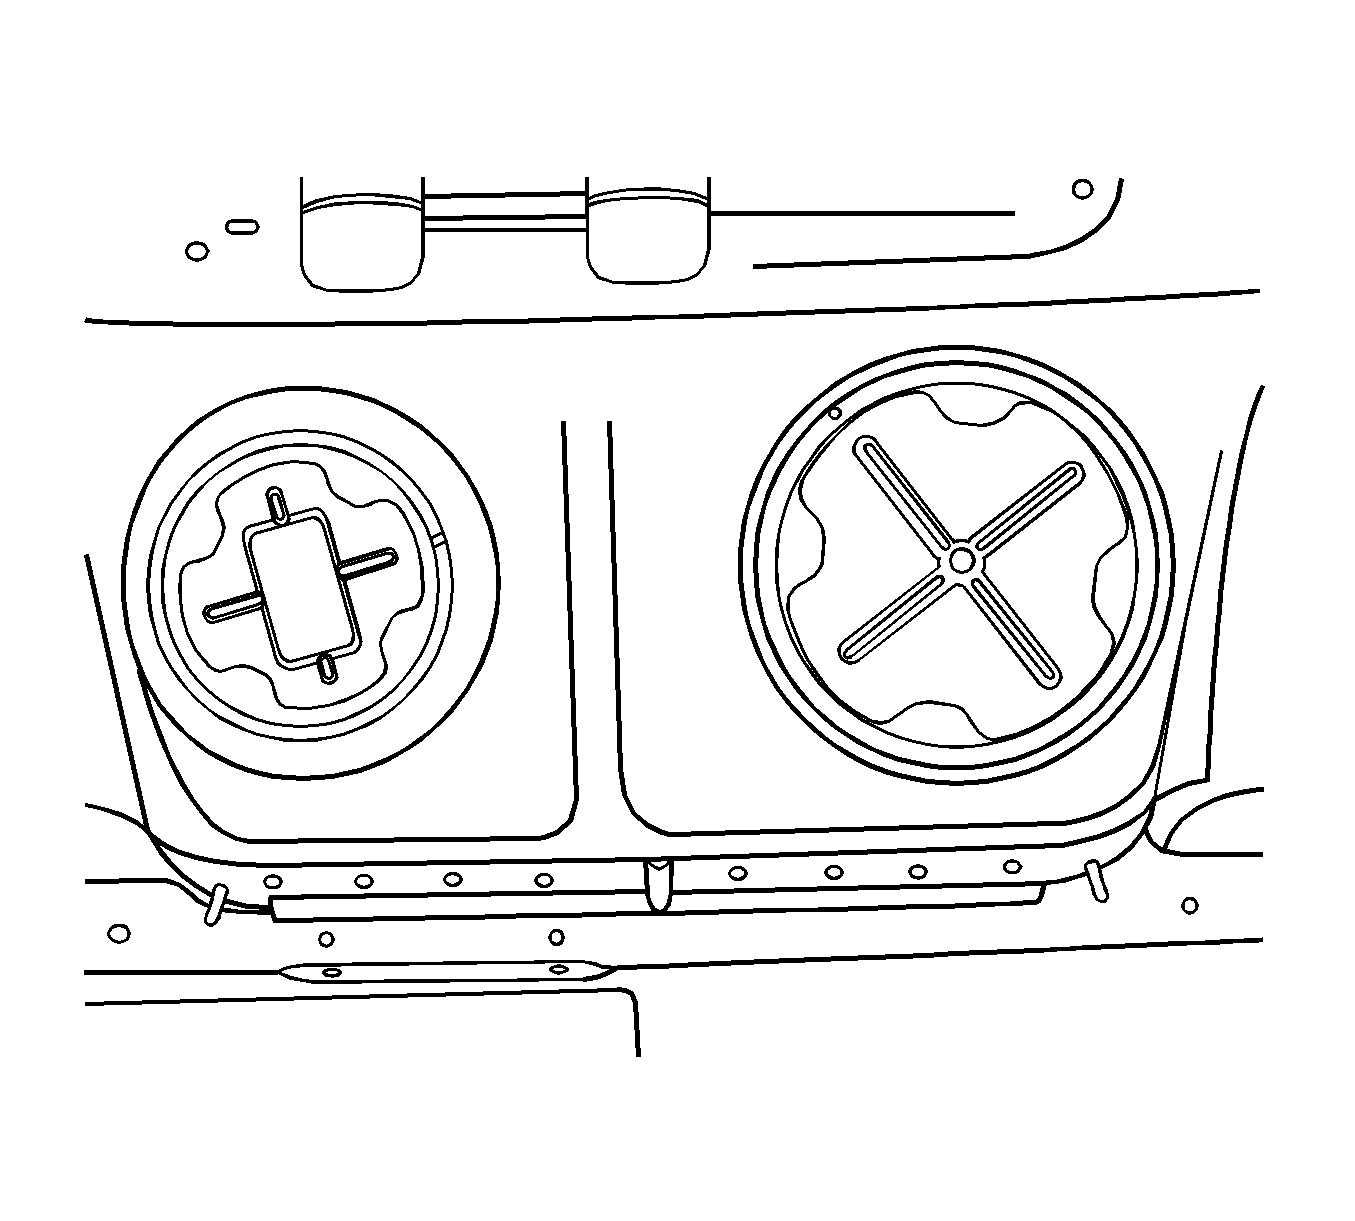
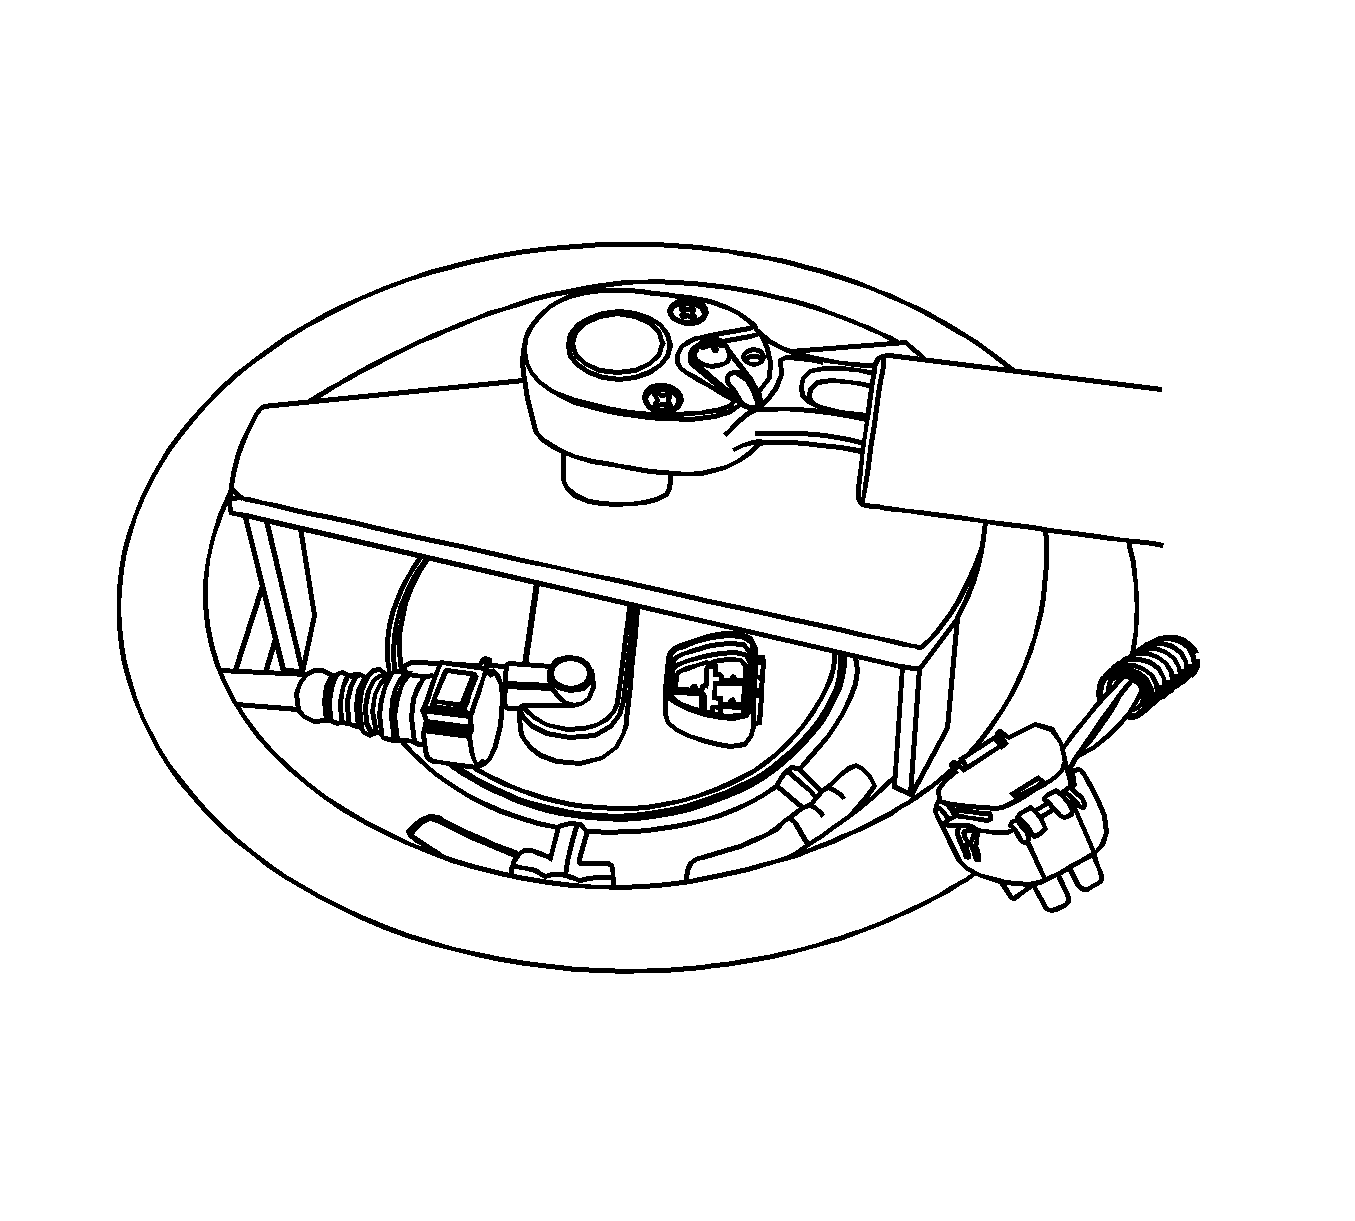
- Remove the primary and secondary fuel tank module access covers.
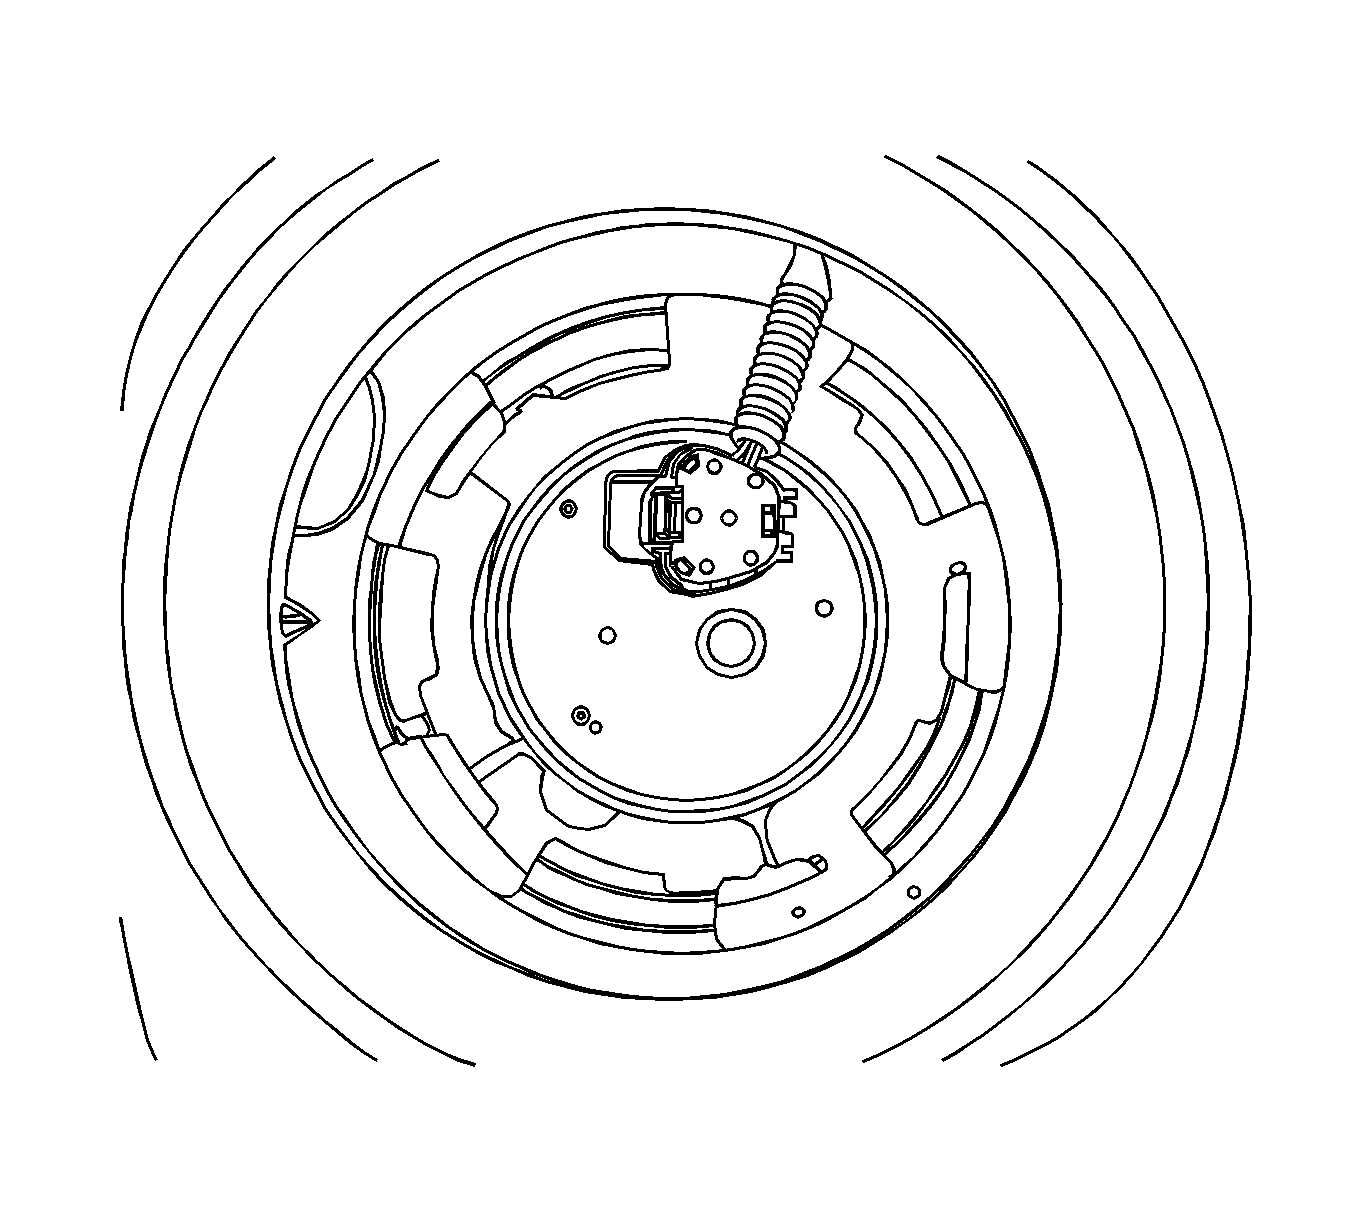
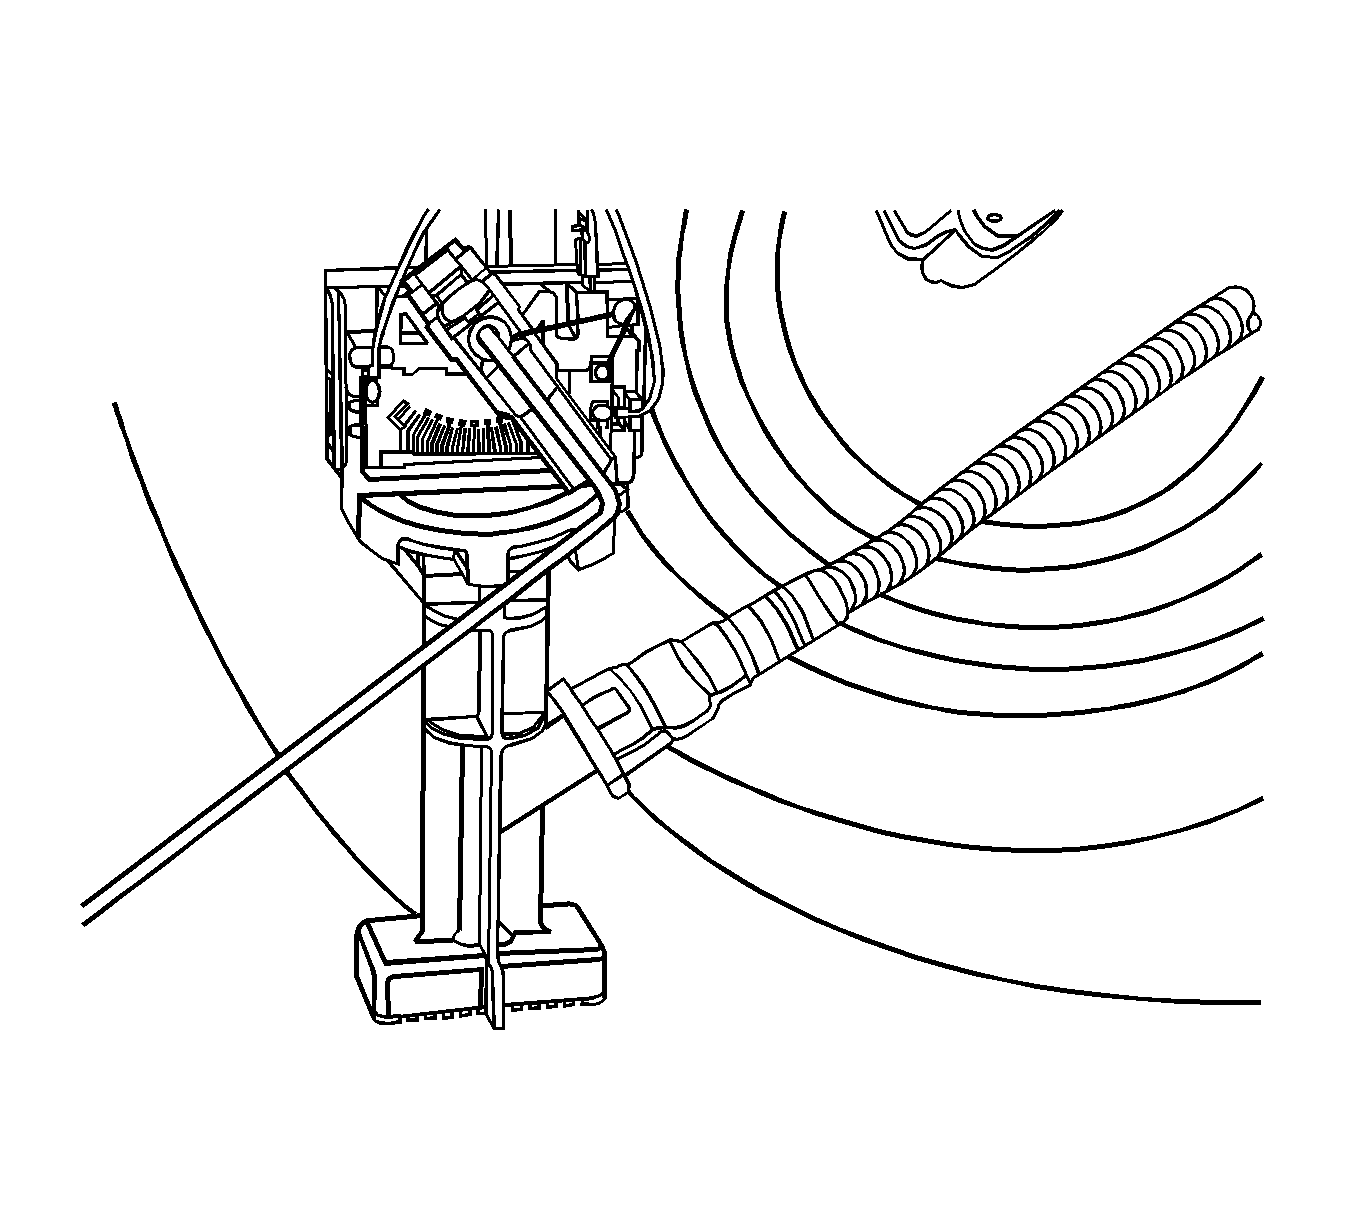
- Disconnect the electrical connector at the secondary fuel tank module assembly.
- Install the EN-48278 to the secondary fuel tank module and turn it counterclockwise.
- Remove the secondary fuel tank module lock ring.
- Remove the secondary fuel tank module assembly and the O-ring from the fuel tank.
- Disconnect the primary fuel pump-to-secondary fuel pump hose.
- Disconnect the electrical connector at the primary fuel tank module assembly.
- Disconnect the fuel feed and return line.
- Install the EN-48279 to the primary fuel tank module and turn it counterclockwise.
- Remove the primary fuel tank module lock ring.
- Remove the primary fuel tank module assembly and the O-ring from the fuel tank.
Important: Use care when handling the primary/secondary fuel tank module to prevent damage and incorrect fuel level readings.
Important: O-ring should not be contaminated by fuel.

Important: O-ring should not be contaminated by fuel.
Installation Procedure
- Clean all of the mating surfaces on the both fuel tank modules and fuel tank.
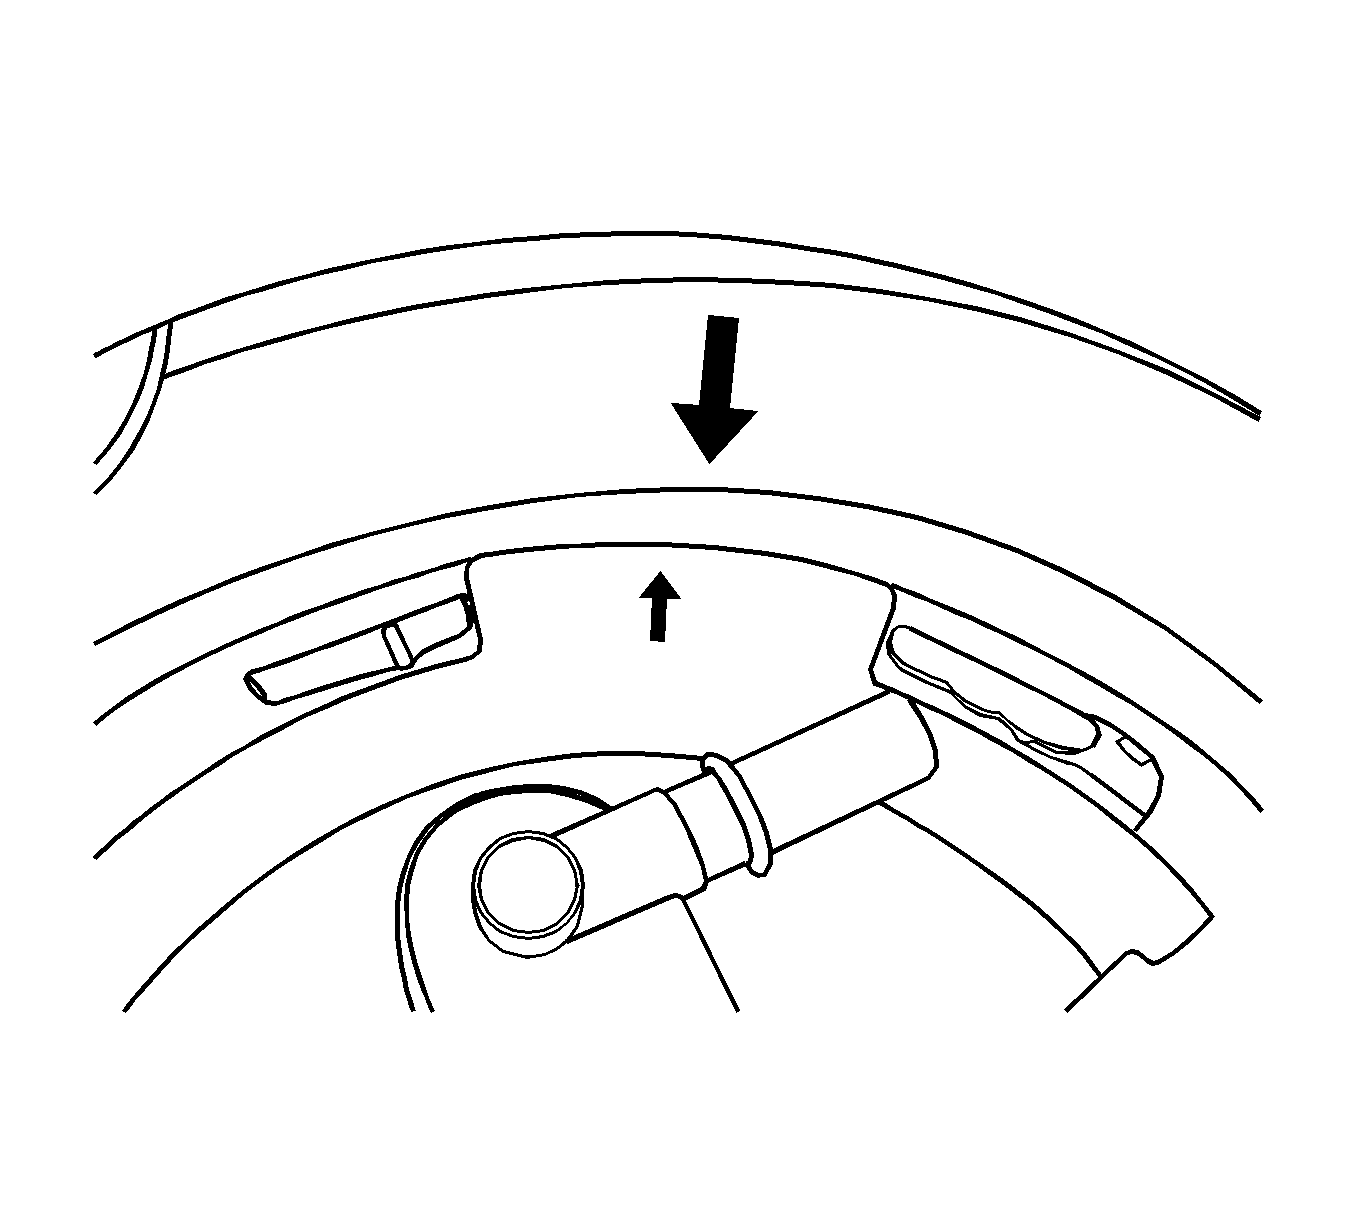
- Position the new O-ring and the primary fuel tank module first into the fuel tank in the same location as removed.
- Pull the primary fuel tank module-to-secondary fuel tank module connecting hose to the secondary fuel tank module assembly and connect the hose.
- Position the new O-ring and the secondary fuel tank module into the fuel tank in the same location as removed.
- Install the lock ring by turning EN-48278 clockwise.
- Connect the electrical connector at the secondary fuel tank module.
- Install the primary fuel tank module lock ring by turning EN-48279 clockwise.
- Connect the electrical connector.
- Connect the fuel feed and return lines.
- Install the access covers.
- Connect the negative battery cable.
- Perform an operational check of the fuel pump.
- Fold the rear seat back to the original position.
Important: Do not reuse the primary or secondary fuel tank module O-rings.
Important: For ease of connecting the primary fuel tank module-to-secondary fuel tank module connecting hose, install the primary fuel tank module assembly first.
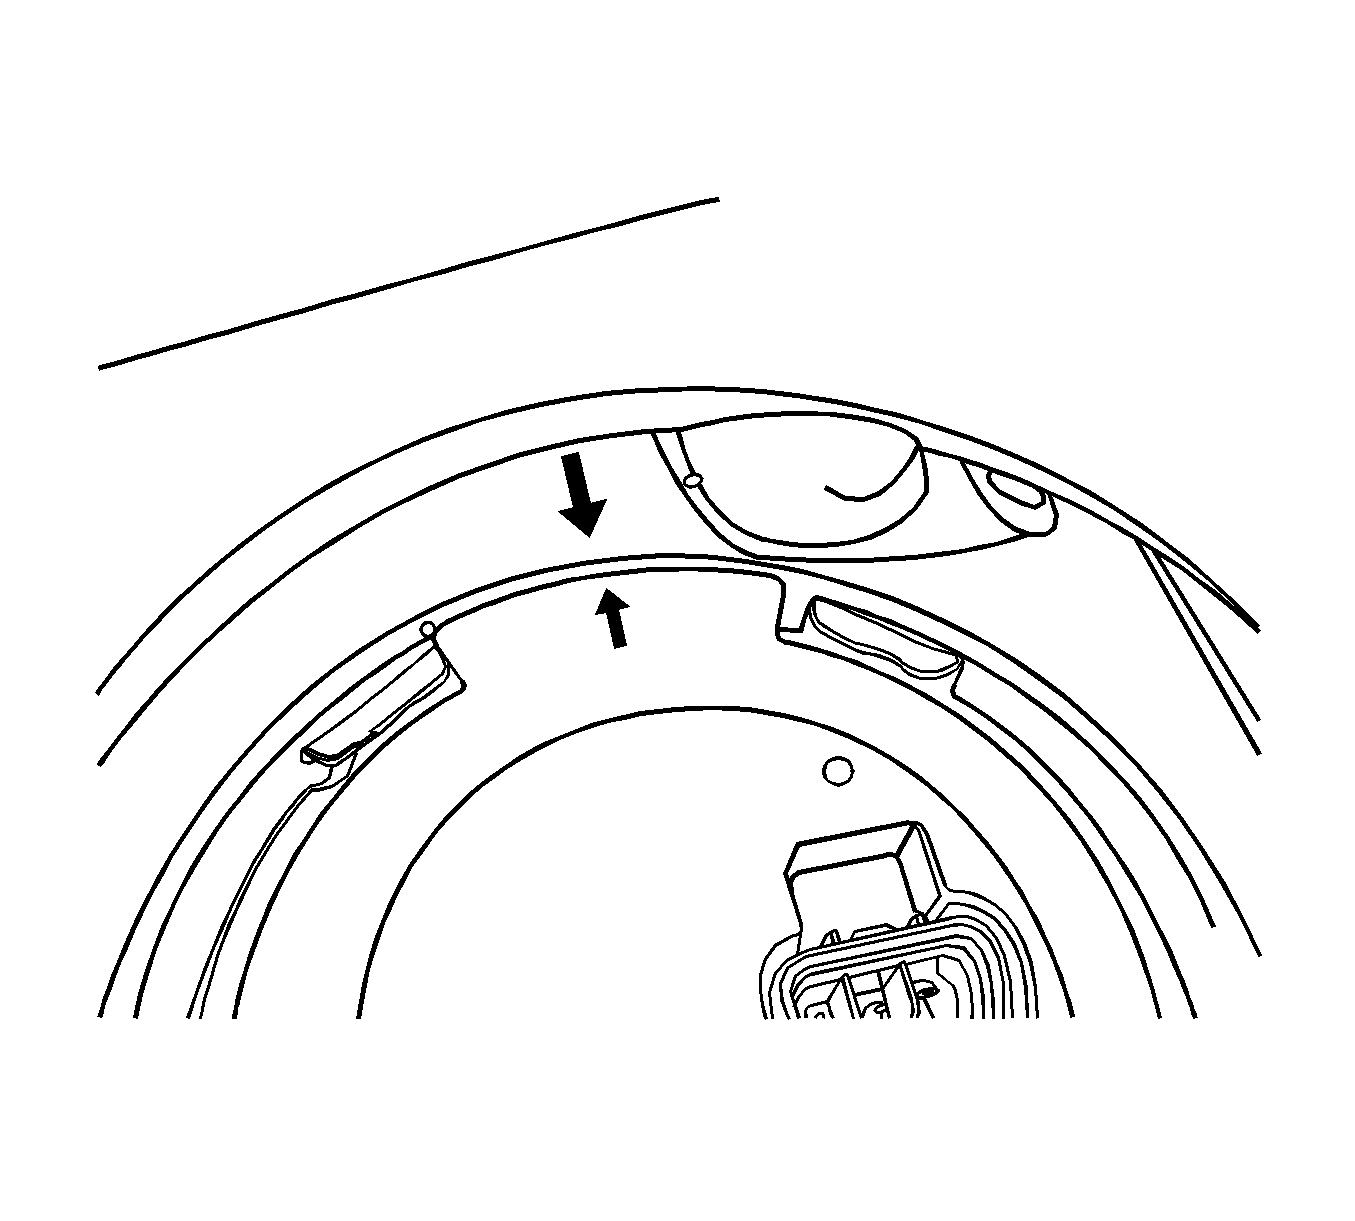
Important: Be sure that the arrow on the primary fuel tank module assembly is aligned with the arrow on the fuel tank.
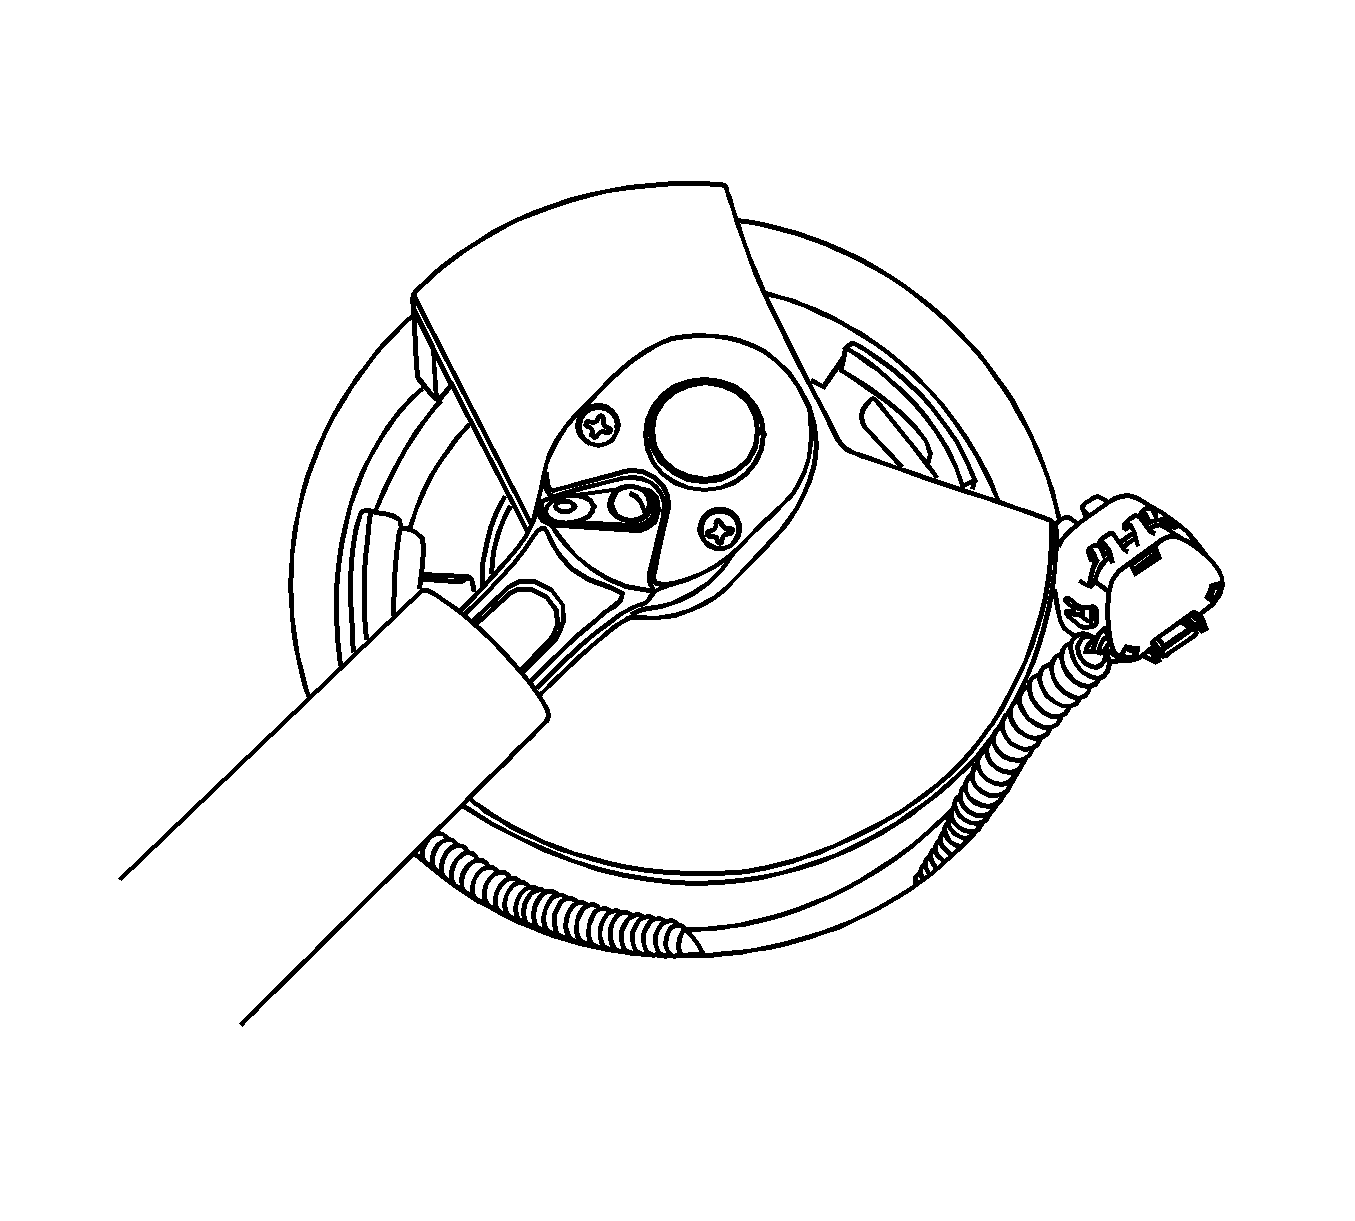
Important: Be careful not to damage the fuel sender for the correct fuel leveling while removing the fuel pump assembly from the fuel tank.