Crankshaft Rear Oil Seal and Housing Installation Second Design
Tools Required
| • | EN-47623 Rear Main Seal Installer |
| • | J 8092 Drive Handle |
| • | J 45059 Angle Meter |
- Clean and inspect the crankshaft rear oil seal housing making sure it is free of any foreign material.
- With all bolts removed from the housing, place it face up on a flat clean surface.
- Carefully remove protection sleeve from the new rear oil seal assembly.
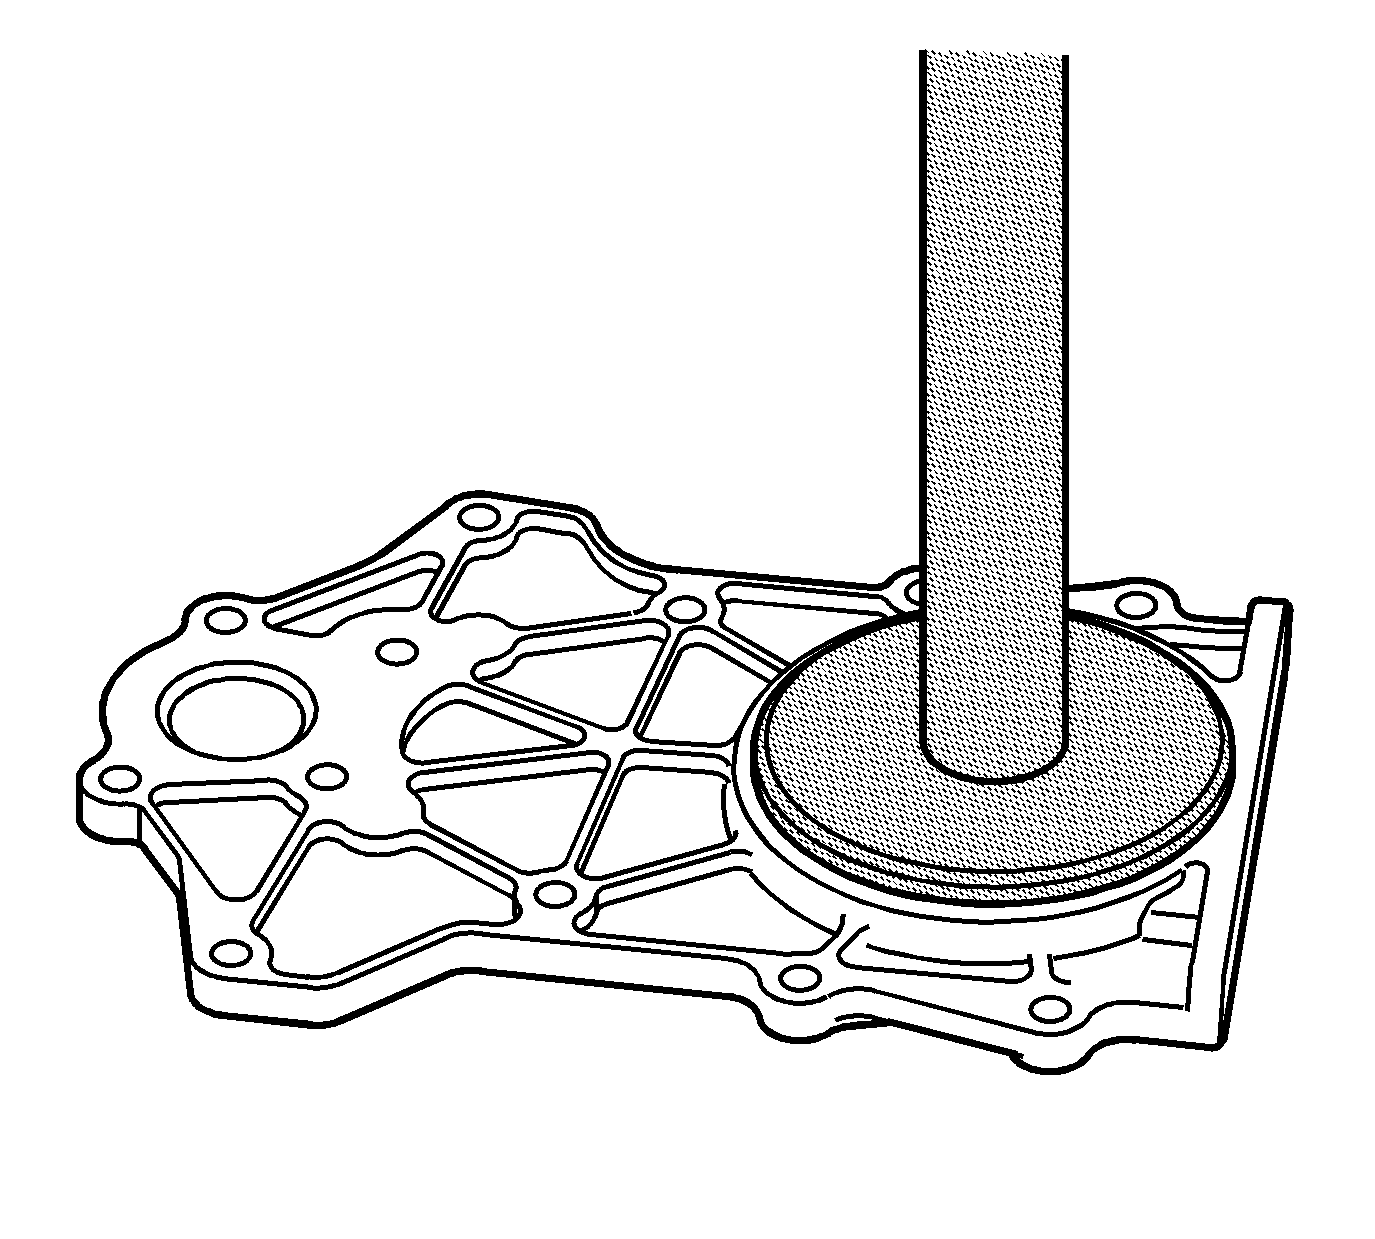
- Install the seal onto EN-47623 by placing the seal on an angle and using a twisting motion until it is fully seated.
- Place EN-47623 along with J 8092 onto the housing as shown and apply a constant downward force until the seal is fully seated.
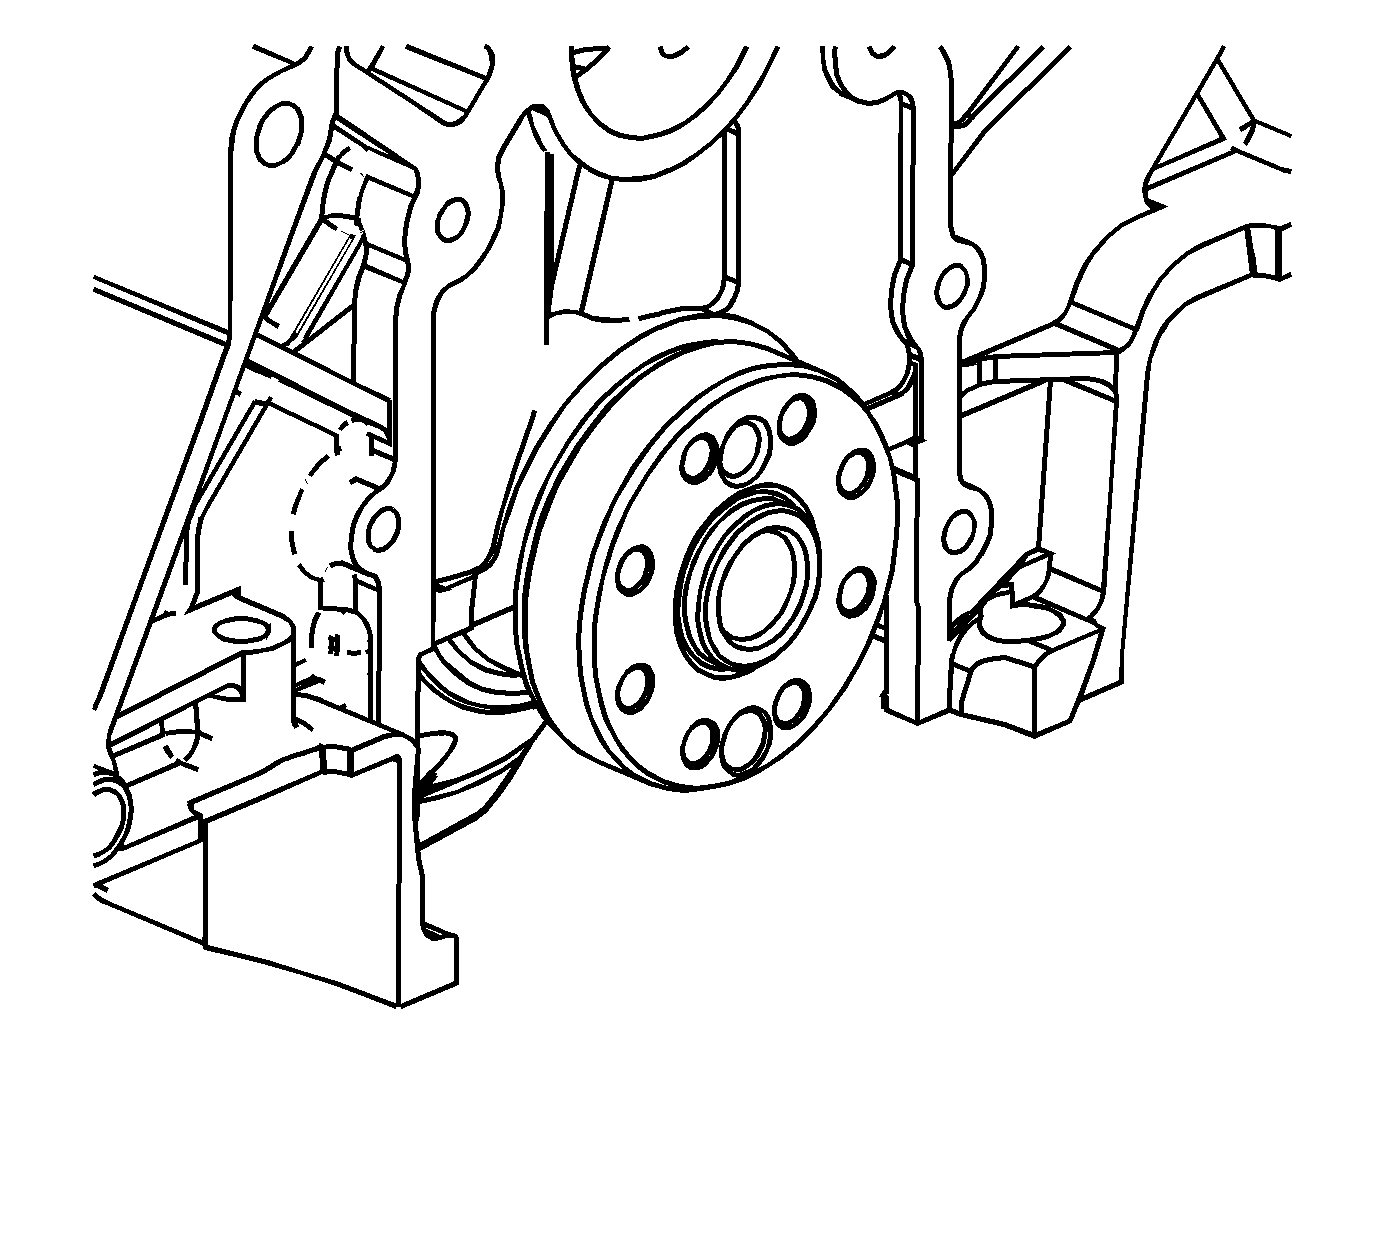
- Clean the crankshaft sealing surface with a clean, lint free towel. Inspect the crankshaft sealing surface and leading edge of the crankshaft for burrs/sharp edges that could damage the rear main oil seal. Remove any burrs or sharp edges with crocus cloth before proceeding.
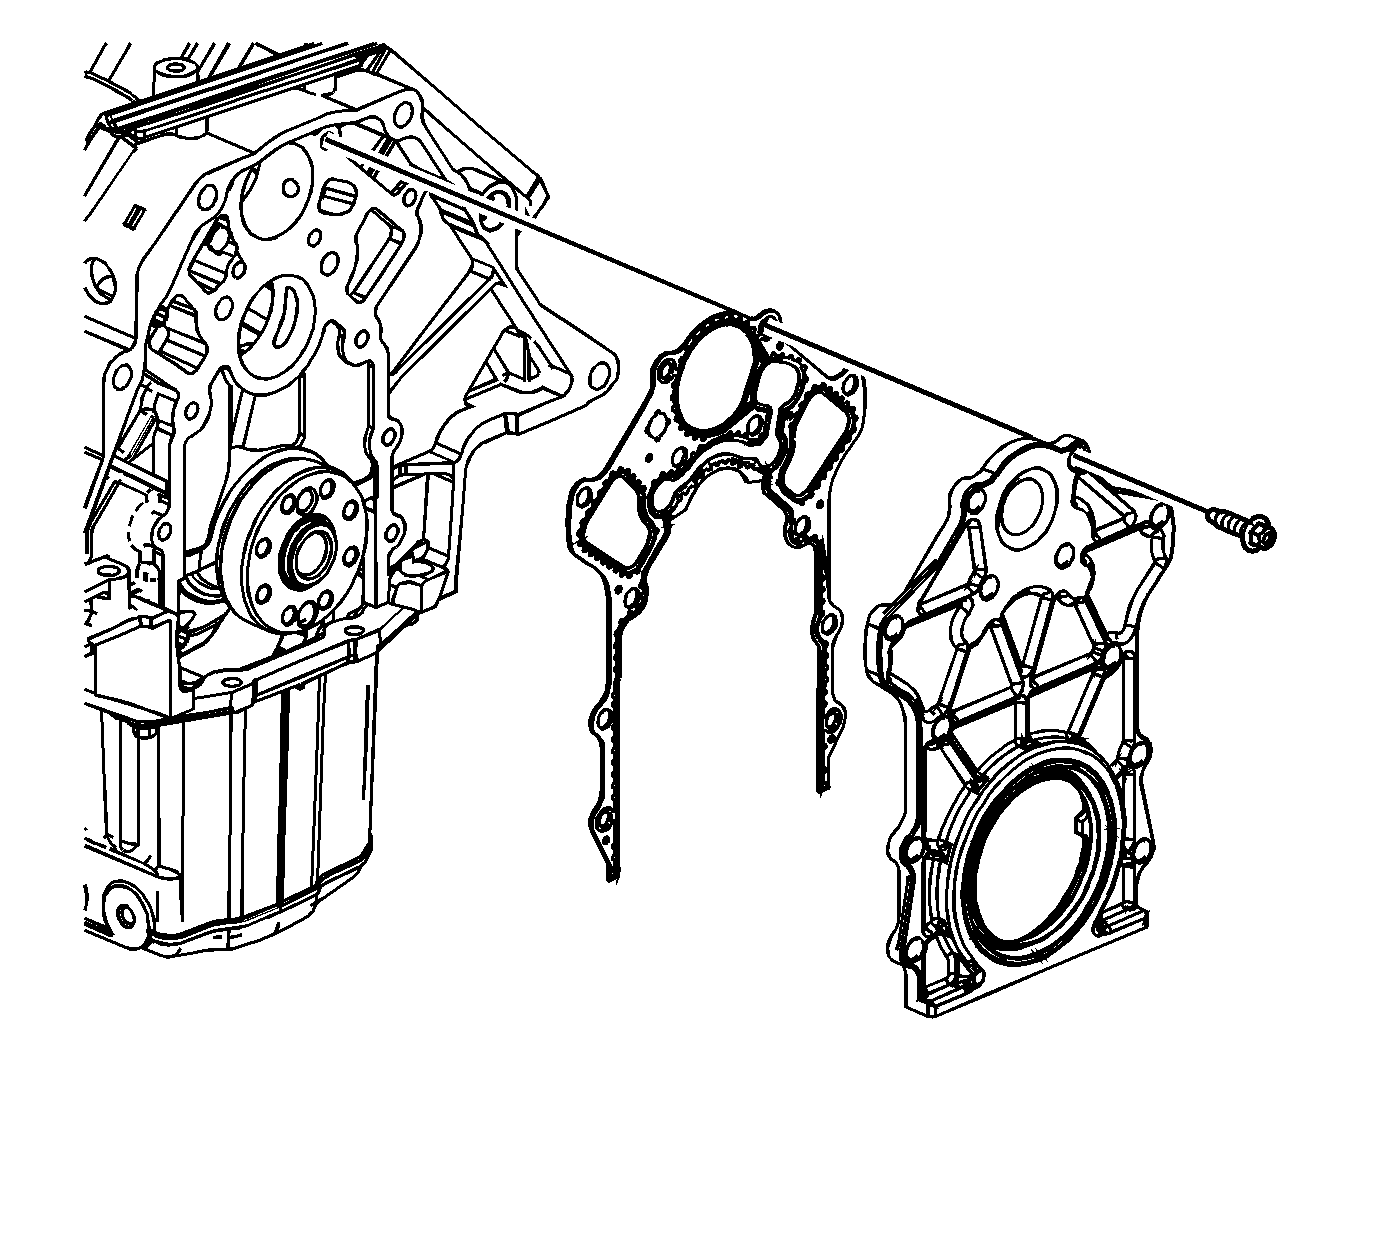
- Install a new crankshaft rear oil seal housing gasket and the housing onto the engine.
- Install the crankshaft rear oil seal housing gasket and housing.
- Install the crankshaft rear oil seal housing bolts.
- Tighten the crankshaft rear oil seal housing bolts.

Notice: Do not apply or use any oil lubrication on the crankshaft rear oil seal, or the seal installer. Do not touch the sealing lip of the oil seal once the protective sleeve is removed. Doing so will damage/deform the seal.
Notice: Clean the crankshaft sealing surface with a clean, lint free towel. Inspect lead-in edge of crankshaft for burrs/sharp edges that could damage the rear main oil seal. Remove burrs/sharp edges with crocus cloth before proceeding.

Notice: Do not use a sealant or adhesive when installing this component. Use of a sealant or adhesive can cause improper sealing. A component that is not sealed properly can leak leading to extensive engine damage.
Important: Always install a new crankshaft rear oil seal housing gasket.

Important: The plastic inserts found on the rear oil seal housing retaining bolts are used to aid production assembly only. The inserts are not required for service.
Notice: Use the correct fastener in the correct location. Replacement fasteners must be the correct part number for that application. Fasteners requiring replacement or fasteners requiring the use of thread locking compound or sealant are identified in the service procedure. Do not use paints, lubricants, or corrosion inhibitors on fasteners or fastener joint surfaces unless specified. These coatings affect fastener torque and joint clamping force and may damage the fastener. Use the correct tightening sequence and specifications when installing fasteners in order to avoid damage to parts and systems.
Tighten
Tighten the crankshaft rear oil seal housing bolts to 15 N·m (11 lb ft). Use
J 45059
to tighten the bolts an additional 50 degrees.
