For 1990-2009 cars only
Removal Procedure
- Turn the steering wheel all the way to the left.
- Raise the vehicle. Refer to Lifting and Jacking the Vehicle .
- Place jack or utility stands at the rear end of the vehicle.
- Remove the engine protection shield. Refer to Engine Protection Shield Replacement .
- Remove the front differential carrier assembly shield, if equipped. Refer to Shield Replacement .
- Drain the differential carrier assembly. Refer to Front Axle Lubricant Replacement .
- Disconnect the front propeller shaft from the differential carrier assembly. Refer to Front Propeller Shaft Replacement .
- Remove the relay rod. Refer to Relay Rod Replacement .
- Support the differential carrier assembly with a transmission jack or equivalent.
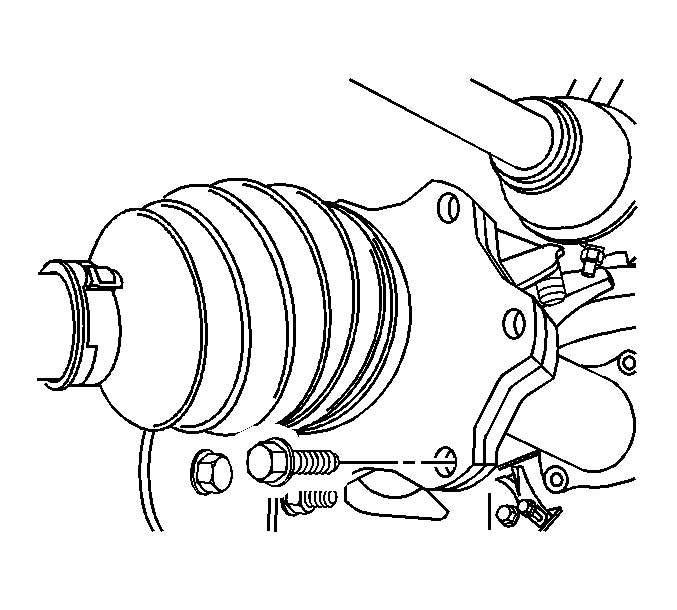
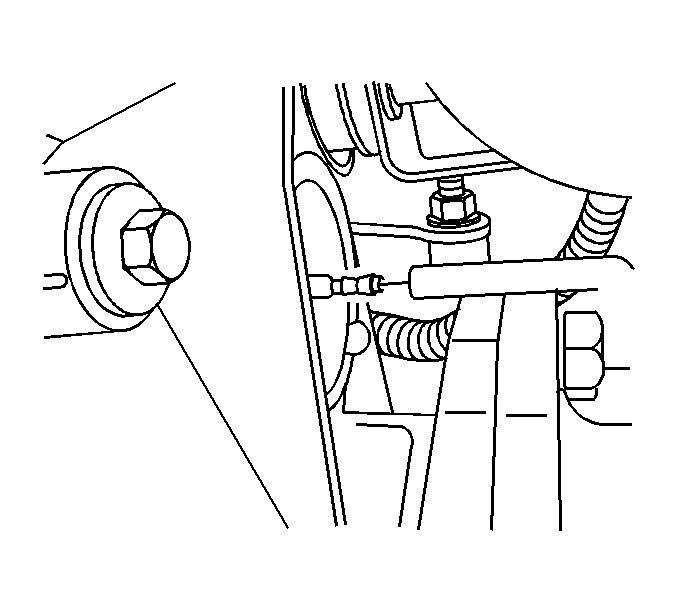
- Remove the wheel drive shaft inboard flange bolts from the inner axle shaft, both sides.
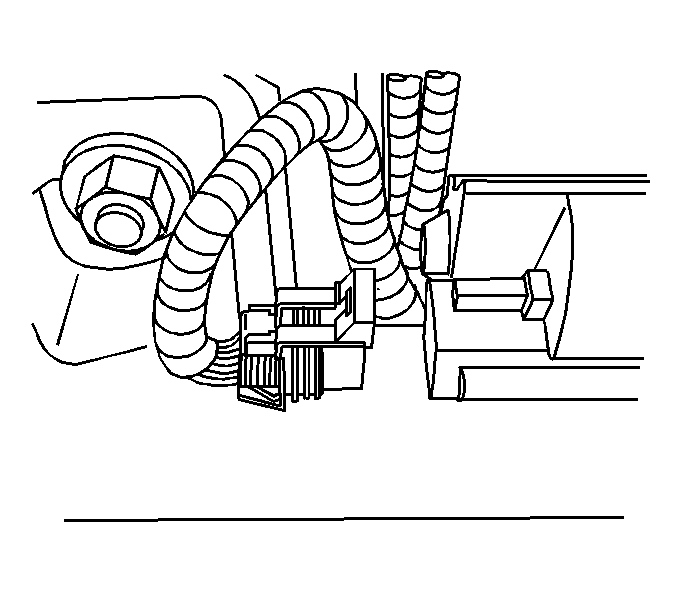
- Disconnect the electrical connector from the front axle actuator, S4WD axle only.
- Disconnect the wire harness from the inner axle shaft housing, S4WD axle only.
- Disconnect the wire harness from the differential carrier assembly, S4WD axle only.
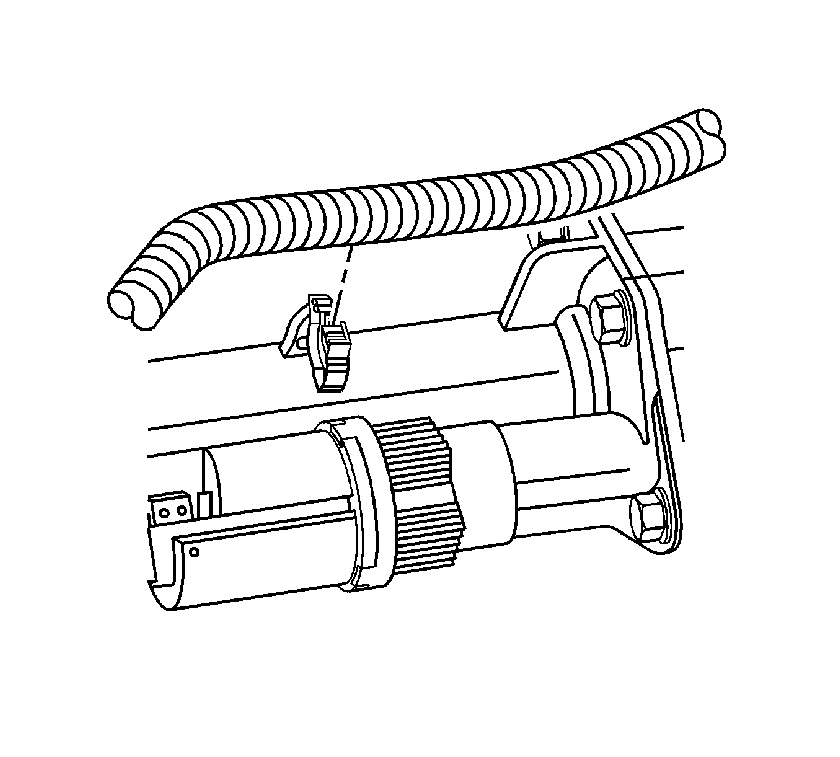
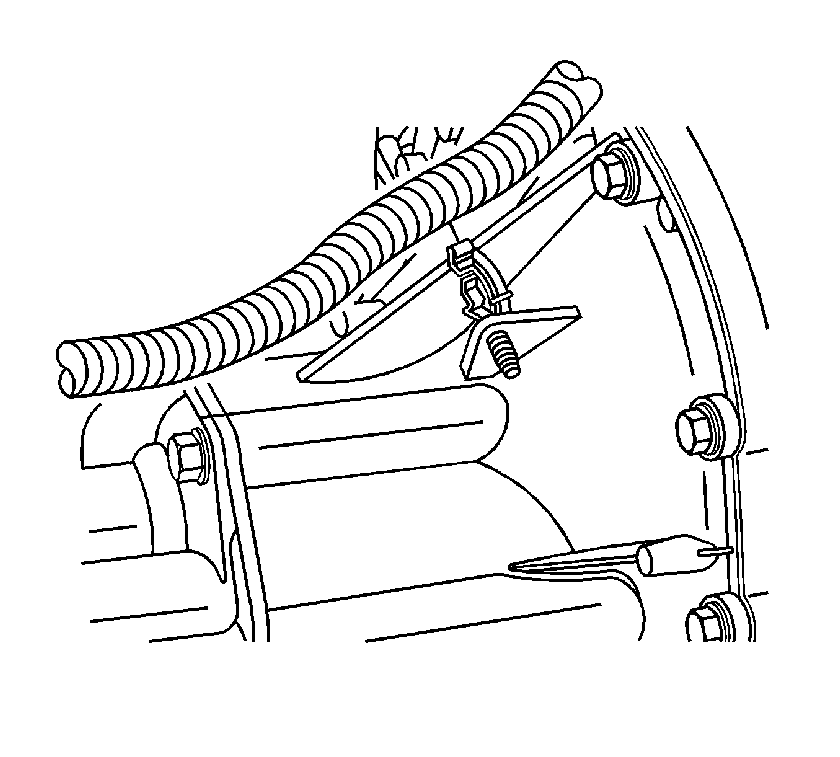
- Disconnect the vent hose from the differential carrier assembly.
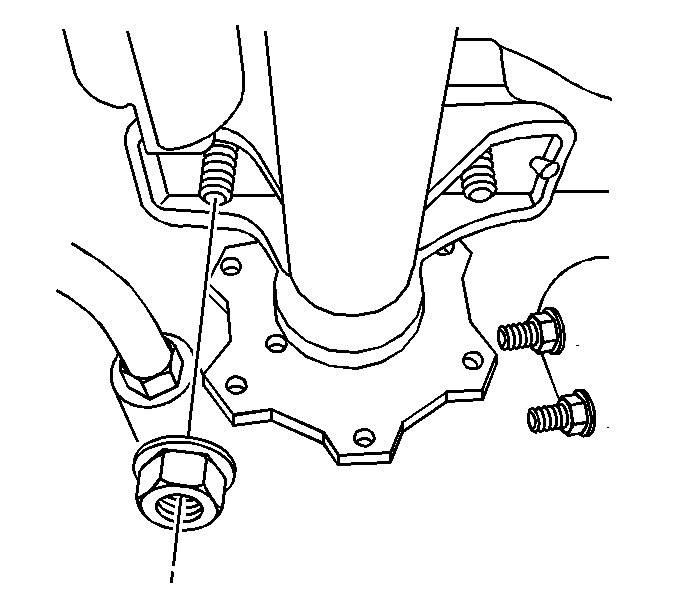
- Remove the inner axle housing nuts and washers from the bracket.
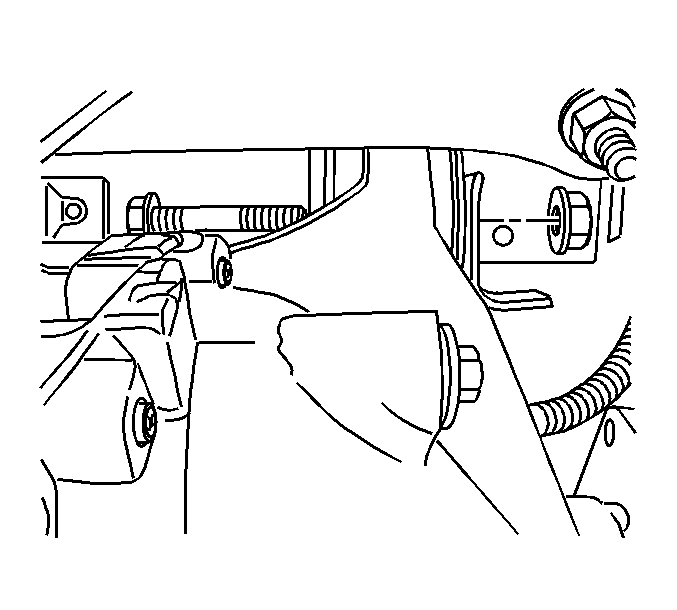
- Remove the differential carrier assembly upper mounting bolt and the nut.
- Pivot the differential carrier assembly forward and down on the lower mount bolt while it is being supported by the transmission jack.
- Secure the differential carrier assembly to the jack.
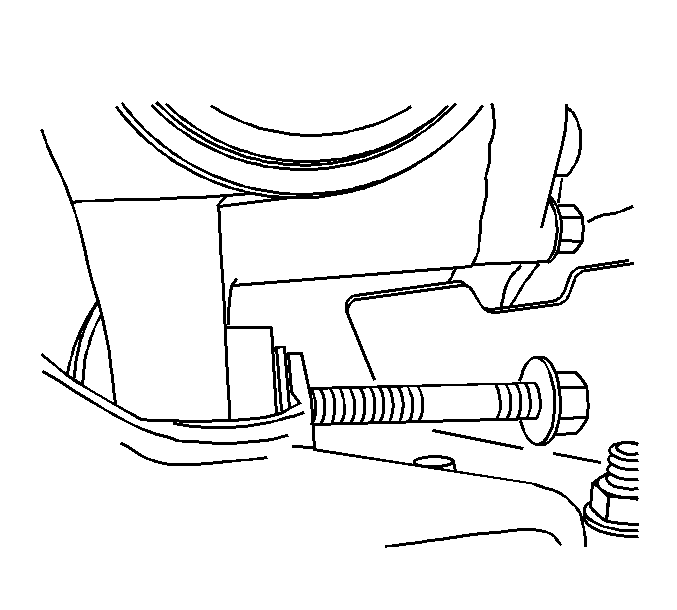
- Remove the differential carrier assembly lower mounting bolt and the nut.
- Remove the differential carrier assembly.
Installation Procedure
- Install the differential carrier assembly.
- Install the differential carrier assembly lower mounting bolt and the nut.
- Pivot the differential carrier assembly up and back on the lower mount bolt while it is being supported by the transmission jack.
- Install the differential carrier assembly upper mounting bolt and the nut.
- Install the inner axle housing washers and nuts to the bracket.
- Connect the vent hose to the differential carrier assembly.
- Remove the transmission jack.
- Connect the wire harness to the differential carrier assembly, S4WD axle only.
- Connect the wire harness to the inner axle shaft housing, S4WD axle only.
- Connect the electrical connector to the front axle actuator, S4WD axle only.
- Install the wheel drive shaft inboard flange to inner axle shaft bolts, both sides.
- Install the relay rod. Refer to Relay Rod Replacement .
- Install the front propeller shaft to the differential carrier assembly. Refer to Front Propeller Shaft Replacement .
- Fill the differential carrier assembly. Use the correct fluid. Refer to Front Axle Lubricant Replacement .
- Install the front differential carrier assembly shield, if equipped. Refer to Shield Replacement .
- Install the engine protection shield. Refer to Engine Protection Shield Replacement .
- Remove the utility stands.
- Lower the vehicle.
Do not tighten the bolt at this time.
Notice: Refer to Fastener Notice in the Preface section.
Tighten
| • | Tighten the inner axle housing nuts to 100 N·m (75 lb ft). |
| • | Tighten the upper and the lower differential carrier assembly bolts to 100 N·m (75 lb ft). |
Tighten
Tighten the wheel drive shaft inboard flange to inner axle shaft bolts to 79 N·m (58 lb ft).
