For 1990-2009 cars only
Removal Procedure
- Remove the front door trim panel. Refer to Front Side Door Trim Panel Replacement .
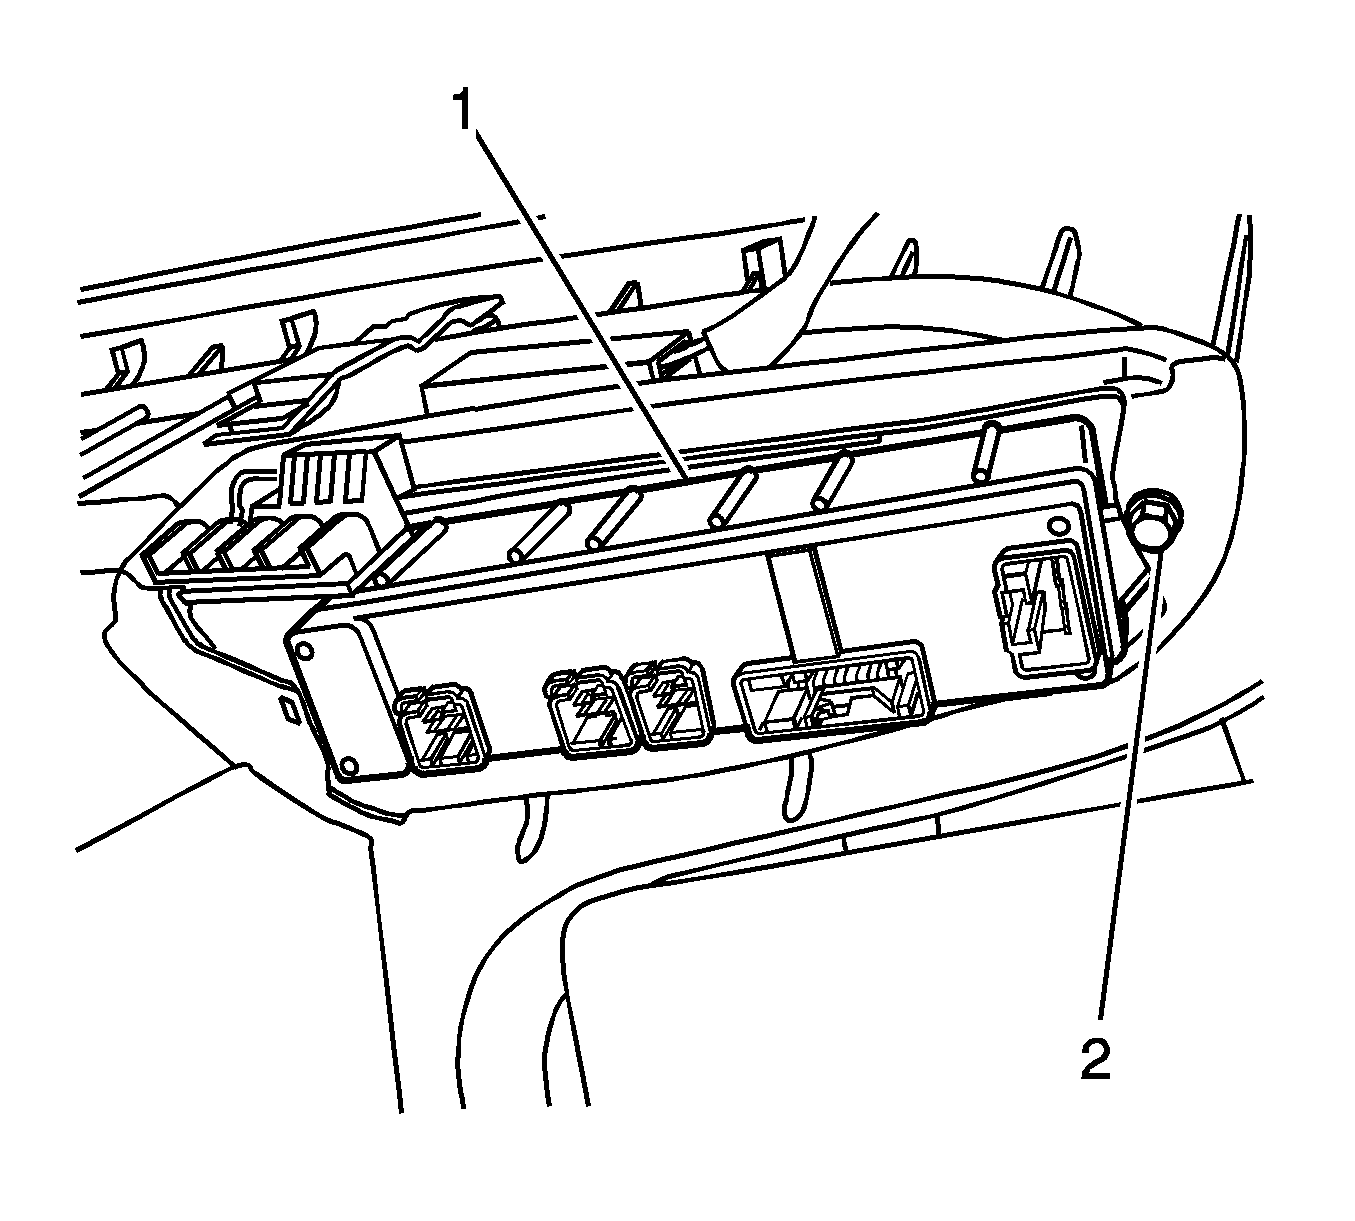
- Remove the screw (2) that retains the switch panel bezel (1) to the front door trim panel.
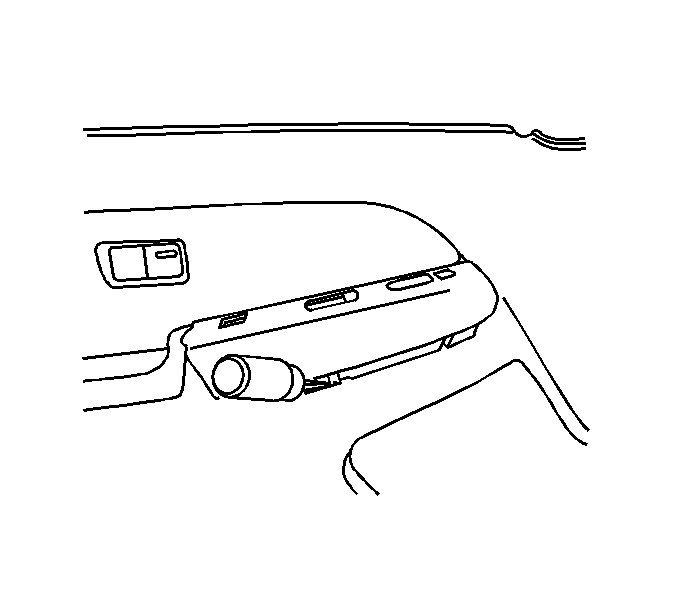
- Remove the switch panel bezel from the door panel using a flat-bladed tool.
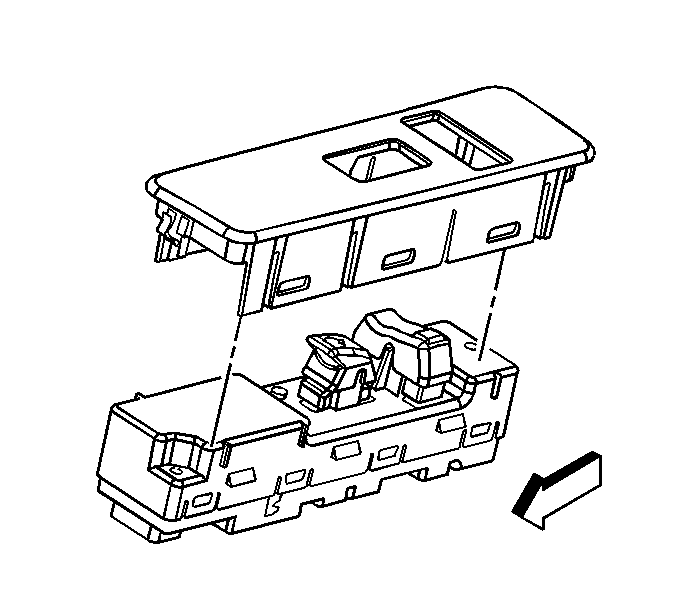
- Using a wide plastic flat-bladed tool, release the retaining clips on both sides of the door module.
- Remove the door module from the switch panel bezel.


Installation Procedure
- Install the door module into the switch panel bezel until it snaps into place.
- Install the switch panel bezel and module into the door trim panel.
- Install the screw (2) that retains the switch panel bezel (1) to the front door trim panel.
- Install the front door trim panel. Refer to Front Side Door Trim Panel Replacement .
- Perform the programming procedure for the Tire Pressure Monitoring system. Refer to Control Module Setup in Tire Pressure Monitoring.
- Perform the programming procedure for the Keyless Entry system. Refer to Transmitter Programming in Keyless Entry.
- If equipped with camper mirrors program the door module. Refer to Service Programming System (SPS) in Programming.

Notice: Refer to Fastener Notice in the Preface section.

Tighten
Tighten the screw (2) to 2 N·m
(18 lb in).
