Drive Pinion and Ring Gear Replacement 8.6, 9.5LD Inch Axles
Special Tools
J 22536 Pinion Remover
Removal Procedure
- Raise and support the vehicle. Refer to Lifting and Jacking the Vehicle.
- Remove the differential assembly. Refer to Differential Replacement.
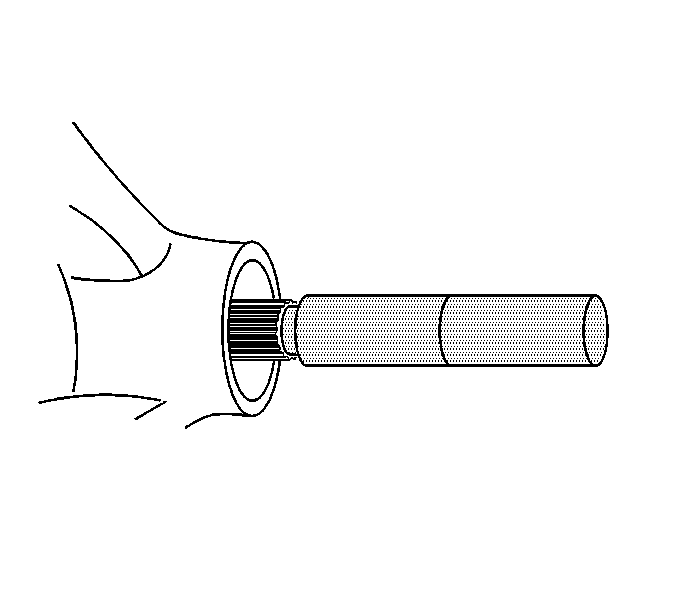
- Remove the pinion flange/yoke and the oil seal. Refer to Drive Pinion Flange/Yoke and/or Oil Seal Replacement.
- Using the J 22536 remover and a hammer, remove the drive pinion from the housing.
- Remove and discard the collapsible spacer from the pinion.
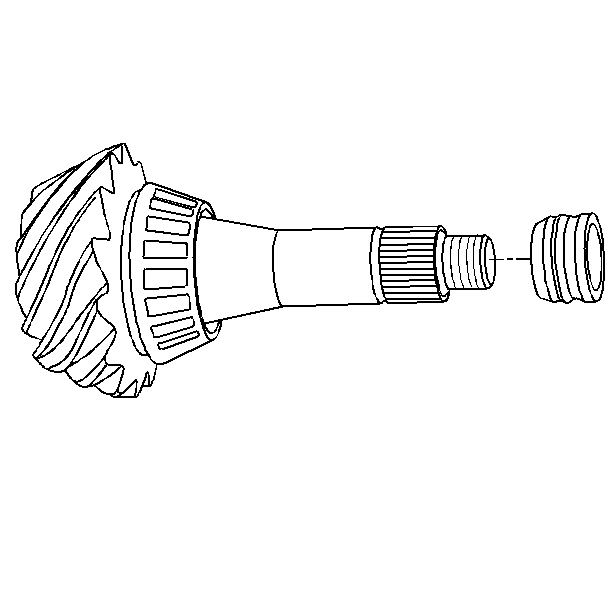
- Remove the pinion bearings and the cups. Refer to Drive Pinion Bearings Replacement.
- Remove and discard the ring gear bolts. Use NEW ring gear bolts ONLY.
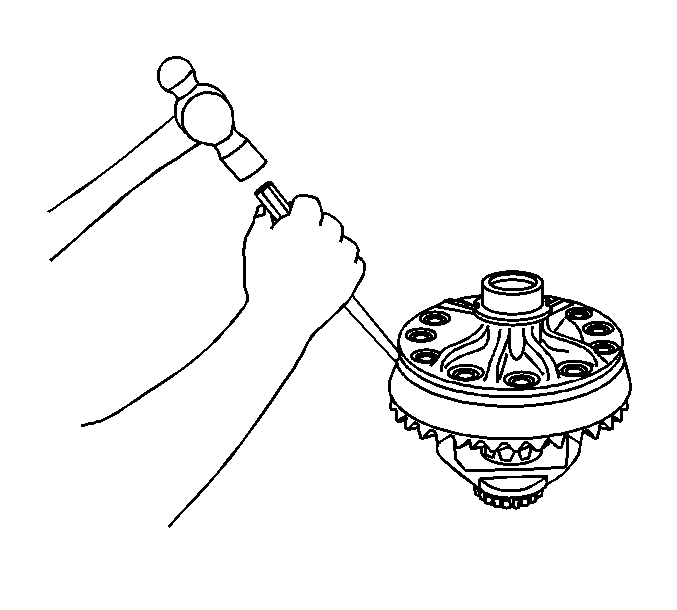
- Using a brass drift, remove the ring gear from the differential.
Note: DO NOT let the drive pinion fall out of the rear axle housing.
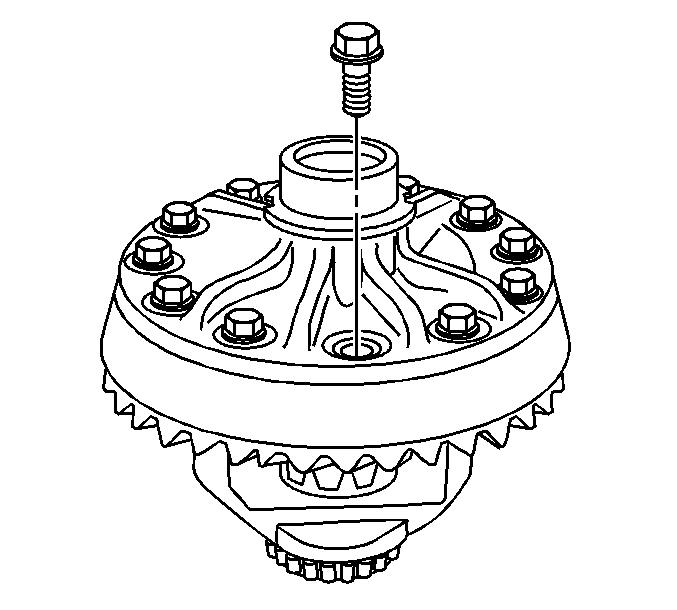
Note: The ring gear bolts have left-hand threads.
Caution: Refer to Ring Gear Removal Caution in the Preface section.
Installation Procedure
- Install the ring gear to the differential case.
- Install the NEW ring gear bolts and tighten to 120 N·m (89 lb ft). in a criss cross pattern to draw and seat the ring gear and the differential carrier.
- Install the selective shim onto the pinion. Refer to Pinion Depth Adjustment
- Install the inner pinion bearing to the pinion. Refer to Drive Pinion Bearings Replacement.
- Install a NEW collapsible spacer.
- Lubricate the pinion bearings with axle lubricant. Refer to Fluid and Lubricant Recommendations.
- Install the outer pinion bearing into the axle housing.
- Install the pinion drive gear into the axle housing.
- Install the drive pinion flange/yoke. Refer to Drive Pinion Flange/Yoke and/or Oil Seal Replacement.
- Install the differential assembly. Refer to Differential Replacement.
- Fill the axle with lubricant. Use the proper fluid. Refer to Rear Axle Lubricant Replacement.
- Remove the support and lower the vehicle.
Note: The mating surface of the ring gear and the differential case must be clean and free of burrs before installing the ring gear.

Note: The ring gear bolts have left-hand threads. Hand start each ring gear bolt so as not to cross thread the ring gear bolts or the differential carrier.
Caution: Refer to Fastener Caution in the Preface section.
Note: Use hand tool ONLY when tightening the NEW ring gear bolts.
Drive Pinion and Ring Gear Replacement 10.5 Inch Axle
Removal Procedure
- Raise the vehicle. Refer to Lifting and Jacking the Vehicle.
- Remove the differential case assembly. Refer to Differential Replacement.
- Remove the drive pinion housing assembly. Refer to Drive Pinion Housing and/or Seal Replacement.
- Remove and discard the gear bolts. Replace with NEW only.
- Using a brass drift and a hammer, remove the ring gear from the differential case.
Caution: Refer to Ring Gear Removal Caution in the Preface section.
Installation Procedure
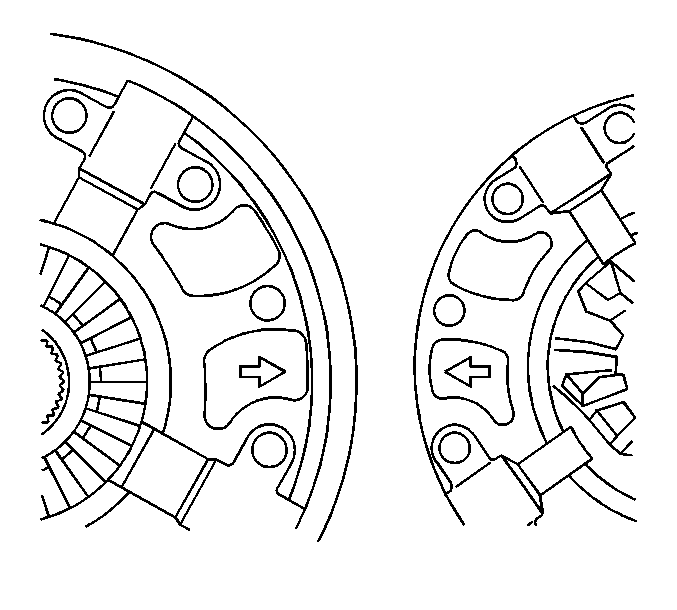
- If the differential case has become separated, assemble the differential case by aligning the two arrows inside the differential case.
- Install the ring gear to the differential case.
- Hand tighten the new ring gear bolts.
- Install the NEW ring gear bolts and tighten to 120 N·m (89 lb ft). in a criss cross pattern to draw and seat the ring gear and the on the differential case.
- Install the drive pinion housing assembly. Refer to Drive Pinion Housing and/or Seal Replacement.
- Install the differential assembly. Refer to Differential Replacement.
- Fill the axle with the proper lubricant. Refer to Rear Axle Lubricant Replacement.
- Remove the support and lower the vehicle.
Note: The mating surface of the ring gear and the differential case must be clean and free of burrs before installing the ring gear.
Note: Use hand tools ONLY. DO NOT use power tools for the following procedure.
Caution: Refer to Fastener Caution in the Preface section.
