Fuel Filter Replacement 4.8L, 5.3L, and 6.0L Engines
Removal Procedure
Important: Inspect the fuel tank internally and clean the fuel tank if you find a restricted fuel filter.
- Relieve the fuel system pressure. Refer to the Fuel Pressure Relief .
- Raise the vehicle. Refer to Lifting and Jacking the Vehicle in General Information.
- Clean all the fuel filter connections and the surrounding areas before disconnecting the fuel pipes in order to avoid possible contamination of the fuel system.
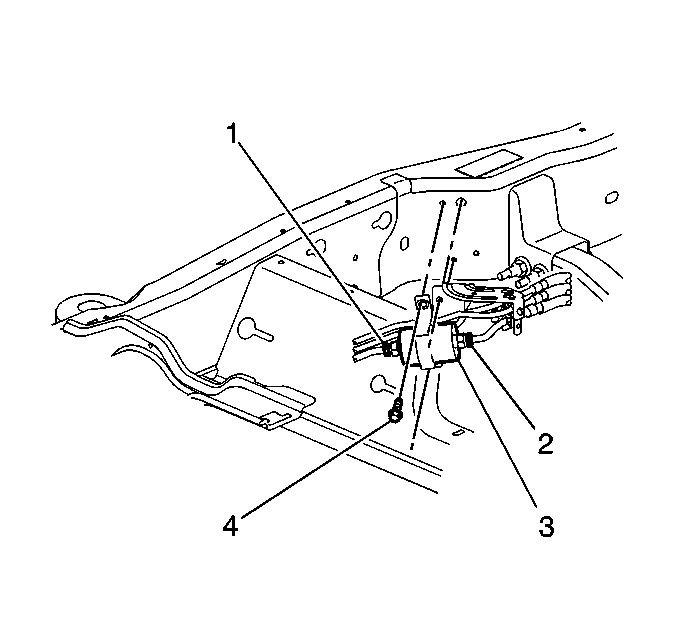
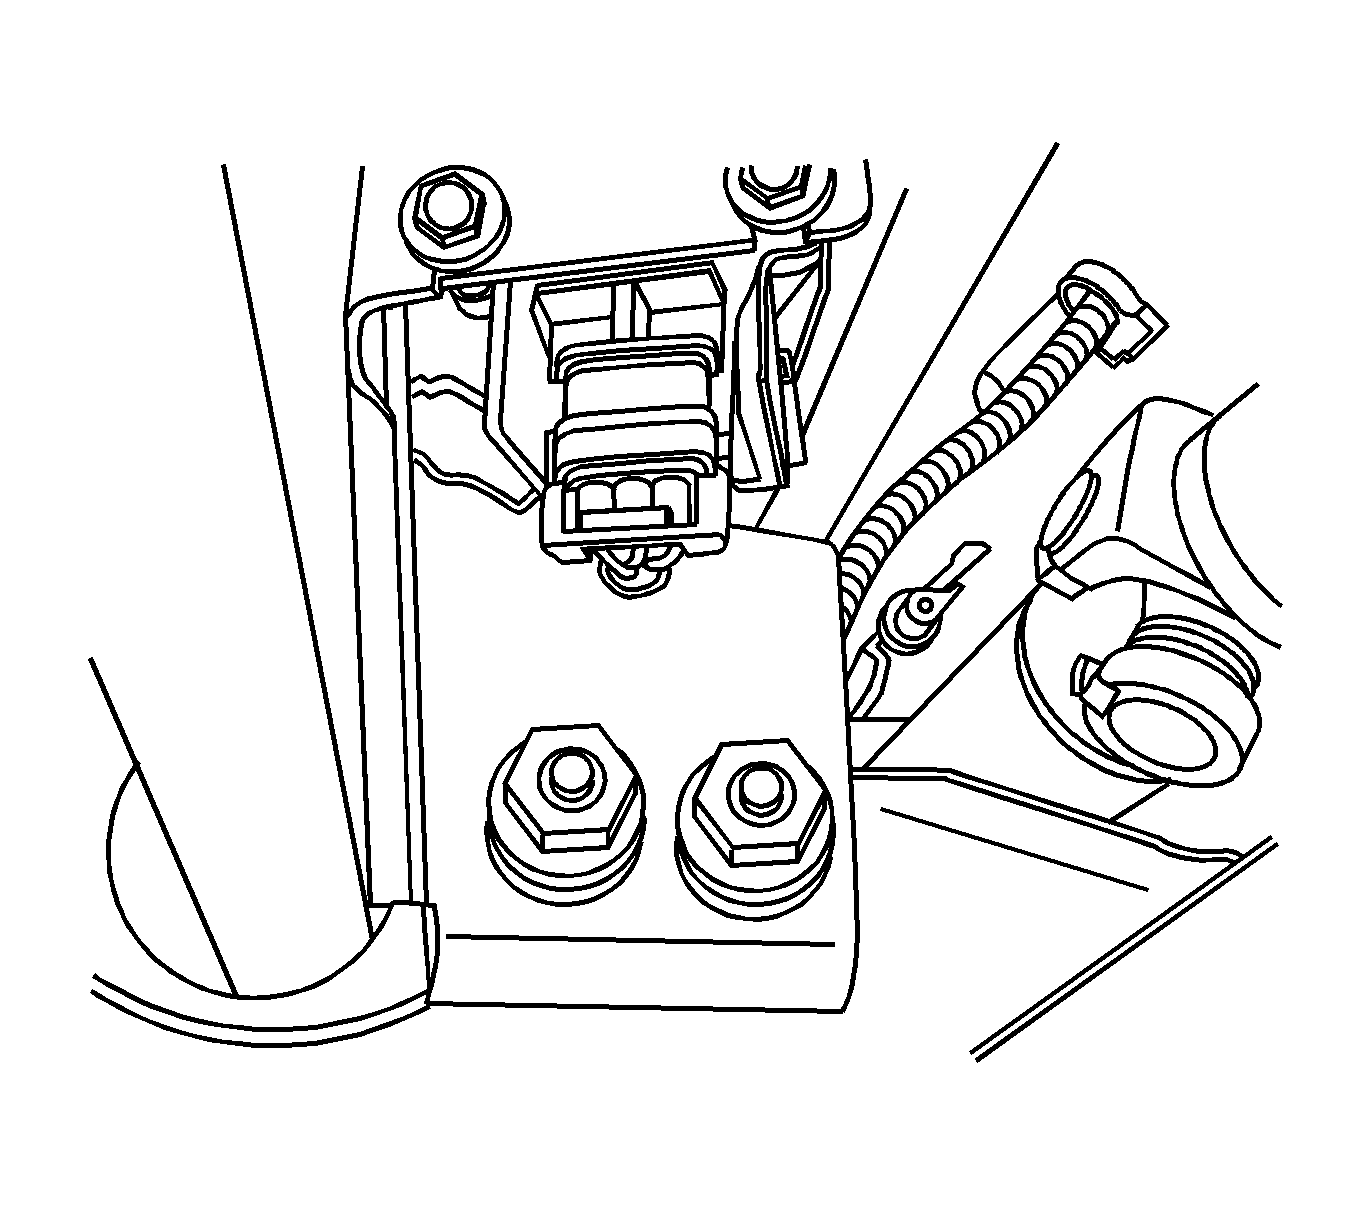
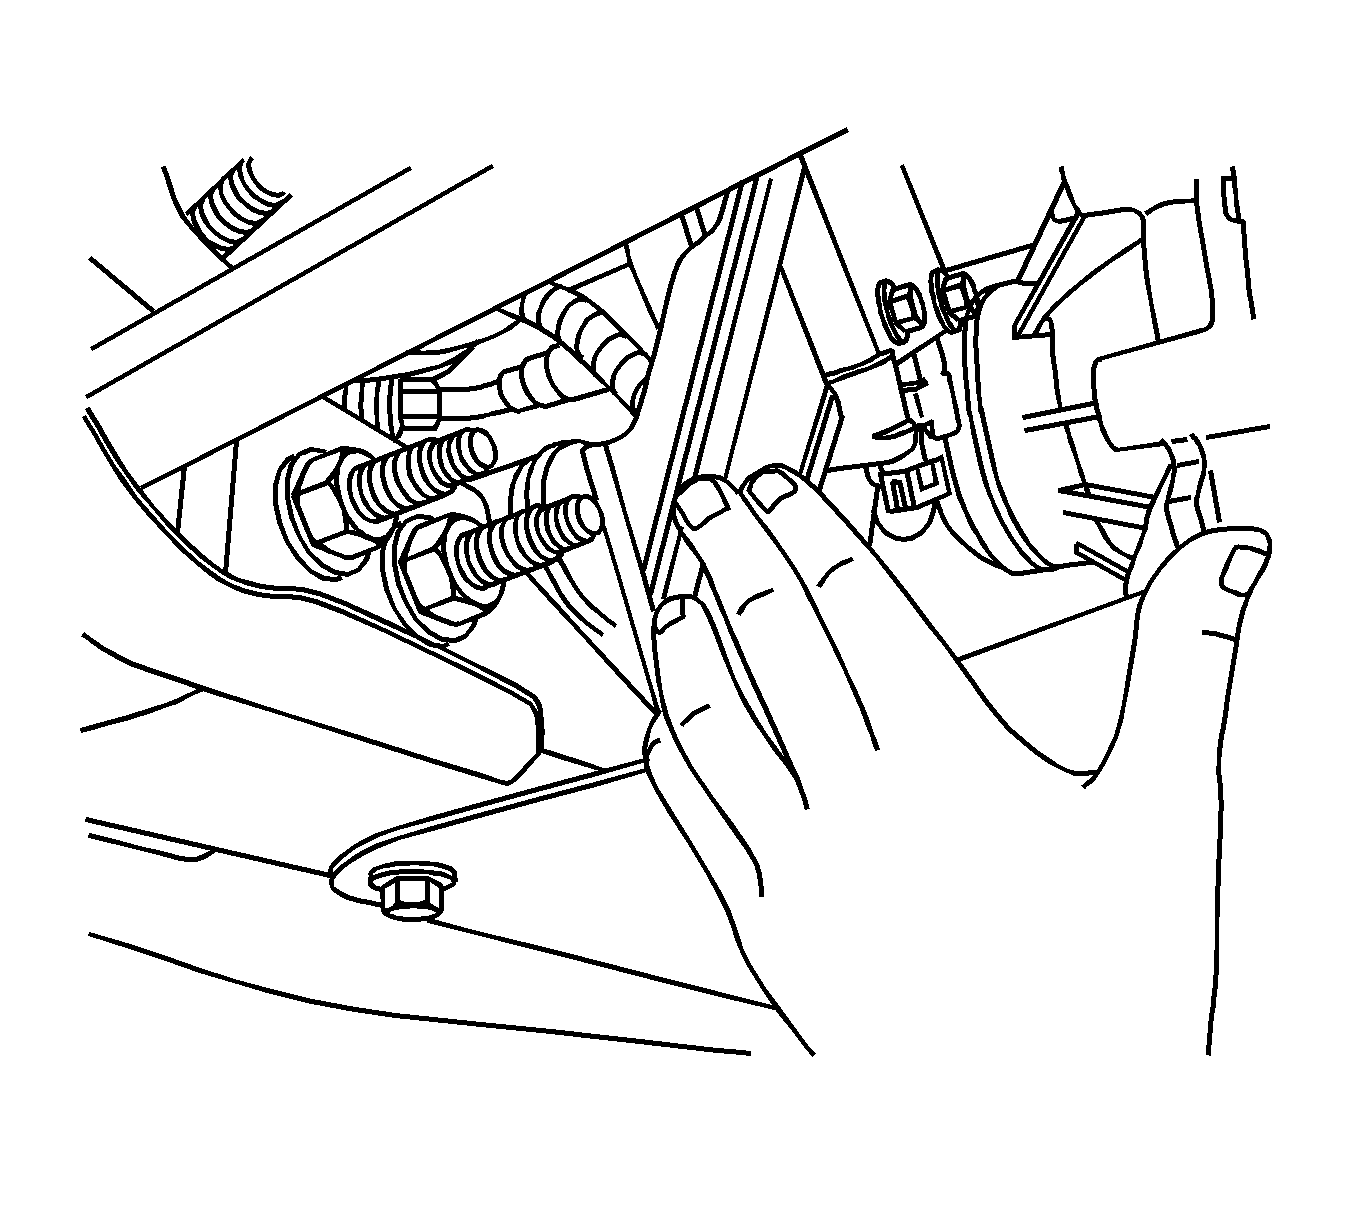
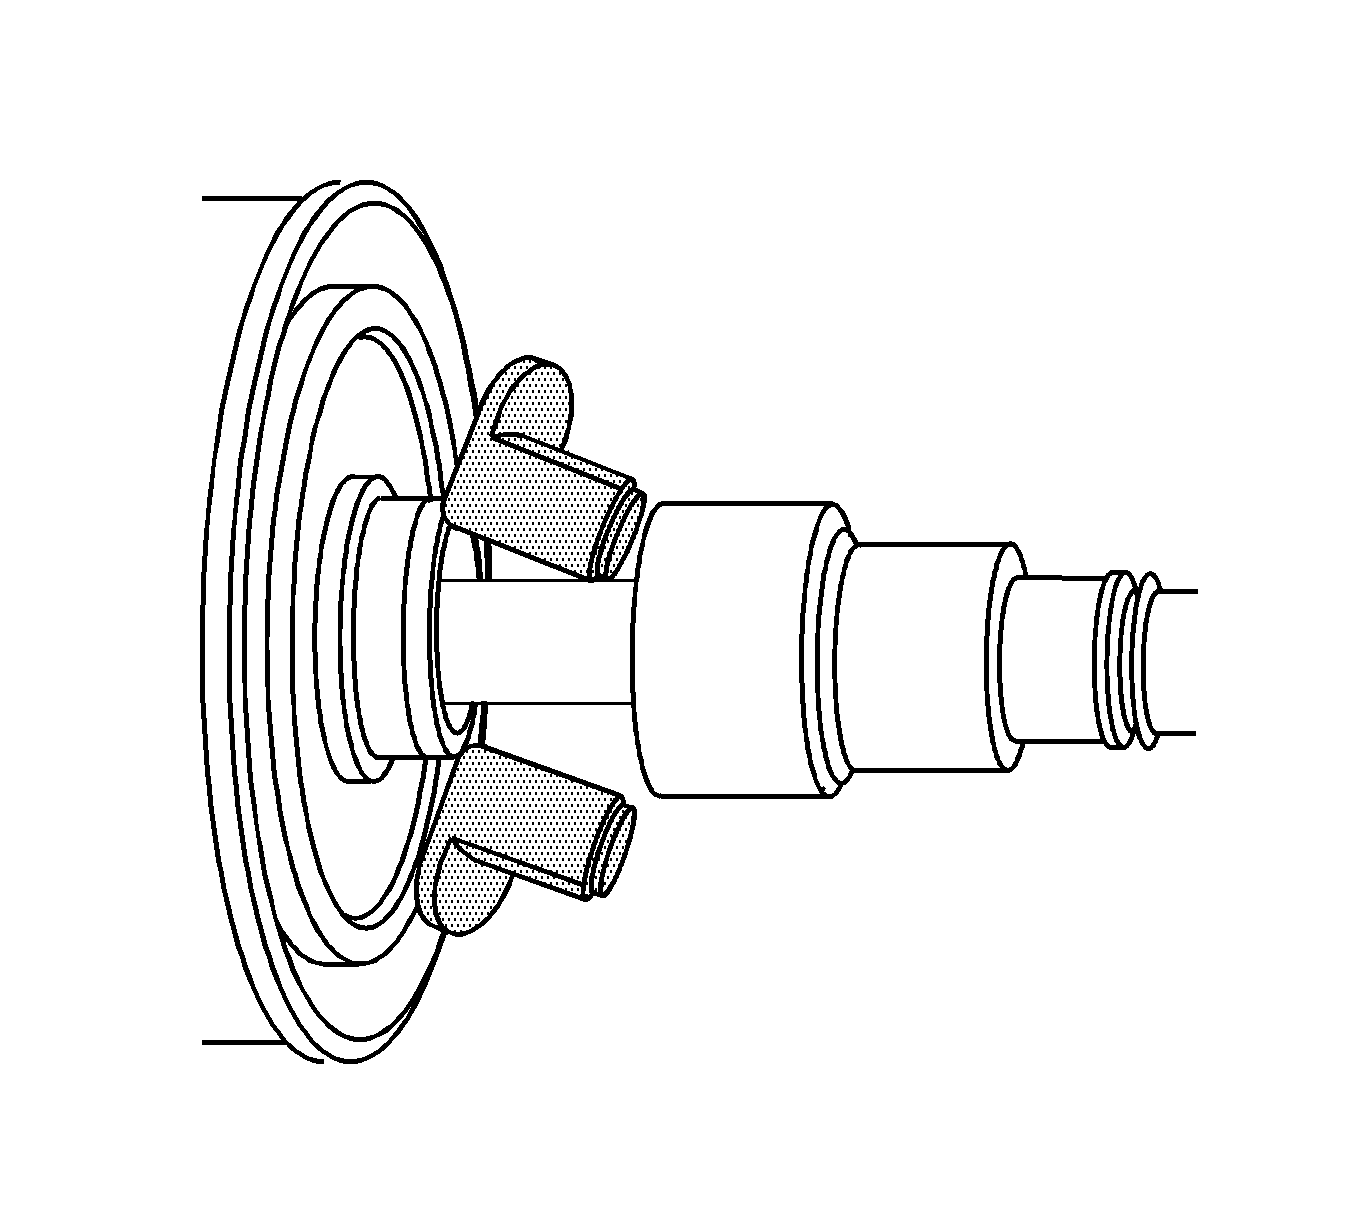
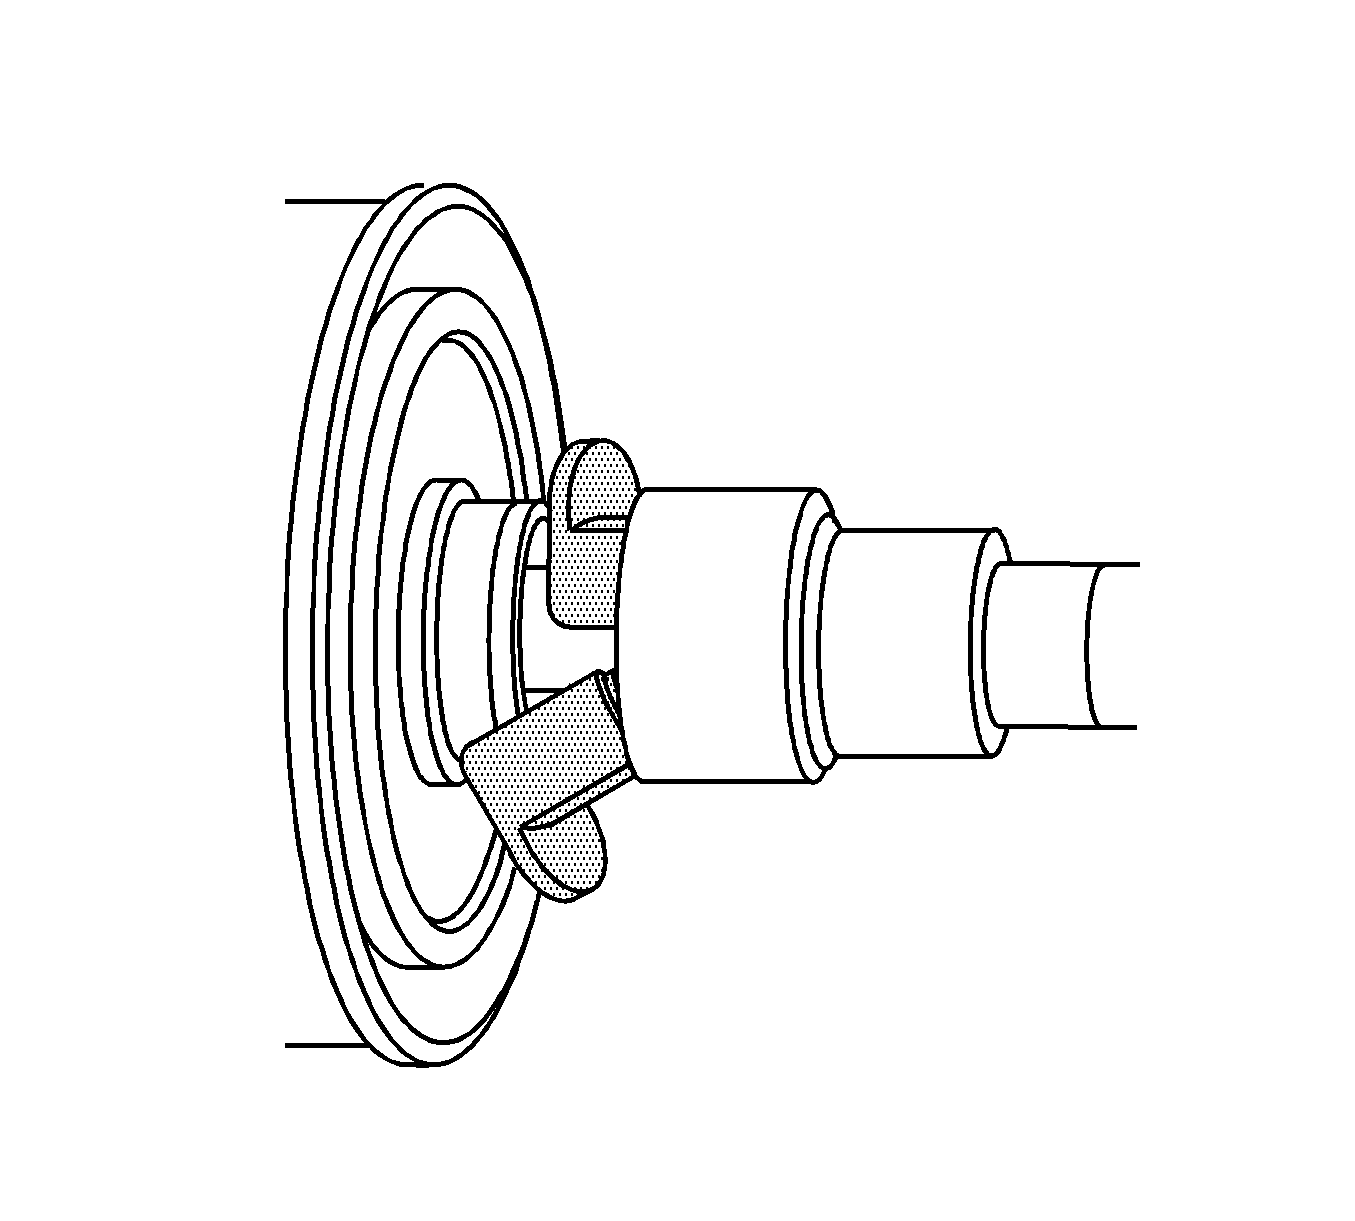
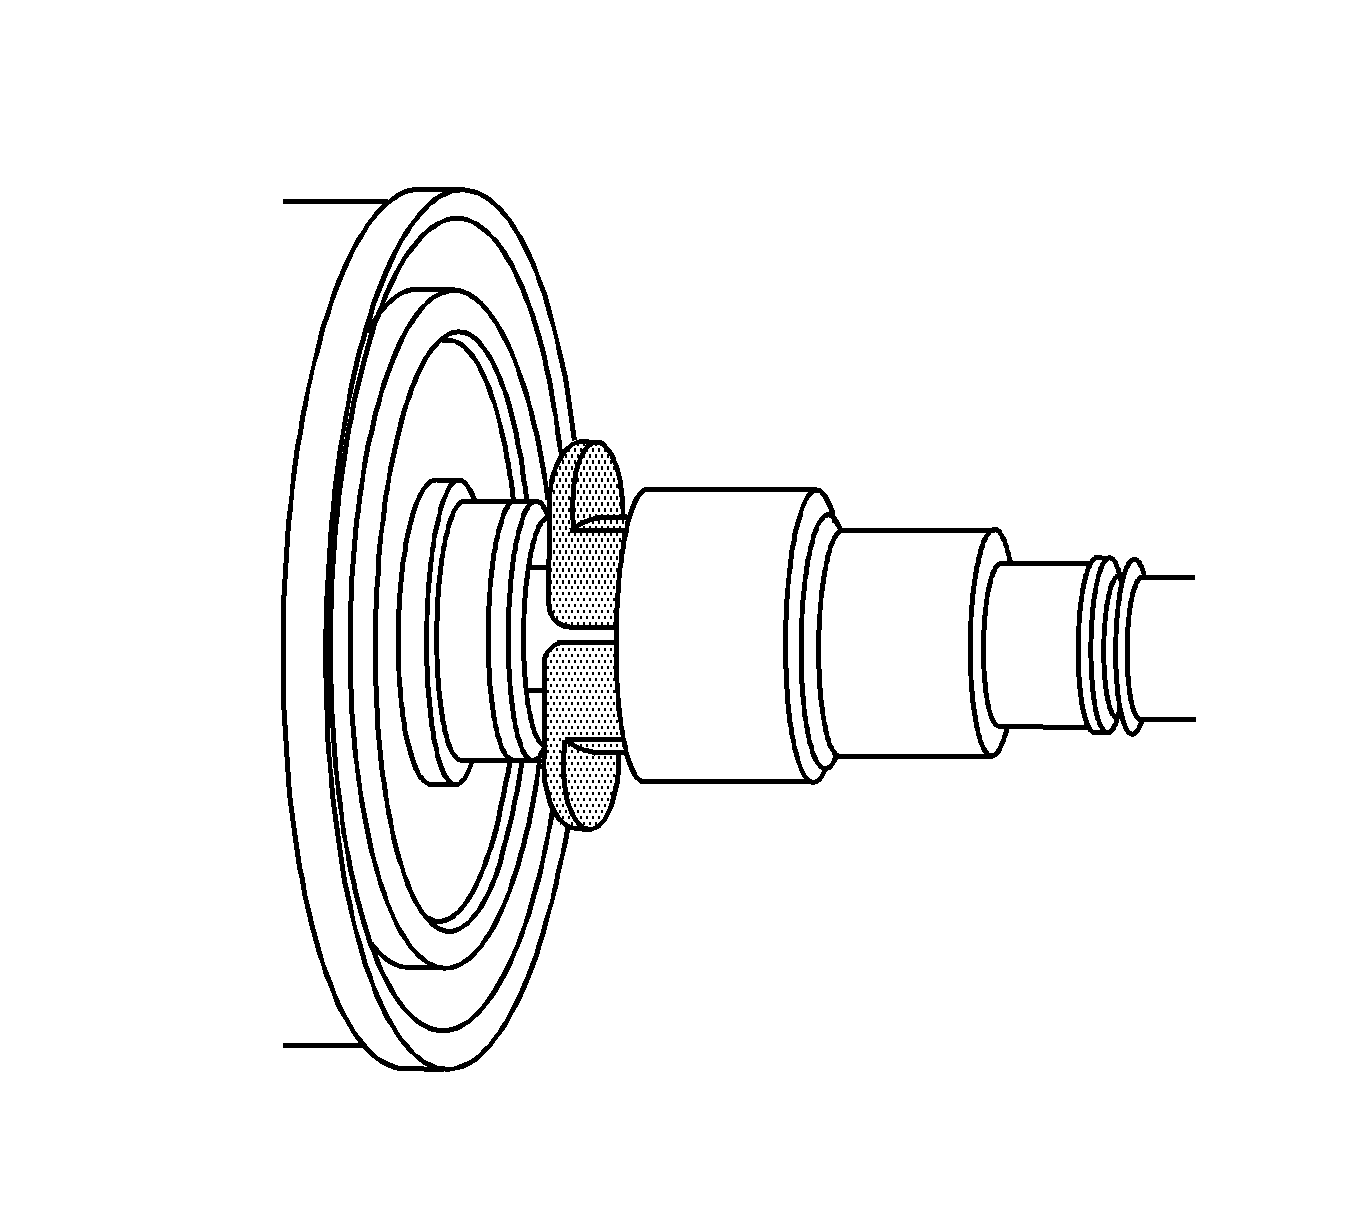
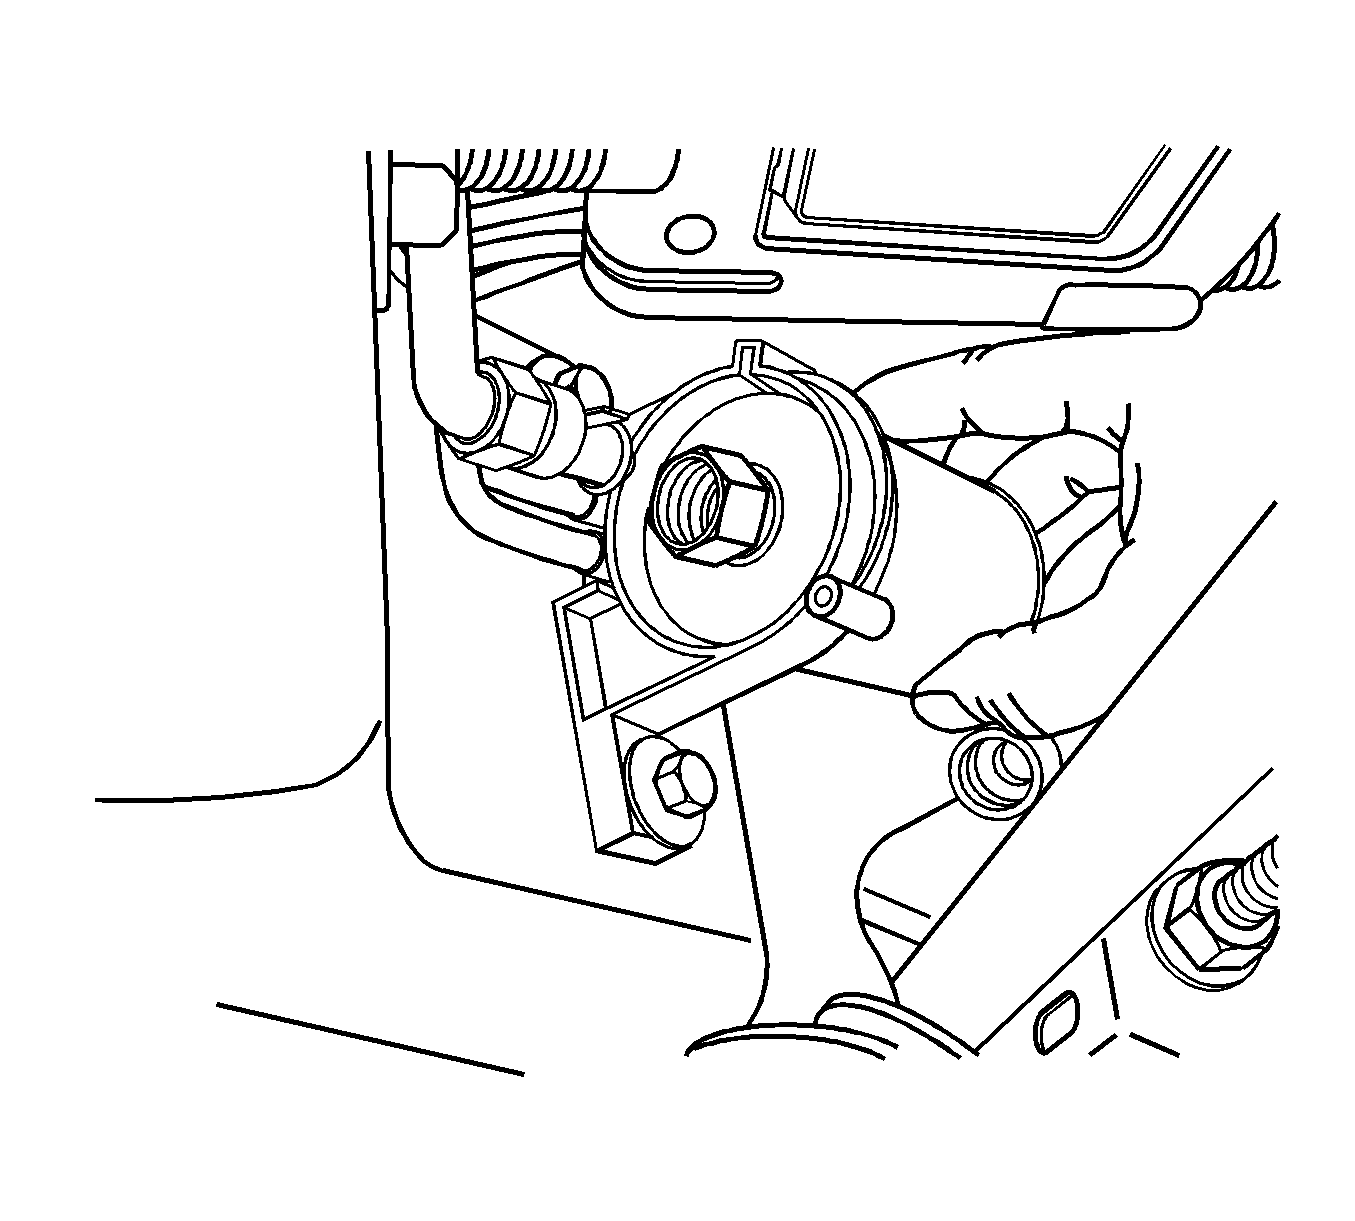
- Disconnect the threaded fittings (1, 2) from the fuel filter.
- Remove the fuel filter bracket bolt (4).
- Cap the fuel pipes in order to prevent possible fuel system contamination.
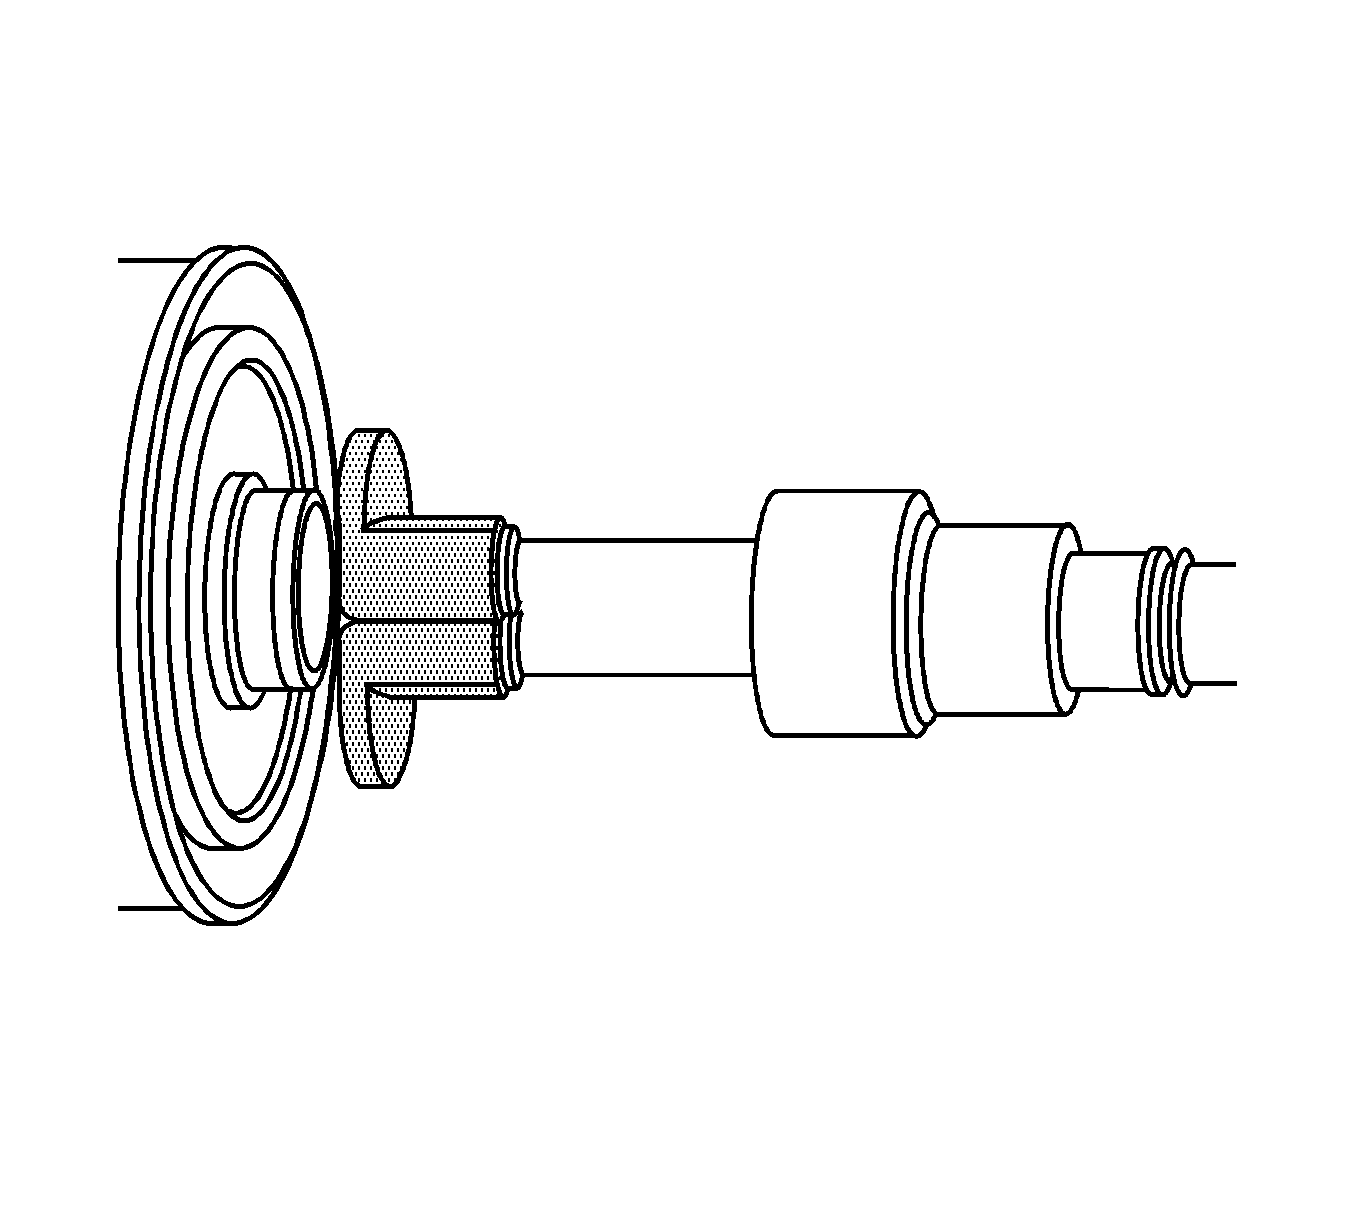
- Slide the fuel filter from the bracket.
- Inspect the fuel pipe O-rings for cuts, nicks, swelling, or distortion. Replace the O-rings if necessary.
Installation Procedure
- Slide the fuel filter into the bracket.
- Remove the caps from the fuel pipes.
- Connect the threaded fittings (1, 2) to the fuel filter.
- Lower the vehicle.
- Tighten the fuel filler cap.
- Connect the negative battery cable. Refer to Battery Negative Cable Disconnection and Connection in Engine Electrical.
- Use the following procedure in order to inspect for leaks:
- Install the engine sight shield. Refer to Upper Intake Manifold Sight Shield Replacement in Engine Mechanical.
Notice: Use the correct fastener in the correct location. Replacement fasteners must be the correct part number for that application. Fasteners requiring replacement or fasteners requiring the use of thread locking compound or sealant are identified in the service procedure. Do not use paints, lubricants, or corrosion inhibitors on fasteners or fastener joint surfaces unless specified. These coatings affect fastener torque and joint clamping force and may damage the fastener. Use the correct tightening sequence and specifications when installing fasteners in order to avoid damage to parts and systems.
Tighten
Tighten the fittings to 25 N·m (18 lb ft).
Tighten
Tighten the fuel filter bracket bolt (4), to 12 N·m
(106 lb in).
| 7.1. | Turn ON the ignition, with the engine OFF, for 2 seconds. |
| 7.2. | Turn OFF the ignition for 10 seconds. |
| 7.3. | Turn ON the ignition, with the engine OFF. |
| 7.4. | Inspect for fuel leaks. |
Fuel Filter Replacement 5.3L (L59) Engine
Tools Required
J-46363 Fuel Line Release Tool
Removal Procedure
- Relieve the fuel system pressure. Refer to Fuel Pressure Relief .
- Raise and suitably support the vehicle. Refer to Lifting and Jacking the Vehicle in General Information
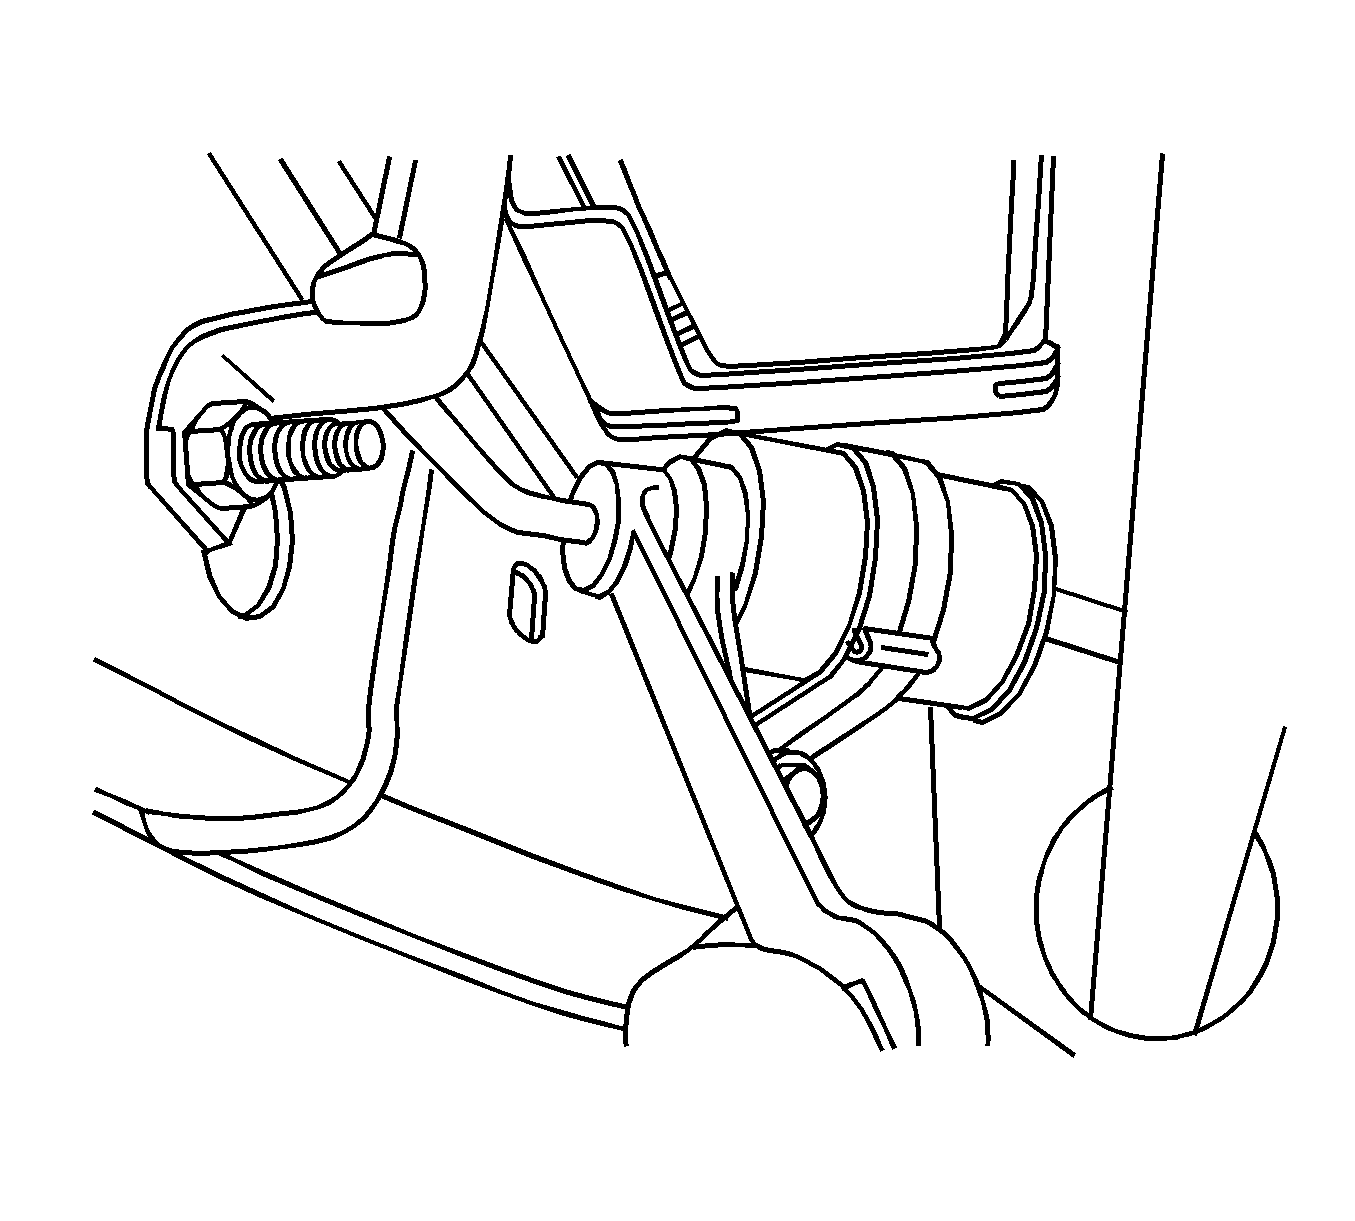
- Remove the fuel composition sensor bracket nuts.
- Reposition the fuel composition sensor/bracket off to the side.
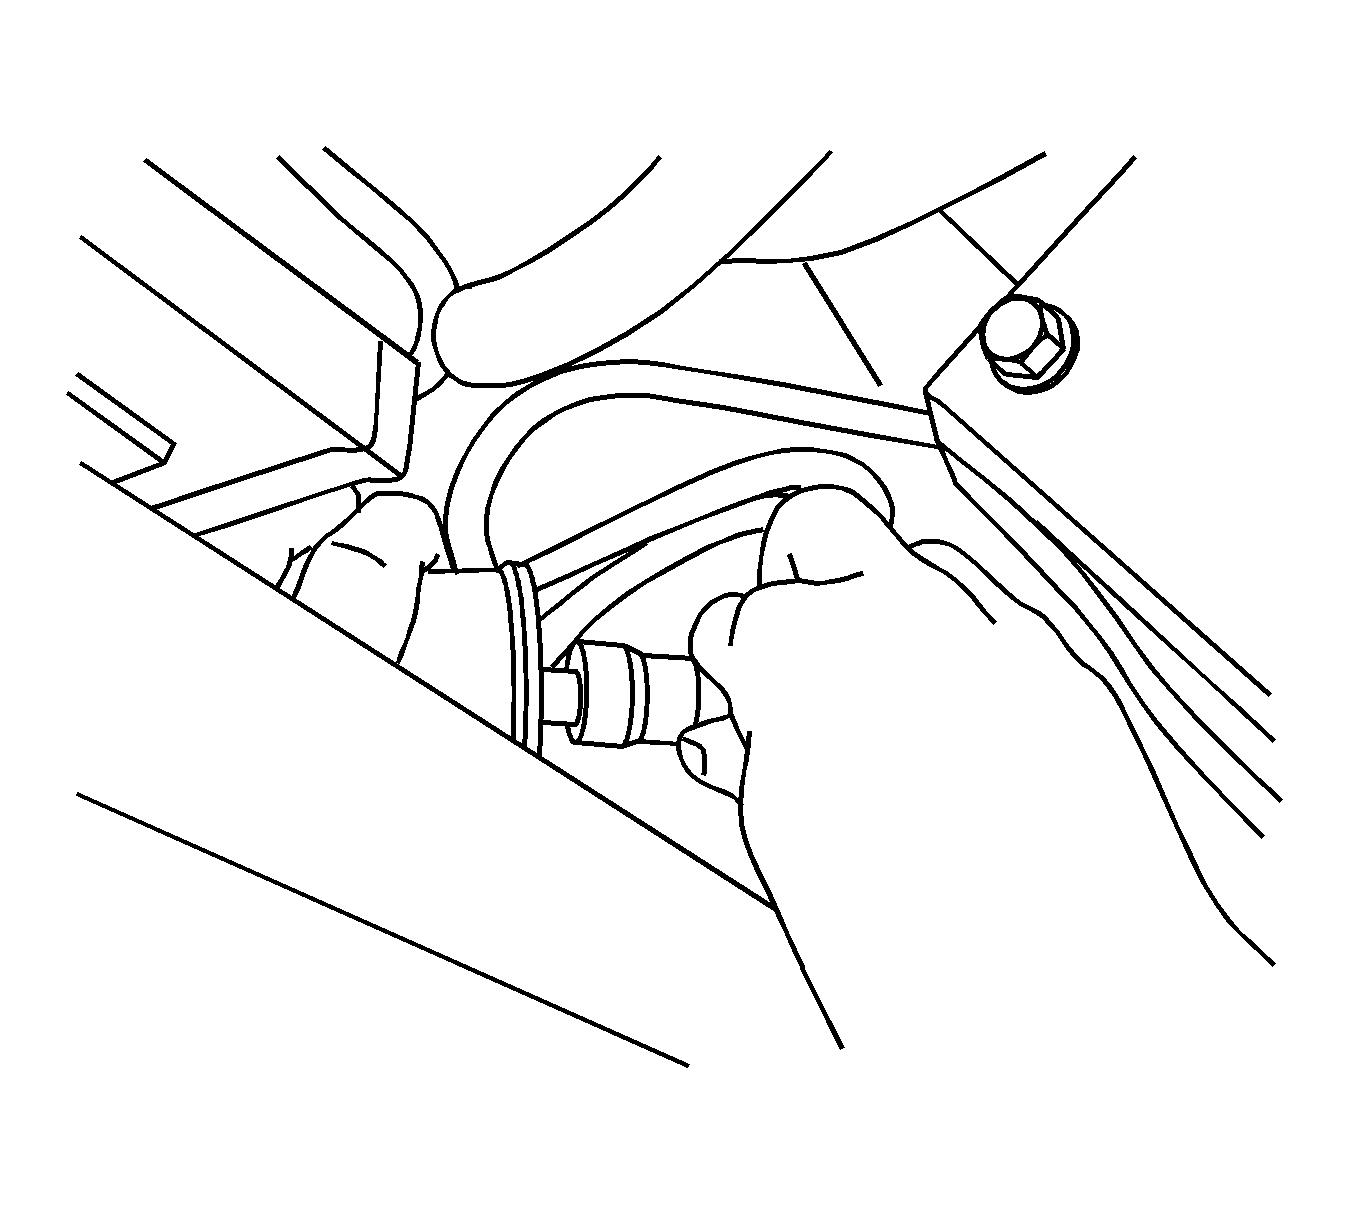
- Using a flare nut wrench and backup wrench disconnect the fuel line fitting from the fuel filter.
- Pull the quick connect fitting back until the internal retainers hit the filter stop.
- Twist one end of J-46363 and insert it between the fitting and the filter.
- Twist the opposite end of J-46363 and insert it between the fitting and filter.
- Once J-46363 is inserted, ensure that J-46363 is parallel to the filter and fitting.
- While holding the filter, push the fitting towards the filter in order to disconnect the quick connect fitting.
- Remove the fitting from the filter.
- Remove J-46363 from the filter.
- Remove the fuel filter from the bracket.
Installation Procedure
- Install the NEW fuel filter to the bracket.
- While holding the filter, push the fitting towards the filter in order to connect the quick connect fitting.
- Using a flare nut wrench and backup wrench connect the fuel line fitting to the fuel filter.
- Position the fuel composition sensor/bracket into place.
- Install the fuel composition sensor bracket nuts.
- Lower the vehicle.
Notice: Refer to Fastener Notice in the Preface section.
Tighten
Tighten the nuts to 17 N·m (13 lb ft).
