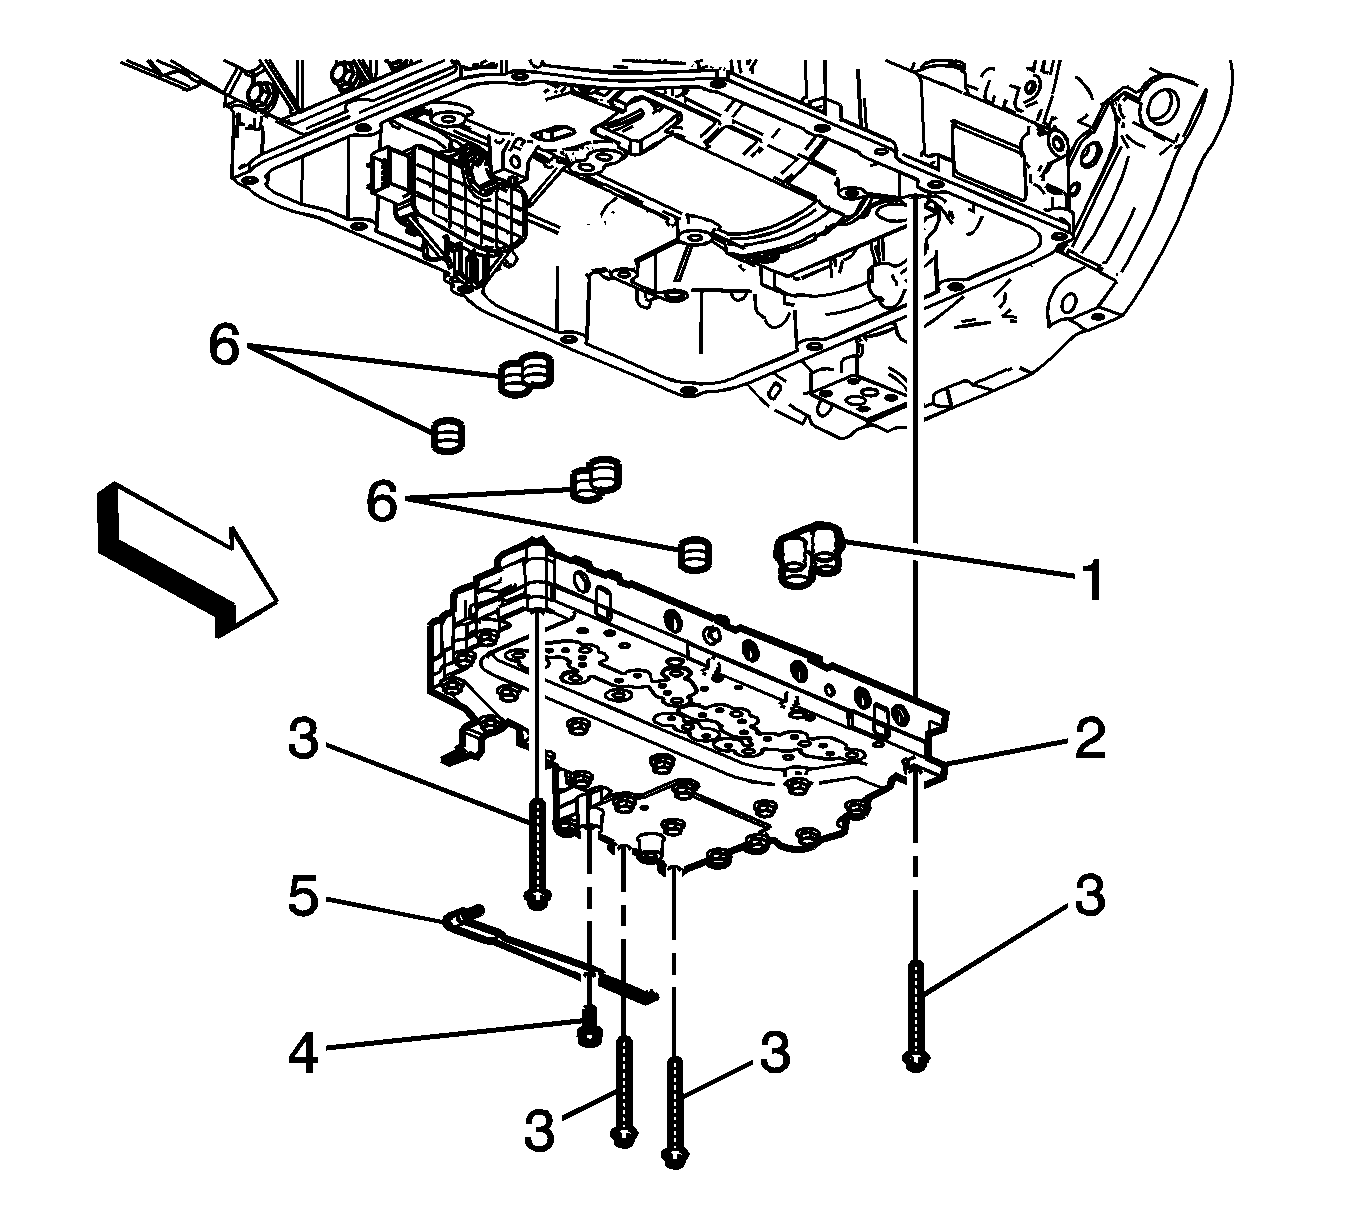
Removal Procedure
- Remove the control solenoid valve and transmission control module assembly. Refer to Control Solenoid Valve and Transmission Control Module Assembly Replacement.
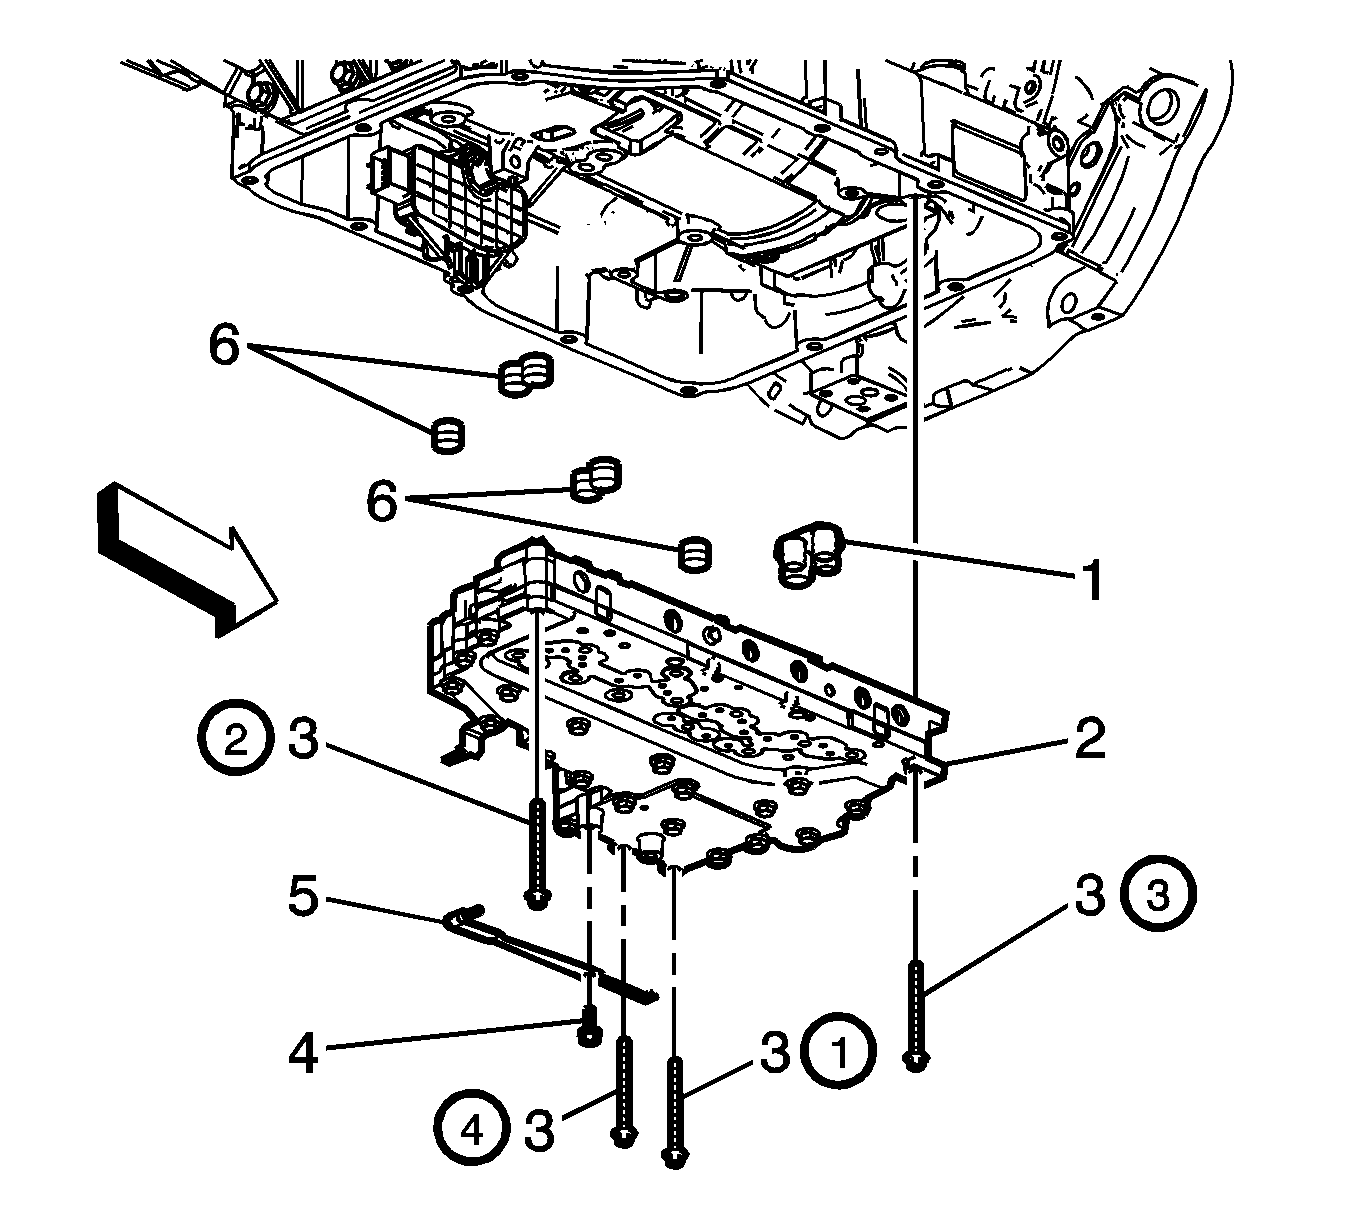
- Remove the manual shift detent spring bolt (4).
- Remove the manual shift detent spring (5).
- Remove the control valve upper body bolts (3).
- Remove the control valve upper body (2).
- Remove and discard the control valve upper body seal assembly (1).
- Remove and discard the fluid pump seals (6).
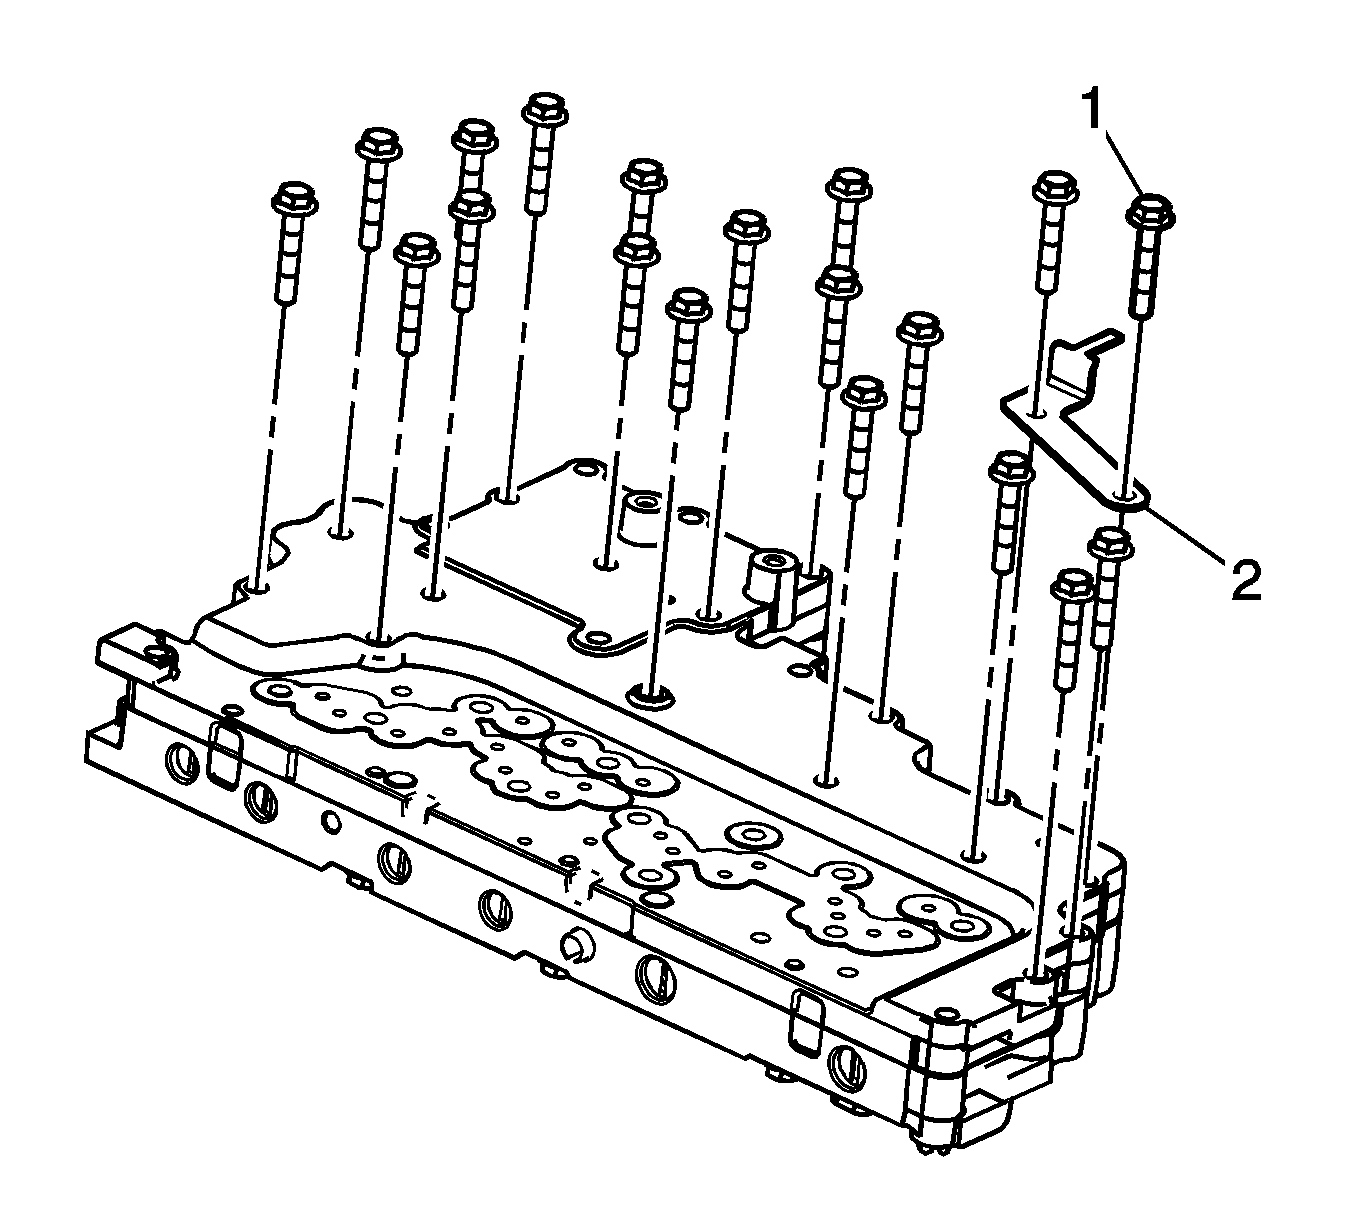
- Remove the control valve body bolts (1).
- Remove the automatic transmission shift shaft position switch bracket (2).
- Remove the control valve channel plate bolts (1).
- Remove the control valve channel plate (1).
- Remove the control valve body spacer plate with gasket assembly (2).
- Remove the fluid pump ball check valve (3) from the control valve upper body assembly (4).
Caution: Do not use the old spacer plate. Install a NEW spacer plate. Reusing an old spacer plate may cause internal transmission leaks and transmission damage.
Installation Procedure
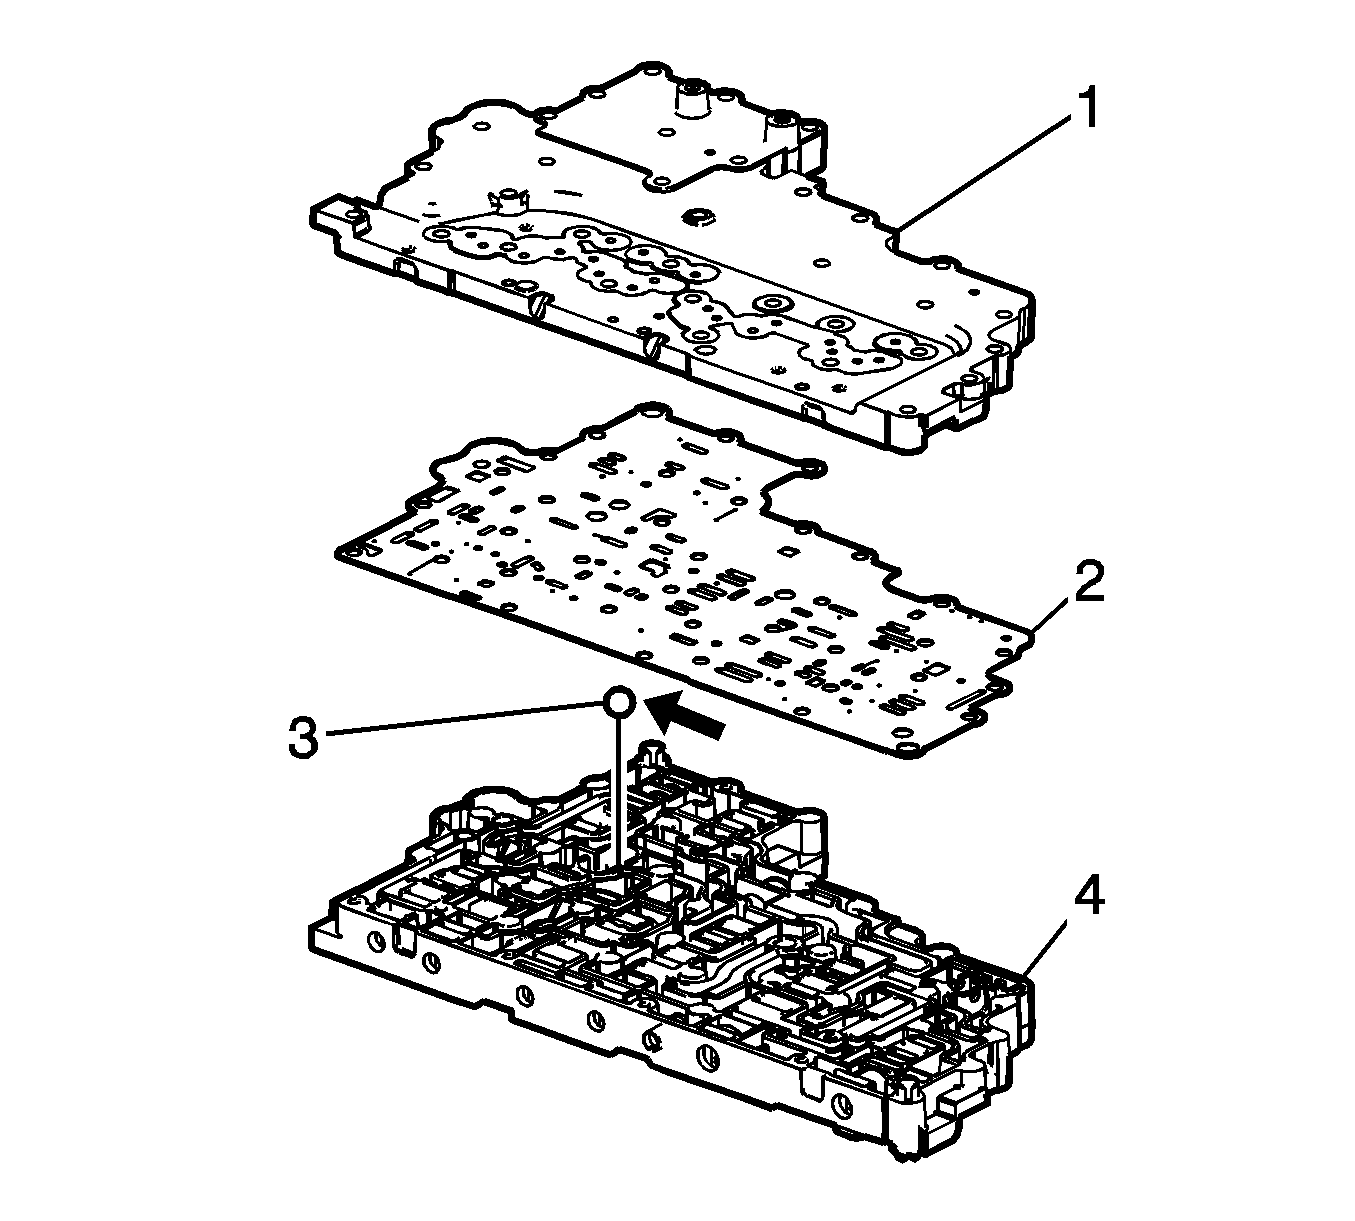
- Install the fluid pump ball check valve (3) to the control valve upper body assembly (4).
- Install the control valve body spacer plate with gasket assembly (2).
- Install the control valve channel plate (1).
- Install by hand the control valve channel plate bolts (1).
- Install the automatic transmission shift shaft position switch bracket (2).
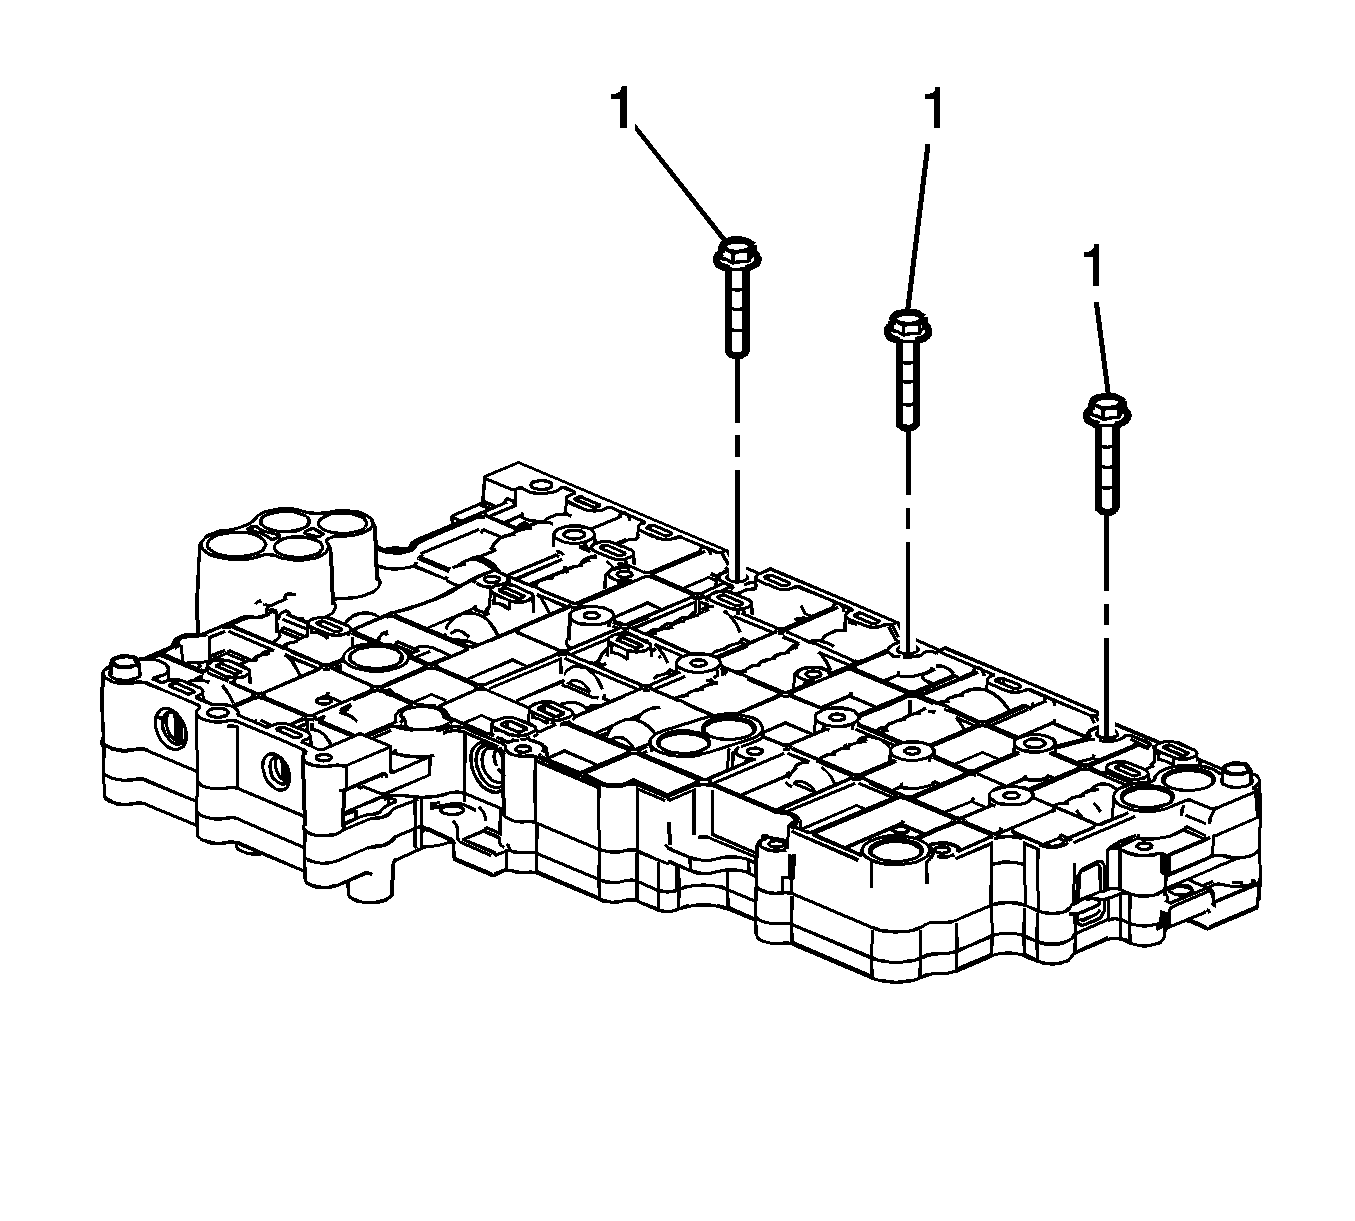
- Install by hand the control valve body bolts (1).
- Torque the control valve channel plate bolts following the specified sequence.
- Torque the control valve body bolts following the specified sequence.
- Install NEW fluid pump seals (6).
- Install a NEW control valve upper body seal assembly (1).
- Install the control valve upper body (2).
- Install the control valve upper body bolts (3).
- Install the manual shift detent spring (5).
- Install the manual shift detent spring bolt (4).
- Install the control solenoid valve and transmission control module assembly. Refer to Control Solenoid Valve and Transmission Control Module Assembly Replacement.
Caution: Do not use the old spacer plate. Install a NEW spacer plate. Reusing an old spacer plate may cause internal transmission leaks and transmission damage.
Note: Do not tighten the bolts at this time.
Note: Do not tighten the bolts at this time.
Caution: Refer to Fastener Caution in the Preface section.
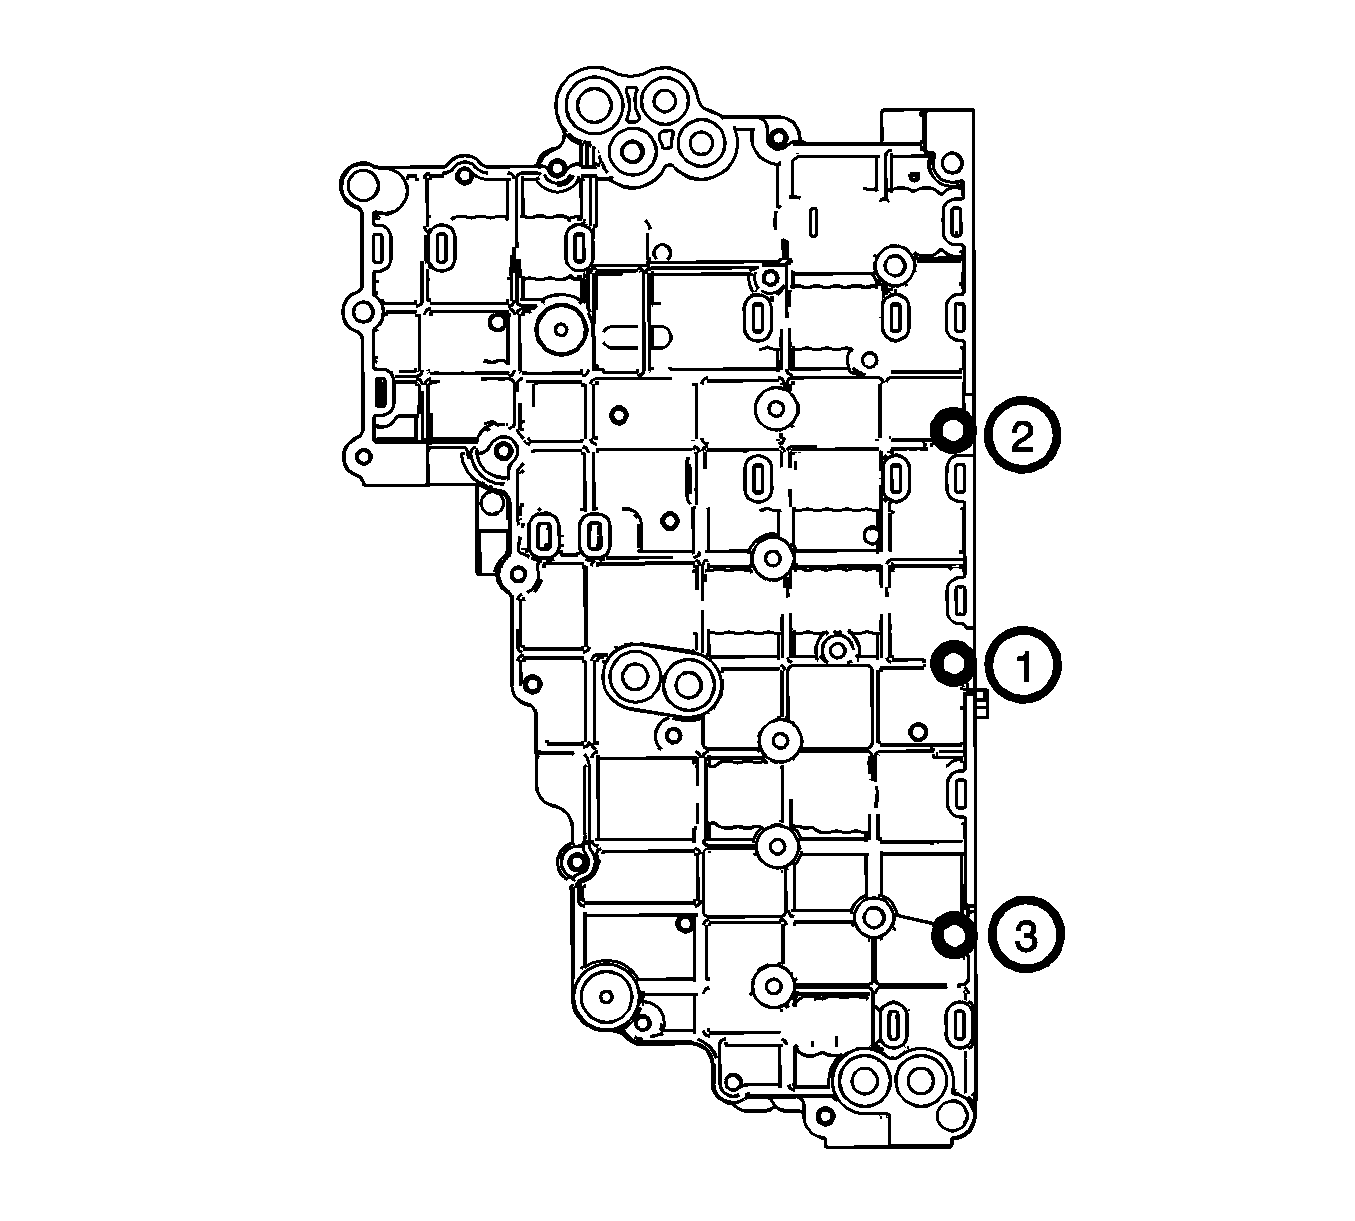
Caution: Bolt torque sequencing is critical to the proper function of the control solenoid valve assembly. Failure to follow the required sequencing may result in transmission malfunction.
Tighten
Tighten the bolts to 11 N·m (97 lb in).
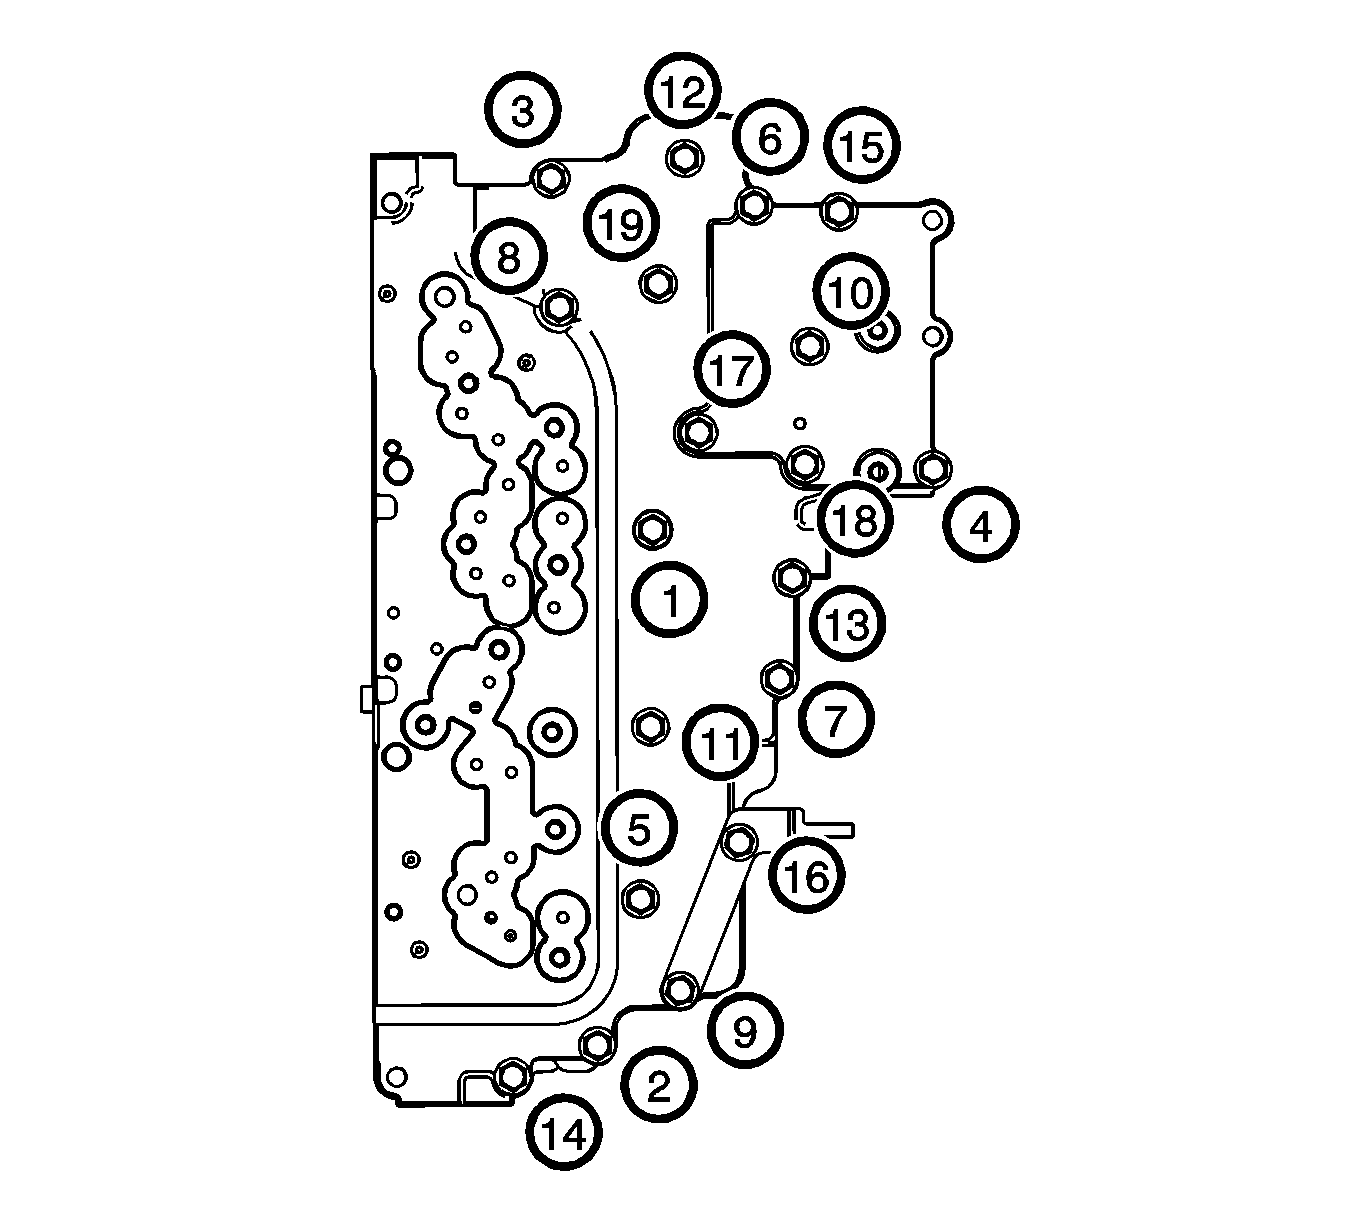
Caution: Bolt torque sequencing is critical to the proper function of the control solenoid valve assembly. Failure to follow the required sequencing may result in transmission malfunction.
Tighten
Tighten the bolts to 11 N·m (97 lb in).
Caution: Bolt torque sequencing is critical to the proper function of the control solenoid valve assembly. Failure to follow the required sequencing may result in transmission malfunction.
Tighten
Tighten the bolts to 11 N·m (97 lb in).
