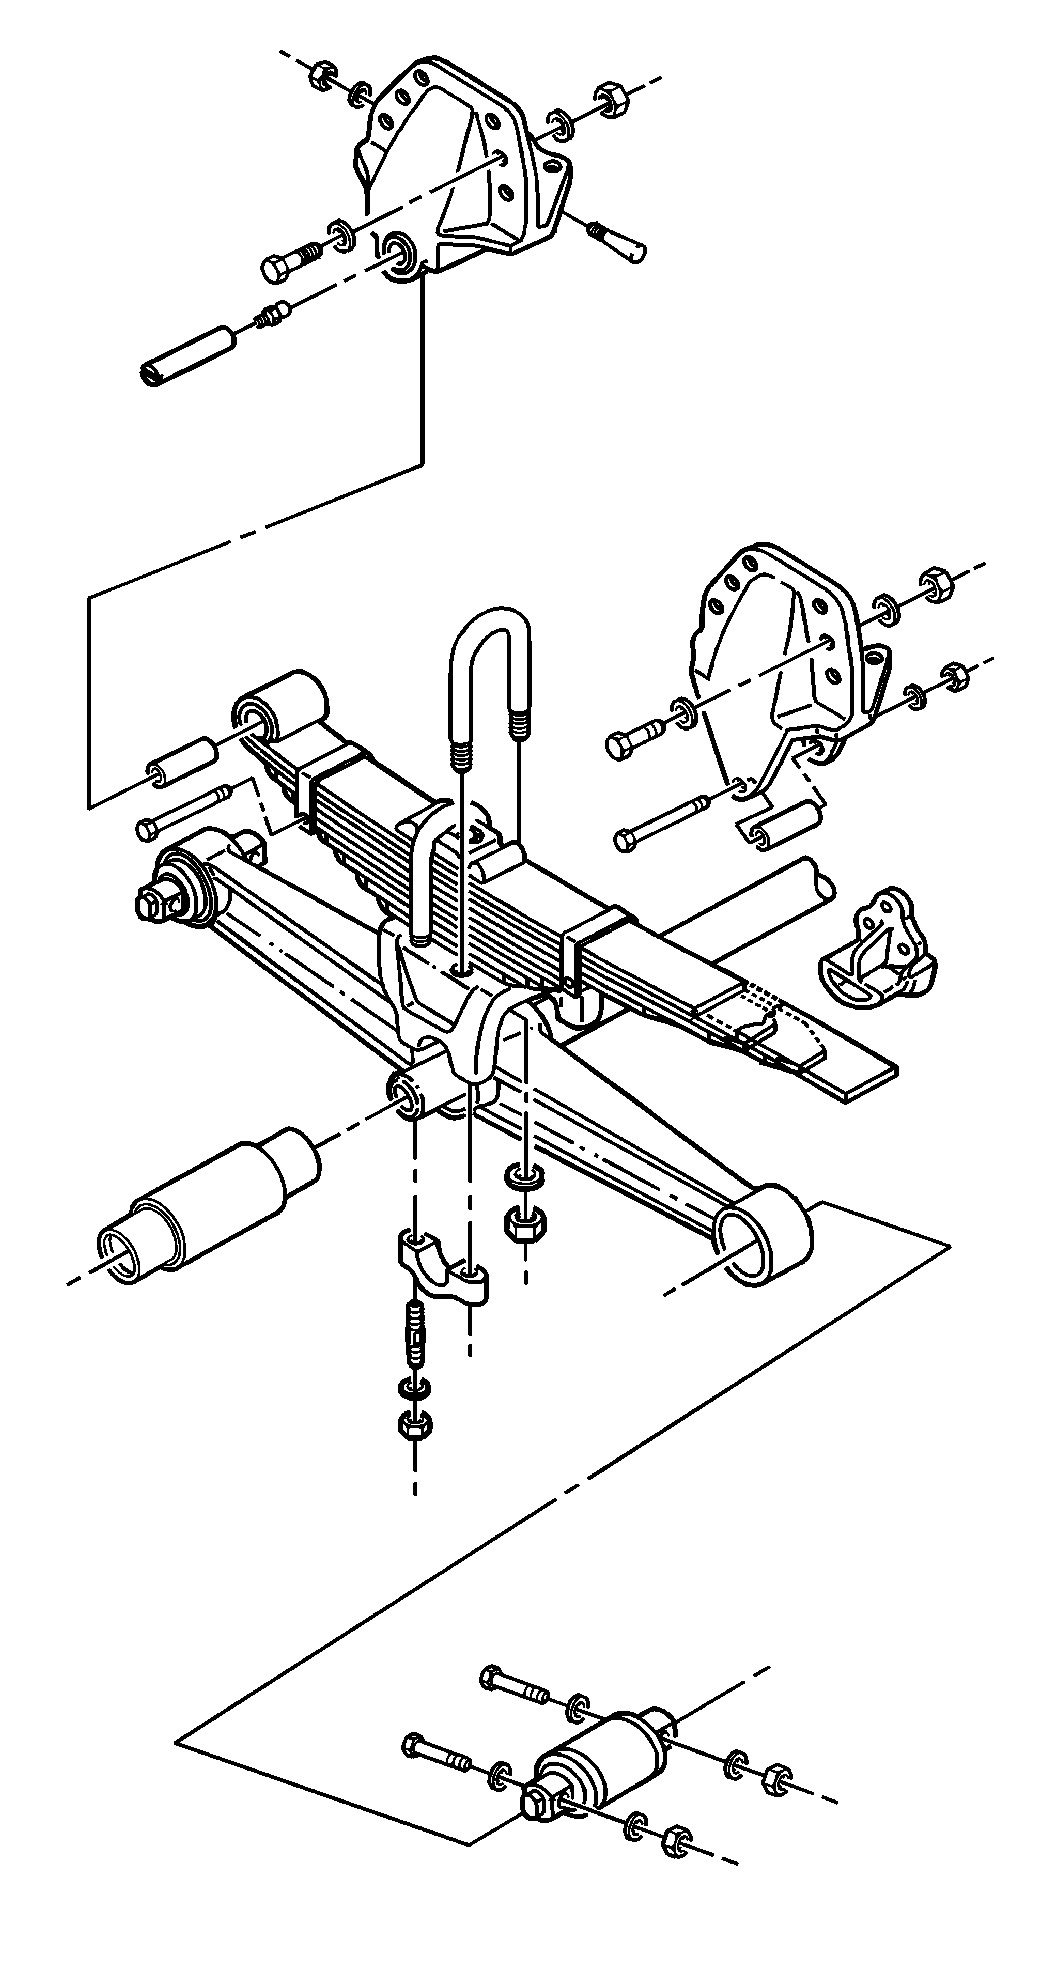
Equalizing Beam Replacement Except Haulmaxx Suspension
Removal Procedure
- Set the parking brake.
- Block the front wheels.
- Remove the load from the beams by using the following procedure:
- Support the weight of the beams under the beam crosstubes.
- Remove the Tire and Wheel assemblies from the tandem axles. Refer to Tire and Wheel Removal and Installation .
- Remove the following components at all of the equalizing beam ends at the axle mounts:
- Remove the following components from both sides of the vehicle:
- Remove the beams from the crosstube ends by using the following procedure:
- Replace the crosstube if the crosstube is bent or worn.
| 3.1. | Raise the vehicle frame with a suitable lifting device. |
| 3.2. | Support the frame forward of the rear axle. |
| • | The nuts |
| • | The washers |
| • | The bolts |
| • | The saddle cap nuts |
| • | The washers |
| • | The saddle cap studs and caps |

| 8.1. | Lower the crosstubes and the beams. |
| 8.2. | Slide the beams and the washers, if equipped, off of the crosstube. |
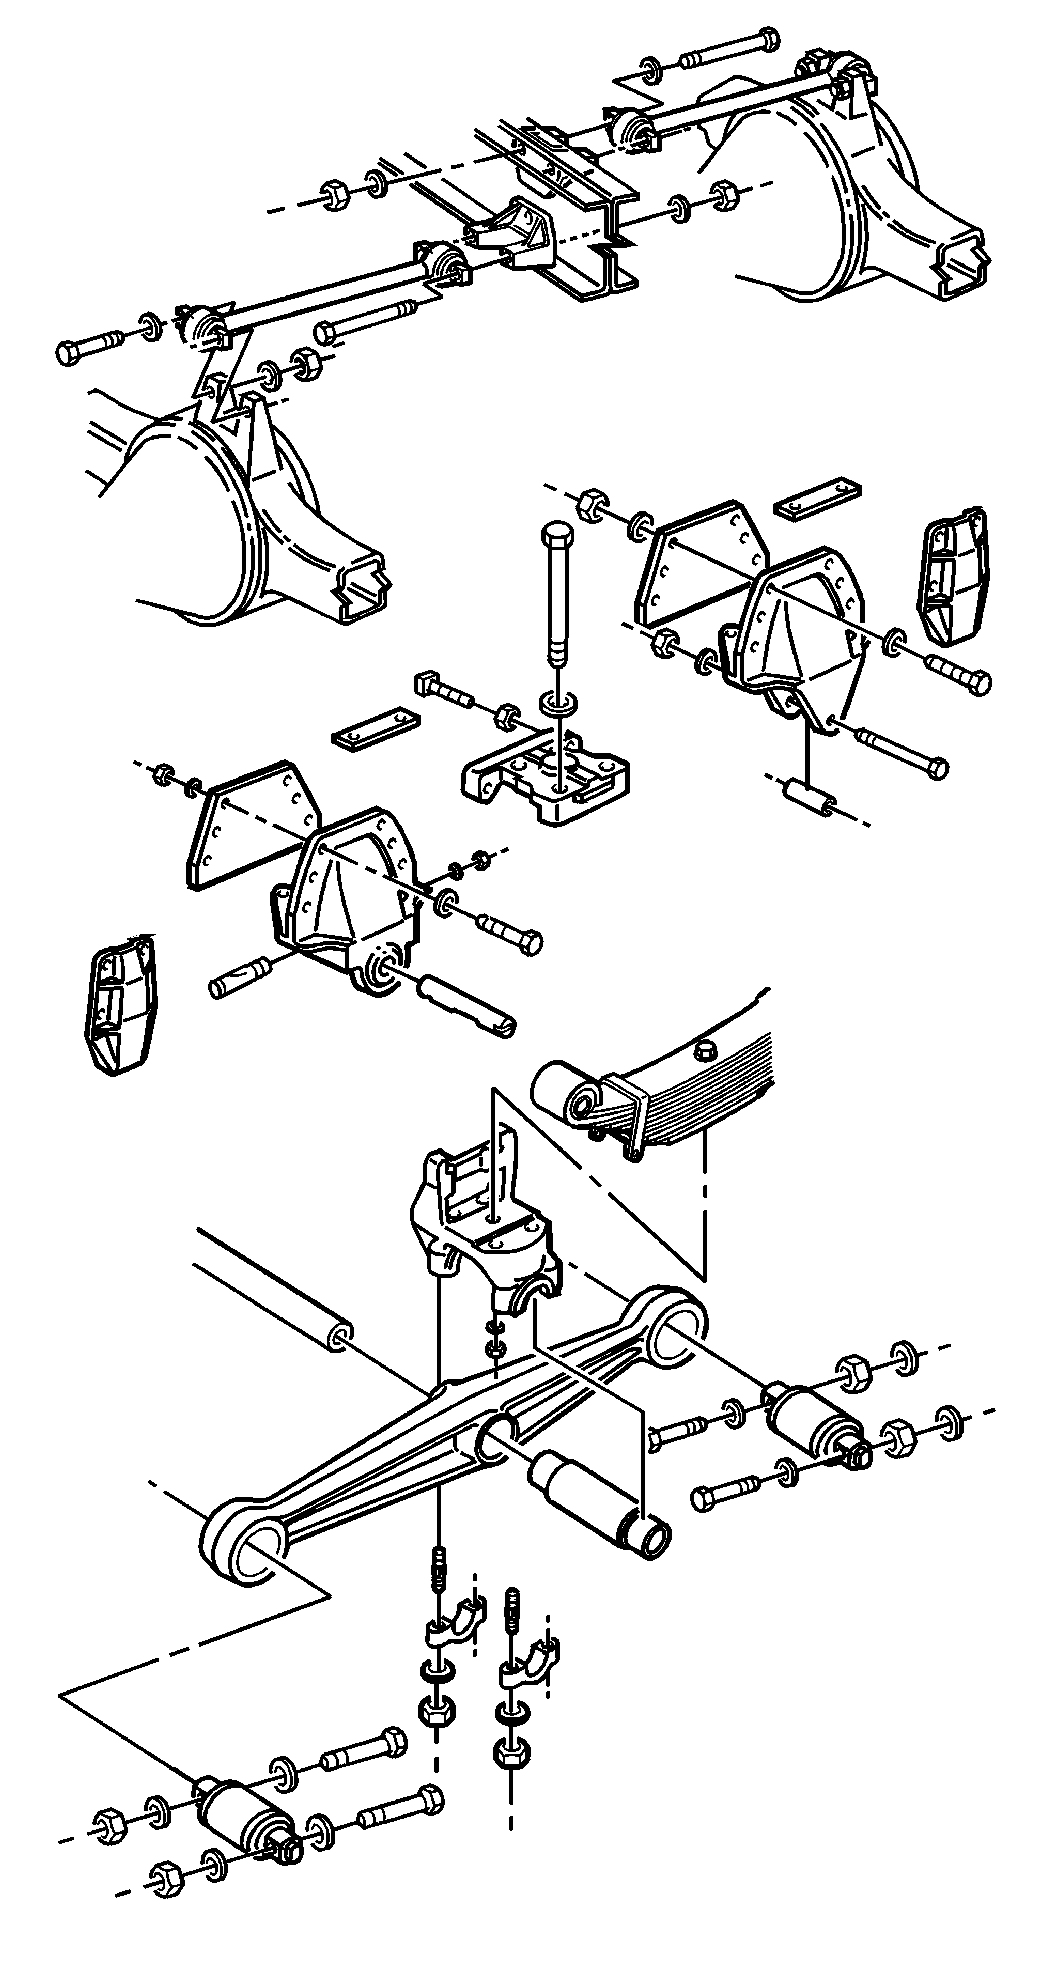
Installation Procedure
- Install the washers, if equipped, and the beams on the crosstube.
- Install the beams on the axles with the washers, the bolts and the nuts at each equalizing beam end. Locate the equalizing beam end nuts toward the rear of the axles.
- Install the saddle cap studs (10).
- Install the following components:
- Remove the blocks from the wheels.
Notice: Refer to Fastener Notice in the Preface section.
Tighten
Tighten the equalizer bolt nut to 700 N·m (516 lb ft).
Tighten
Tighten the saddle cap stud to 81 N·m (60 lb ft). Use the two nut method.
| • | The spring saddle caps |
| • | The washers |
| • | The nuts |
Tighten
Tighten the spring saddle cap nuts to 340 N·m (250 lb ft) after the axle is in its normal operating position.
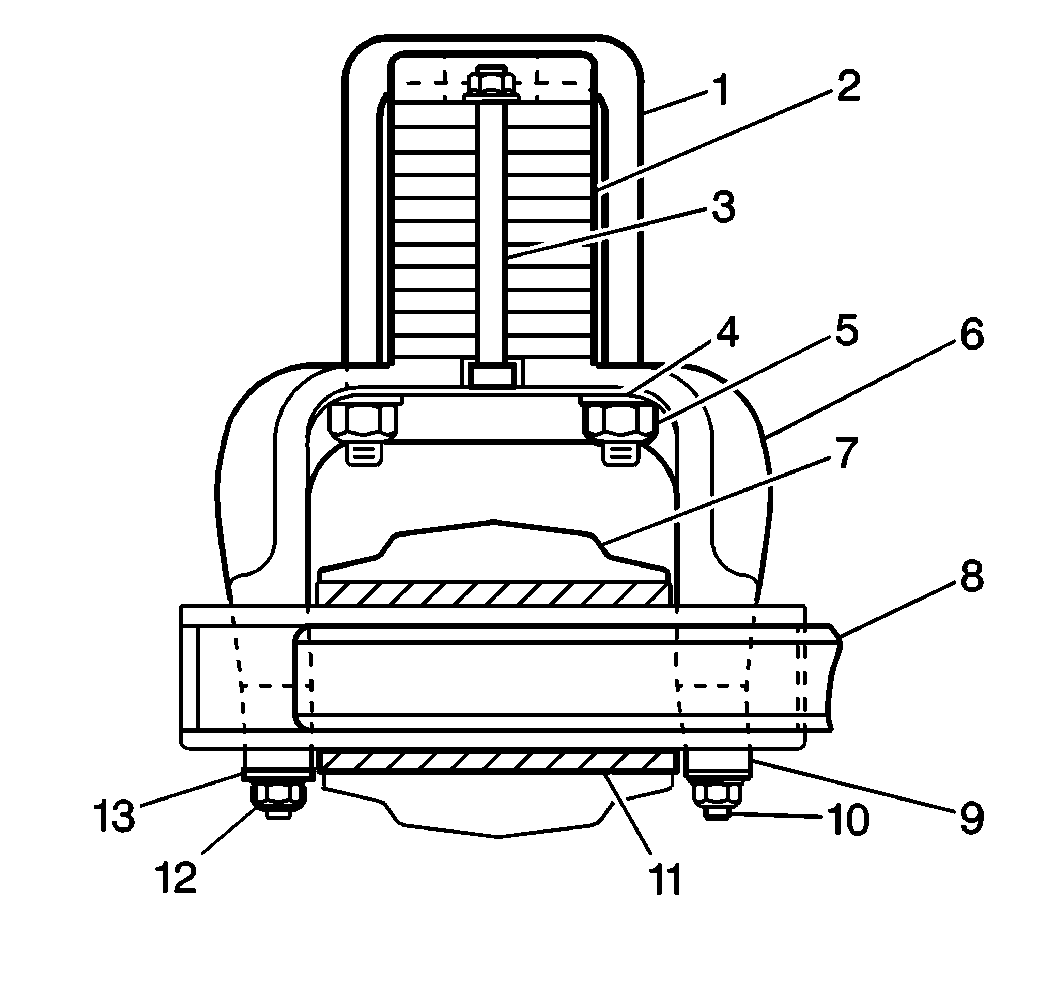
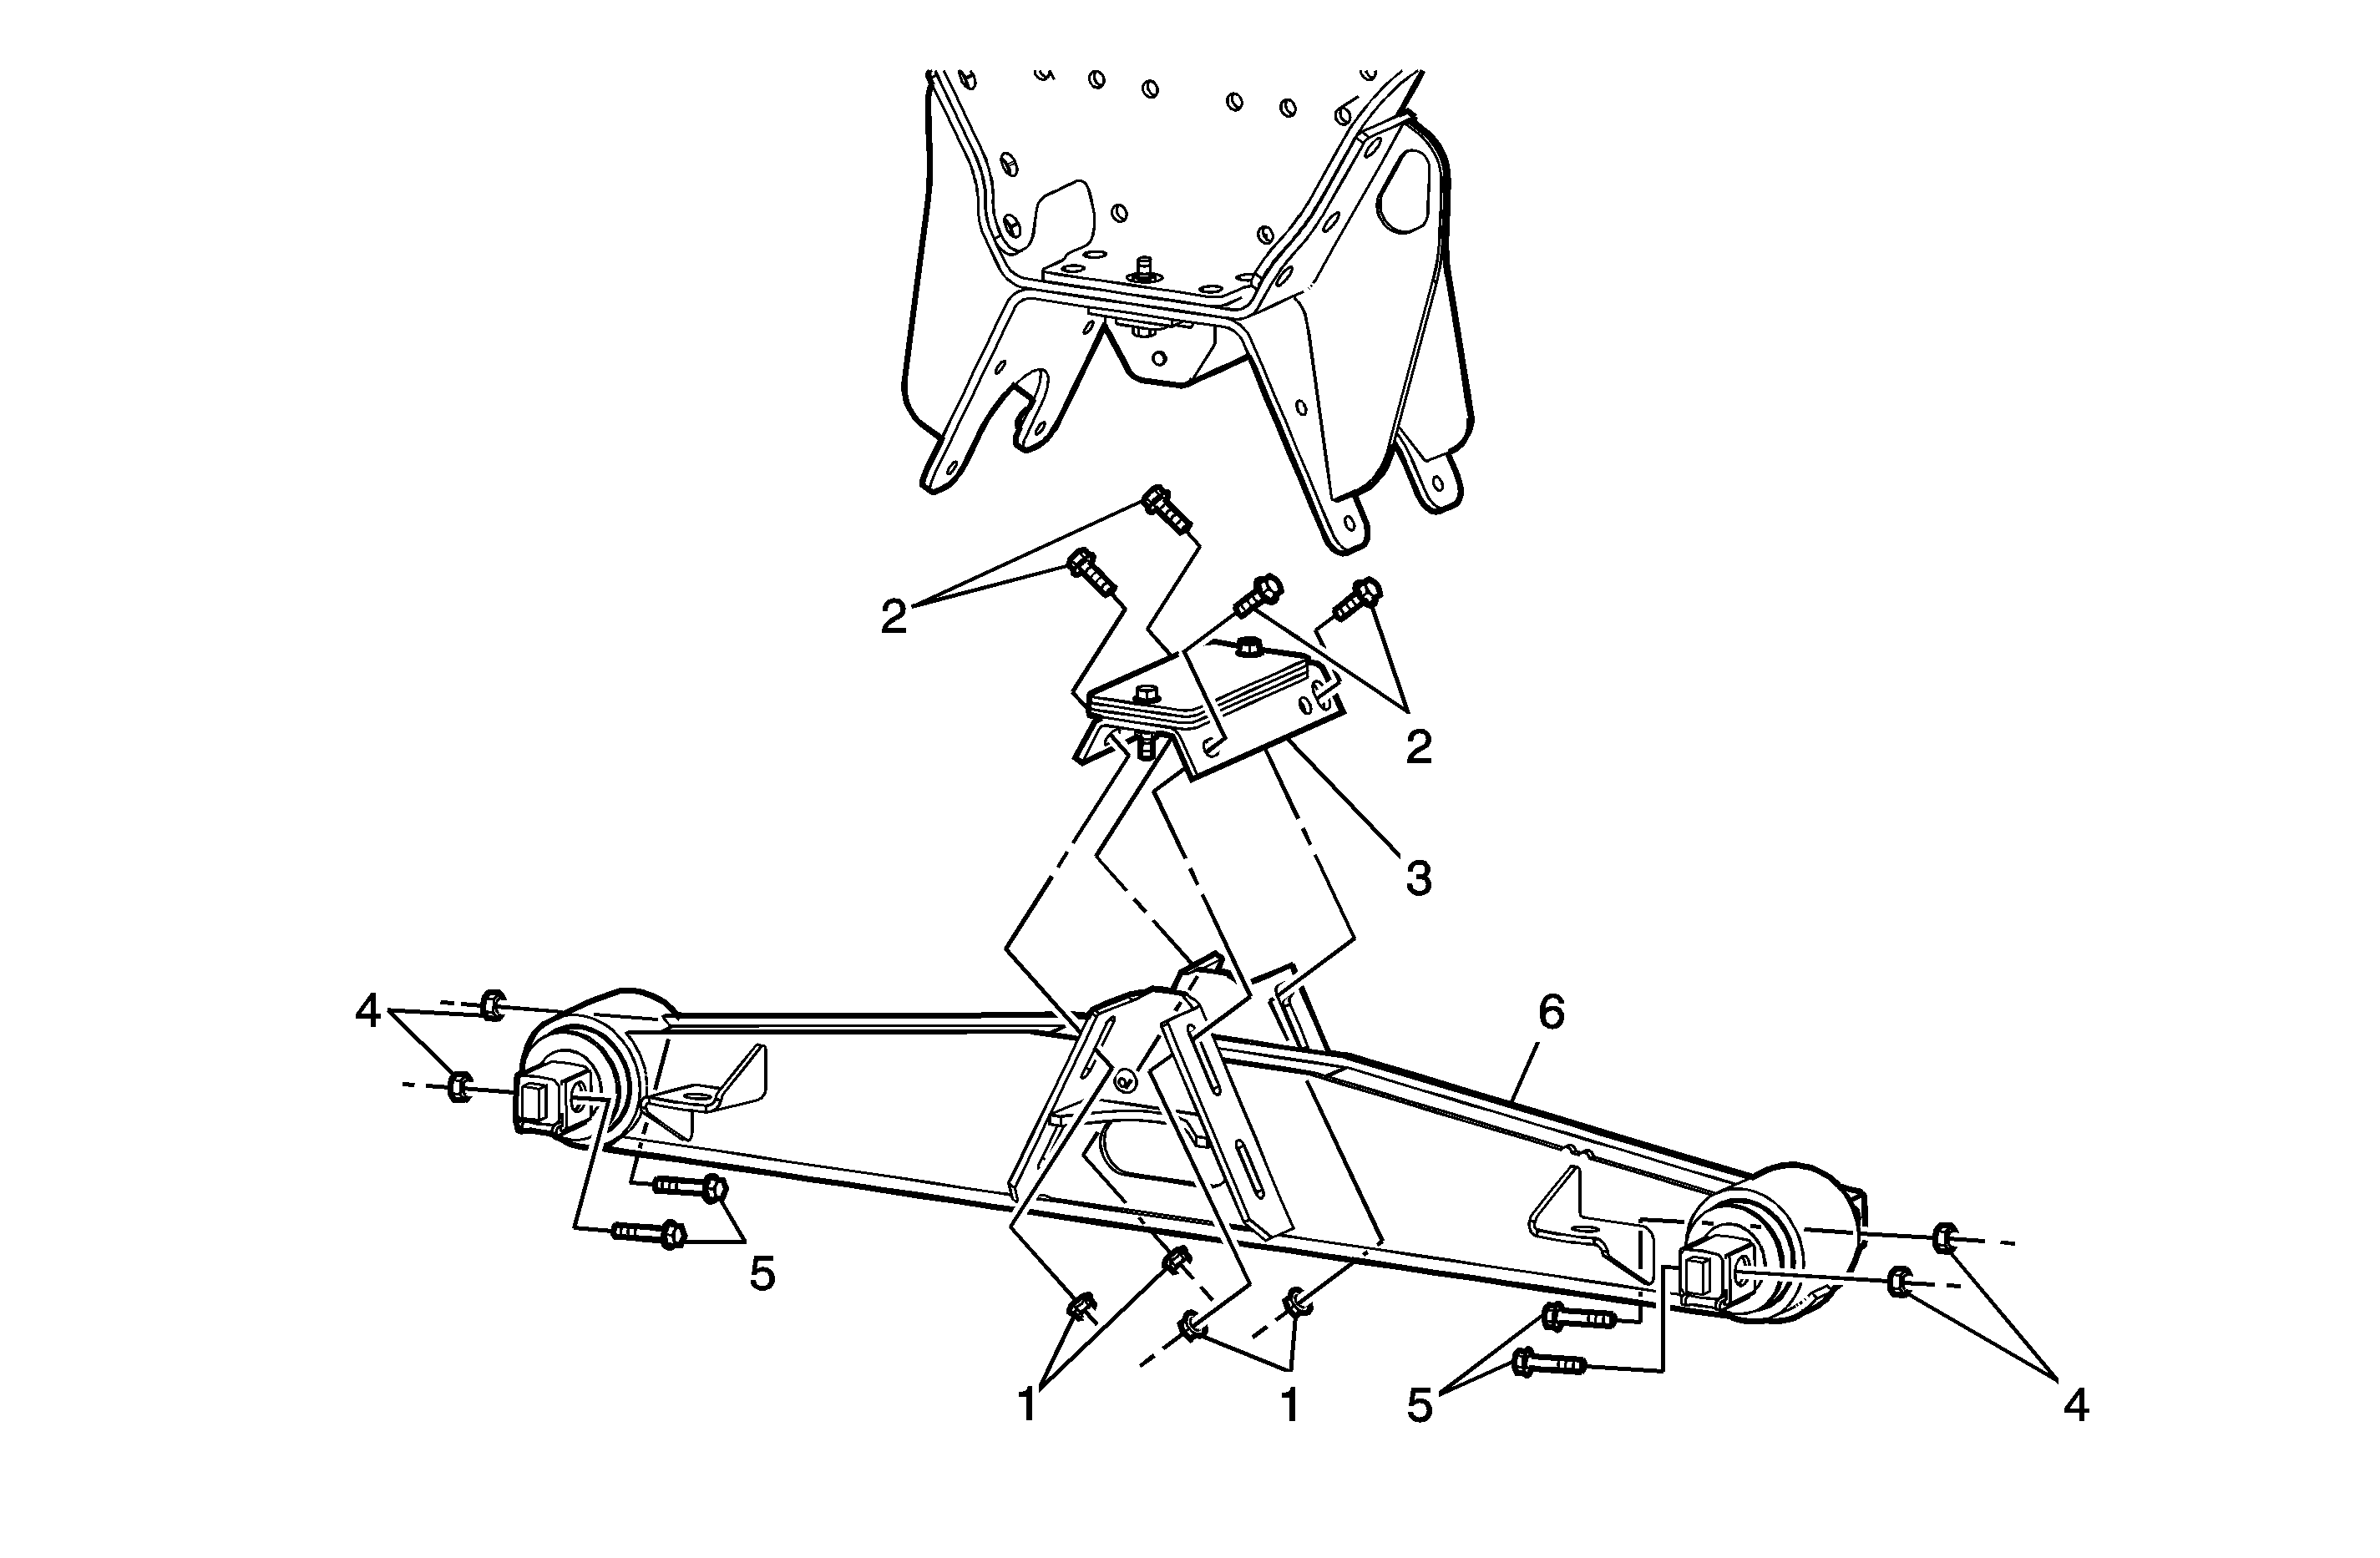
Equalizing Beam Replacement Haulmaxx Suspension
Callout | Component Name |
|---|---|
|
Notice: Refer to Fastener Notice in the Preface section. Fastener Tightening Specifications: Refer to Fastener Tightening Specifications . Preliminary Procedures
| |
1 | Auxiliary Spring Plate Nut (Qty: 4) Tip Tighten |
2 | Auxiliary Spring Plate Bolt (Qty: 4) Tip |
3 | Rear Auxiliary Spring Plate Tip |
4 | Equalizing Beam Bar Pin Nut (Qty: 4) Tip Tighten |
5 | Equalizing Beam Bar Pin Bolt (Qty: 4) Tip |
6 | Equalizing Beam Tip |
