Cleaning Procedure
| • |
| • |
Inspection Procedure
| • |
| • |
Measurement Procedure
- Measure the piston ring groove clearance as follows:
- Measure the piston ring end gap.
- Insert the piston assembly into the cylinder liner, 195 mm (7.67 in) below the top of the cylinder liner.
- Measure the piston ring gap as follows:
- Measure the piston pin bore inside diameter. Measurement should be 40.004-40.012 mm (1.5750-1.5752 in) (1).
- Measure the piston pin to the piston clearance. The measurement should be taken at 3 different points. The measurement should not be less than 39.95 mm (1.5728 in).
- Subtract the piston pin diameter from the piston pin bore reading. Proper clearance is 0.004-0.017 mm (0.0002-0.0007 in).
- Apply a piece of plastic gage the width of the connecting rod bearing journal.
- Install the connecting rod bearing inserts to the connecting rod and the connecting rod cap.
- Install the connecting rod bolts.
- Remove the connecting rod cap from the crankshaft.
- Measure the plastic gage.
- The measurements should be 0.037-0.076 mm (0.00146-0.00299 in). If the clearances are within factory specifications, the connecting rod bearings are satisfactory.
- Remove the plastic gage.
- If the clearances are not within the factory specifications, replace the connecting rod bearing inserts as a set (upper and lower inserts).
- Repeat the procedure.
- If the connecting rod bearings still are not within the specifications, replace the crankshaft.
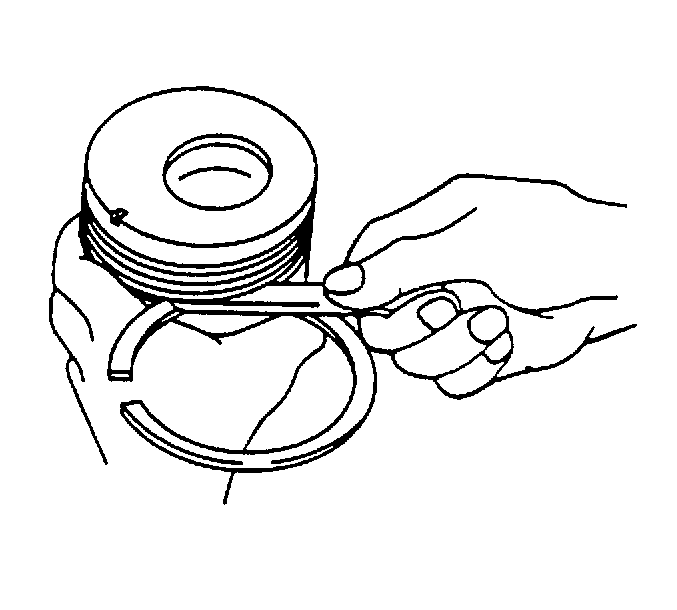
| • | First groove: 0.067-0.105 mm (0.0026- 0.0041 in) |
| • | Service Limit: 0.2 mm (0.0787 in) |
| • | Second and third grooves: 0.03-0.07 mm (0.0012-0.0020 in) |
| • | Service Limit: 0.15 mm (0.0059 in) |
| • | Oil control ring: 0.030-0.07 mm (0.0012-0.0028 in) |
| • | Service Limit: 0.15 mm (0.0059 in) |
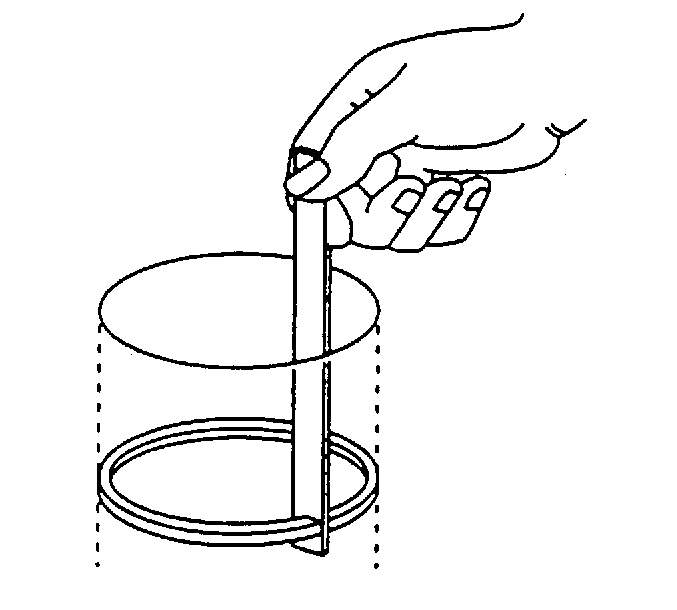
| • | First compression ring: 0.20-0.30 mm (0.0079-0.0118 in) |
| • | Service Limit: 1.2 mm (0.0472 in) |
| • | Second and third compression rings: 0.30-0.45 mm (0.0118-0.0177 in) |
| • | Service Limit: 1.2 mm (0.0472 in) |
| • | Oil control ring: 0.20-0.40 mm (0.079-0.0157 in) |
| • | Service Limit: 1.2 mm (0.0472 in) |
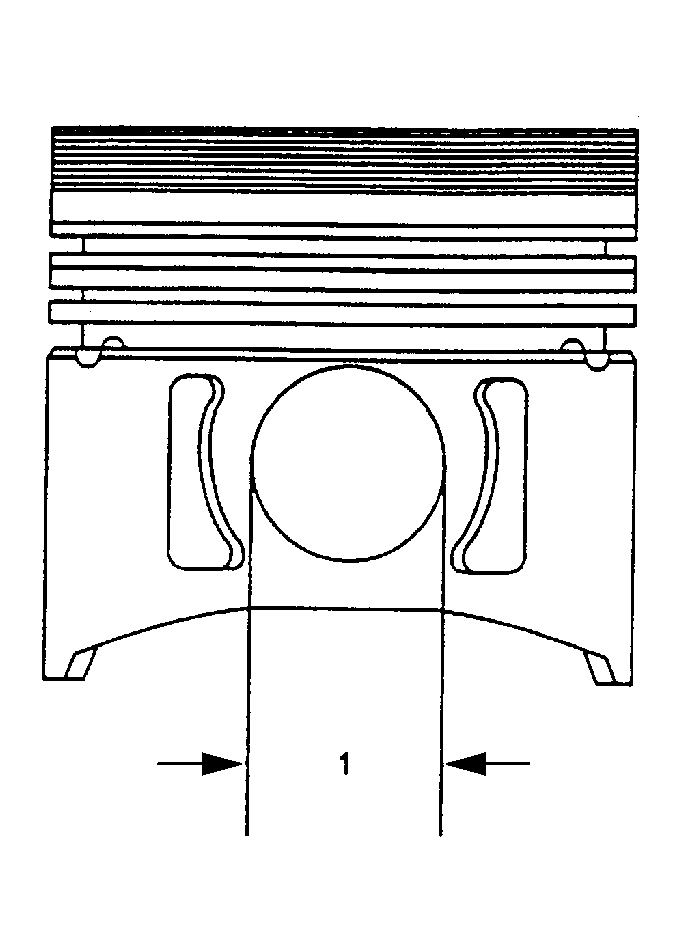
Service limit: 40.05
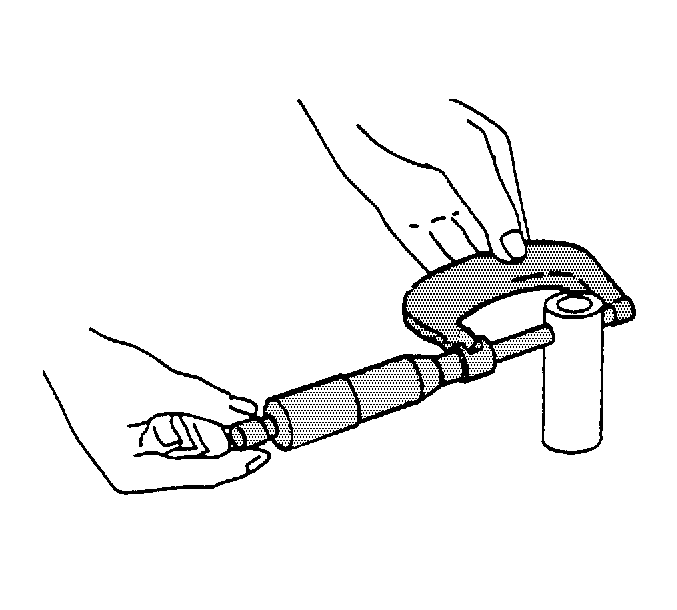
Important: Replace the piston pin if it is less than the specification.
Important: Apply a small amount of molybdenum grease to the bolts.
Notice: Refer to Fastener Notice in the Preface section.
Tighten
Tighten the connecting rod bolts to 39 N·m (29 lb ft). Then tighten an additional 60 degrees, and then 30 degrees.
Important: Do not remove the plastic gage from the crankshaft journal until the clearance measurement is finished.
Crankshaft and Connecting Rod Bearing Clearance
- Clean the crankshaft, connecting rod, bearing cap and bearings.
- Install the bearing to the connecting rod and bearing cap.
- Apply a coat of molybdenum disulfide grease to the bearing cap bolt threads and setting faces.
- Prevent the connecting rod from moving.
- Tighten the bearing cap to the specified torque.
- Use a dial indicator to measure the connecting rod bearing inside diameter.
- If the clearance between the measured bearing inside diameter and the crankpin exceeds the specified limit, the bearing and/or crankshaft must be replaced.
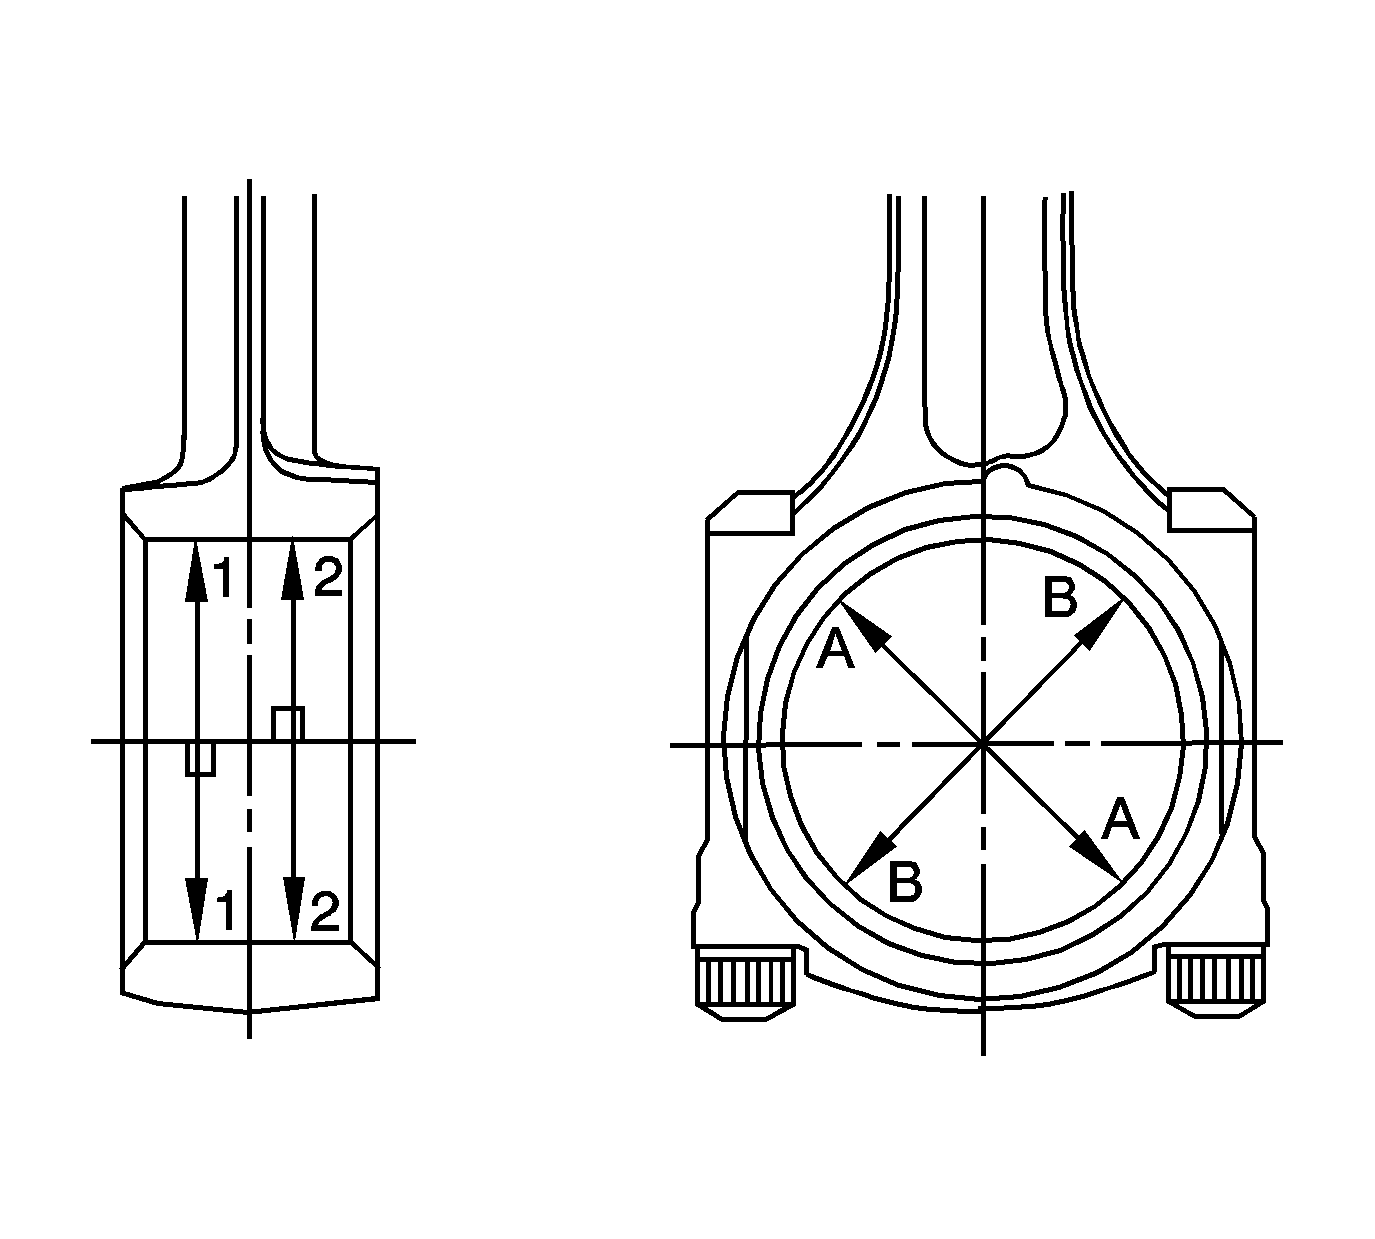
Tighten
Tighten the connecting rod bearing cap in the following steps:
| 5.1. | First step: 39 N·m (4.0 kgm/29 lb ft). |
| 5.2. | Second step: Tighten 60 degrees. |
| 5.3. | Third step: Then tighten an additional 30-60 degrees. |
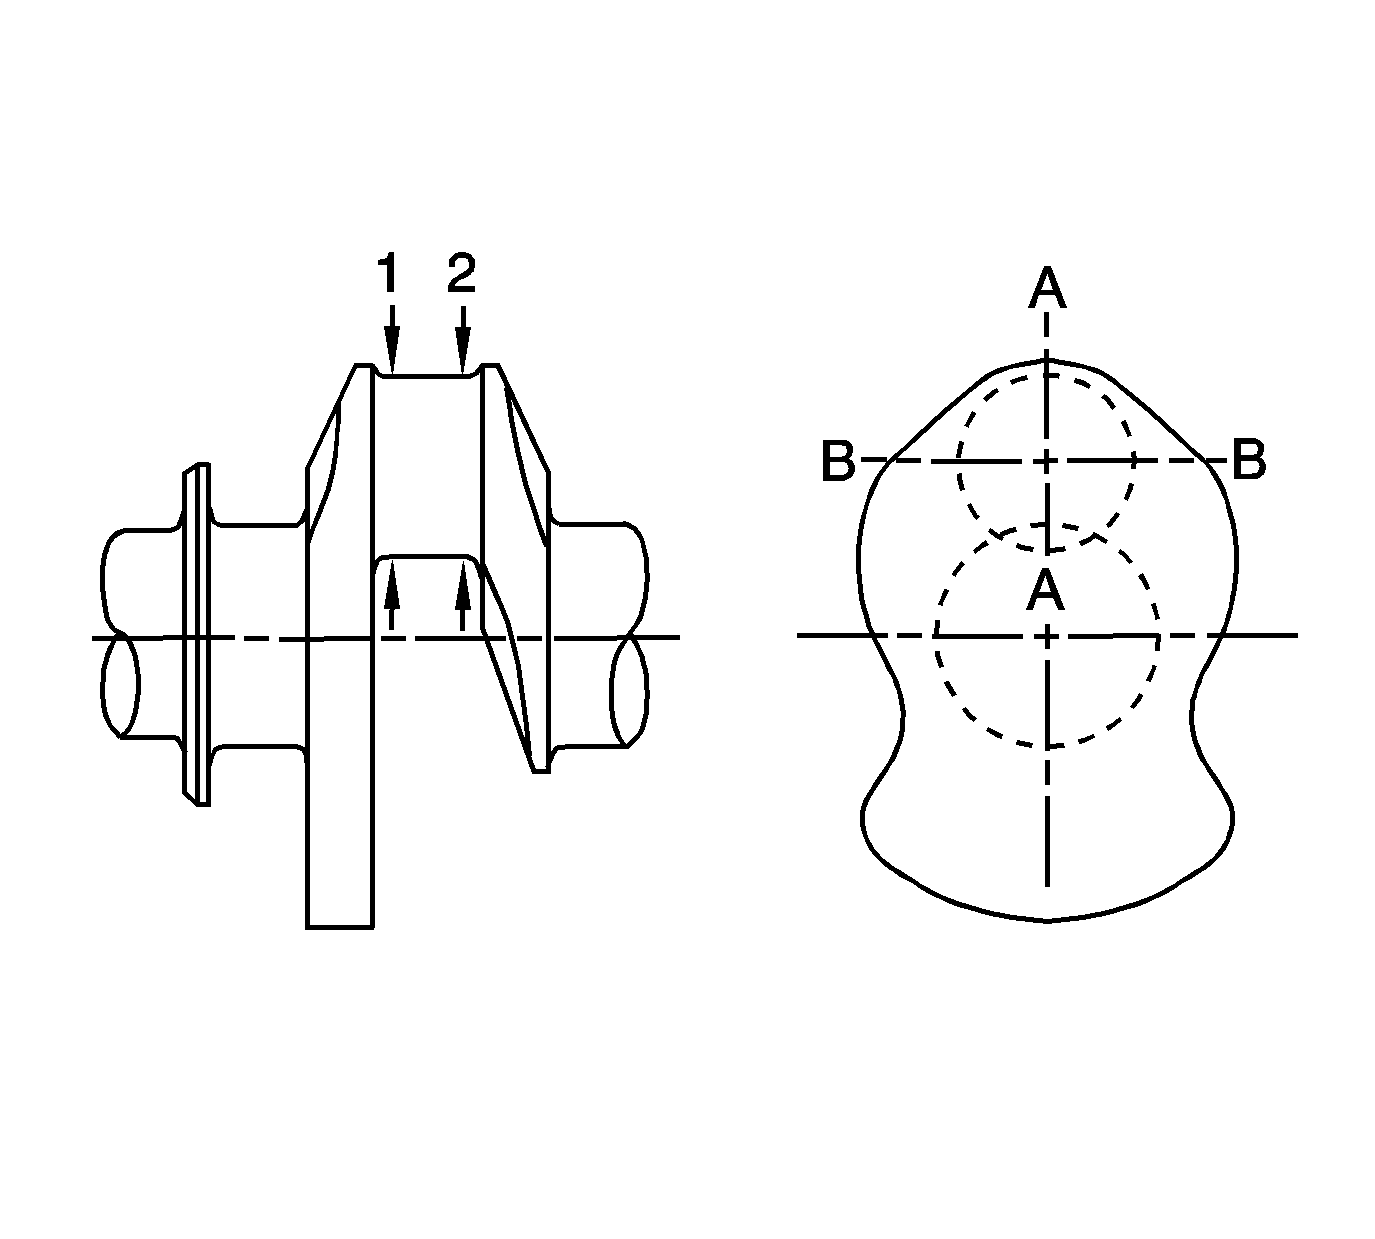
Crankpin and connecting rod bearing clearance
Standard: 0.037-0.076 mm (0.0015-0.0030 in)
Limit: 0.1 mm (0.0034 in)
Connecting Rod Bearing Selection
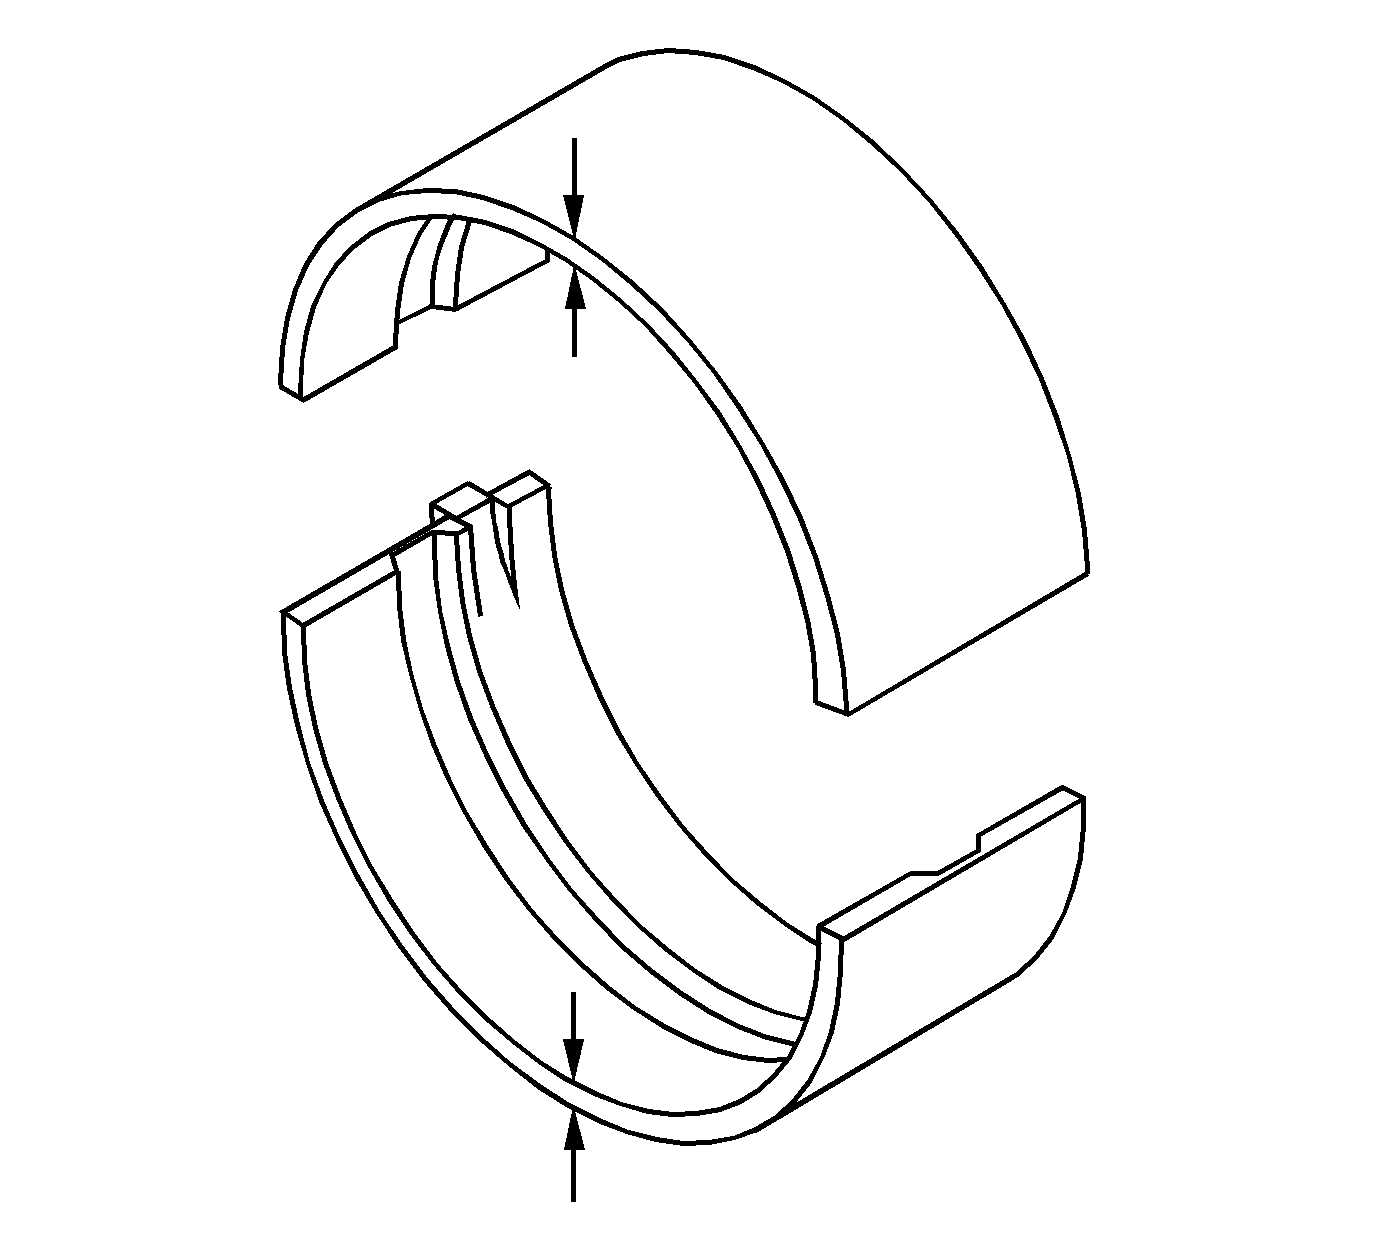
If the connecting rod journal and bearing clearance measurement values deviate from the standard, use the table below to select a suitable connecting rod bearing that is within the standard value.
Color | Wall Thickness mm (in) | |||
|---|---|---|---|---|
Brown | 2.5 | +0.017 | 0.098 | +0.00067 |
+0.011 | +0.00043 | |||
Blue | 2.5 | +0.013 | 0.098 | +0.00051 |
+0.007 | +0.00028 | |||
Connecting Rod to Crankshaft Side Clearance
- Fix the connecting rod assembly to the crankshaft using the specified torque.
- Use a feeler gage to measure the clearance between the connecting rod and crankshaft.
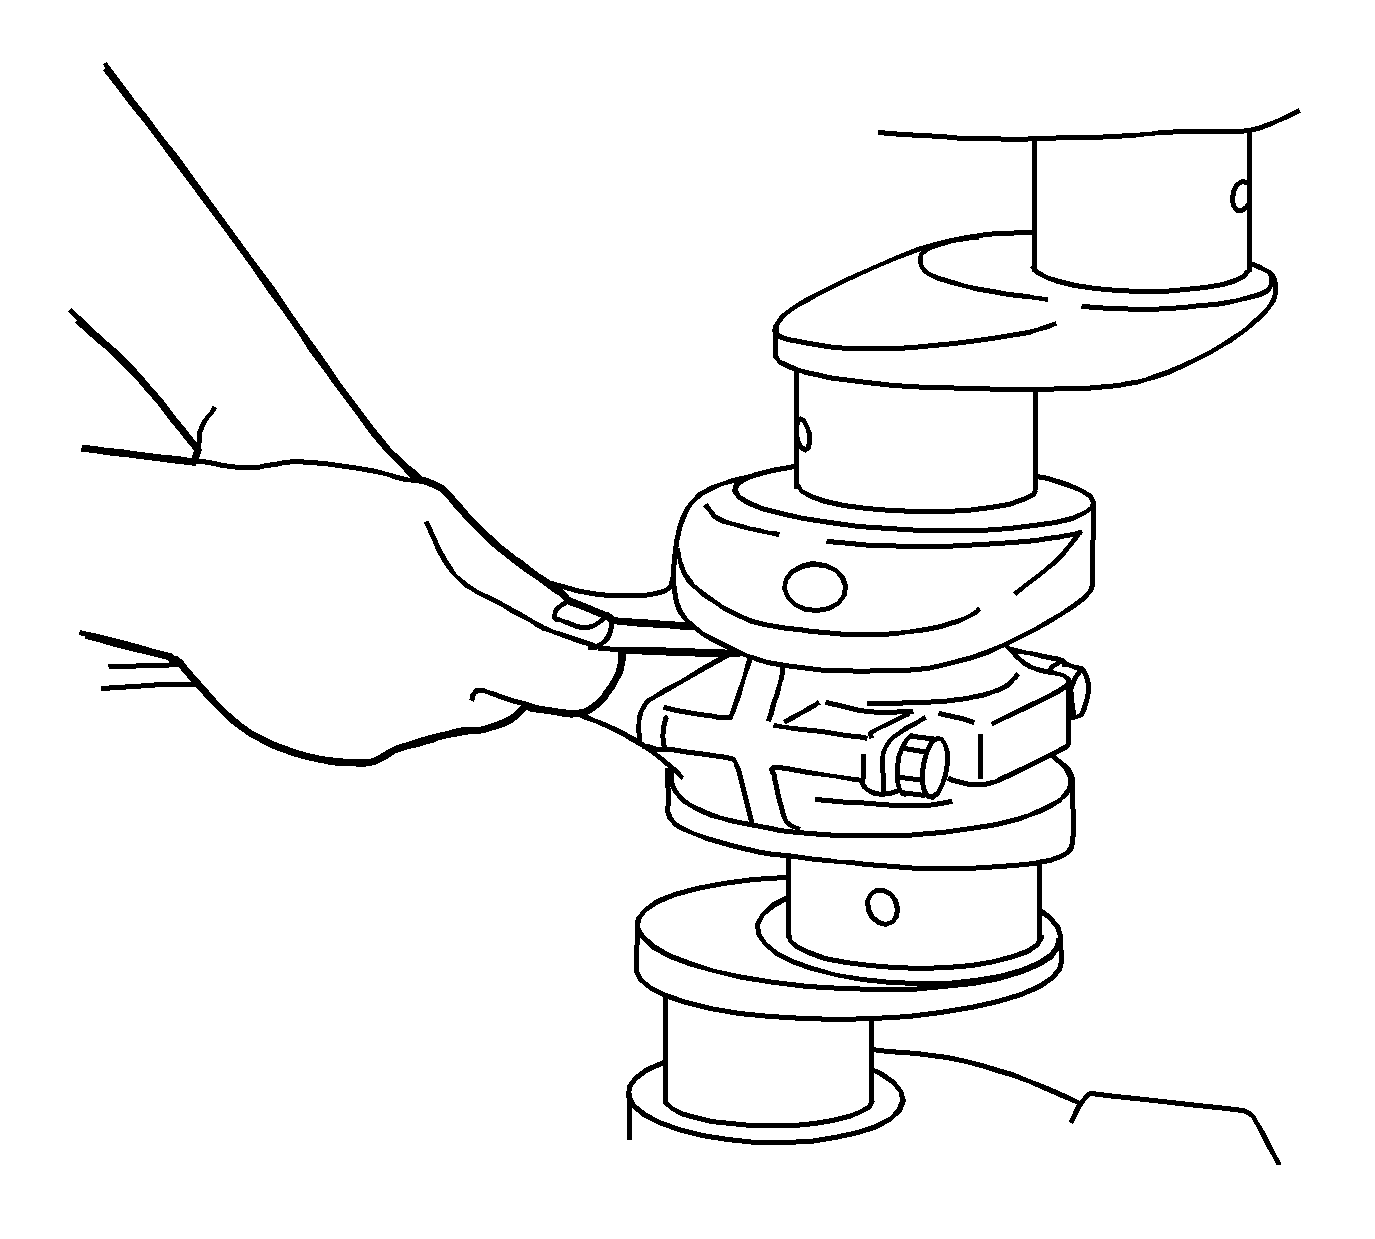
If the measured value exceeds the specified limit, the connecting rod must be replaced.
Connecting Rod and Crankshaft Clearance
| • | Standard: 0.17-0.30 mm (0.0067-0.0118 in) |
| • | Limit: 0.35 mm (0.0138 in) |
