Special Tools
J-38125
Important: When making a splice in an area that may be exposed to moisture use a crimp and seal splice sleeve instead of a Splice Clip. Refer to
Splicing Copper Wire Using Splice Sleeves.
- Open the harness.
| • | If the harness is taped, remove the tape. |
| • | To avoid wiring insulation damage, use a sewing ripper in order to cut open the harness. |
| • | If the harness has a black plastic conduit, pull out the desired wire. |
- Cut the wire.
| • | Cut as little wire off the harness as possible. |
| • | Ensure that each splice is at least 40 mm (1.5 in) away from other splices, harness branches and connectors. This helps prevent moisture from bridging adjacent splices and causing damage. |
- Select the proper size and type of wire.
| • | The wire must be of equal or greater size than the original (except fusible link). |
| • | The wire insulation must have the same or higher temperature rating. |
| - | Use general purpose insulation for areas that are not subject to high temperatures. |
| - | Use a cross-linked polyethylene insulated wire for areas where high temperatures are expected. |
| | Important: Use cross-linked polyethylene wire to replace PVC, but do not replace cross-linked polyethylene with PVC.
|
- Strip the insulation.
| • | Select the correct size opening in the wire stripper or work down from the largest size. |
| • | Strip approximately 7.5 mm (5/16 in) of insulation from each wire to be spliced. |
- Select the proper clip to secure the splice. Follow the instructions in the
J-38125
in order to determine the proper clip size crimp tool and anvil.
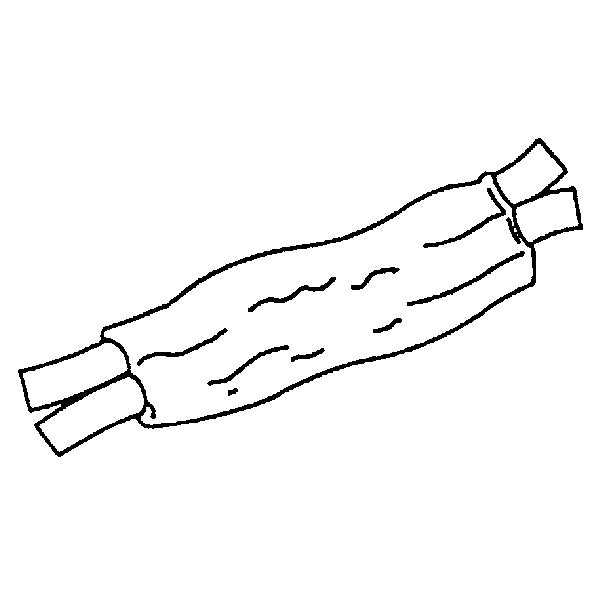
- Overlap the 2 stripped wire ends and hold them between thumb and forefinger.
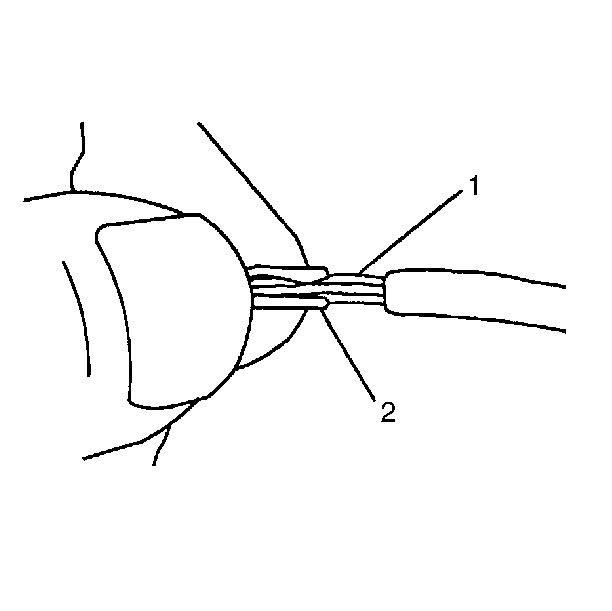
- Center the splice clip (2) over the stripped wires (1) and hold the clip in place.
| • | Ensure that the wires extend beyond the clip in each direction. |
| • | Ensure that no insulation is caught under the clip. |
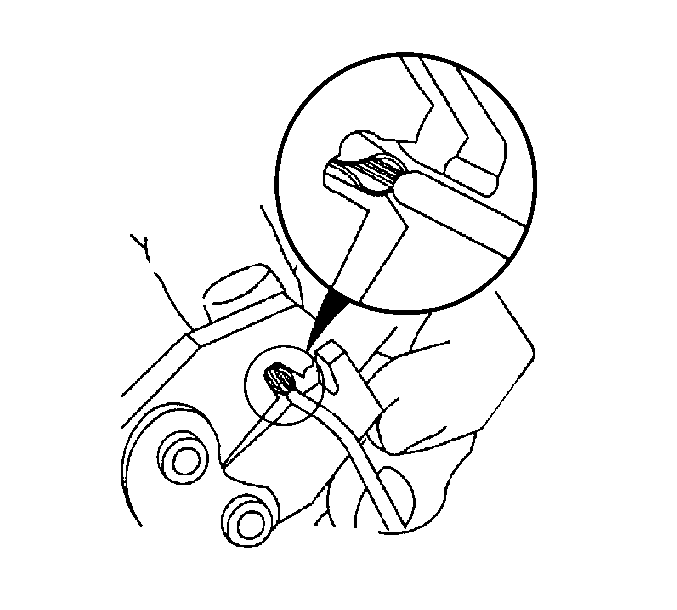
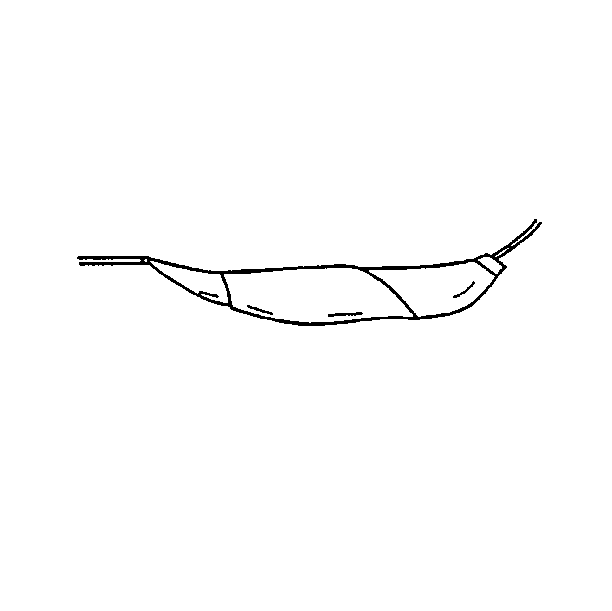
- Center the crimp tool over the splice clip and wires.
- Apply steady pressure until the crimp tool closes.
Ensure that no strands of wire are cut.
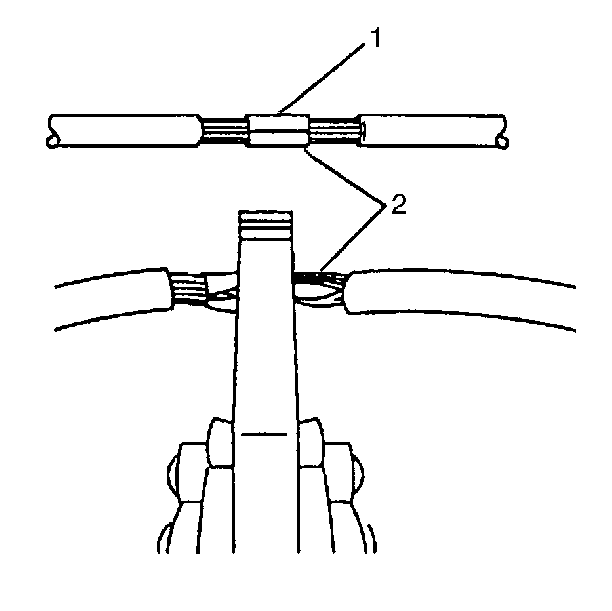
- Crimp the splice on each end (2).
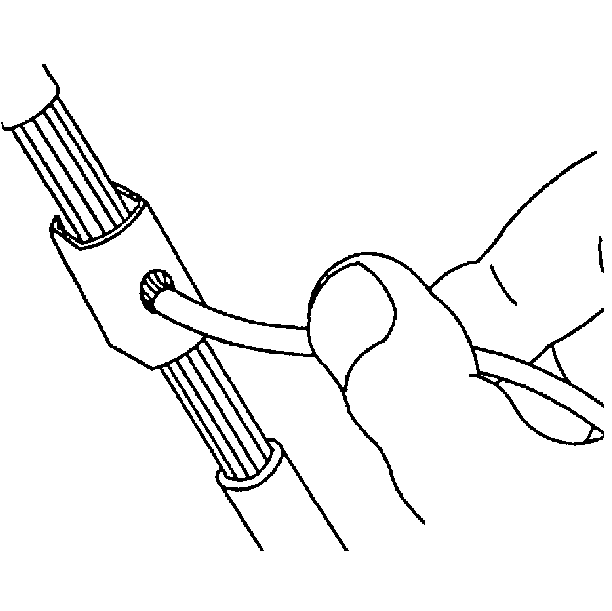
- Apply 60/40 rosin core solder to the opening in the back of the clip. Follow the manufacturer's instructions for the solder equipment.
- Tape the splice. Roll on enough tape in order to duplicate the thickness of the insulation on the existing wires.
- Additional tape can be applied to the wire if the wire does not belong in a conduit or another harness covering.
Use a winding motion in order to cover the first piece of tape.
