Special Tools
| • | J 41478 Crankshaft Front Oil Seal Installer
|
| • | J 41665 Crankshaft Balancer and Sprocket Installer
|
| • | J 42386-A Flywheel Holding Tool
|
For equivalent regional tools, refer to
Special Tools
Caution: Refer to Fastener Caution in the Preface section.
Note:
| • | The crankshaft balancer is balanced as an individual component. It is not necessary to mark the balancer prior to removal. |
| • | The crankshaft balancer installation and bolt tightening involves a 4 stage tightening process. The first pass ensures that the balancer is installed completely onto the crankshaft. The second, third, and fourth passes tighten the NEW bolt
to the proper torque. |
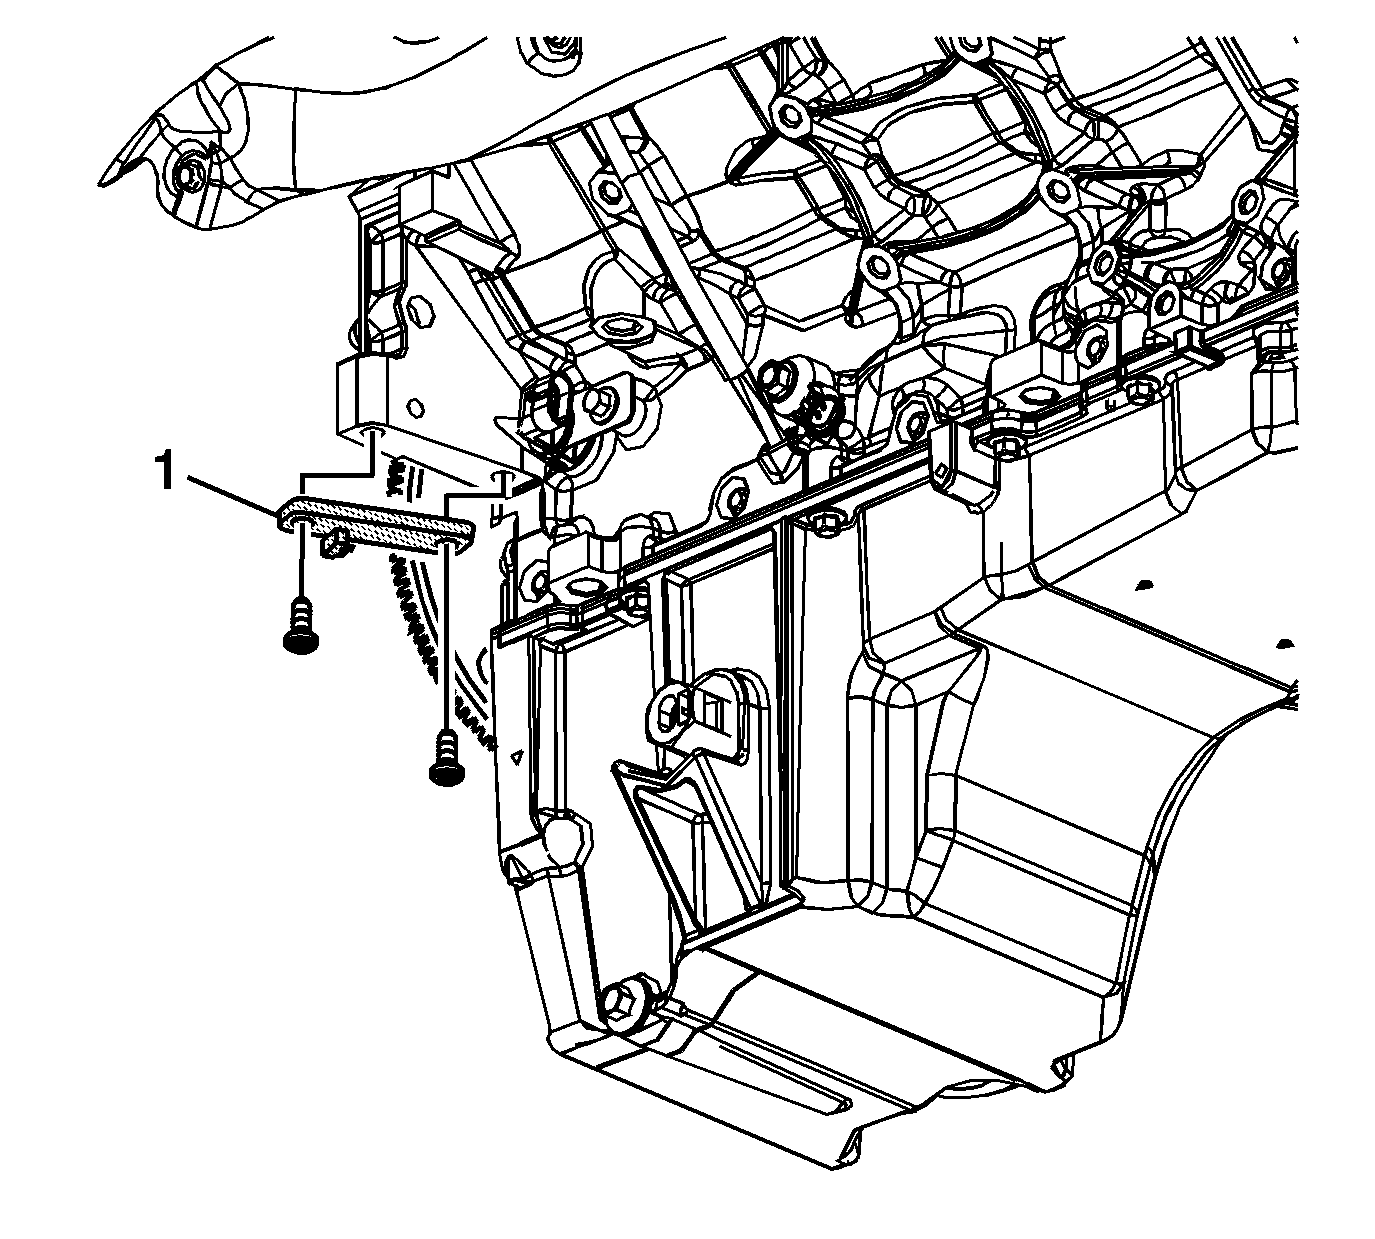
| • | Ensure the teeth of the tool engage the engine flywheel teeth. |
- Install the
J 42386-A tool
(1) and bolts.
Use 1 M10 - 1.5 x 120 mm and 1 M10 - 1.5 x 45 mm bolt for
proper tool operation and tighten the
J 42386-A tool
bolts to
50 N·m (37 lb ft).
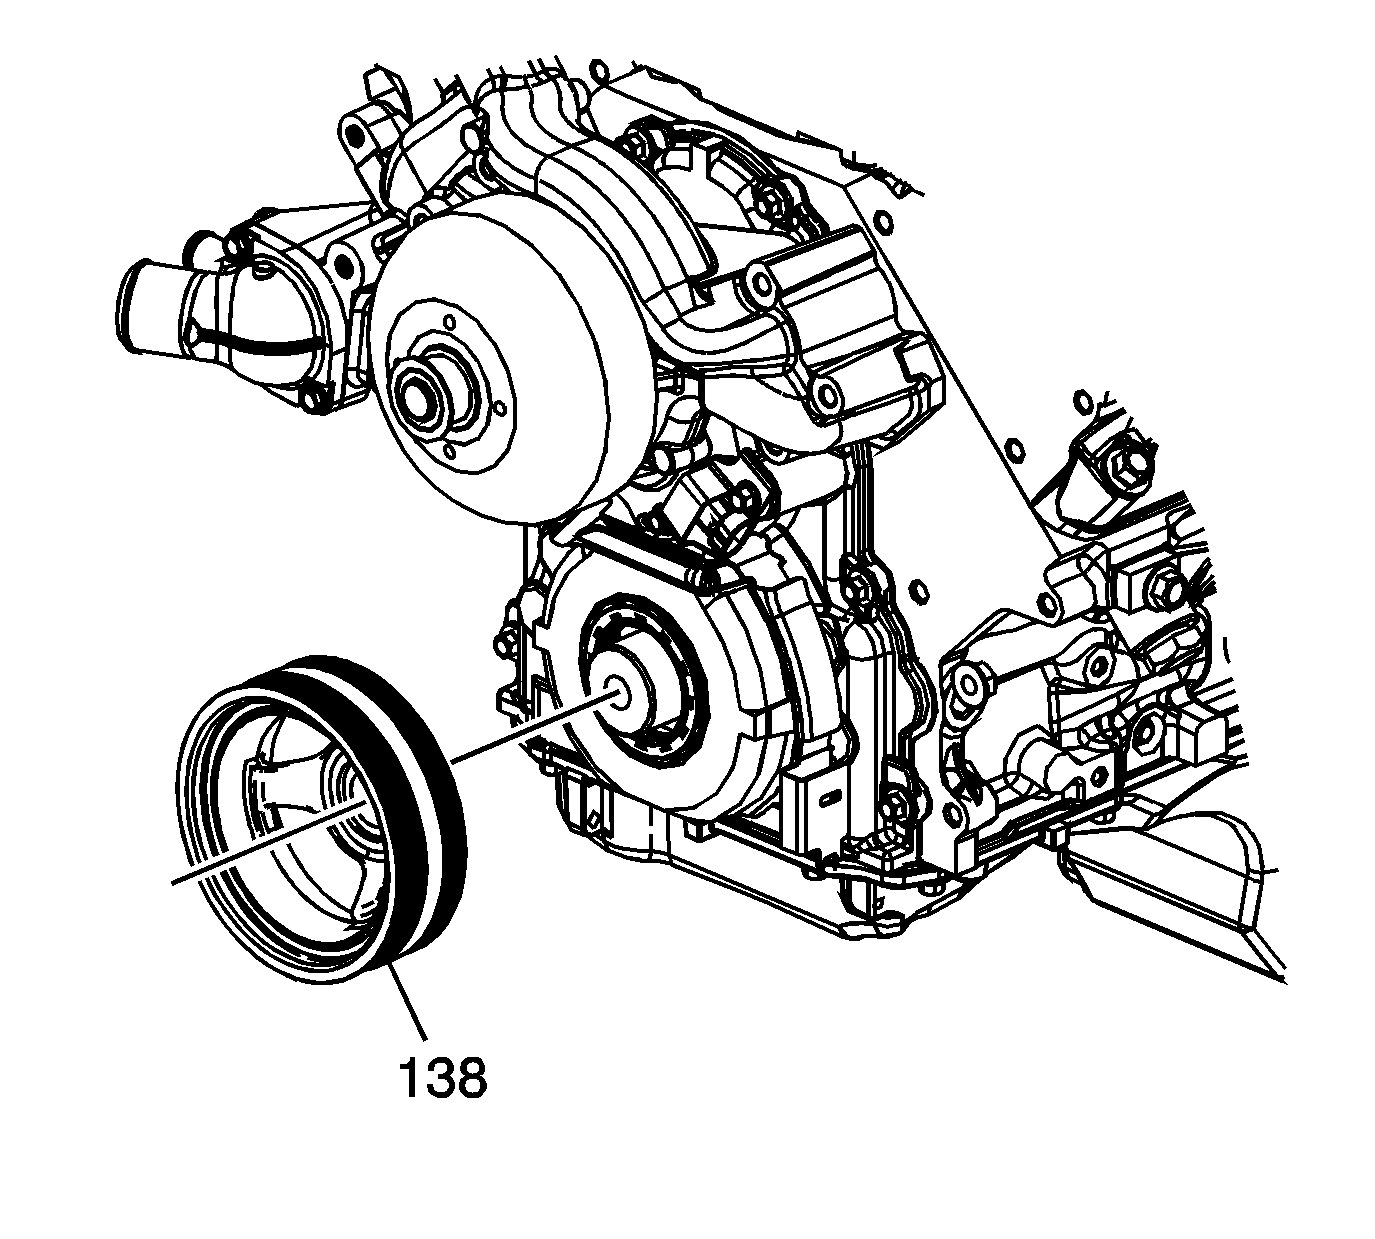
Note: The balancer should be positioned onto the end of the crankshaft as straight as possible prior to tool installation.
- Position the balancer (138) onto the end of the crankshaft.
- Use the
J 41665 installer
and the
J 41478 installer
in order to install the balancer.
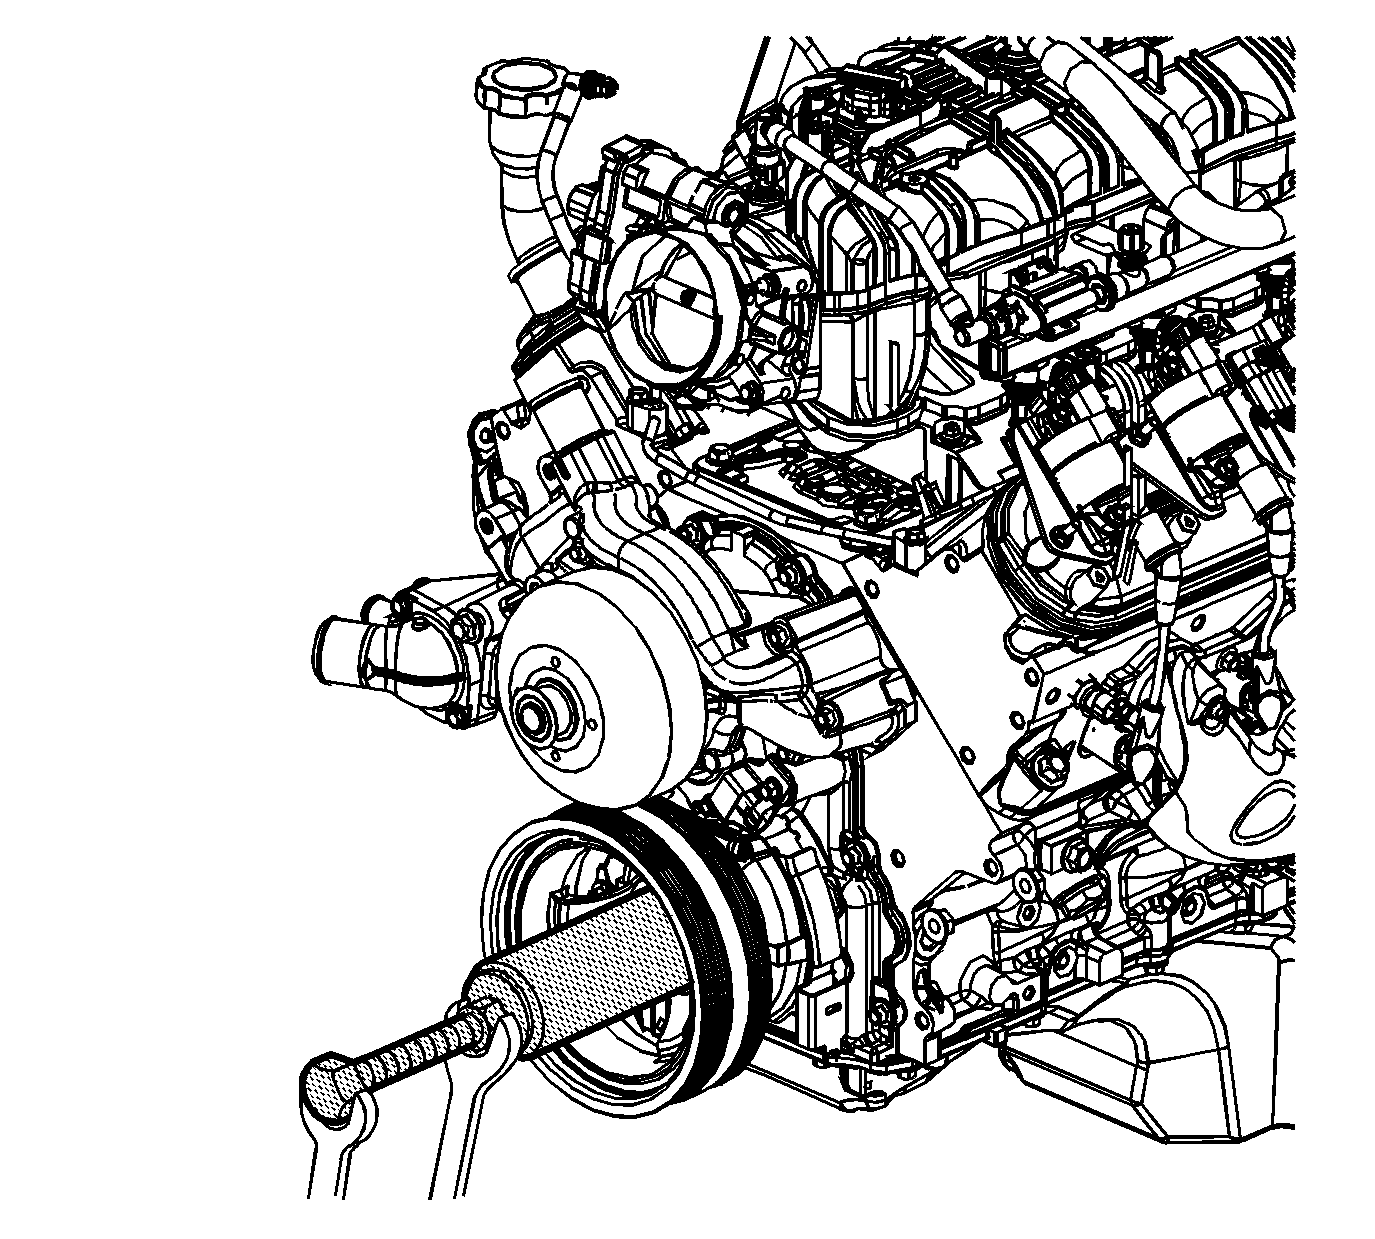
| 3.1. | Assemble the
J 41478 installer
threaded rod, nut, washer and the
J 41665 installer
. |
Insert the smaller end of the installer into the front of the balancer.
| 3.2. | Use a wrench and hold the hex end of the threaded rod. |
| 3.3. | Use a second wrench and rotate the installation tool nut clockwise until the balancer is started onto the crankshaft. |
| 3.4. | Remove the tool and reverse the installation tool. |
Position the larger end of the installer against the front of the balancer.
| 3.5. | Use a wrench and hold the hex end of the threaded rod. |
| 3.6. | Use a second wrench and rotate the installation tool nut clockwise until the balancer is installed onto the crankshaft. |
| 3.7. | Remove the balancer installation tools. |
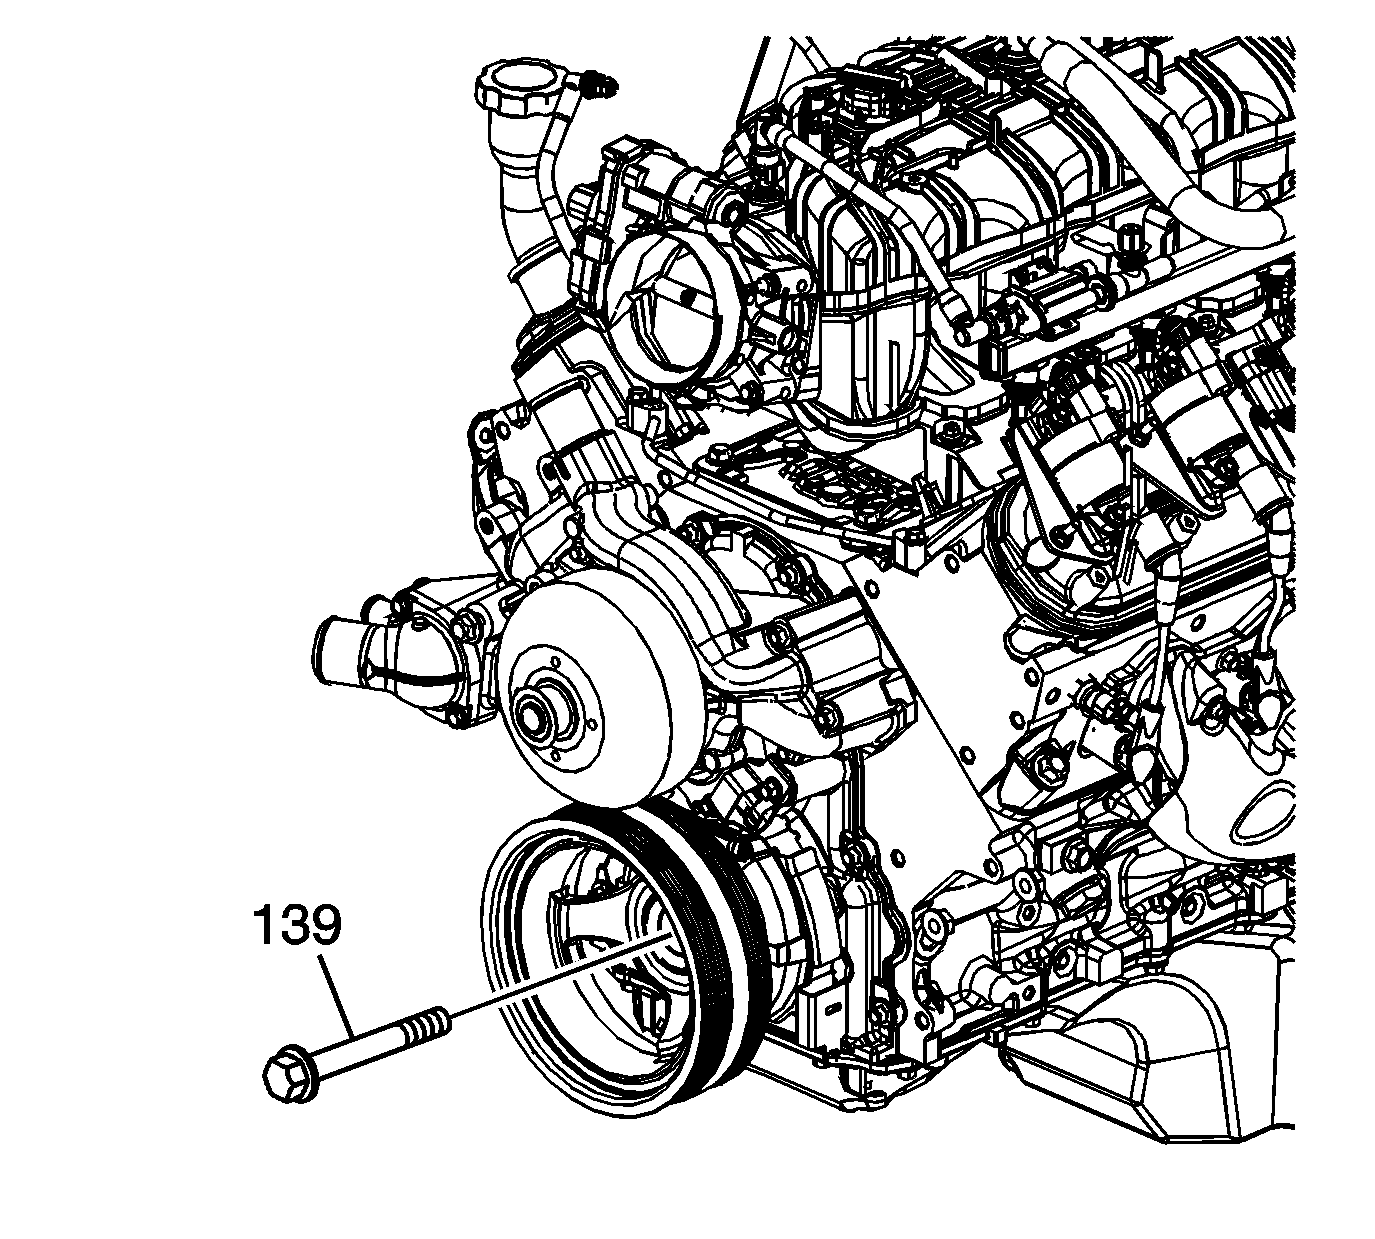
- Install the NEW crankshaft balancer bolt (139) and
| 4.1. | Tighten the crankshaft balancer bolt a first pass to
150 N·m (110 lb ft). |
| 4.2. | Loosen the crankshaft balancer bolt a second pass 360 degrees. |
| 4.3. | Tighten the crankshaft balancer bolt a third pass to
50 N·m (37 lb ft). |
| 4.4. | Tighten the crankshaft balancer bolt a final pass 230 degrees using the
J 45059 meter
. |
- Remove the
J 42386-A tool
.
