For 1990-2009 cars only
Removal Procedure
- Disconnect the negative battery cable. Refer to Battery Negative Cable Disconnection and Connection.
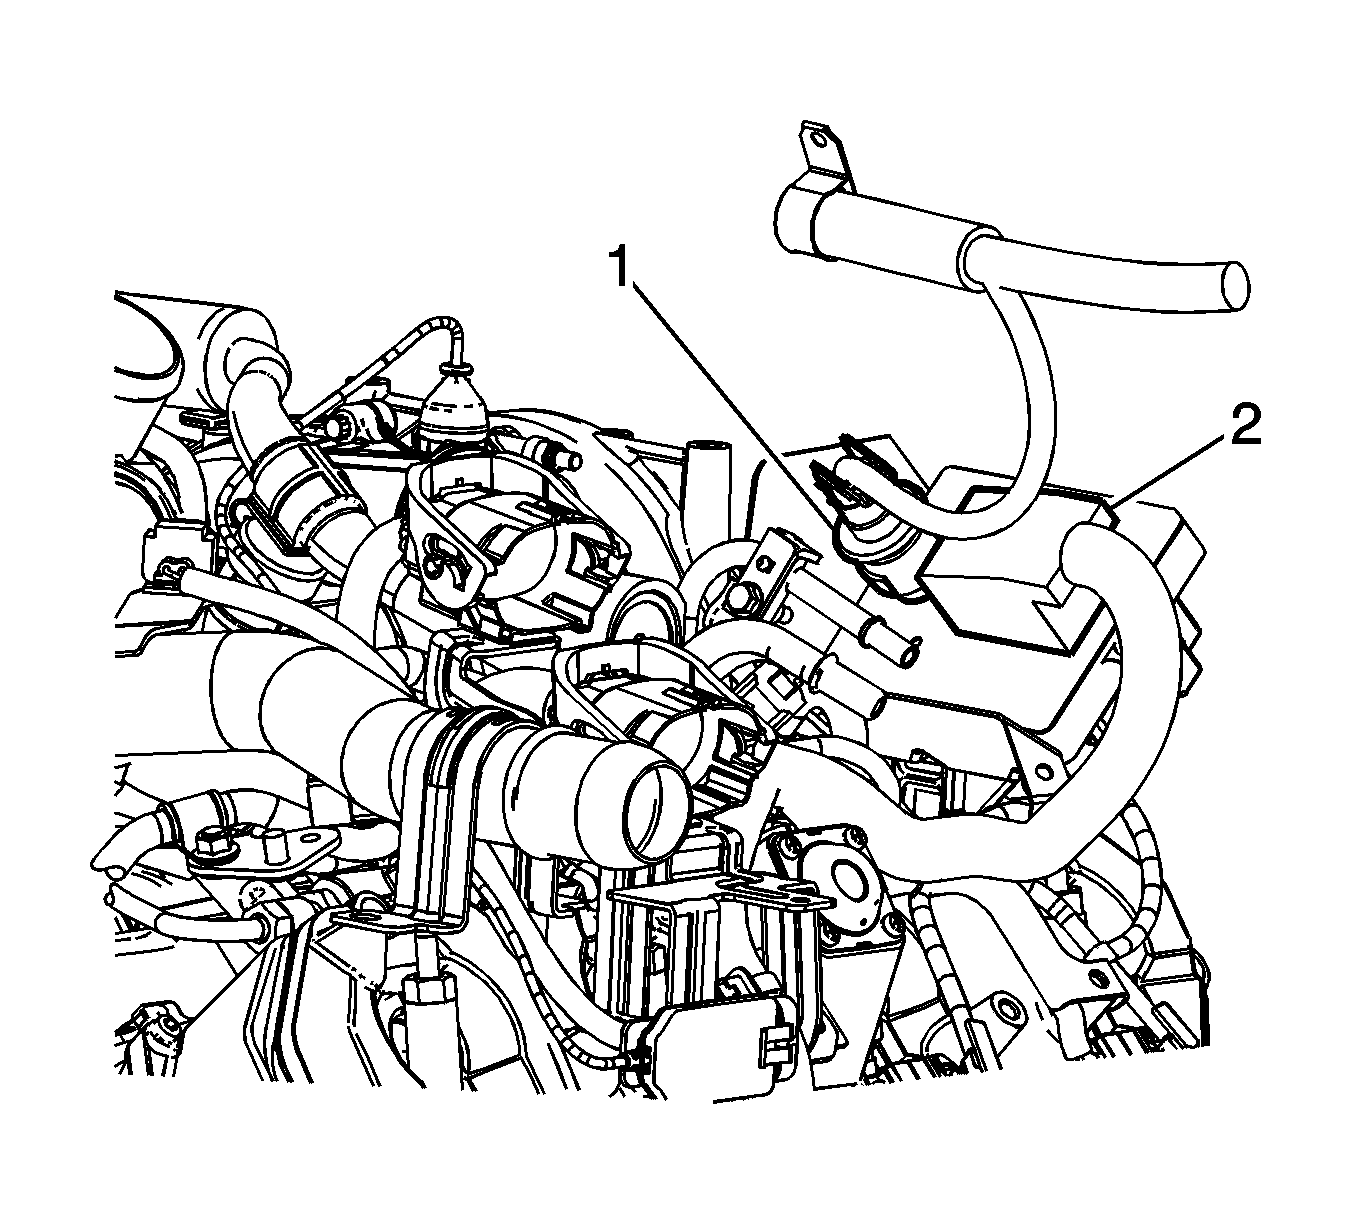
- Disconnect the positive battery cable (1) from the glow plug control module.
- Disconnect the engine wiring harness electrical connector (2) from the glow plug control module.
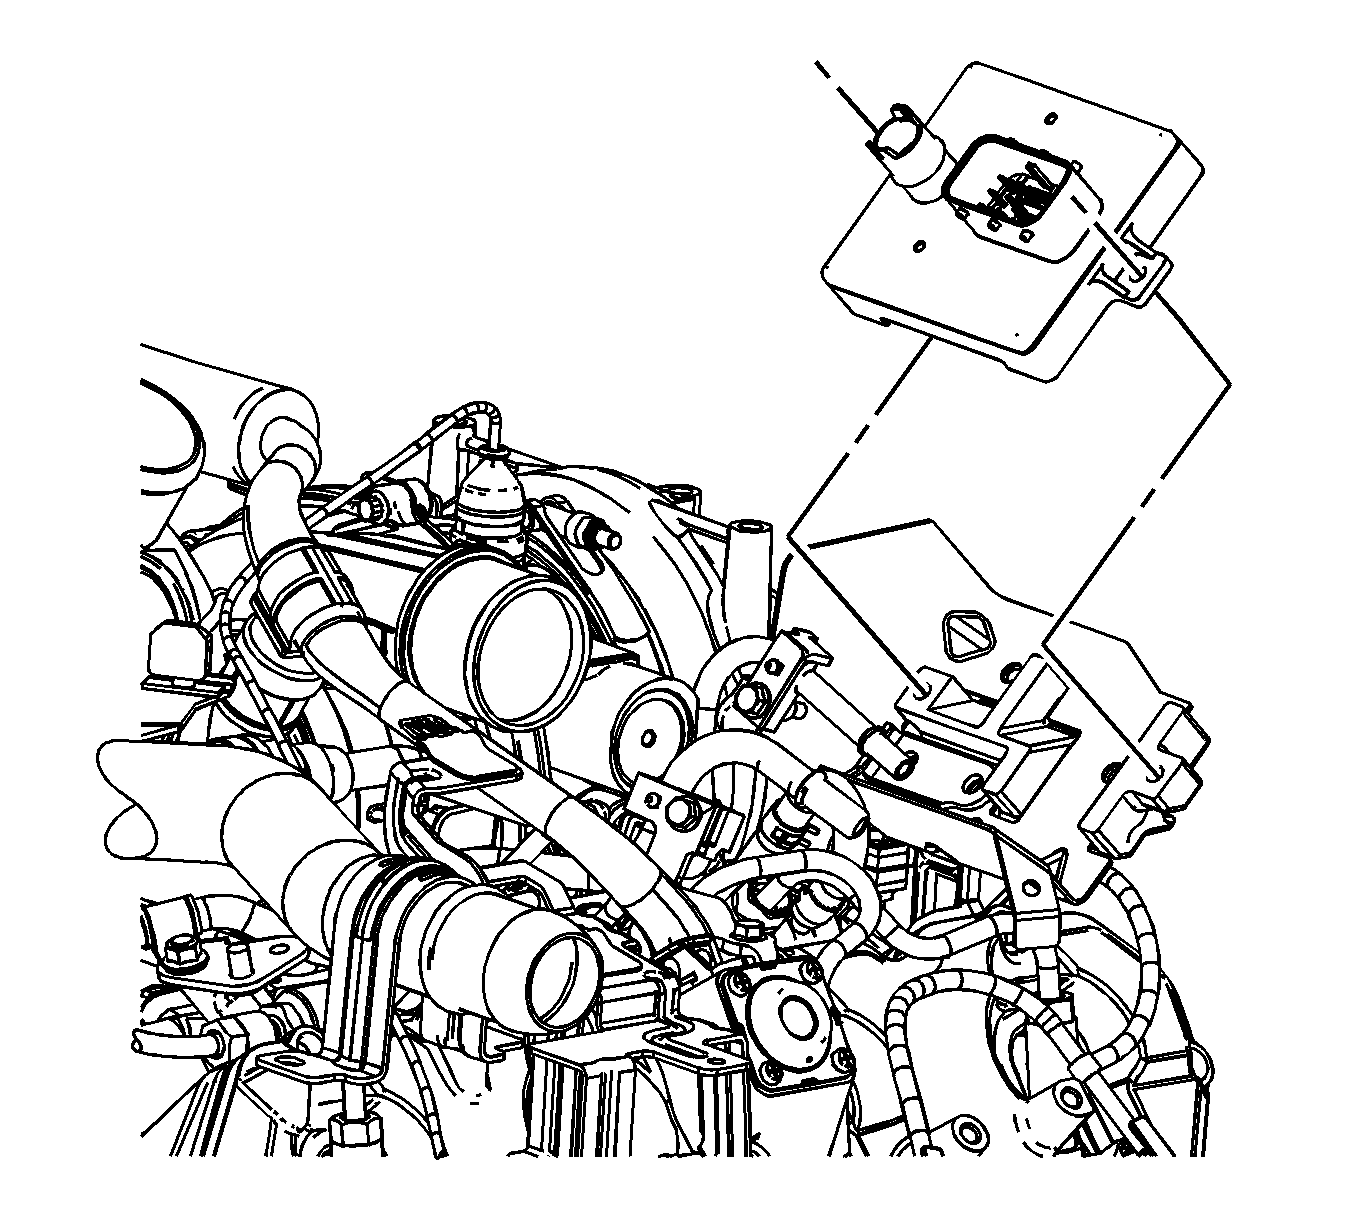
- Remove the glow plug control module bolts and module.
- Remove the fuel return pipe clamp bolt (1).
- Remove the glow plug control module protector bolts and protector (1), if required.
- Remove the glow plug control module bracket and bolts (2), if required.


Installation Procedure
- Position the glow plug control module bracket (2) to the lower valve rocker arm cover and install the bolts, if required.
- Position the glow plug control module protector (1) and install the bolts, if required.
- Install the fuel return pipe clamp bolt (1).
- Position the glow plug control module onto the bracket and install the bolts.
- Connect the engine wiring harness electrical connector (2) to the glow plug control module.
- Connect the positive battery cable (1) to the glow plug control module.
- Connect the negative battery cable. Refer to Battery Negative Cable Disconnection and Connection.
- If a NEW glow plug control module was installed, program the module. Refer to Control Module References.
Caution: Refer to Fastener Caution in the Preface section.
Tighten
Tighten the bolts to 10 N·m (89 lb in).
Tighten
Tighten the bolts to 10 N·m (89 lb in).
Tighten
Tighten the bolt to 24 N·m (18 lb ft).
Tighten
Tighten the bolts to 10 N·m (89 lb in).
