For 1990-2009 cars only
Removal Procedure
Important: Before beginning the following service procedure, place the transmission into the PARK position. Then place the transfer case in the 2 HI position.
- Remove the transfer case shield, if equipped. Refer to Transfer Case Shield Replacement .
- Remove the front propeller shaft. Refer to Front Propeller Shaft Replacement .
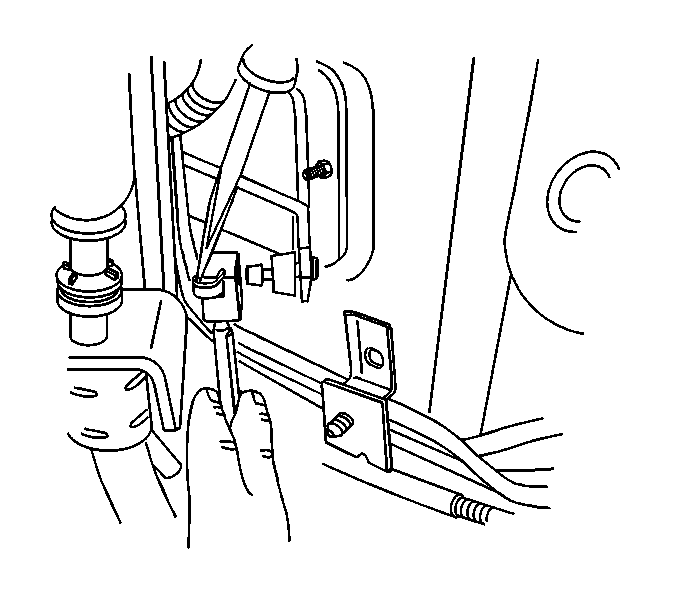
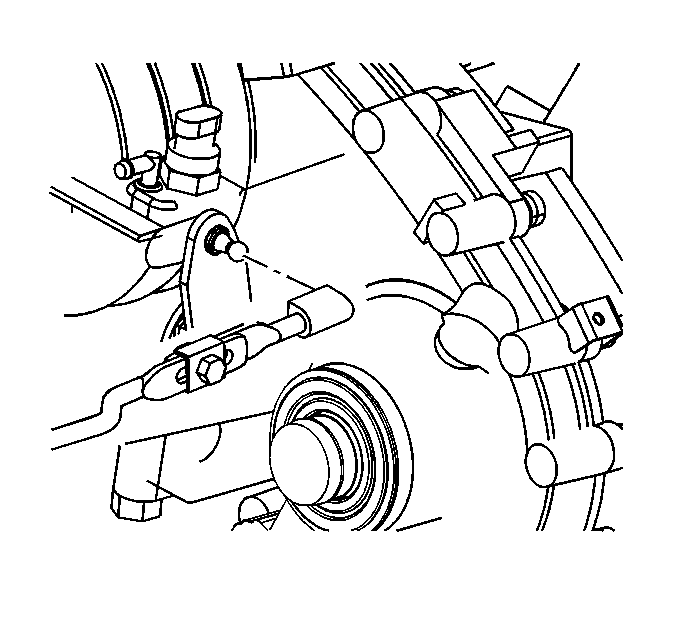
- Remove the control rod from the control lever.
- Remove the control rod from the shift lever.
- Remove the control rod.

Important: When performing this service procedure, use a small pocket screwdriver in order to release the retaining clip on the ends of the control rod.

Installation Procedure
Important:
• Before installing a NEW control rod, loosen the adjusting bolt on the control rod so it slides with slight resistance. • When installing the control rod on the control levers, a snapping sound should be heard or felt upon installation.
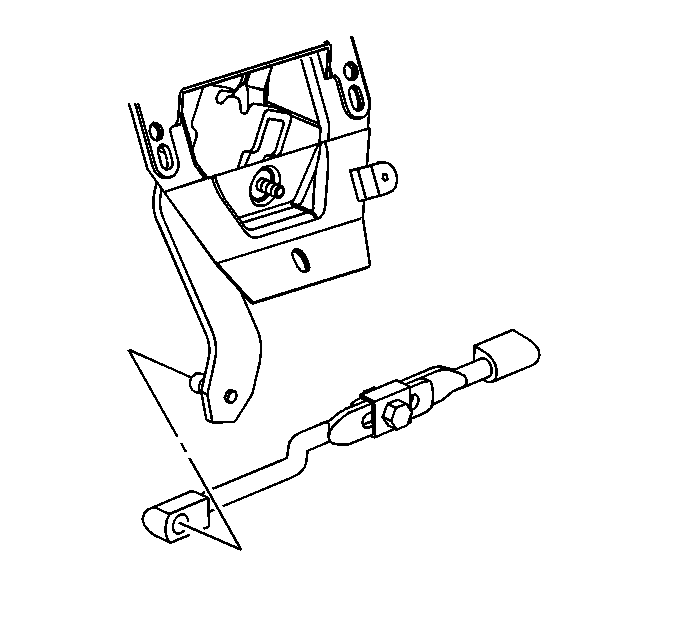
- Install the control rod onto the control lever first.
- Slide the control rod forward.
- Install the control rod onto the shift control lever.
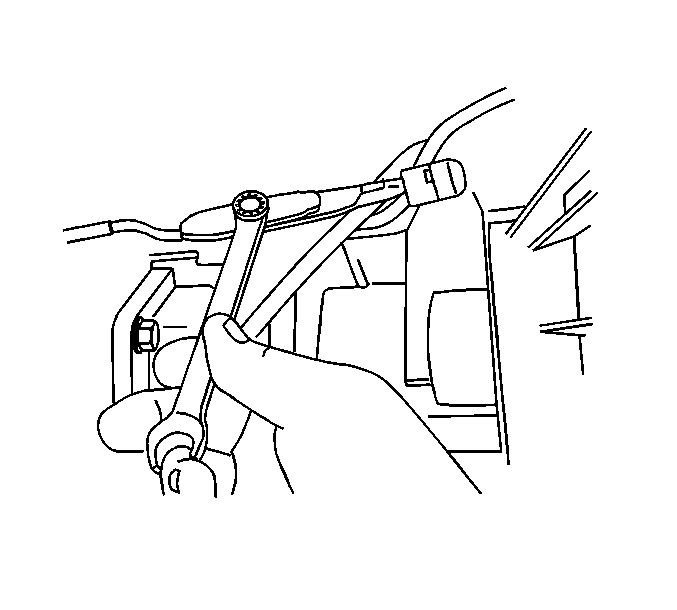
- Tighten the control rod adjusting bolt.
- Install the front propeller shaft. Refer to Front Propeller Shaft Replacement .
- Install the transfer case shield, if equipped. Refer to Transfer Case Shield Replacement .


Notice: Refer to Fastener Notice in the Preface section.

Tighten
Tighten the bolt to 15 N·m (11 lb ft).
