Removal Procedure
- Remove the trim panel. Refer to Rear Side Access Door Trim Panel Replacement .
- Remove the water deflector. Refer to Front Side Door Water Deflector Replacement .
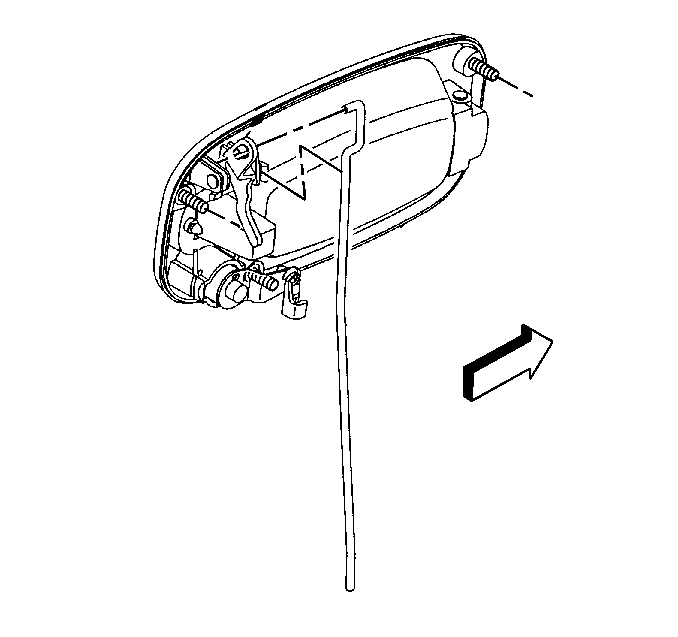
- Remove the outside handle rod from the rod clip.
- Remove the lock cylinder rod from the rod clip.
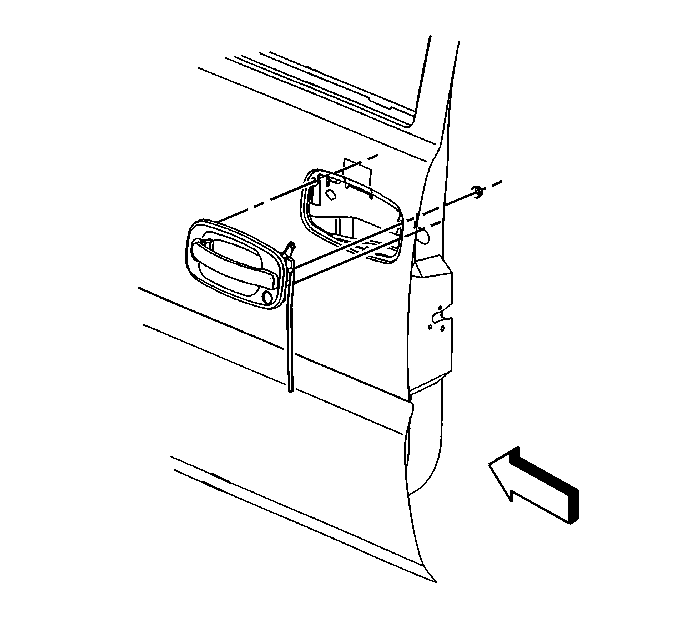
- Apply masking tape across the door handle on the outside of the door to secure handle while removing the nuts.
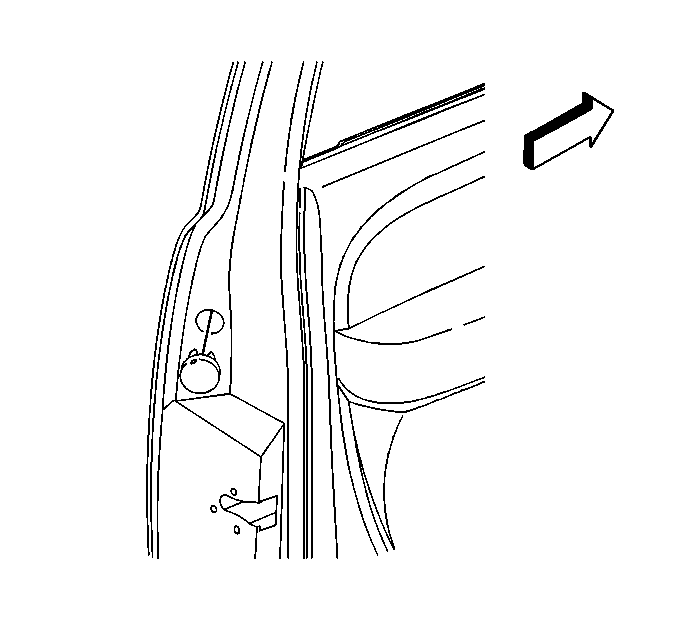
- Remove the outside handle mounting nuts.
- Remove the rubber cover in order to gain access to the outboard nut.
- Remove the door lock cylinder from the outside handle housing.
- Remove the handle.


In order to repair a binding lock cylinder, refer to Lock Cylinder Binding .

Installation Procedure
- Install the handle to the vehicle.
- If the lock cylinder is a replacement, apply a coating of GM P/N 12345120 (Canadian P/N 726548) or a similar lubricant to the inside of the lock case and the cylinder keyway.
- Install the door lock cylinder to the outside handle housing.
- Install the lock cylinder clip to the lock cylinder rod.
- Install the handle rod to the handle assembly clip.
- Remove masking tape from door handle.
- Install the outside handle mounting nuts.
- Install the rubber cover.
- Install the water deflector. Refer to Front Side Door Water Deflector Replacement .
- Install the trim panel. Refer to Rear Side Access Door Trim Panel Replacement .

In order to code a new lock cylinder, refer to Key and Lock Cylinder Coding .


Notice: Use the correct fastener in the correct location. Replacement fasteners must be the correct part number for that application. Fasteners requiring replacement or fasteners requiring the use of thread locking compound or sealant are identified in the service procedure. Do not use paints, lubricants, or corrosion inhibitors on fasteners or fastener joint surfaces unless specified. These coatings affect fastener torque and joint clamping force and may damage the fastener. Use the correct tightening sequence and specifications when installing fasteners in order to avoid damage to parts and systems.
Tighten
Tighten the nuts to 9 N·m (80 lb in).

